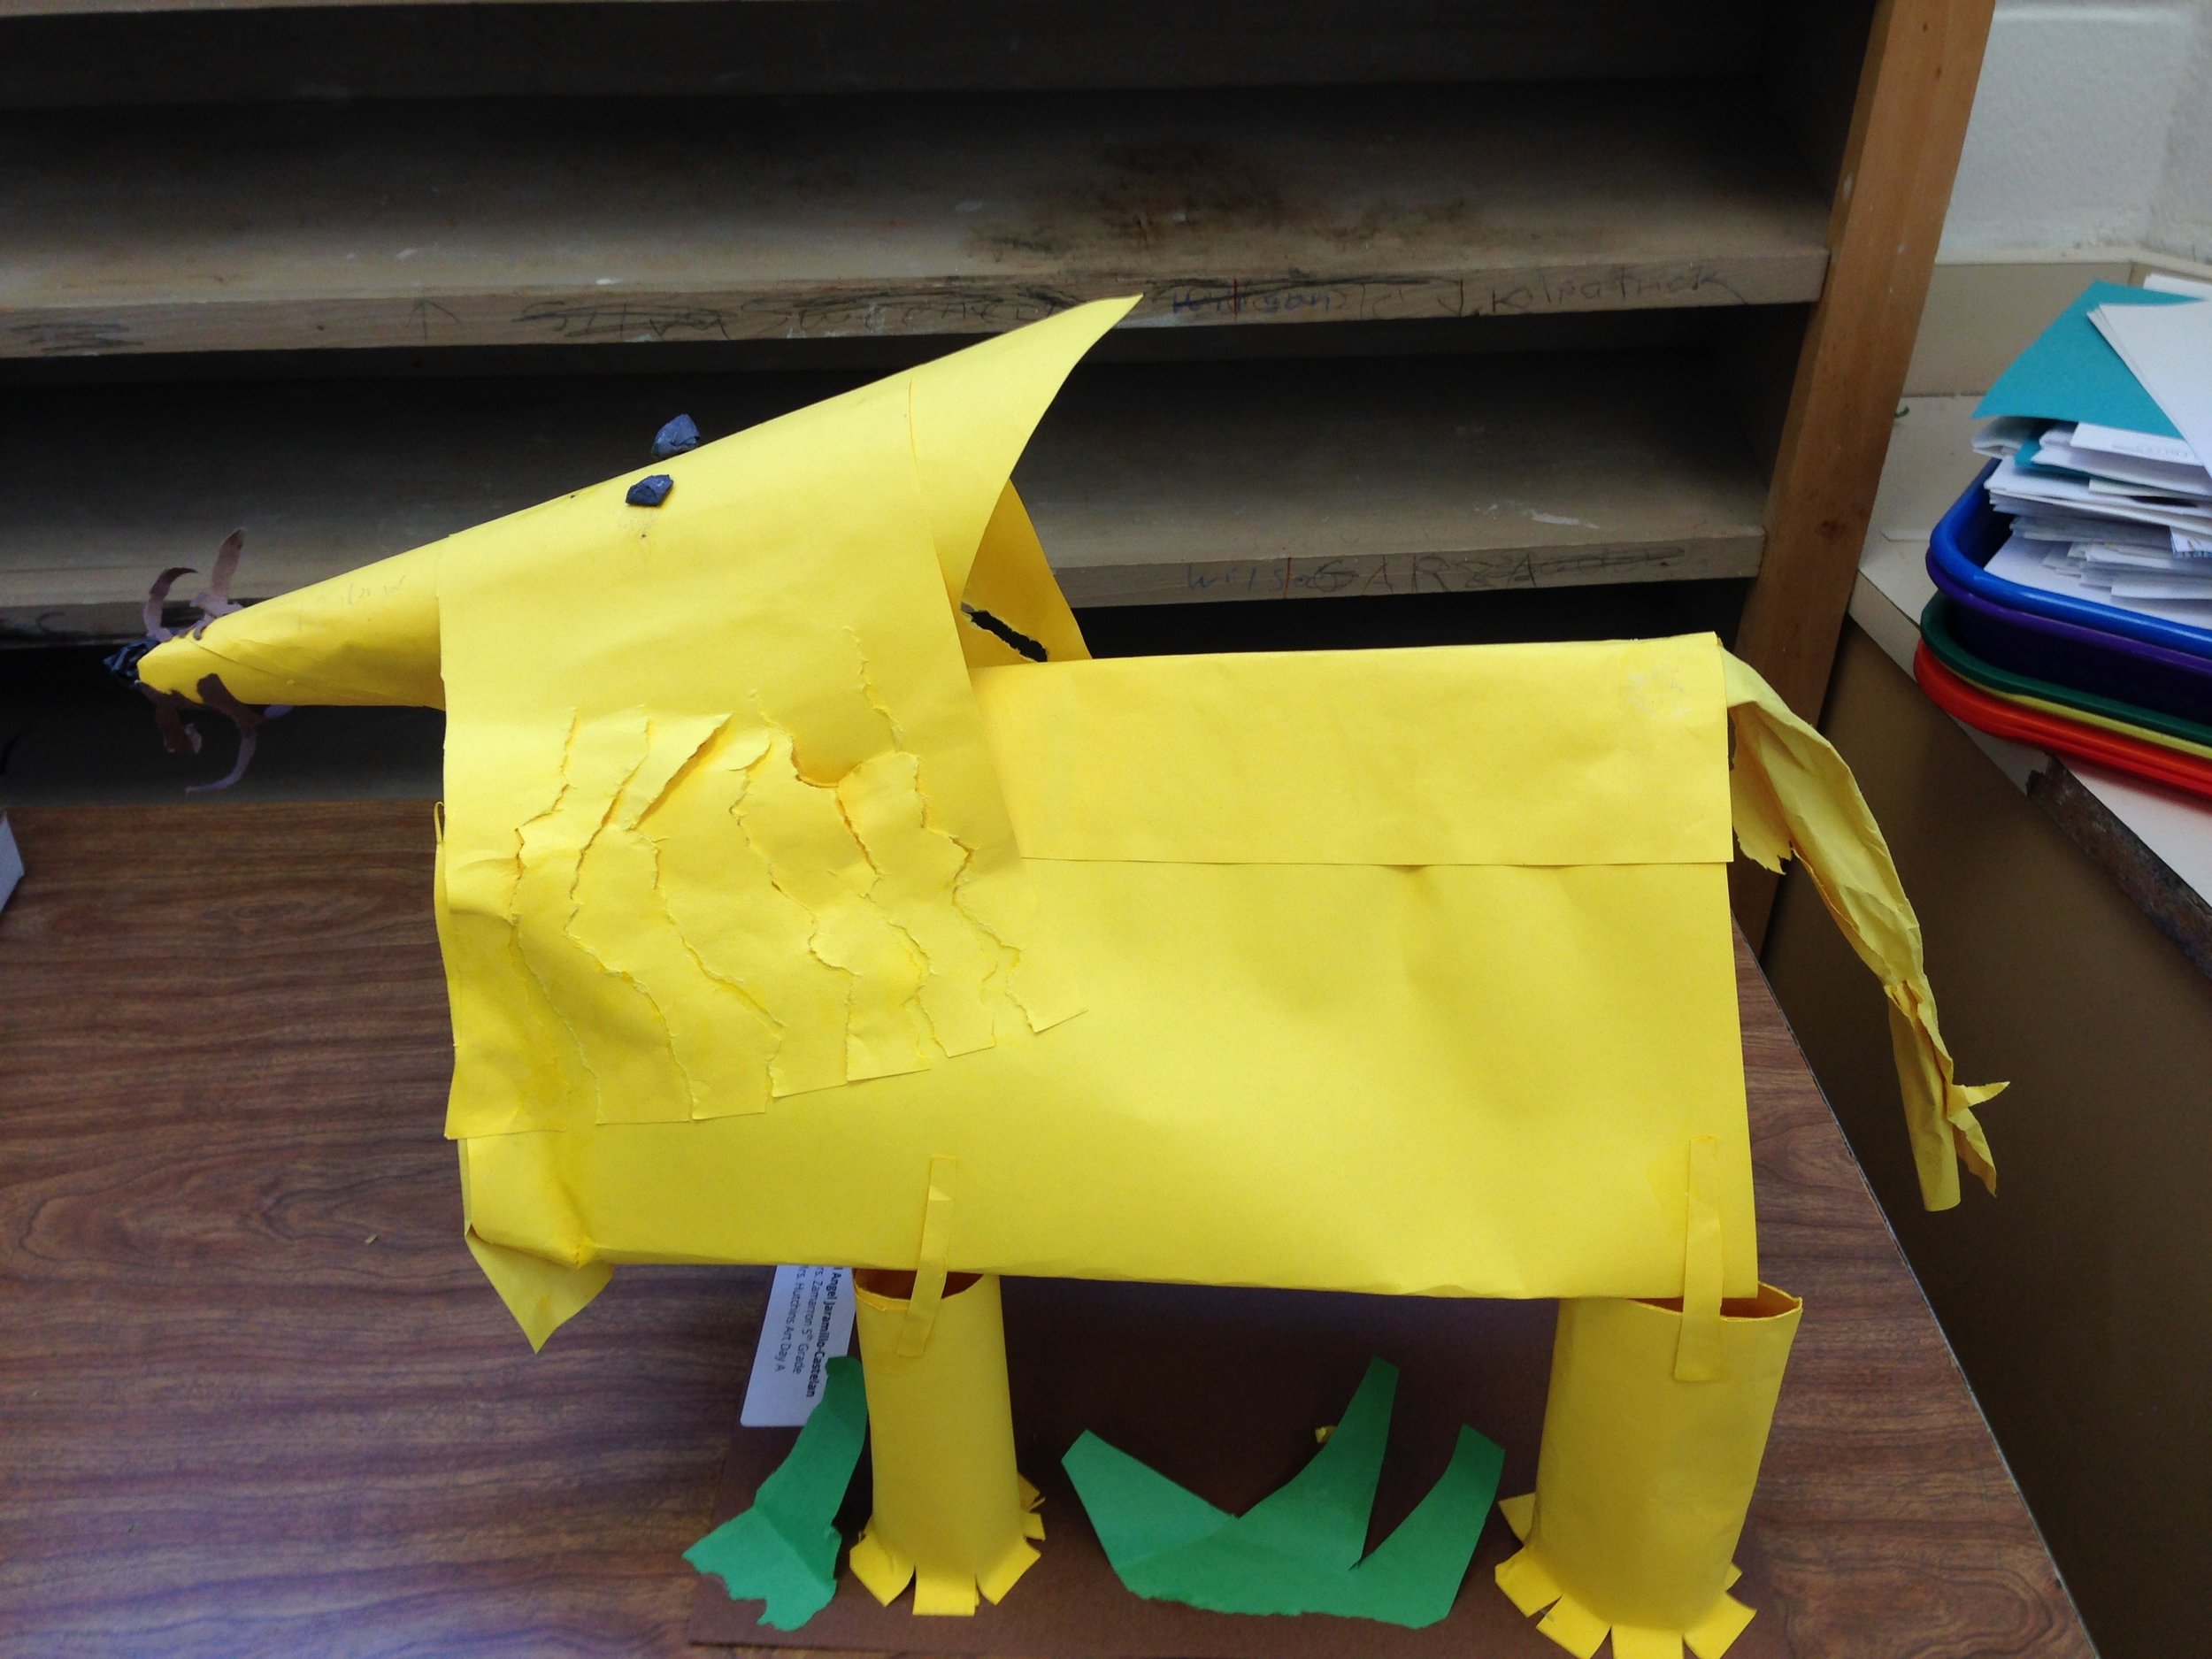
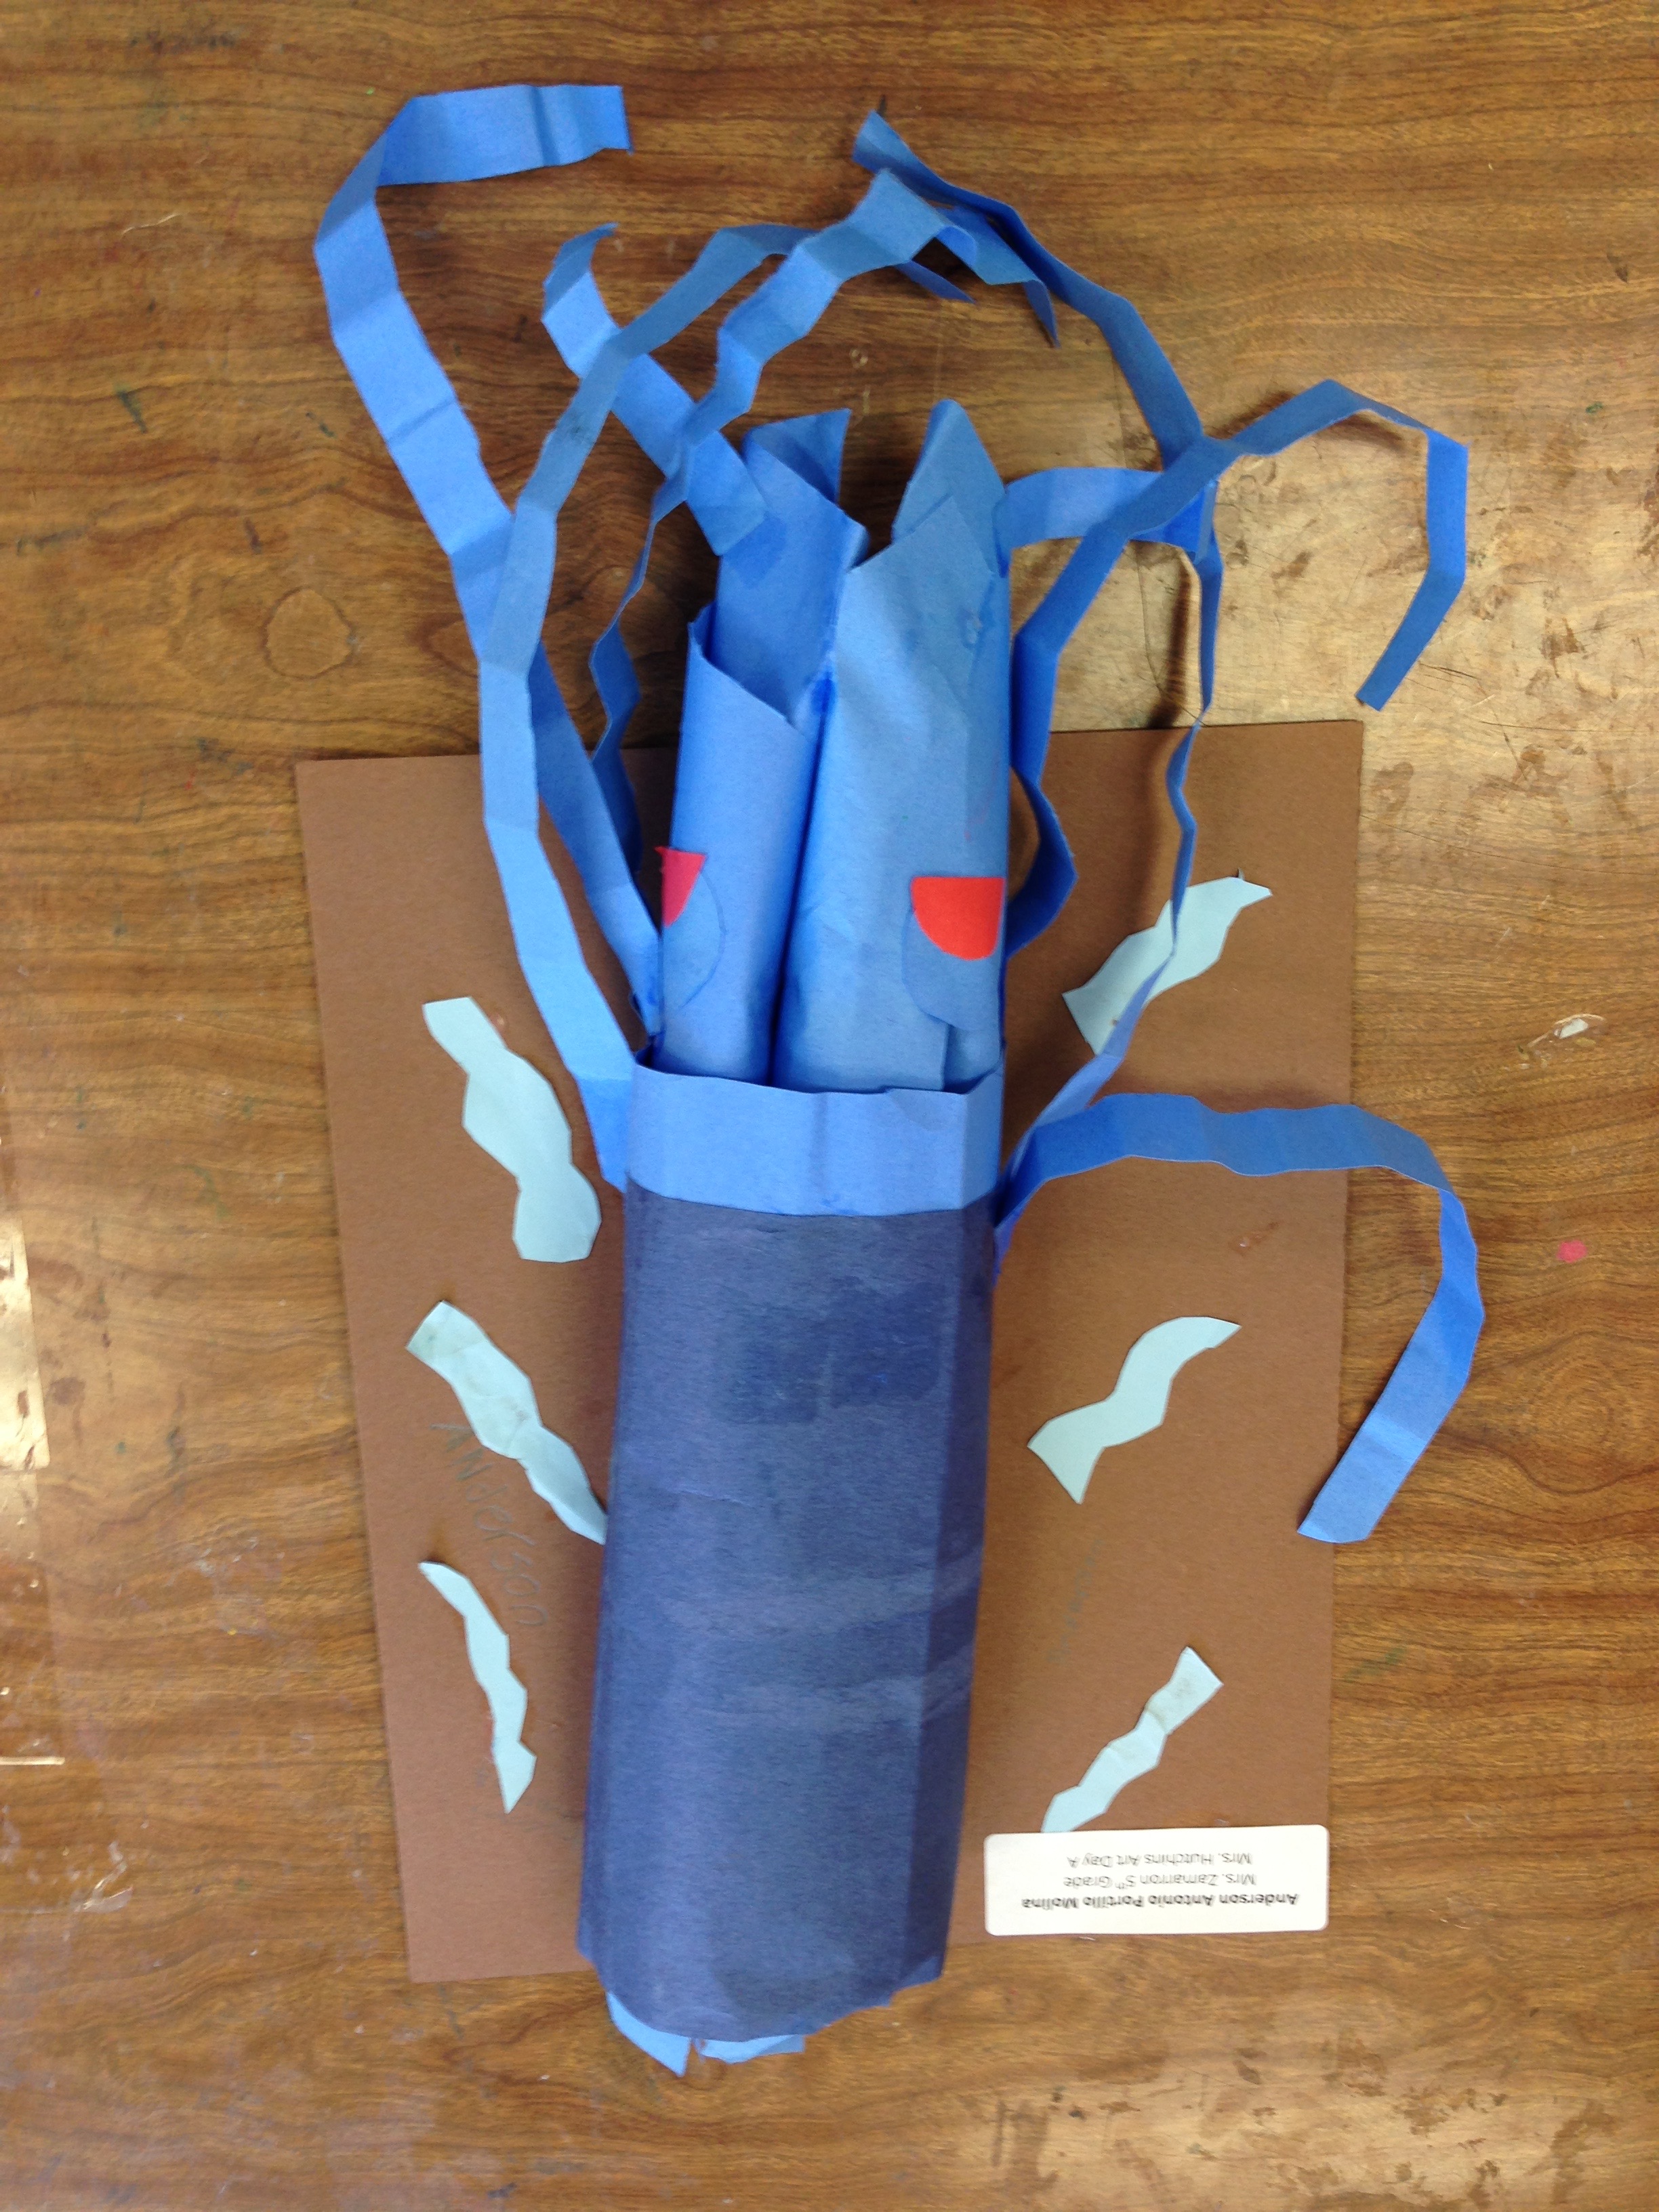
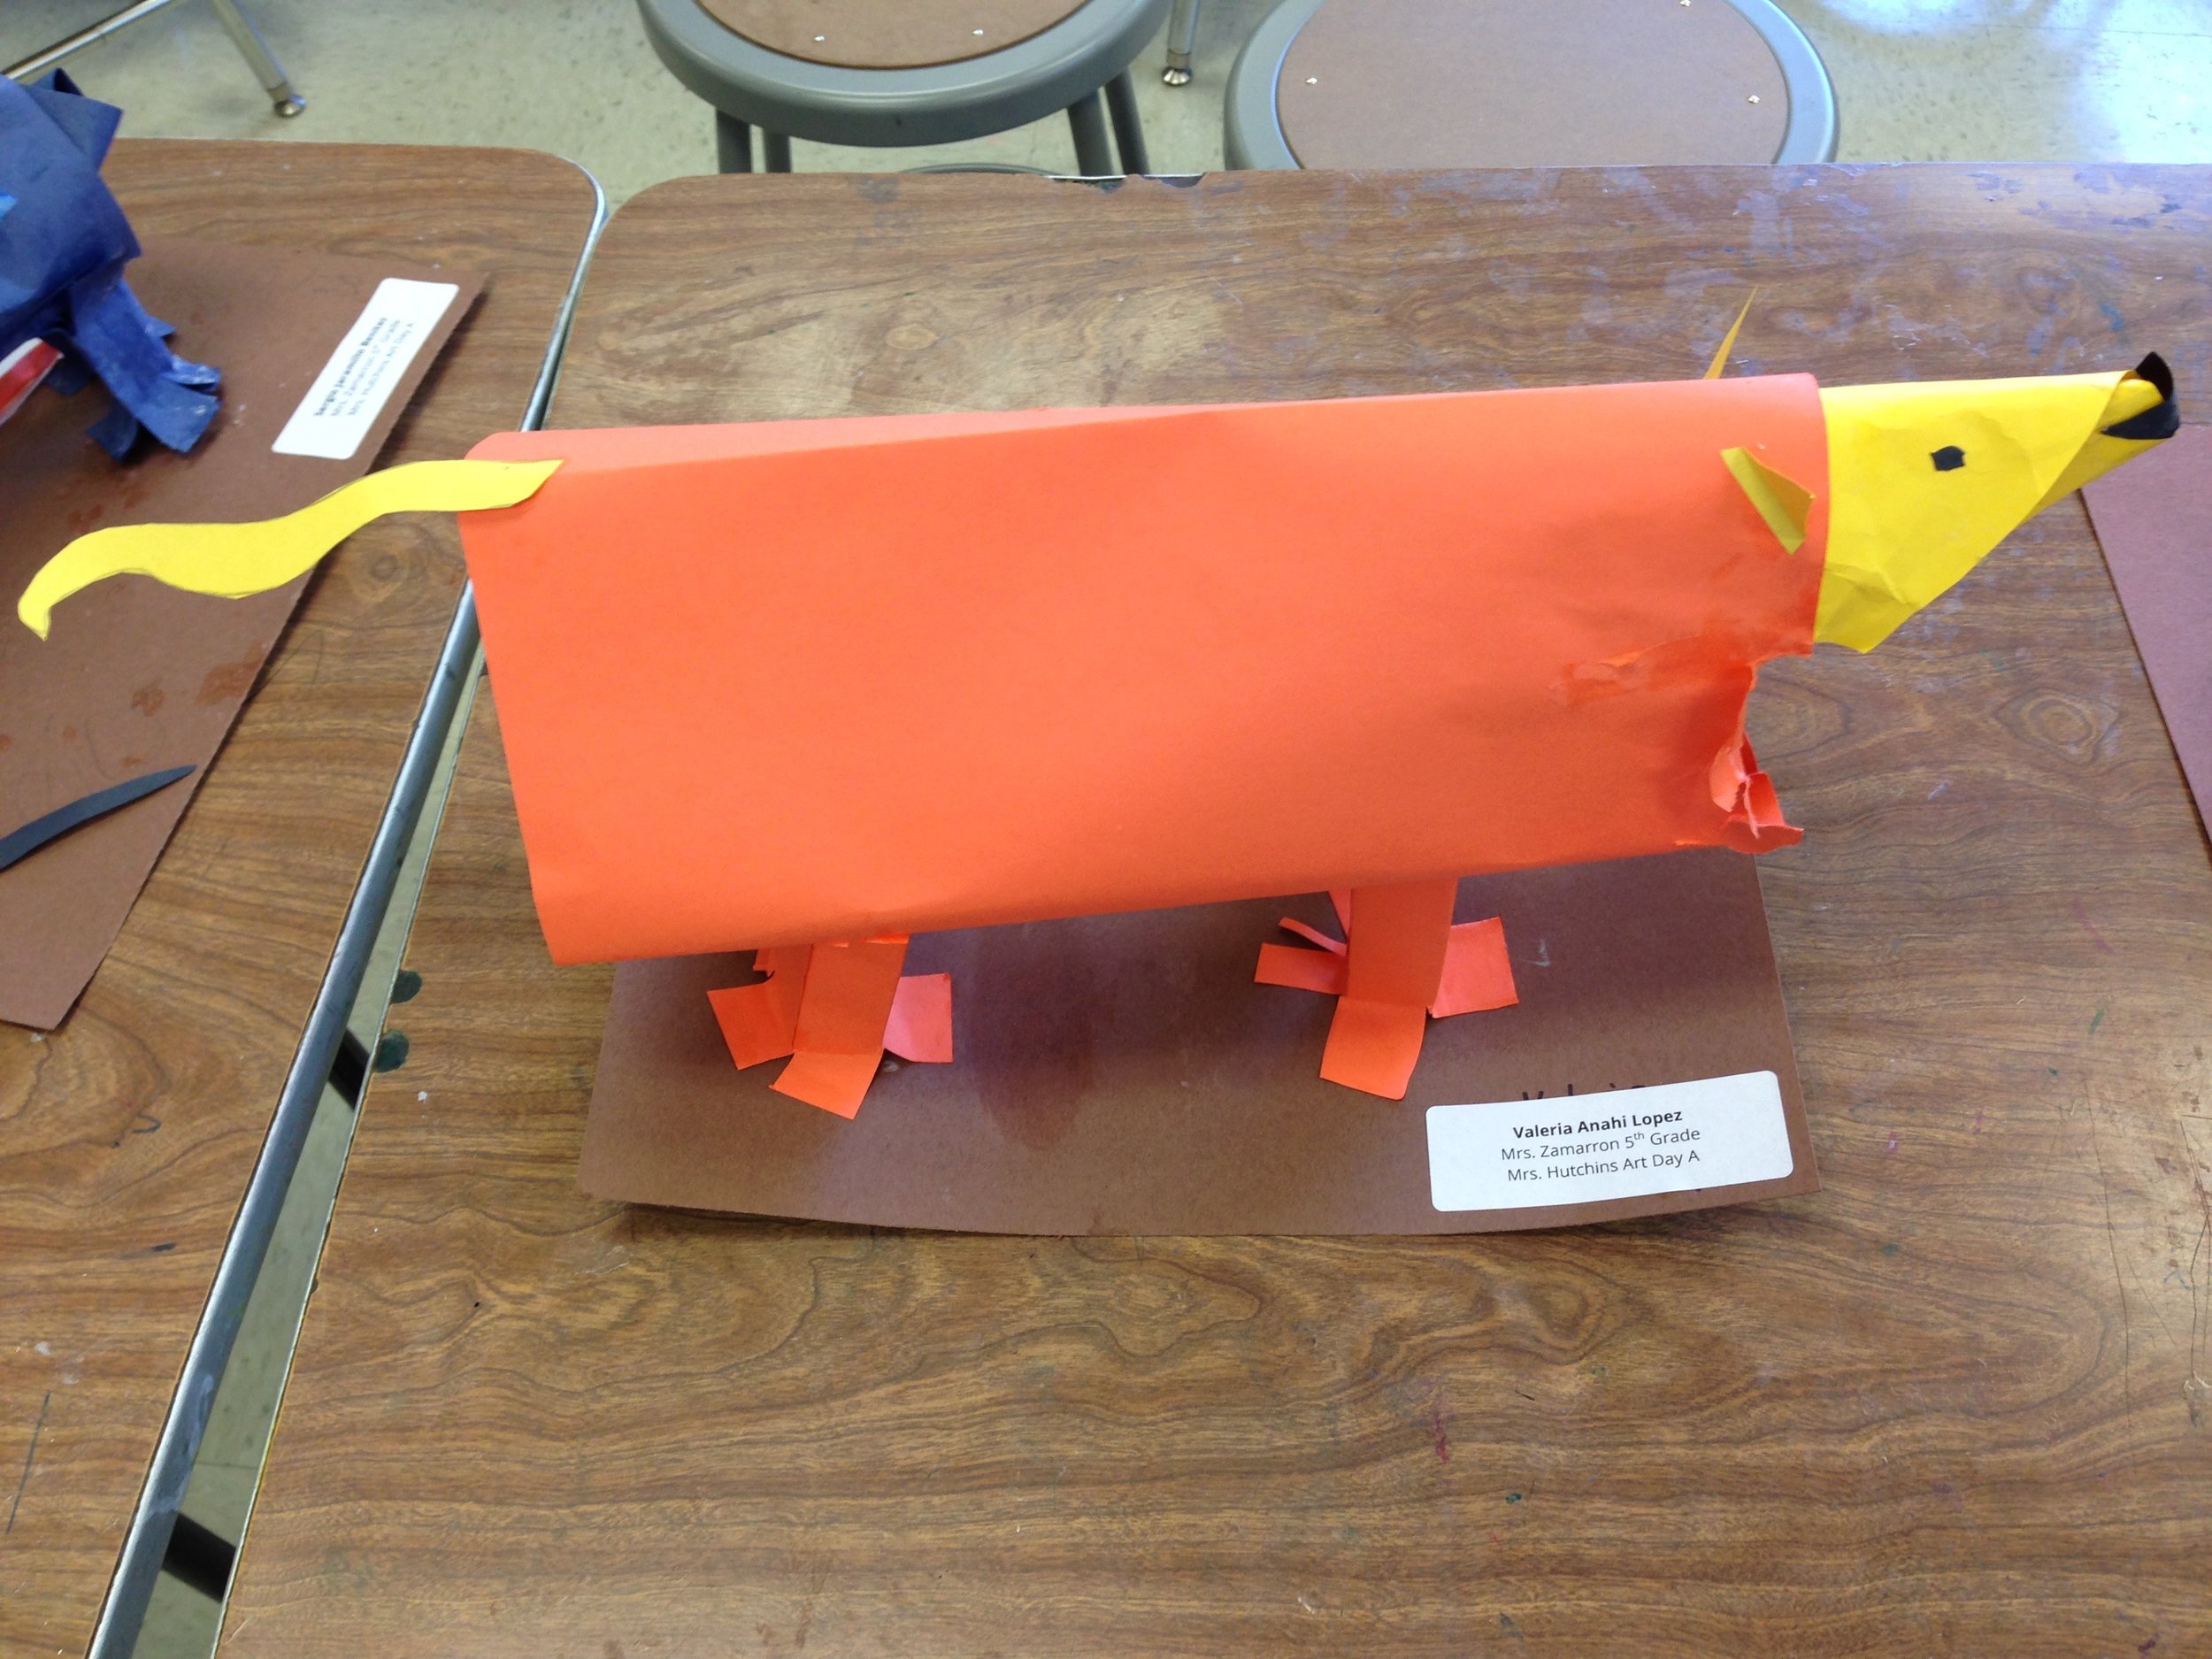
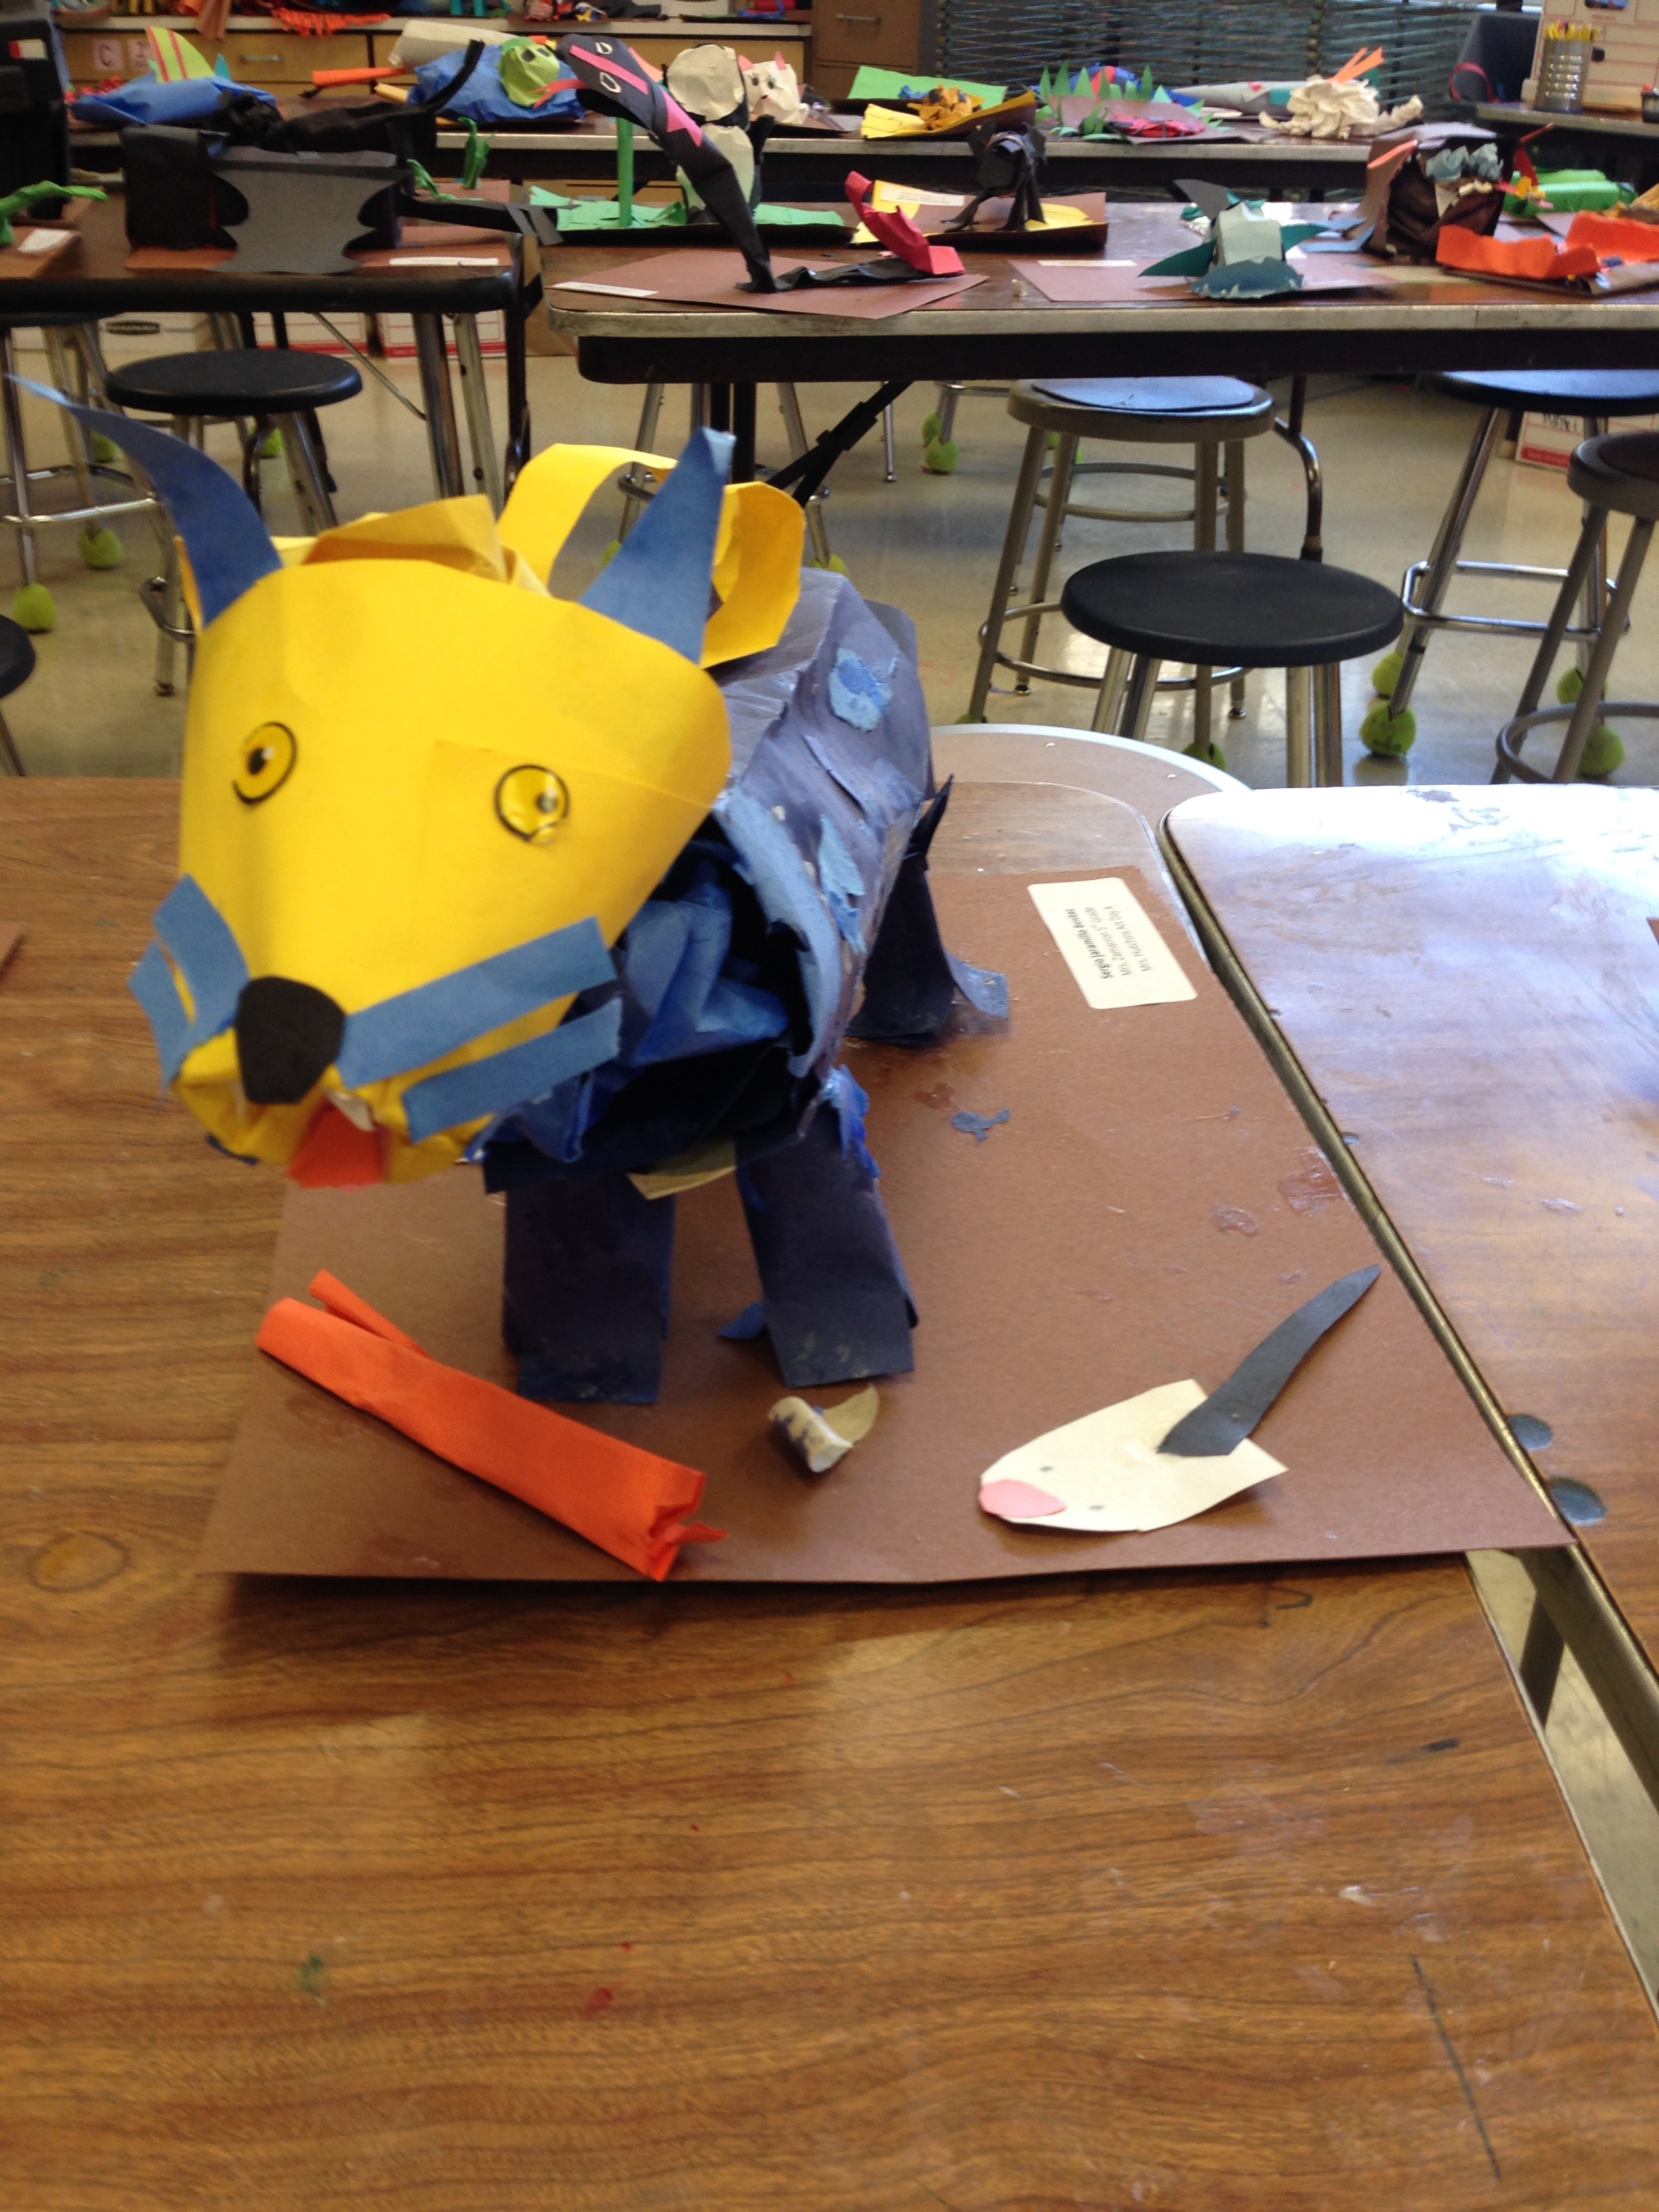
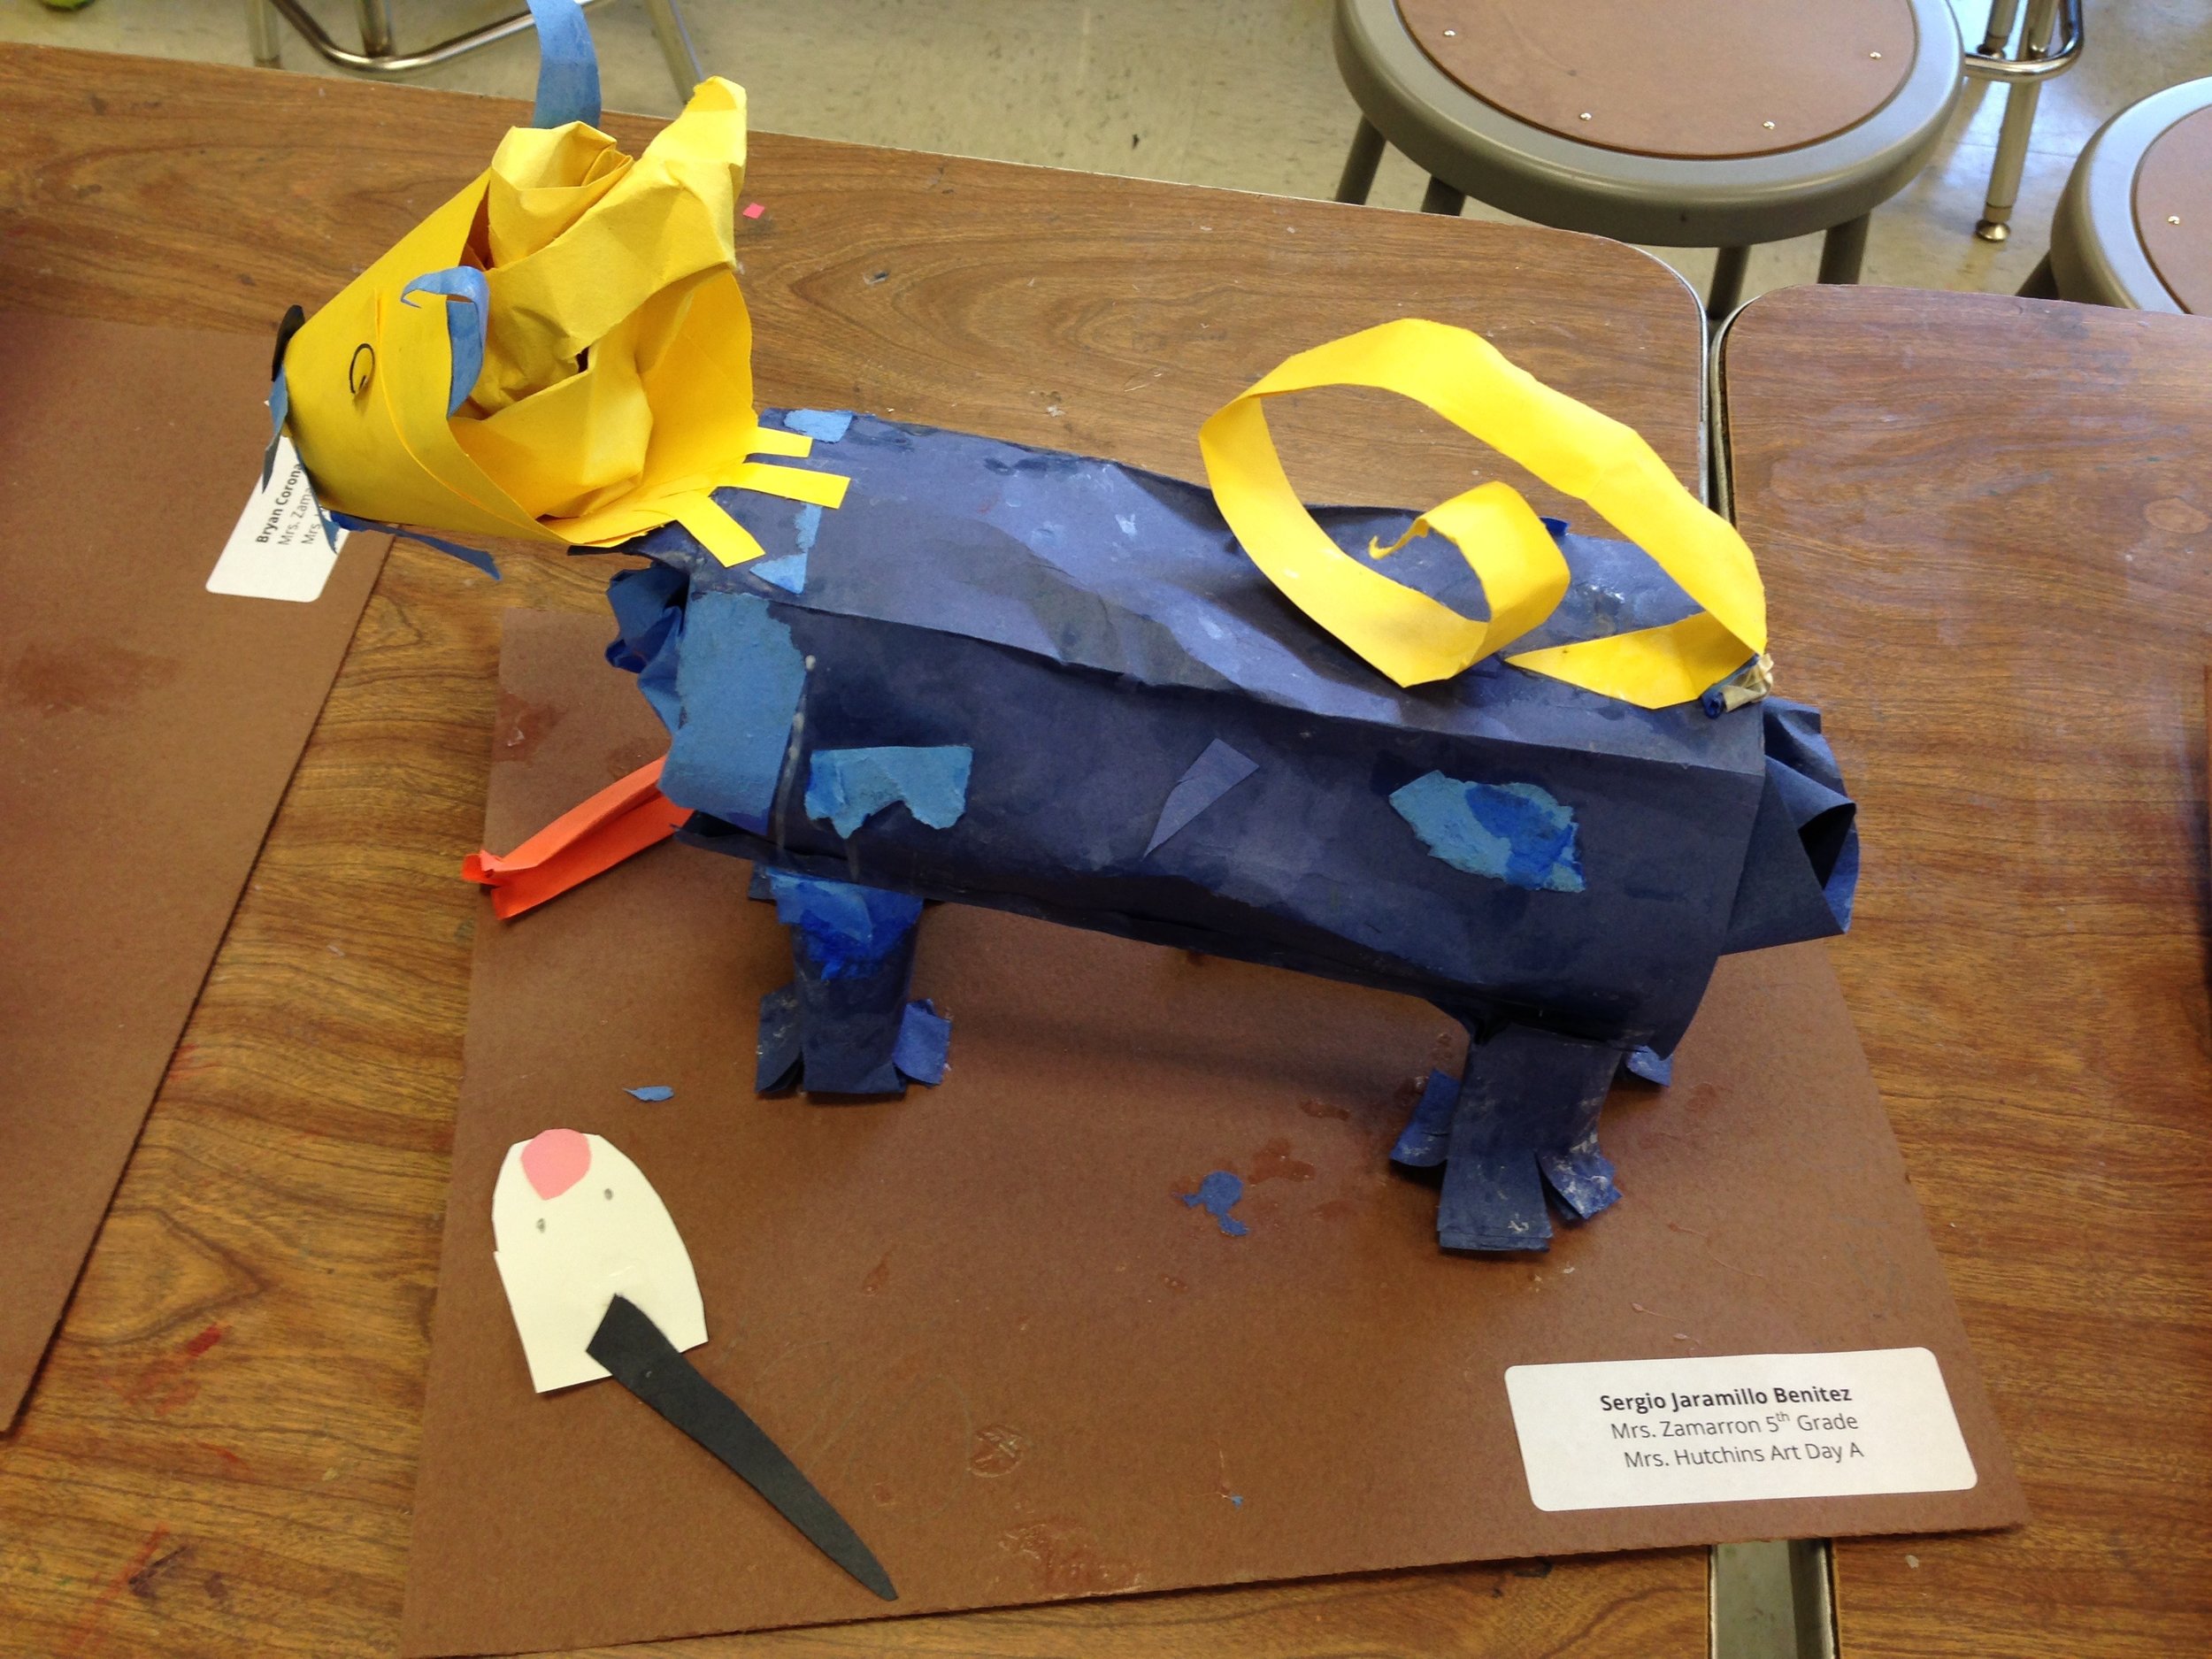
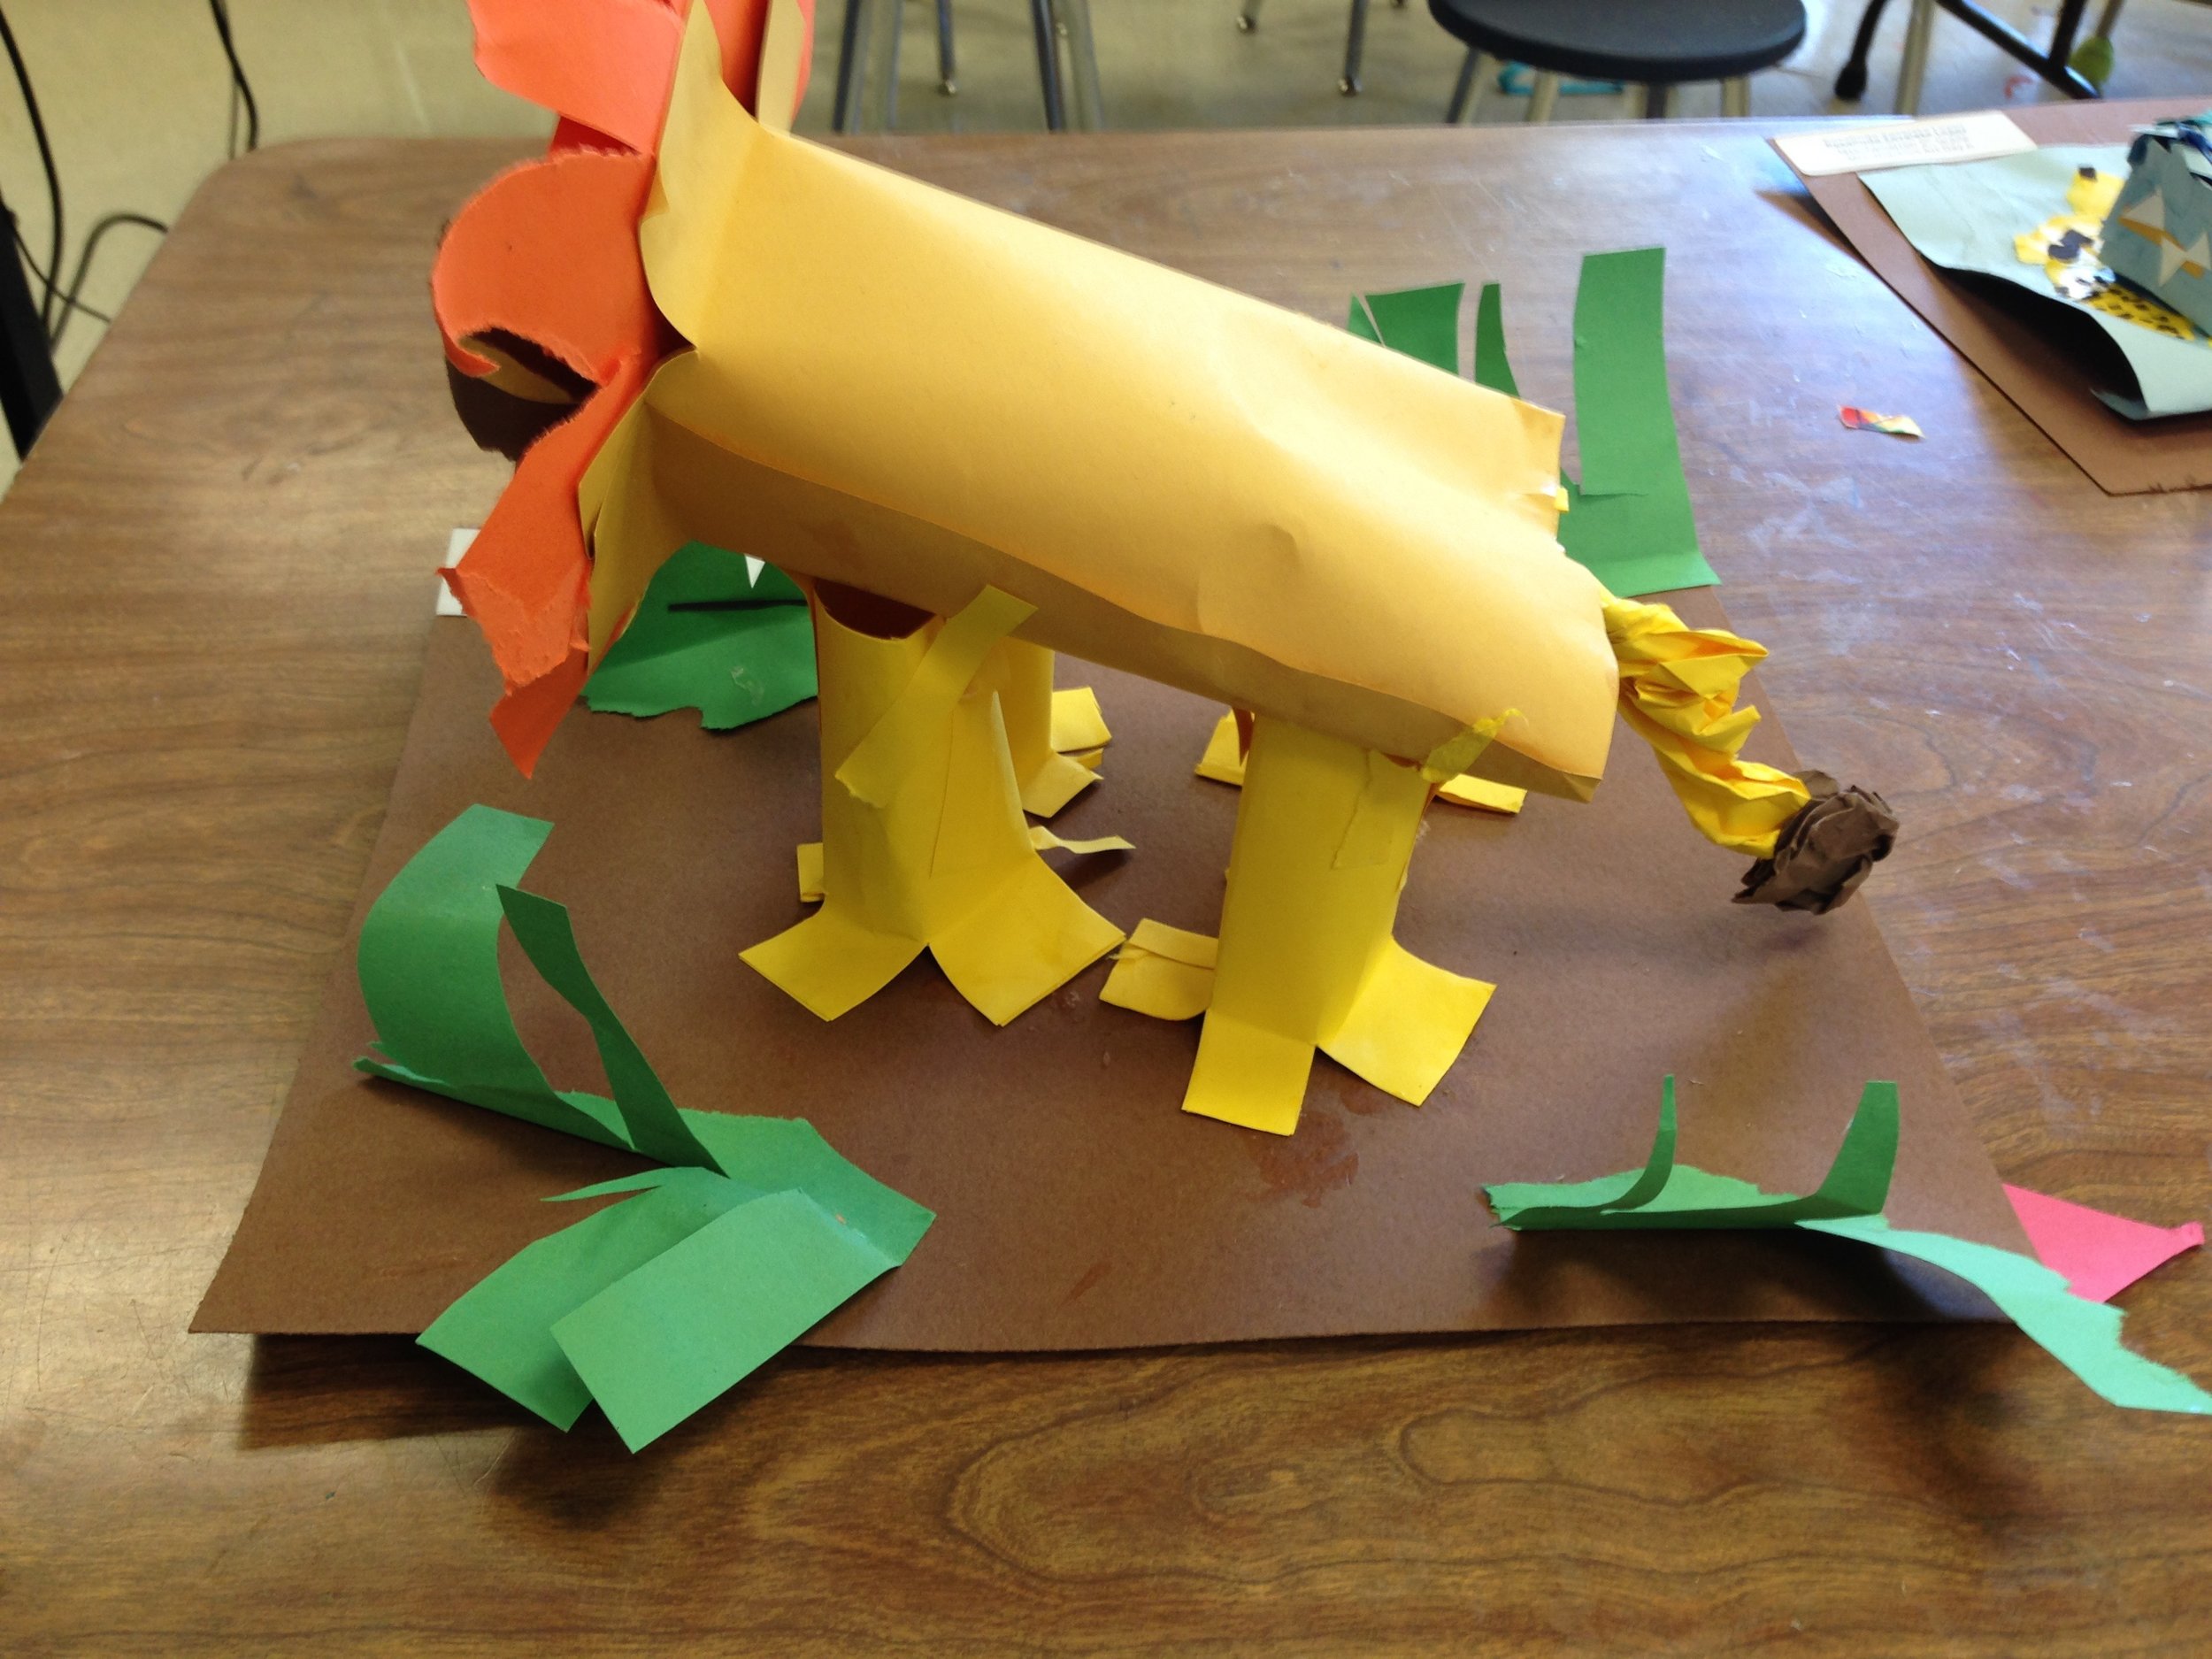
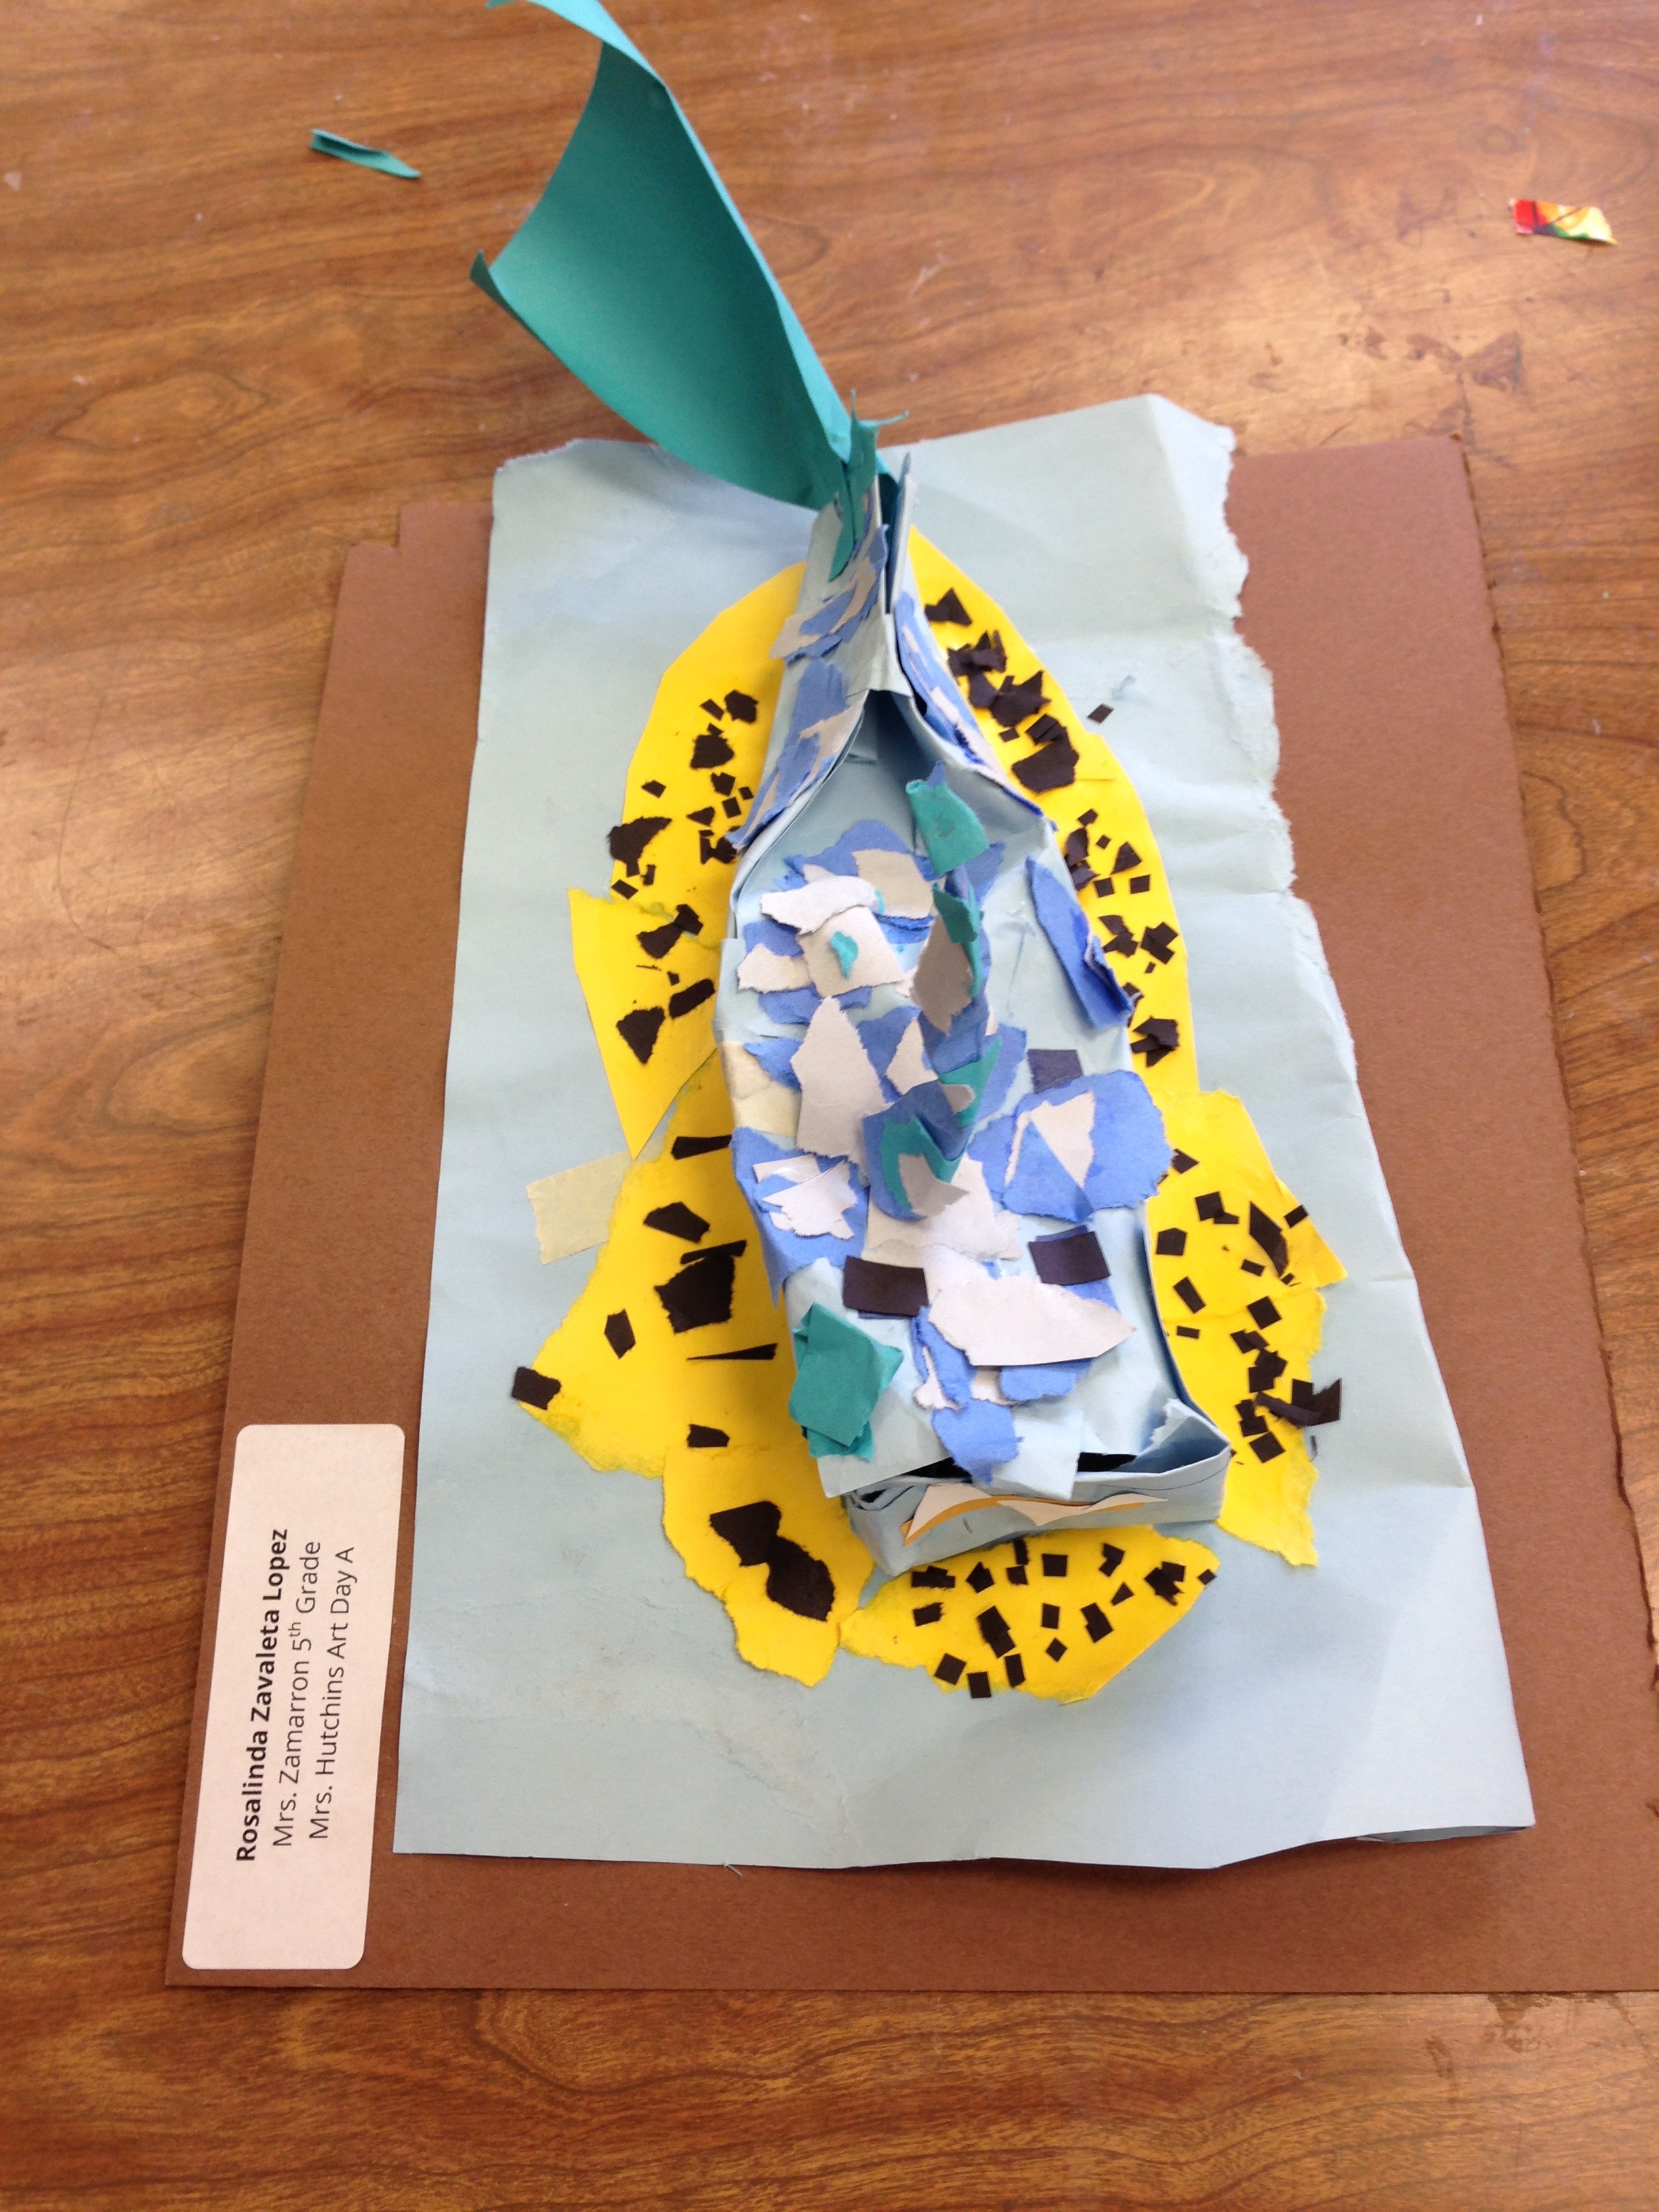
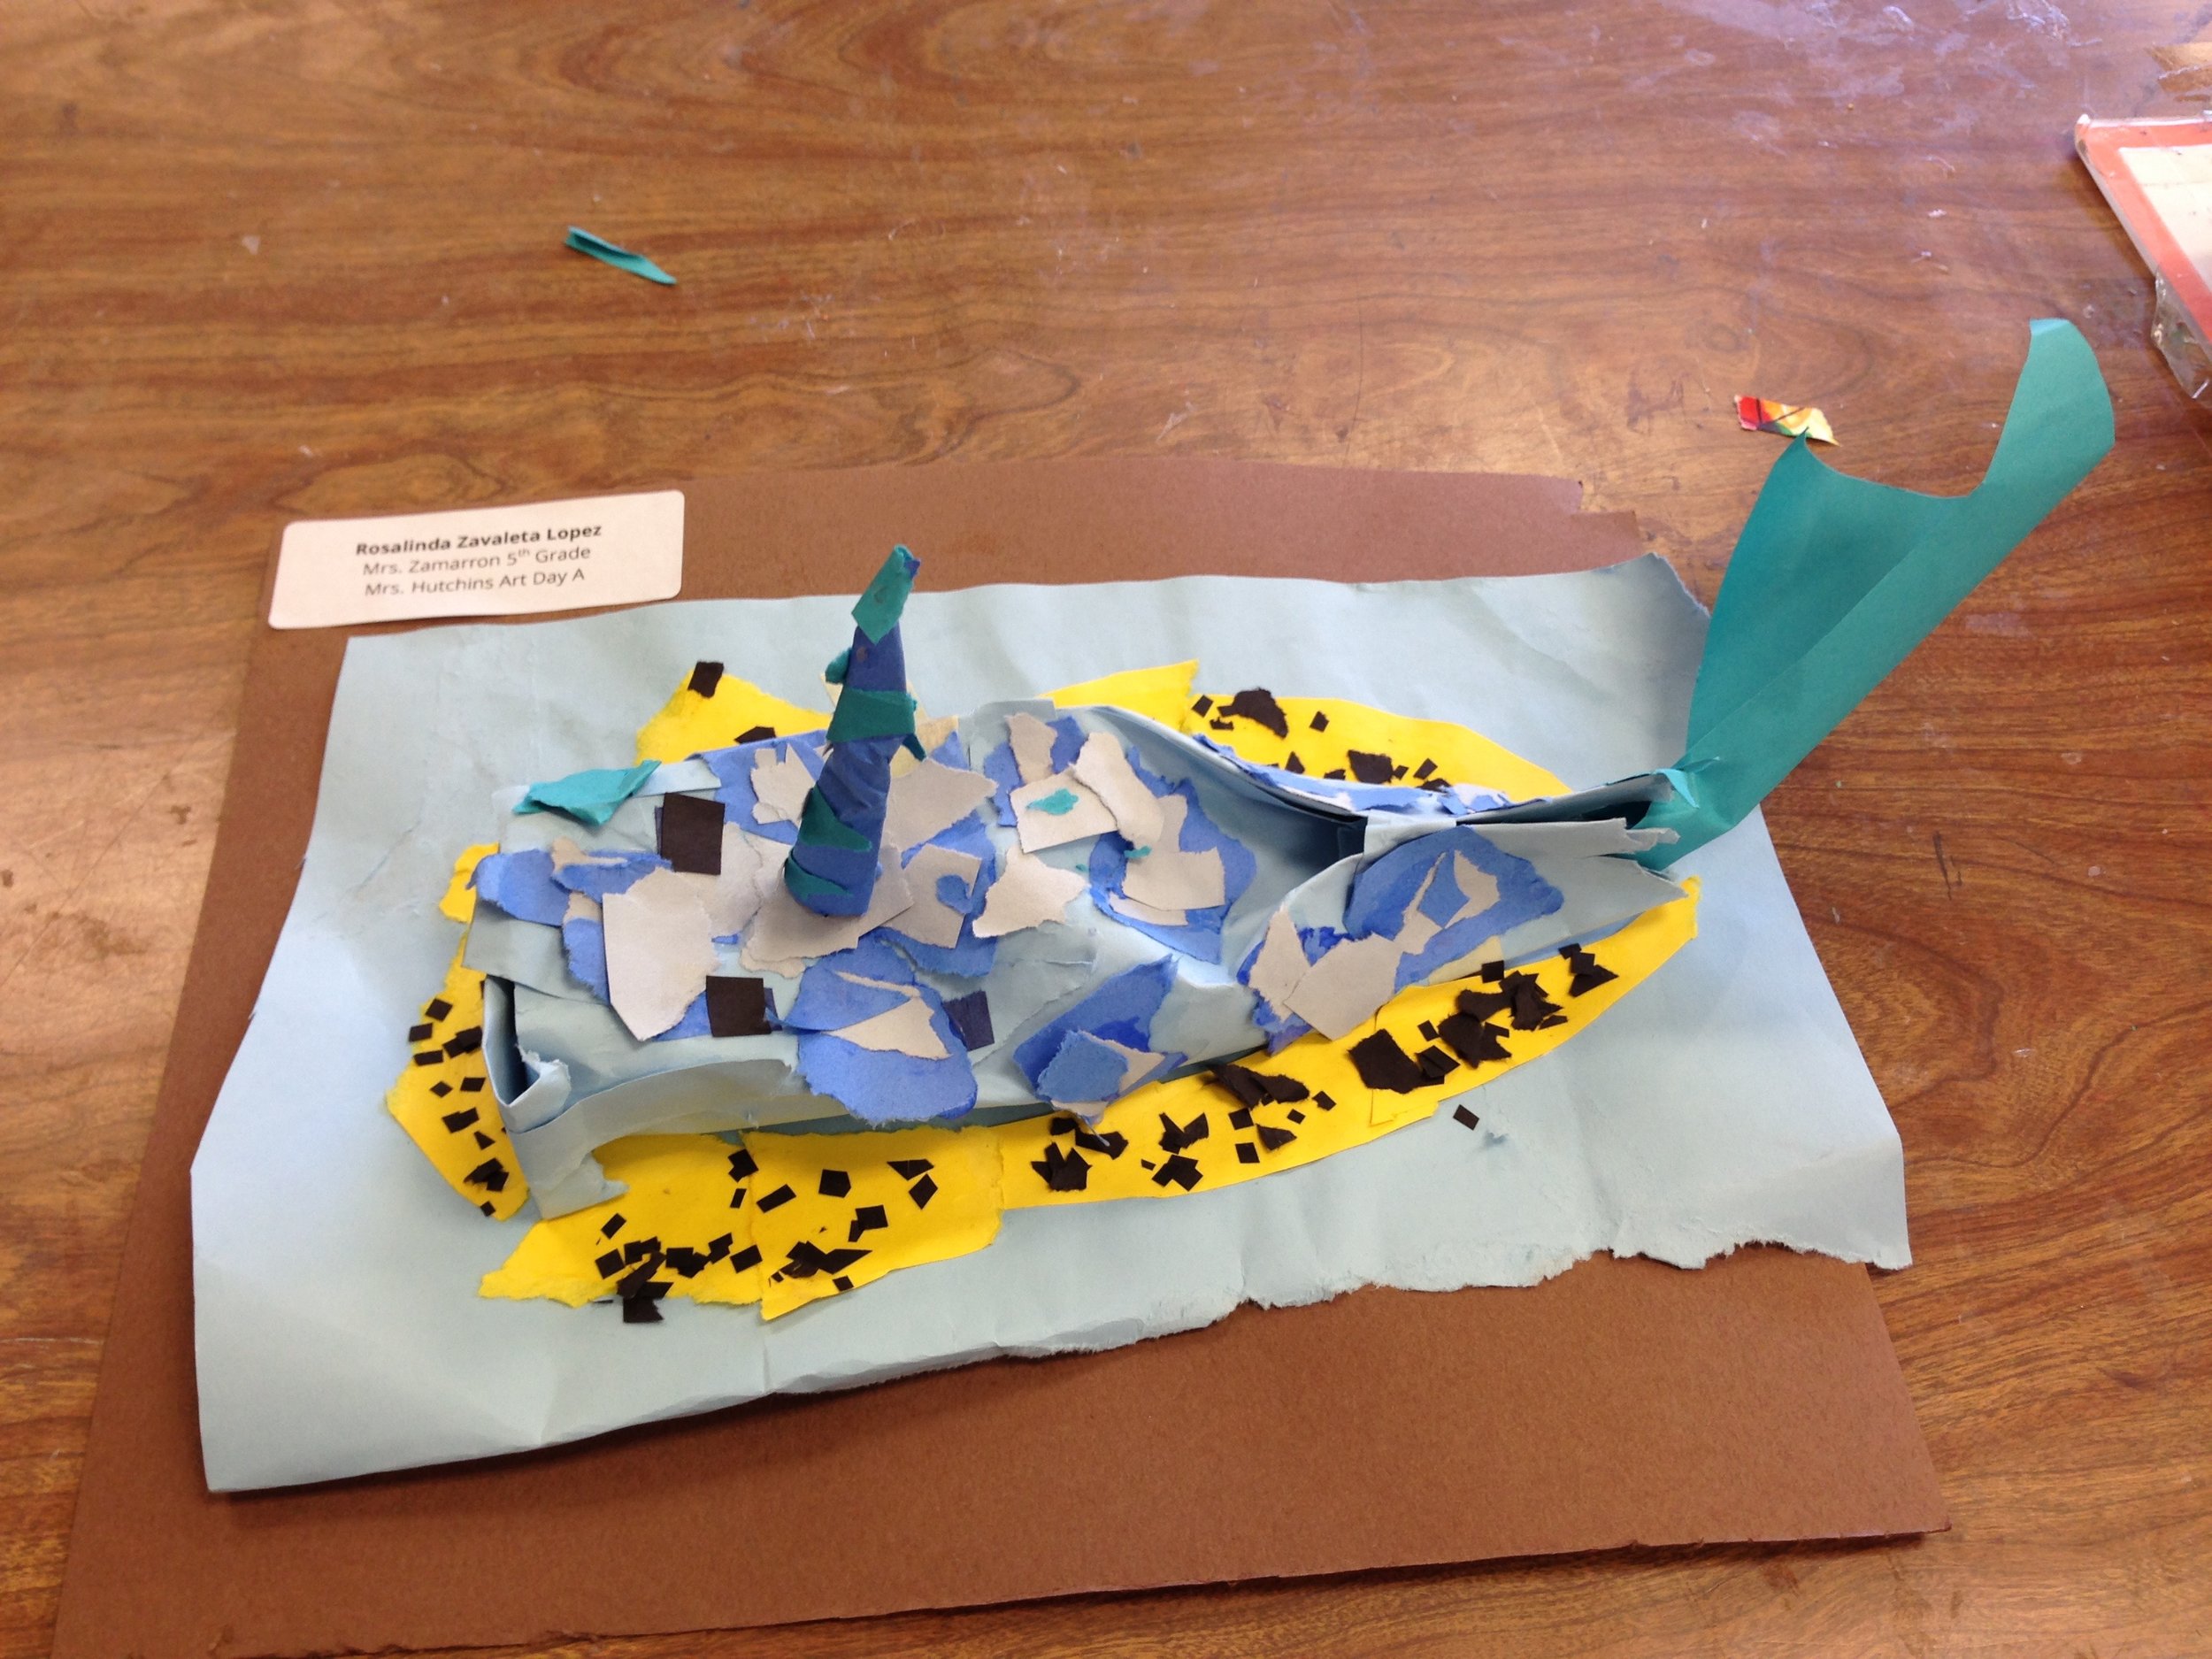
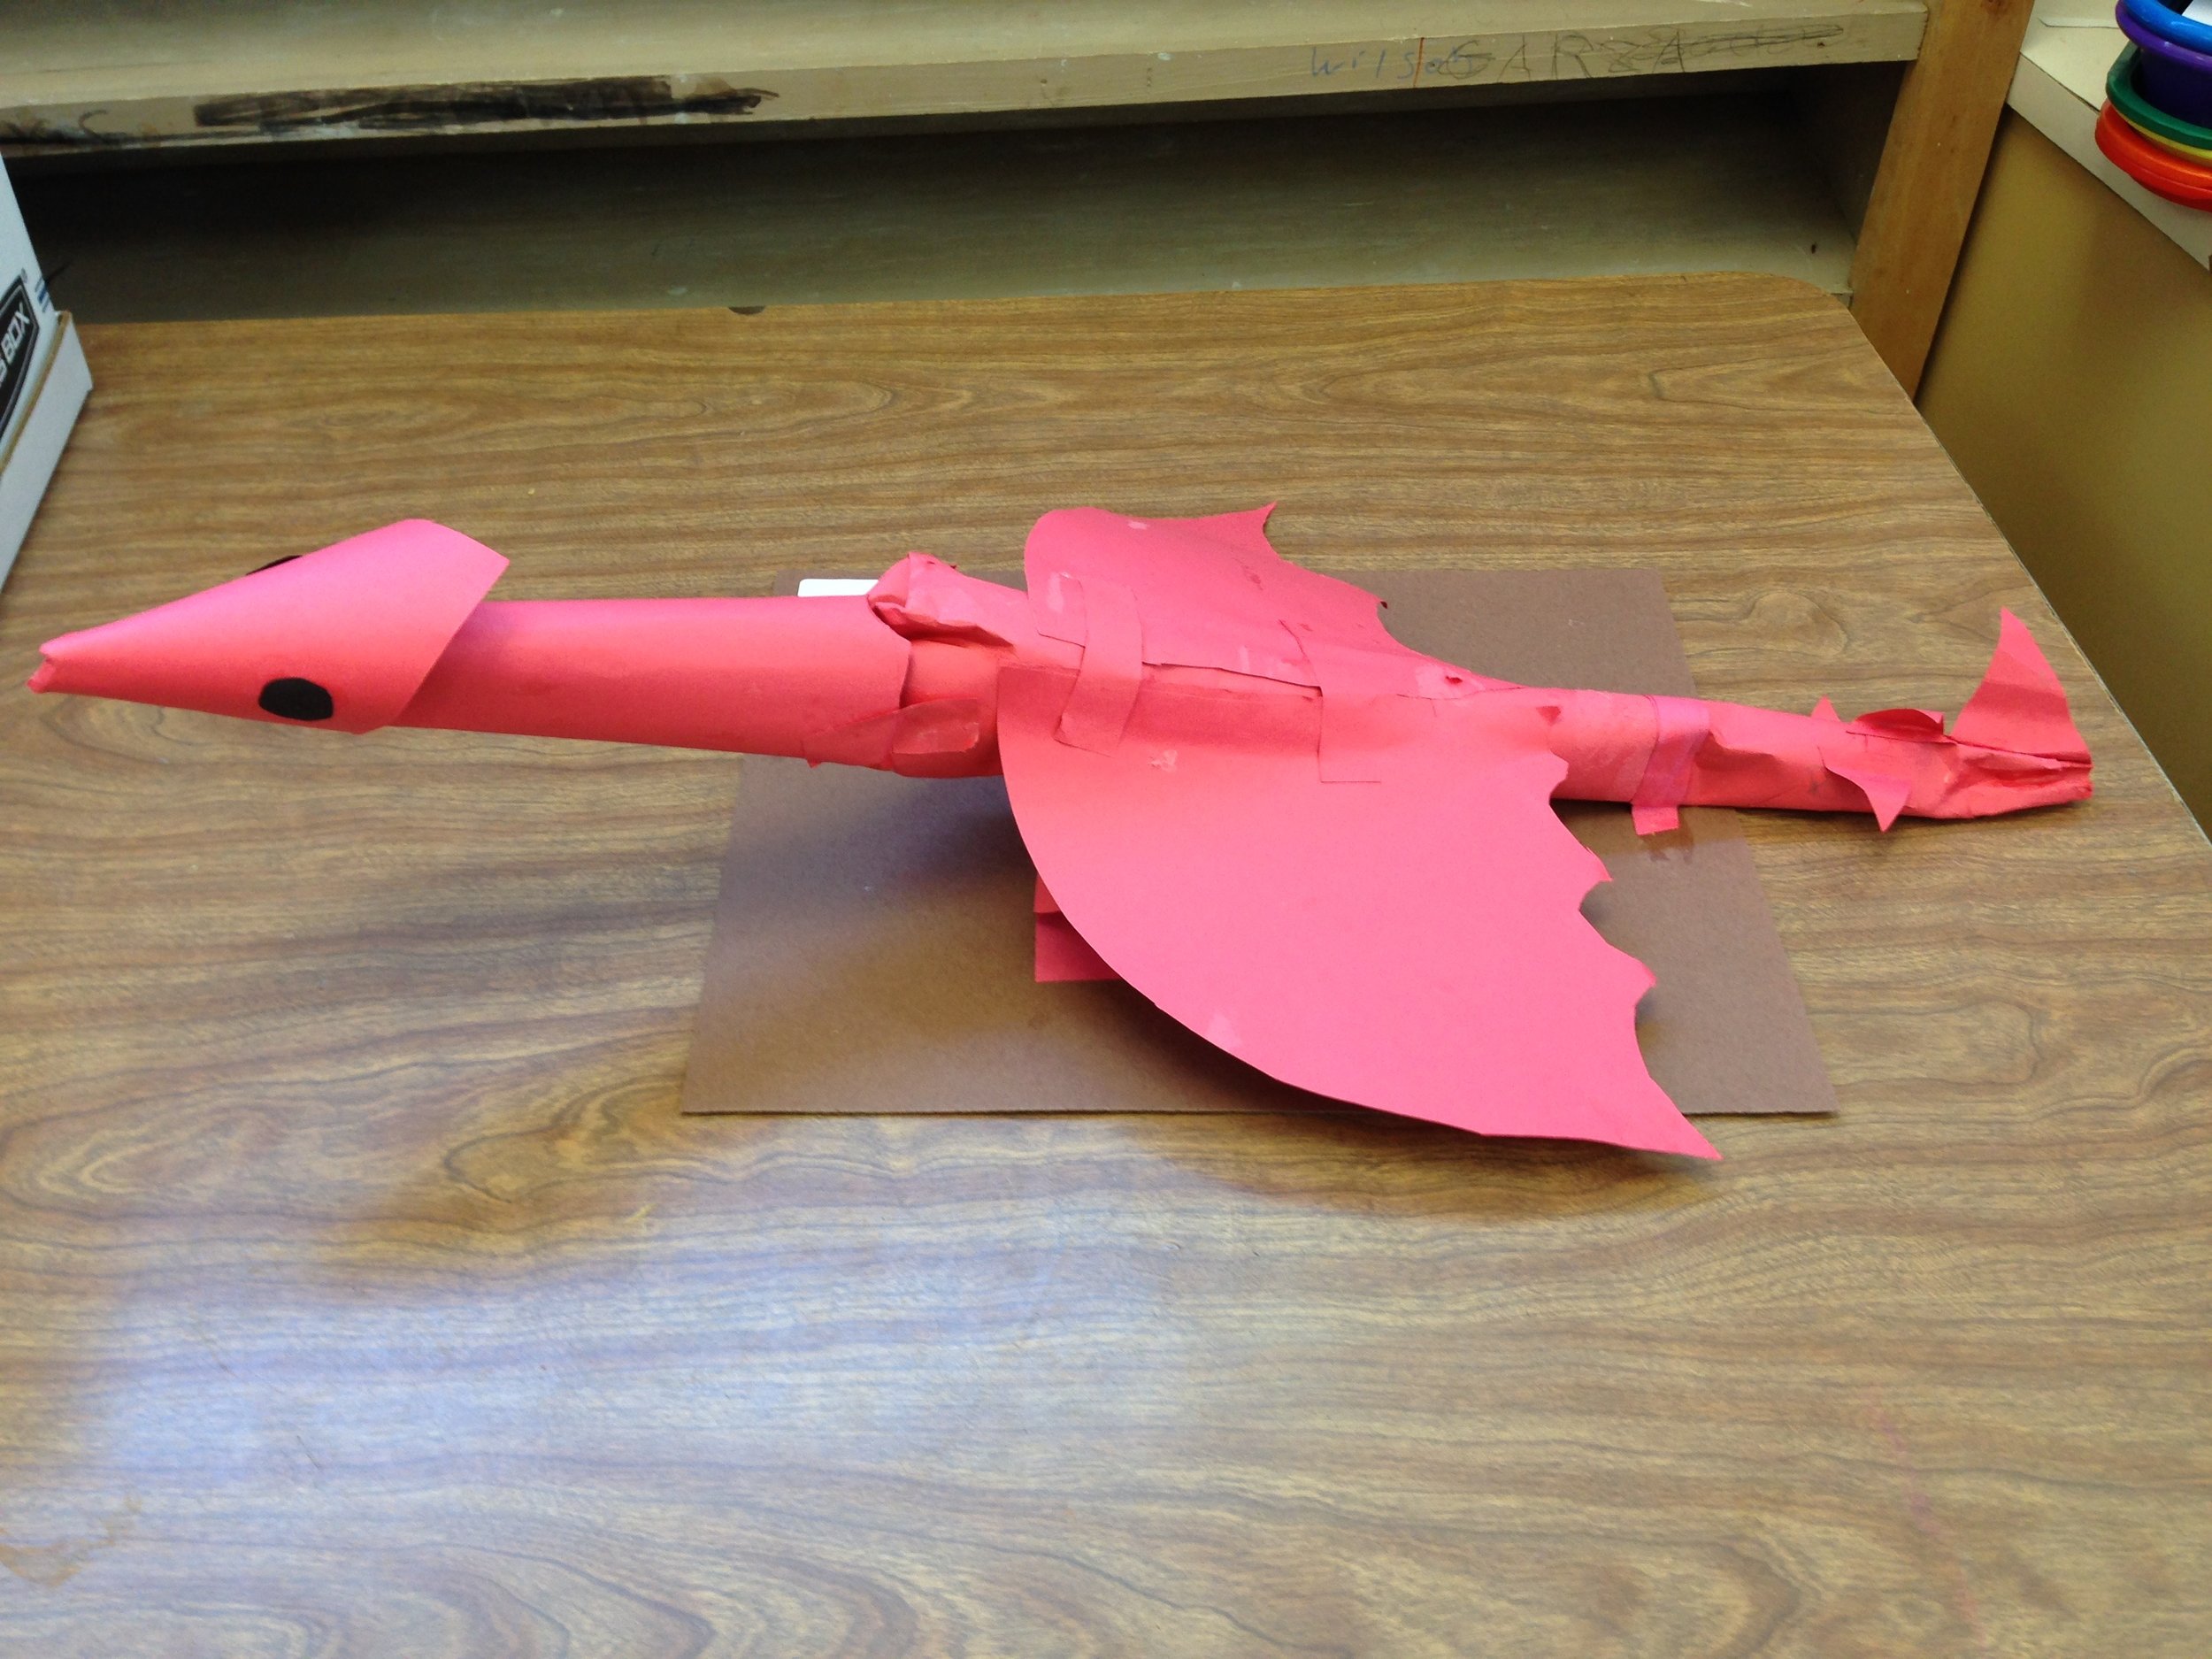
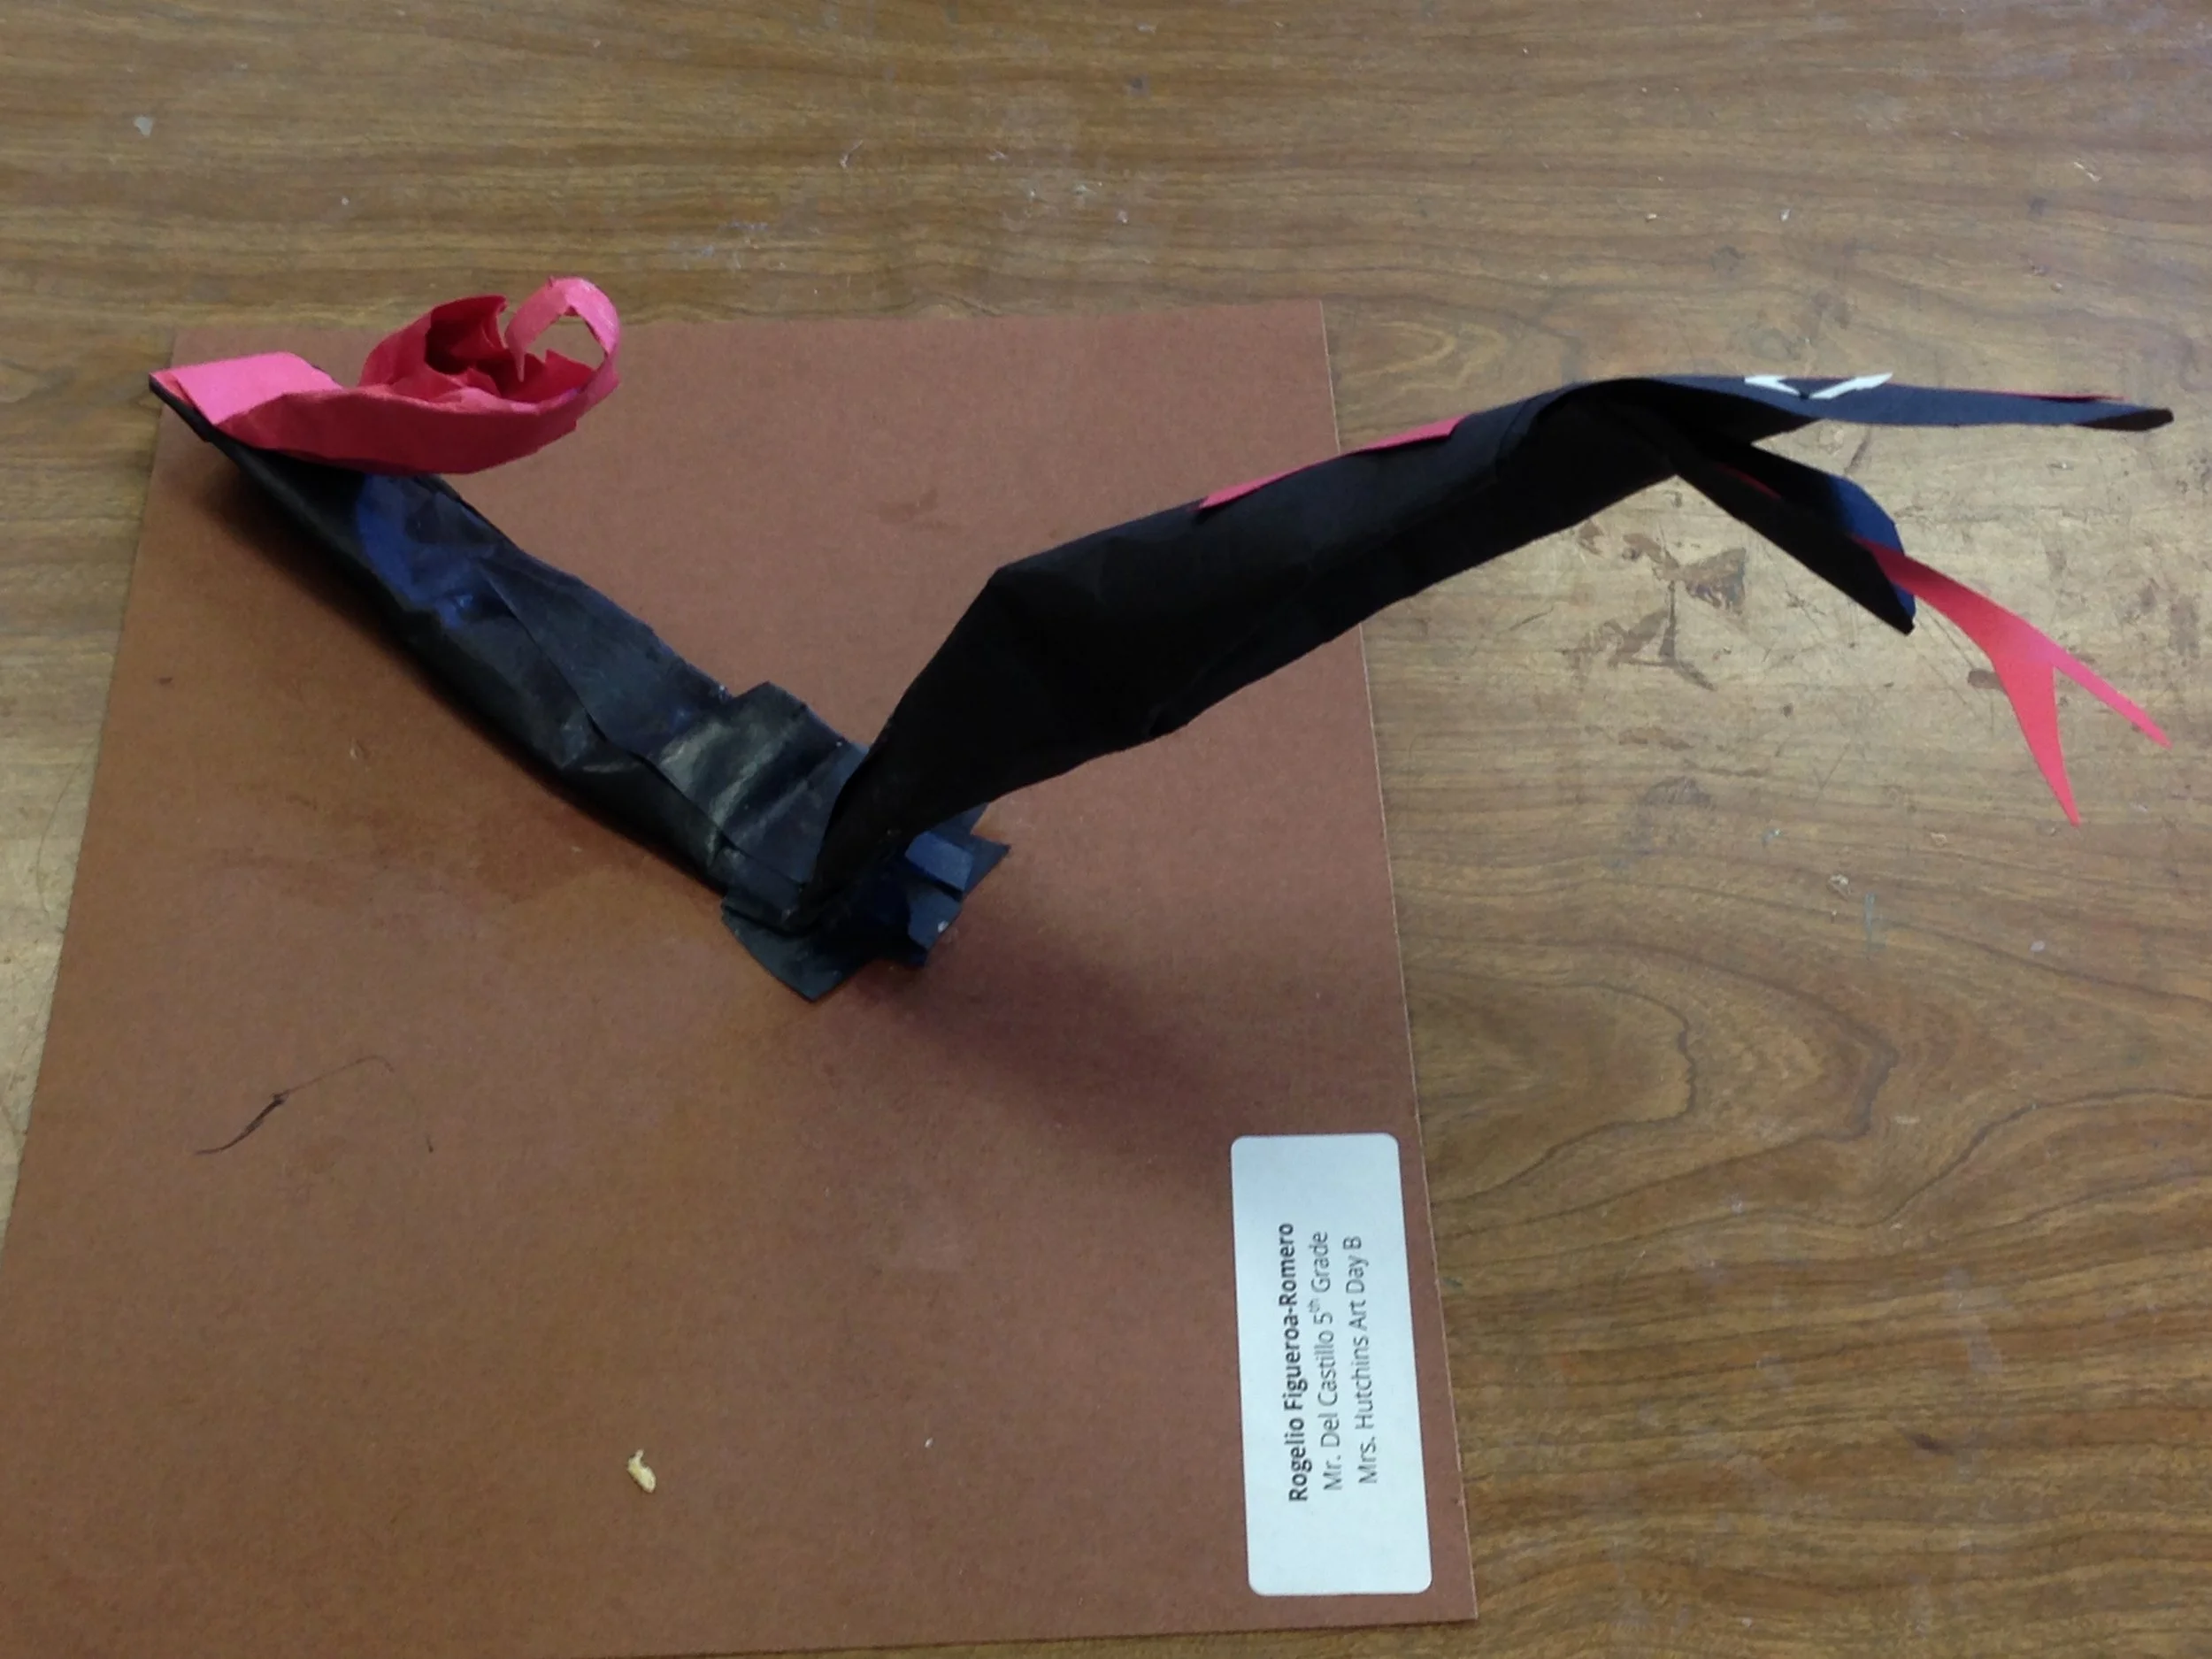
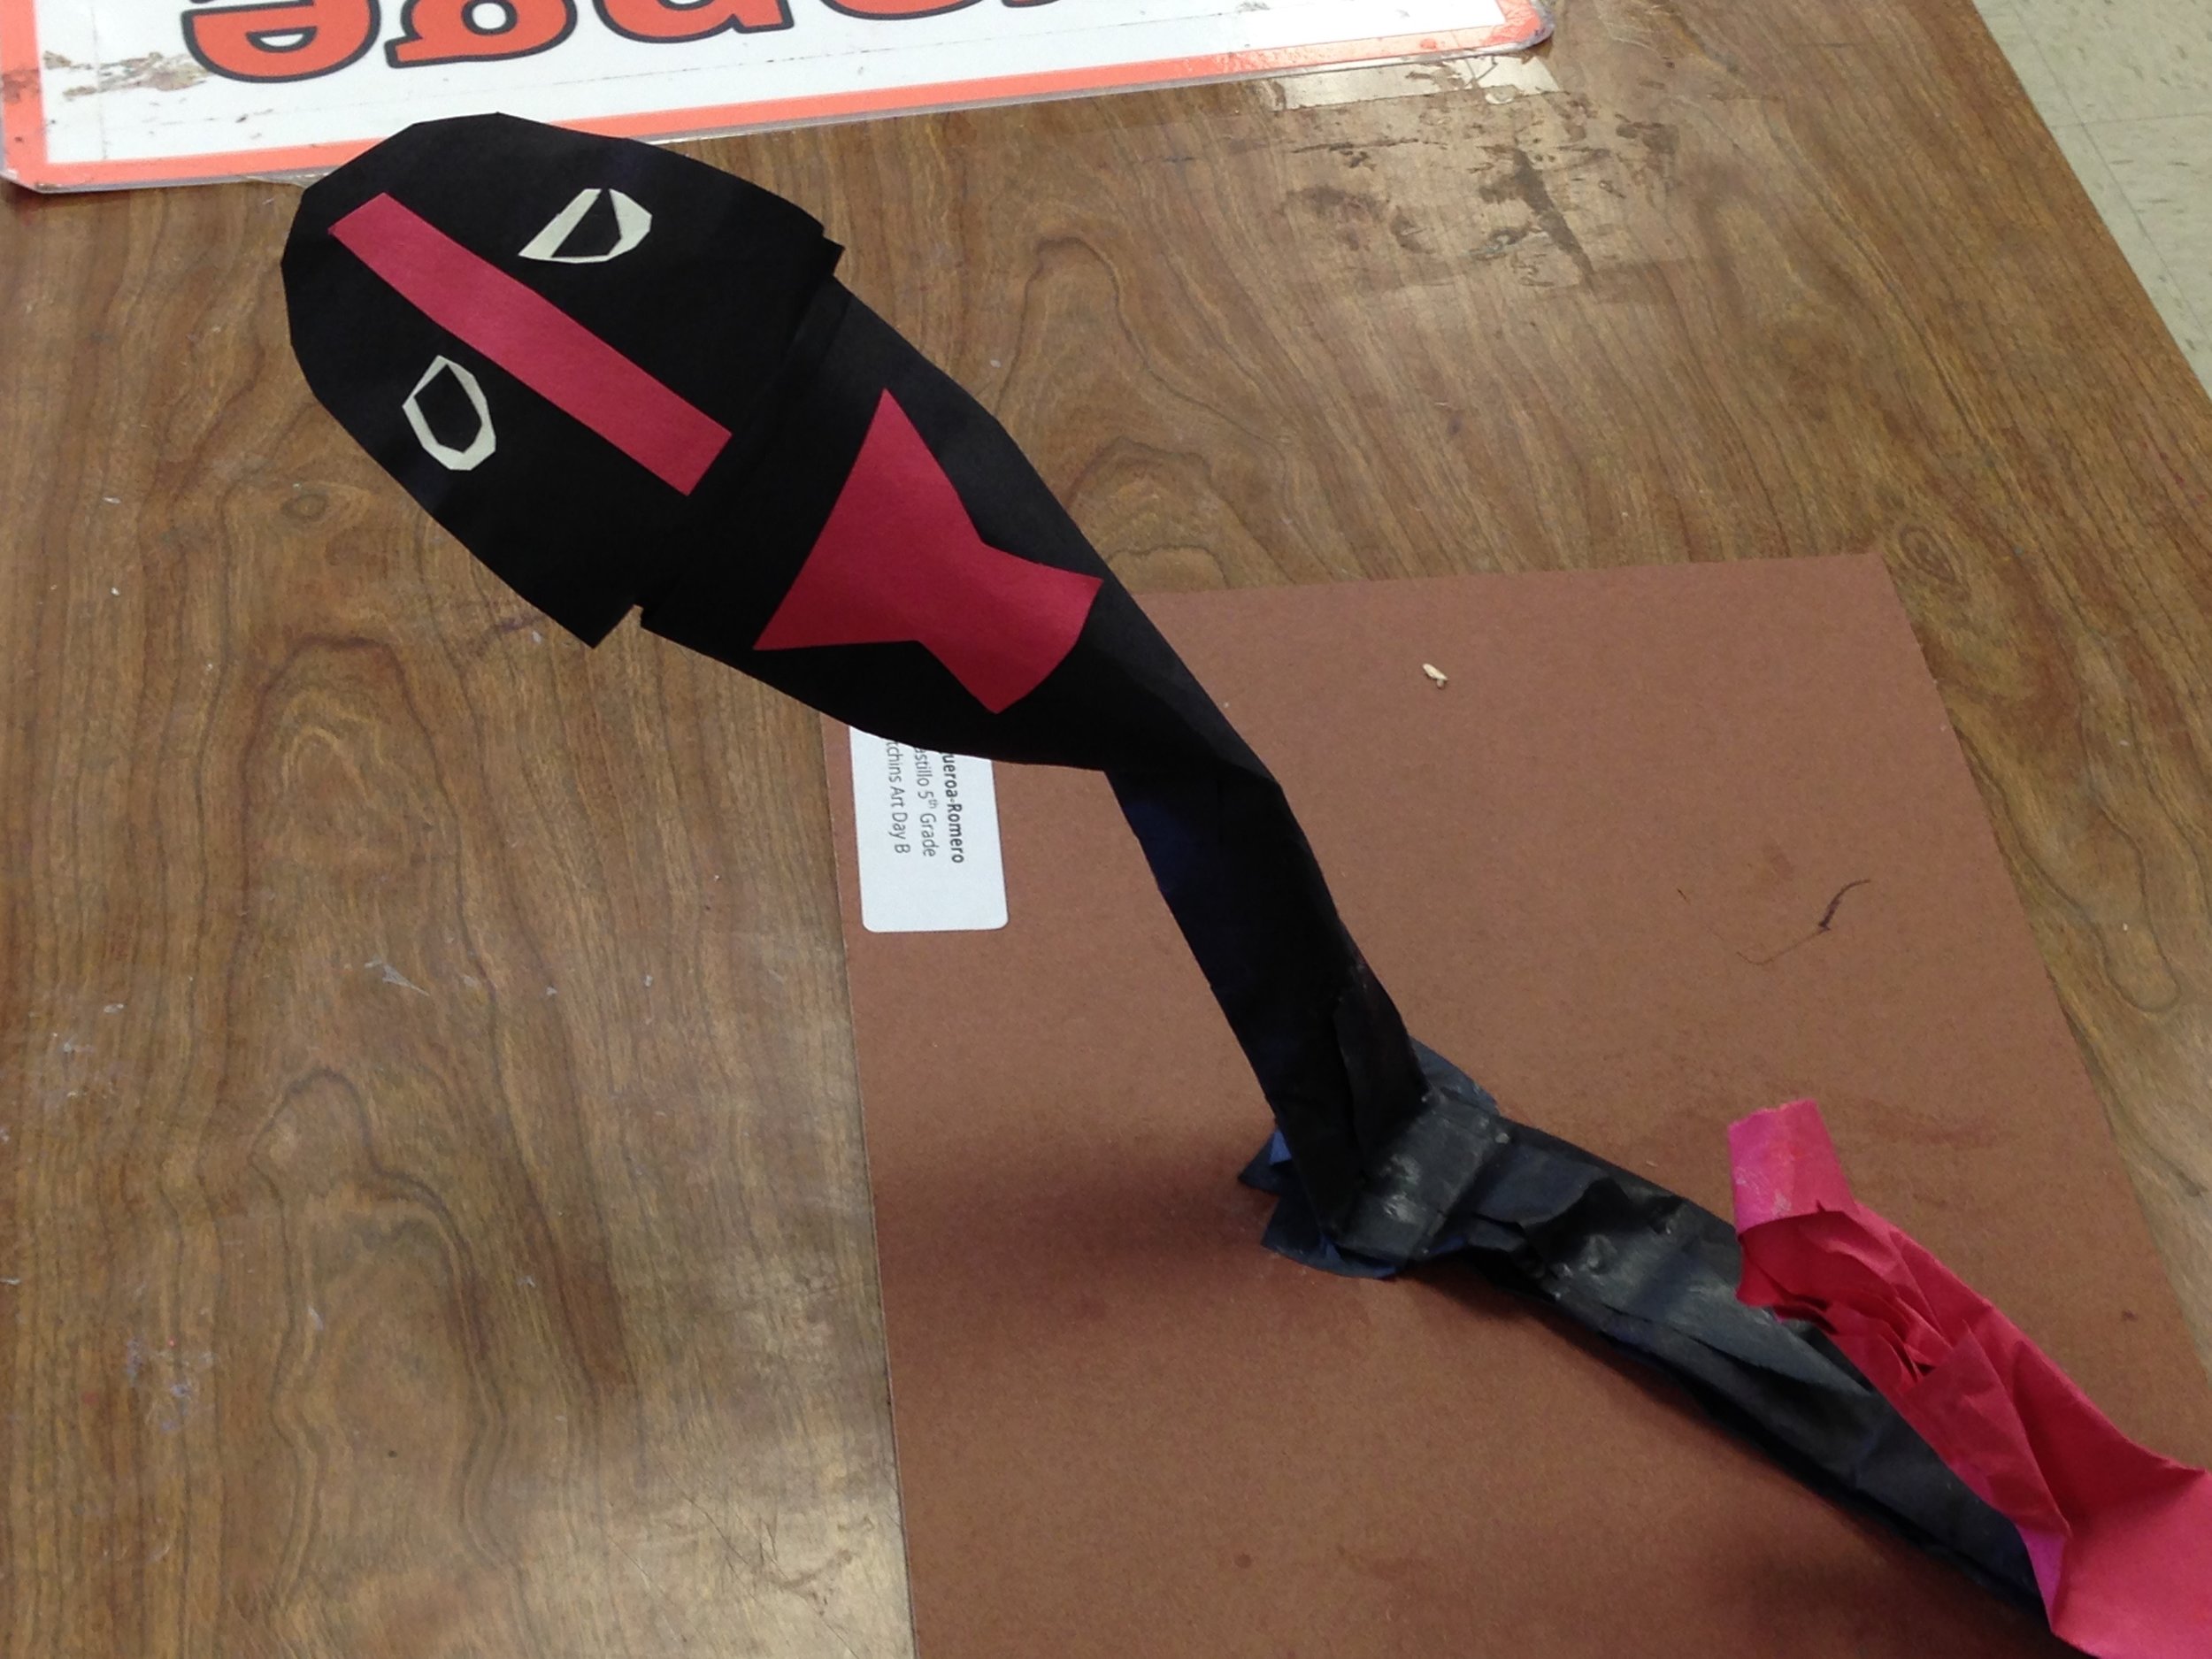
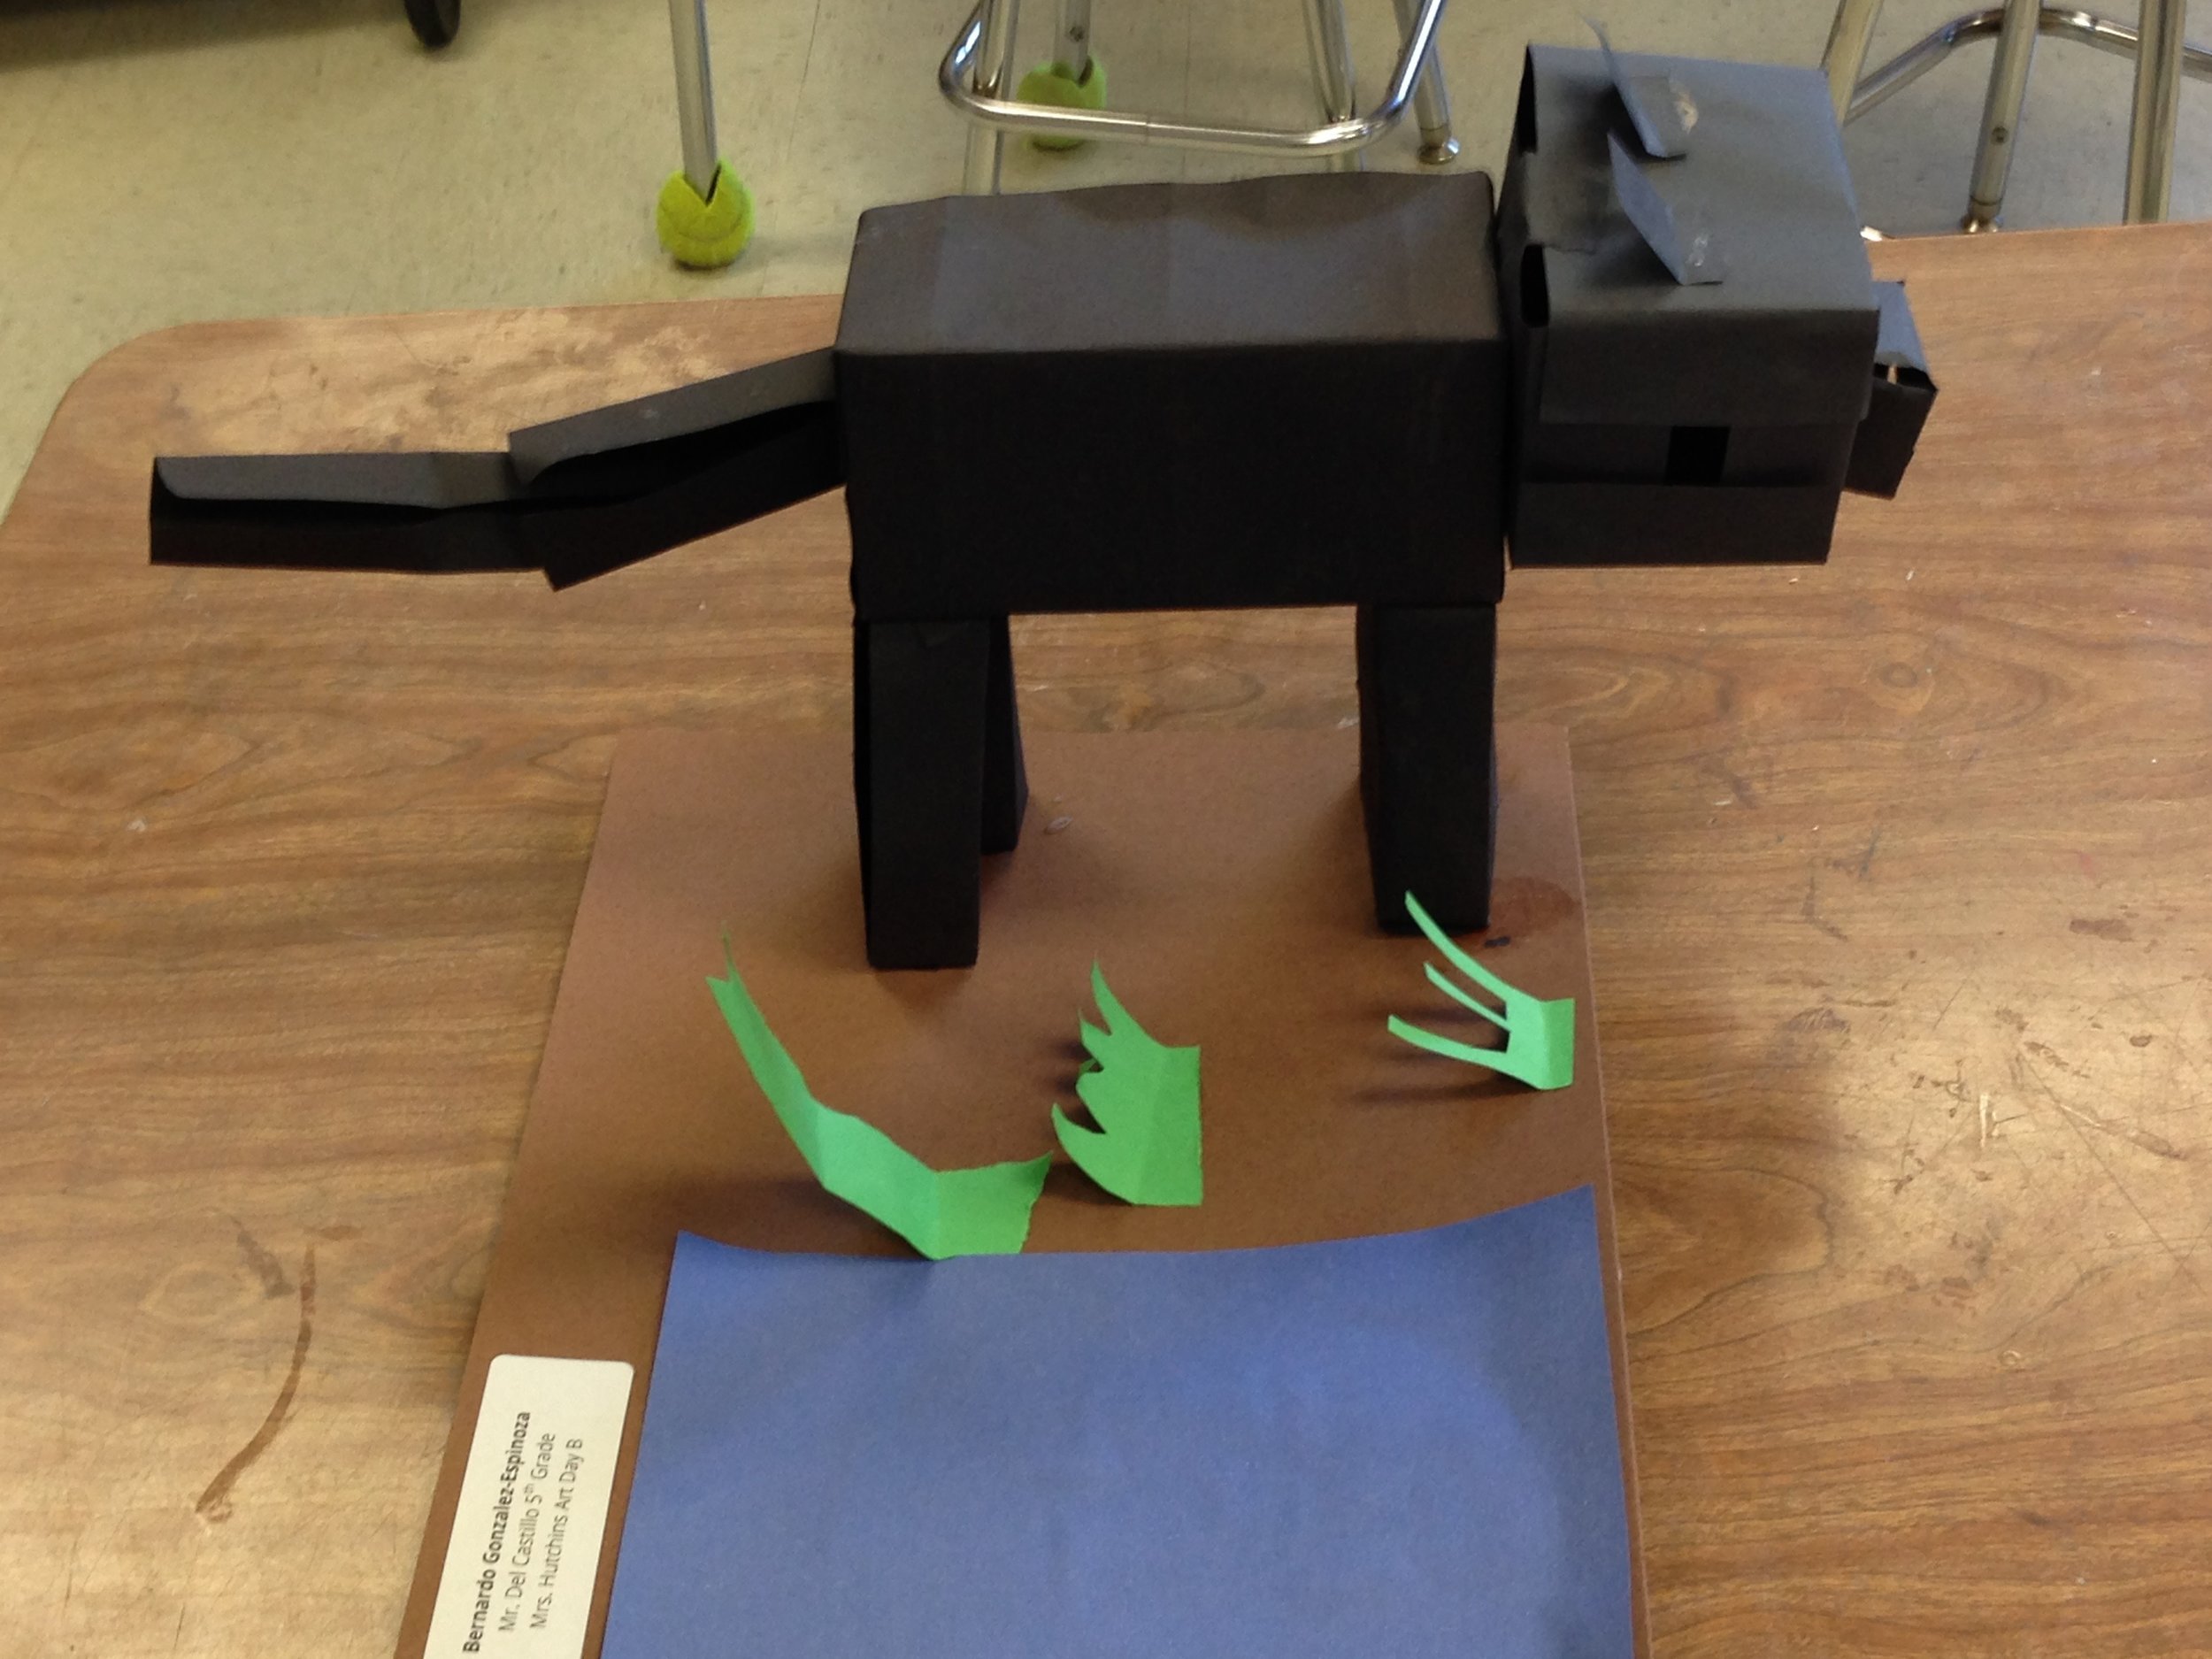
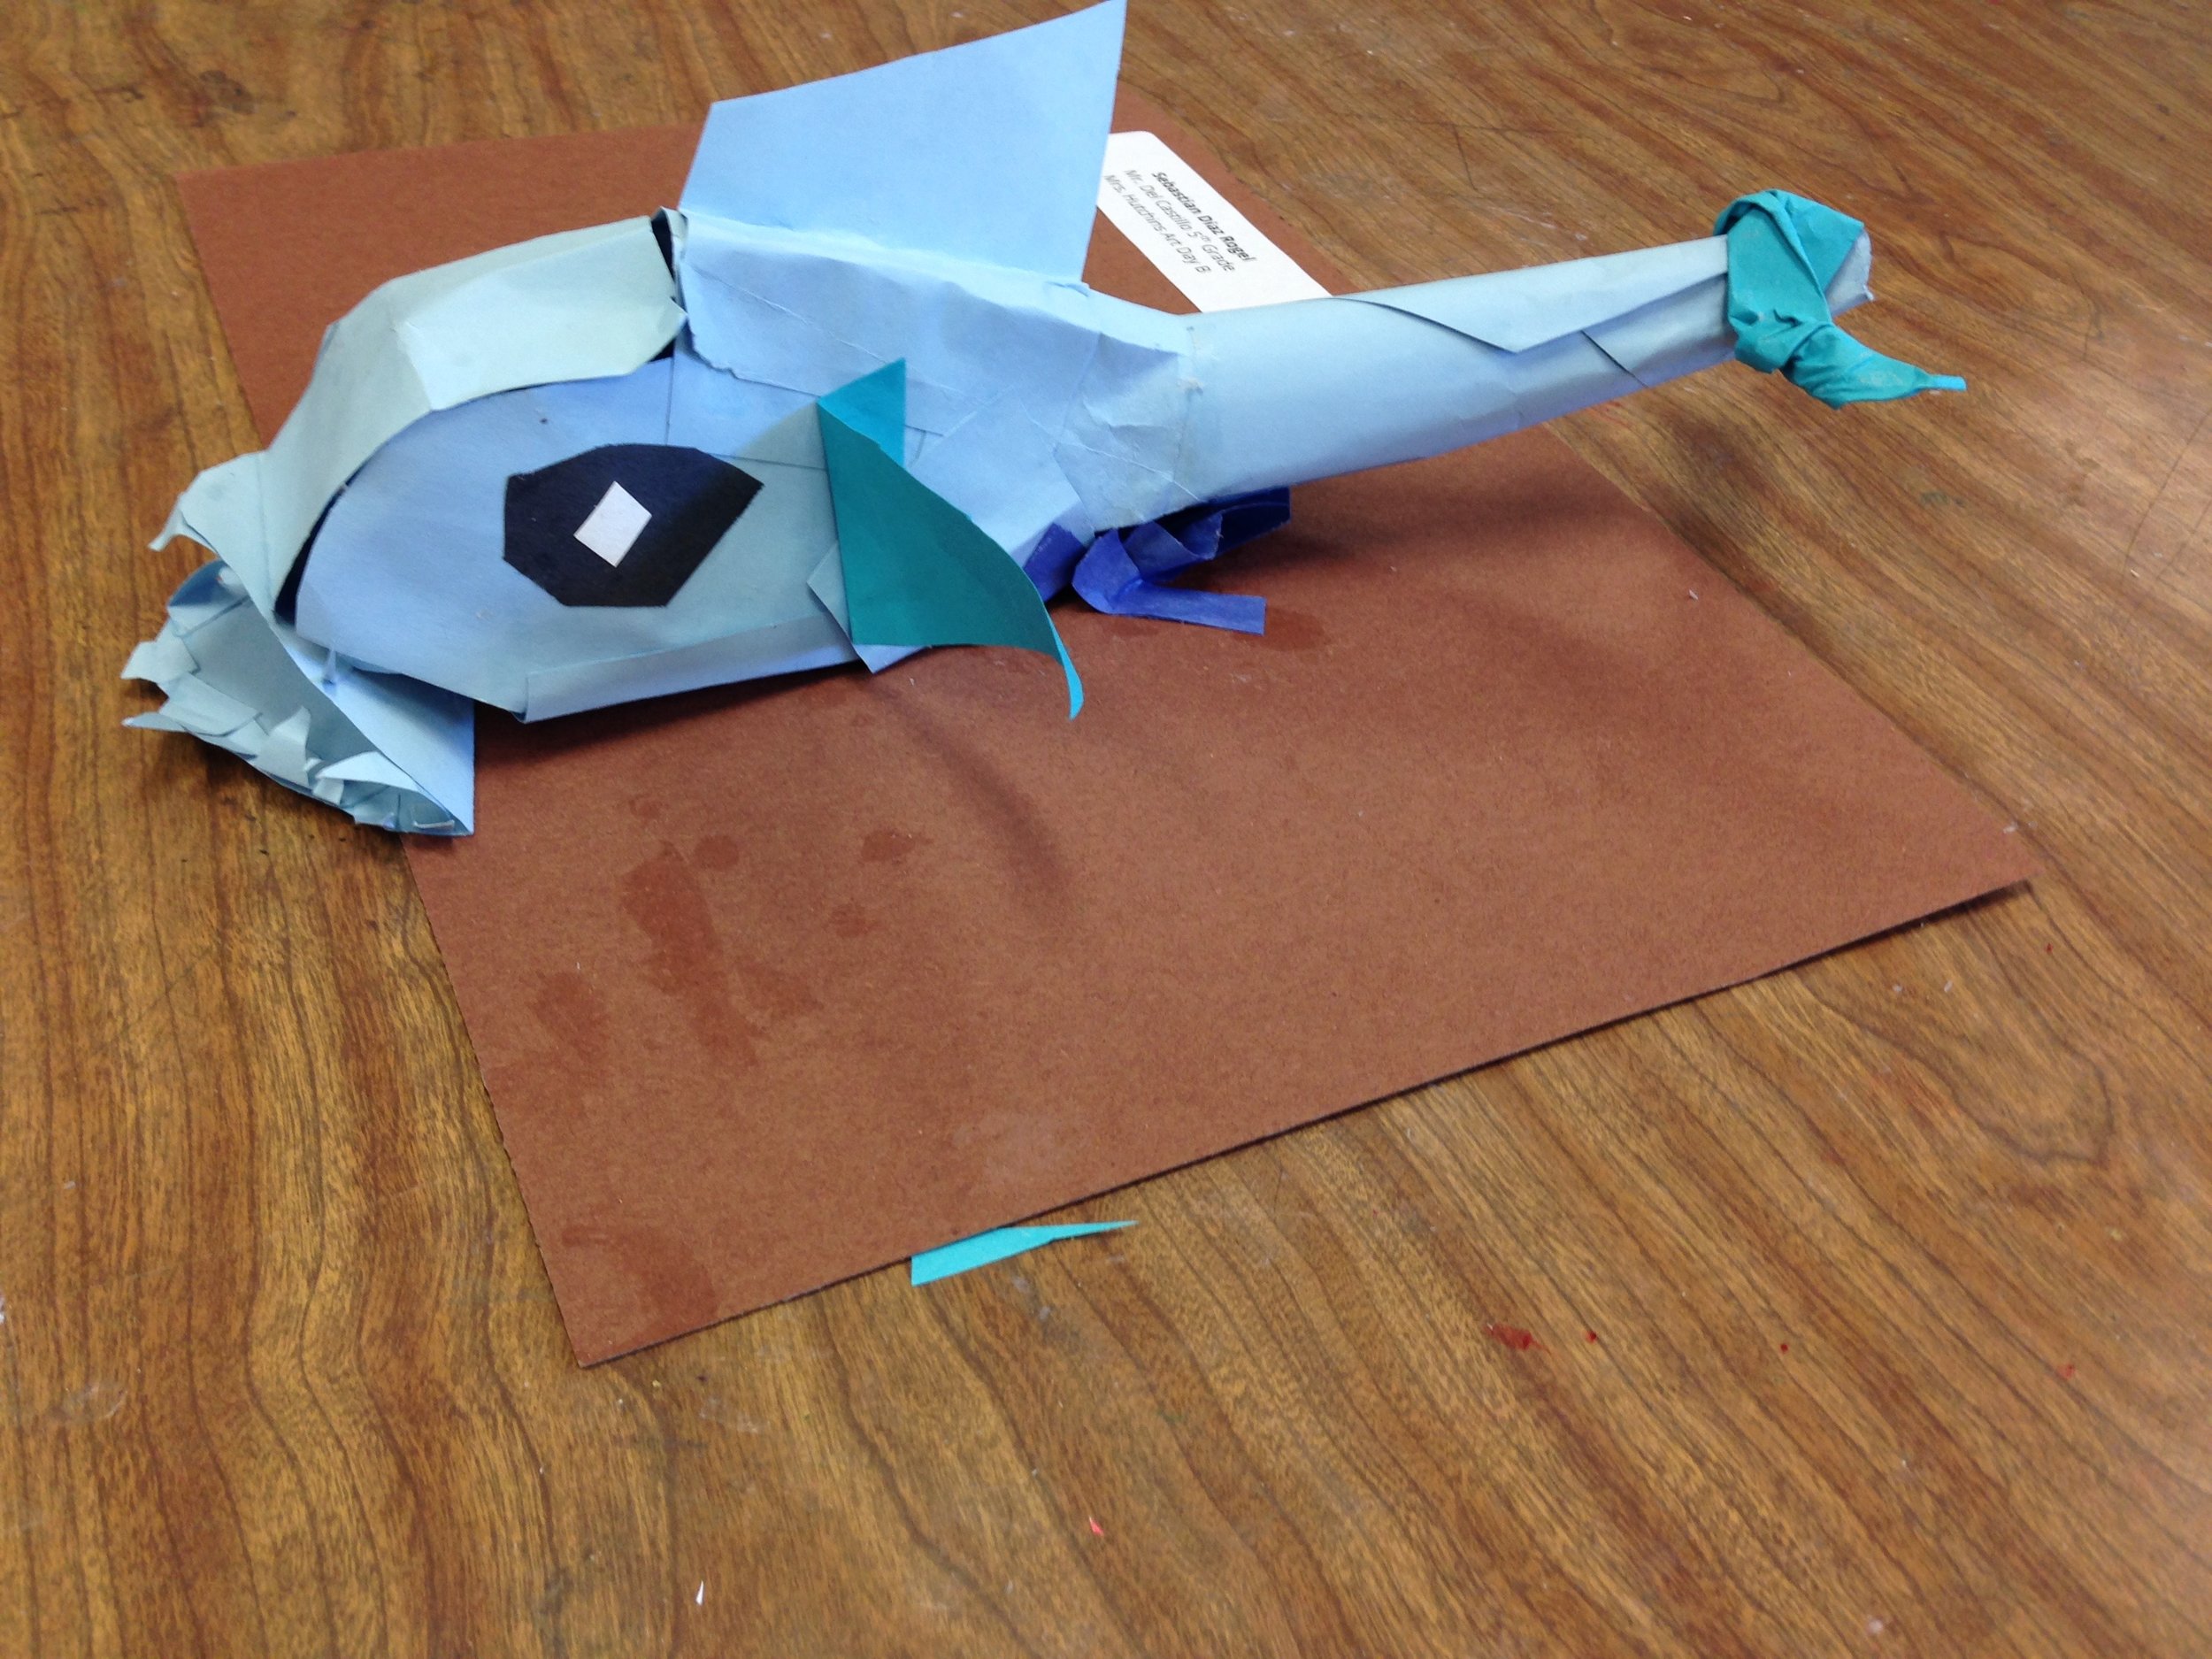
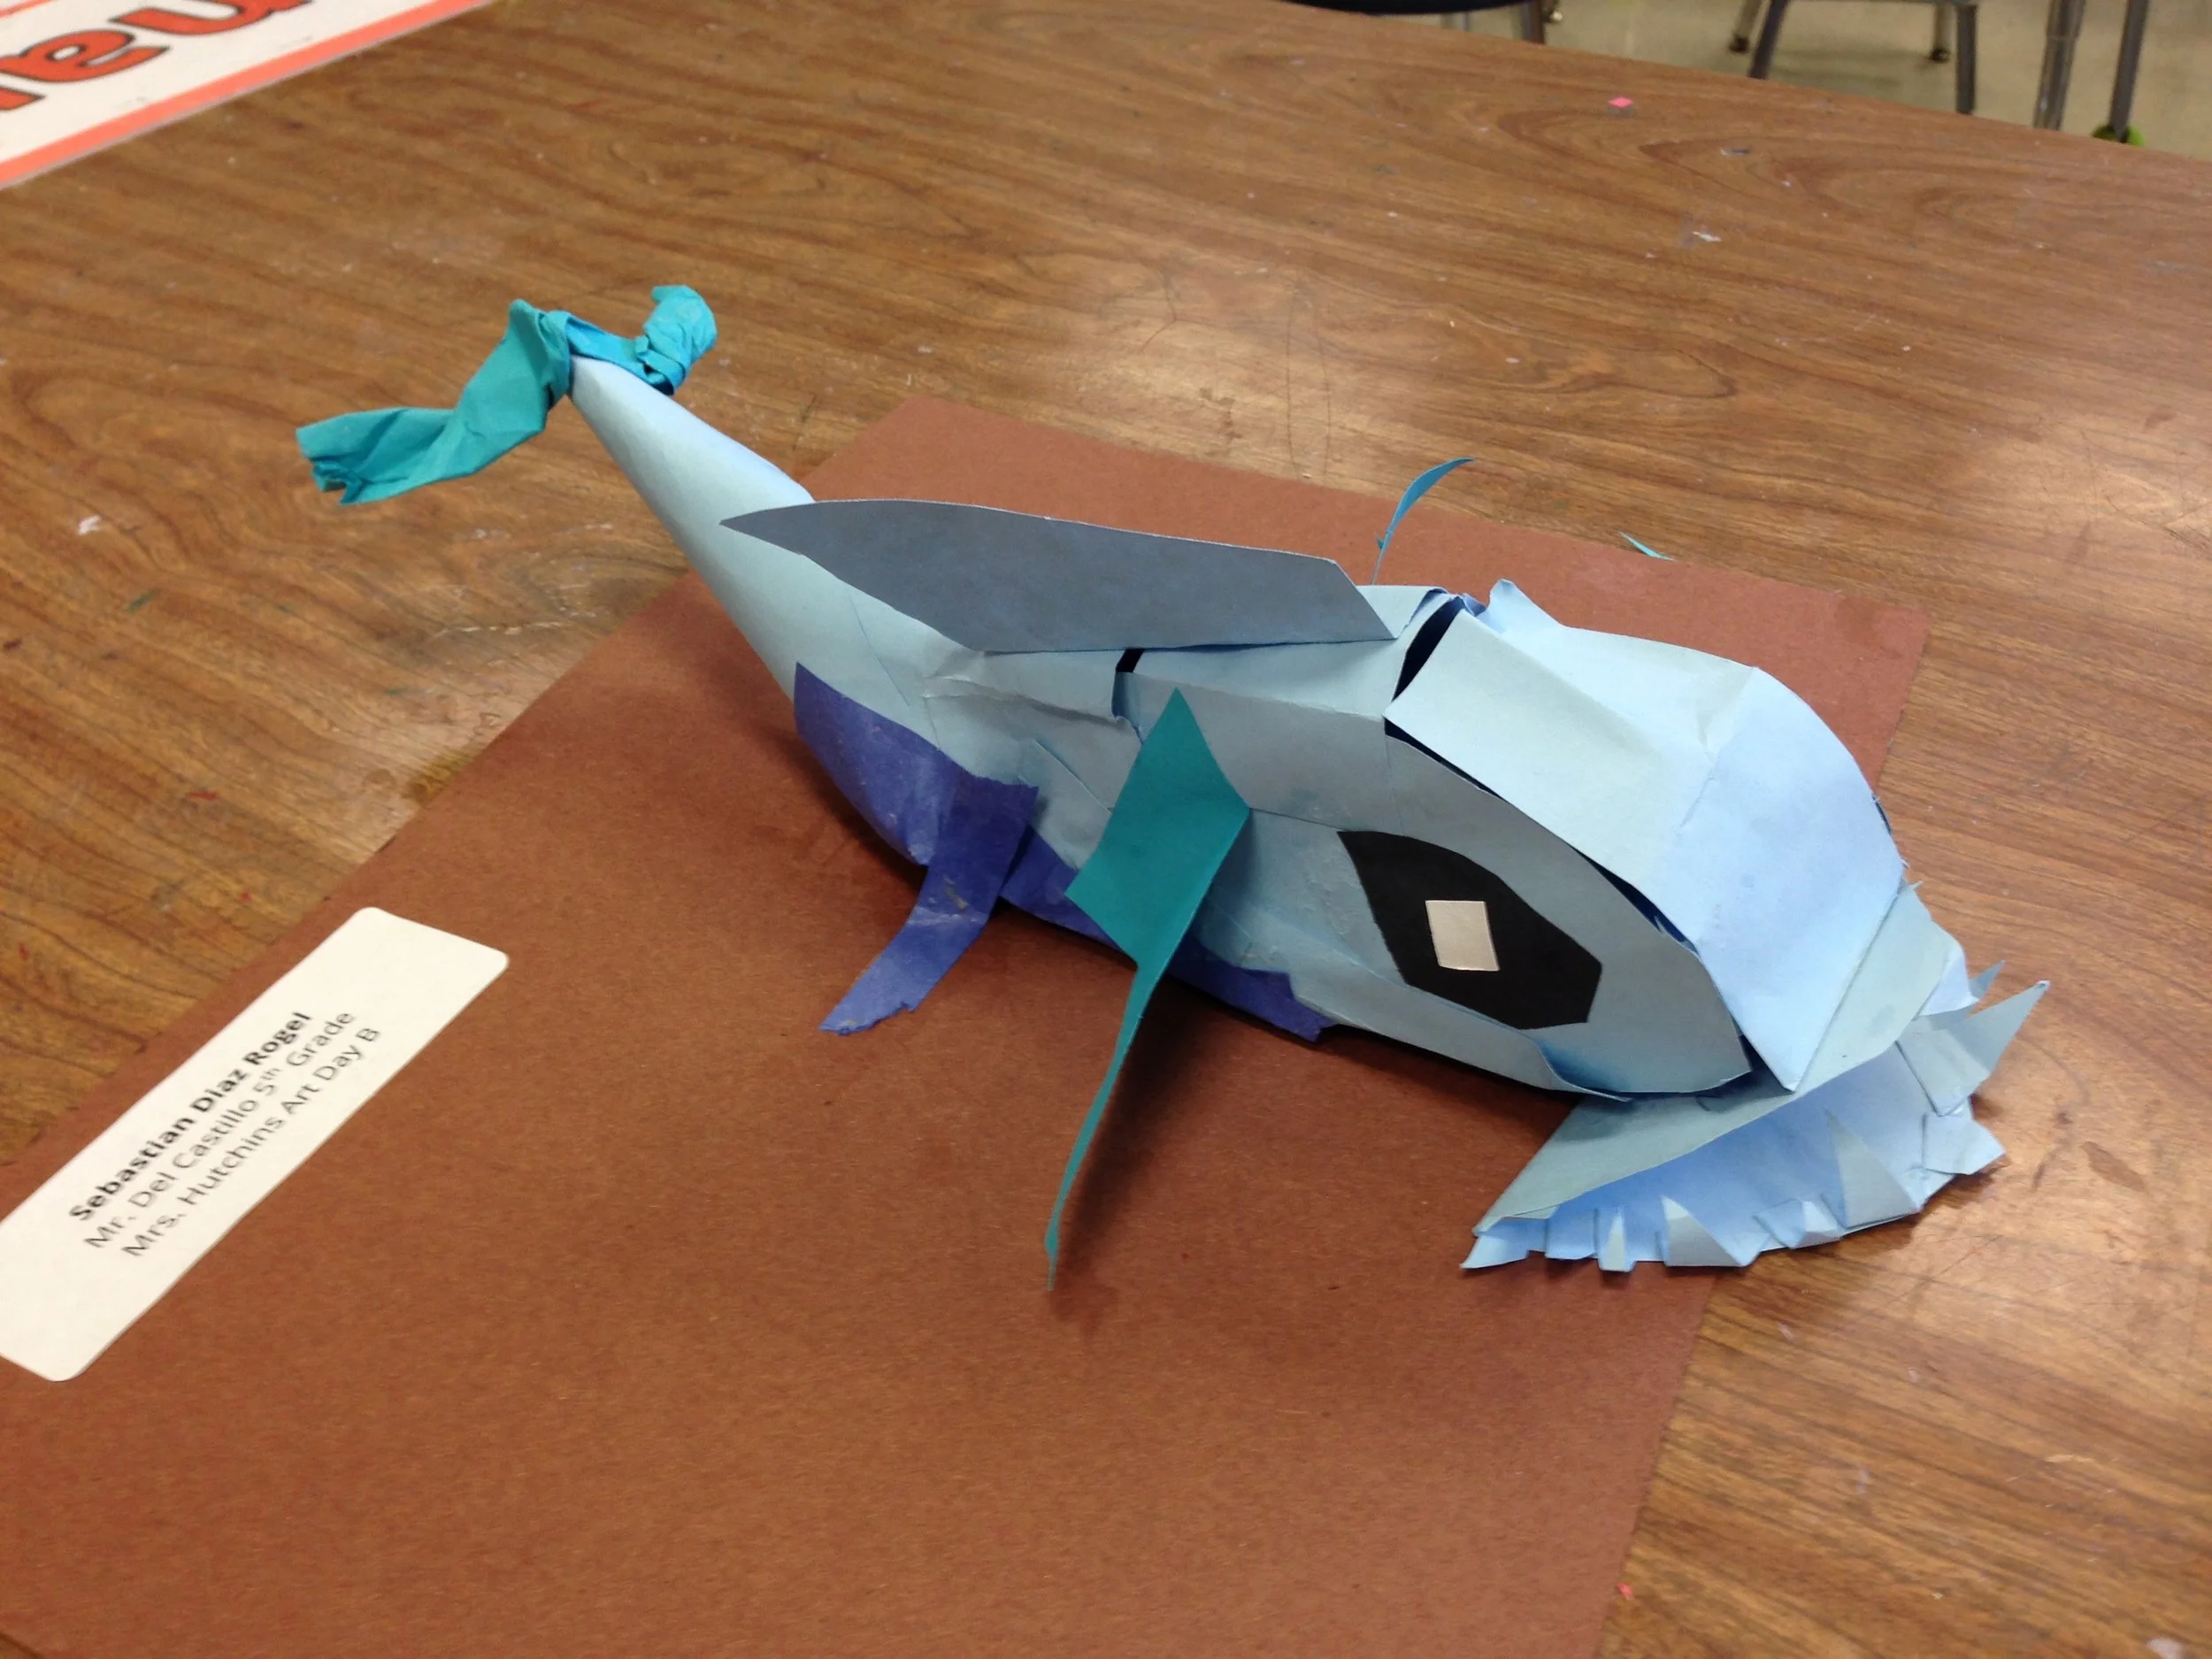
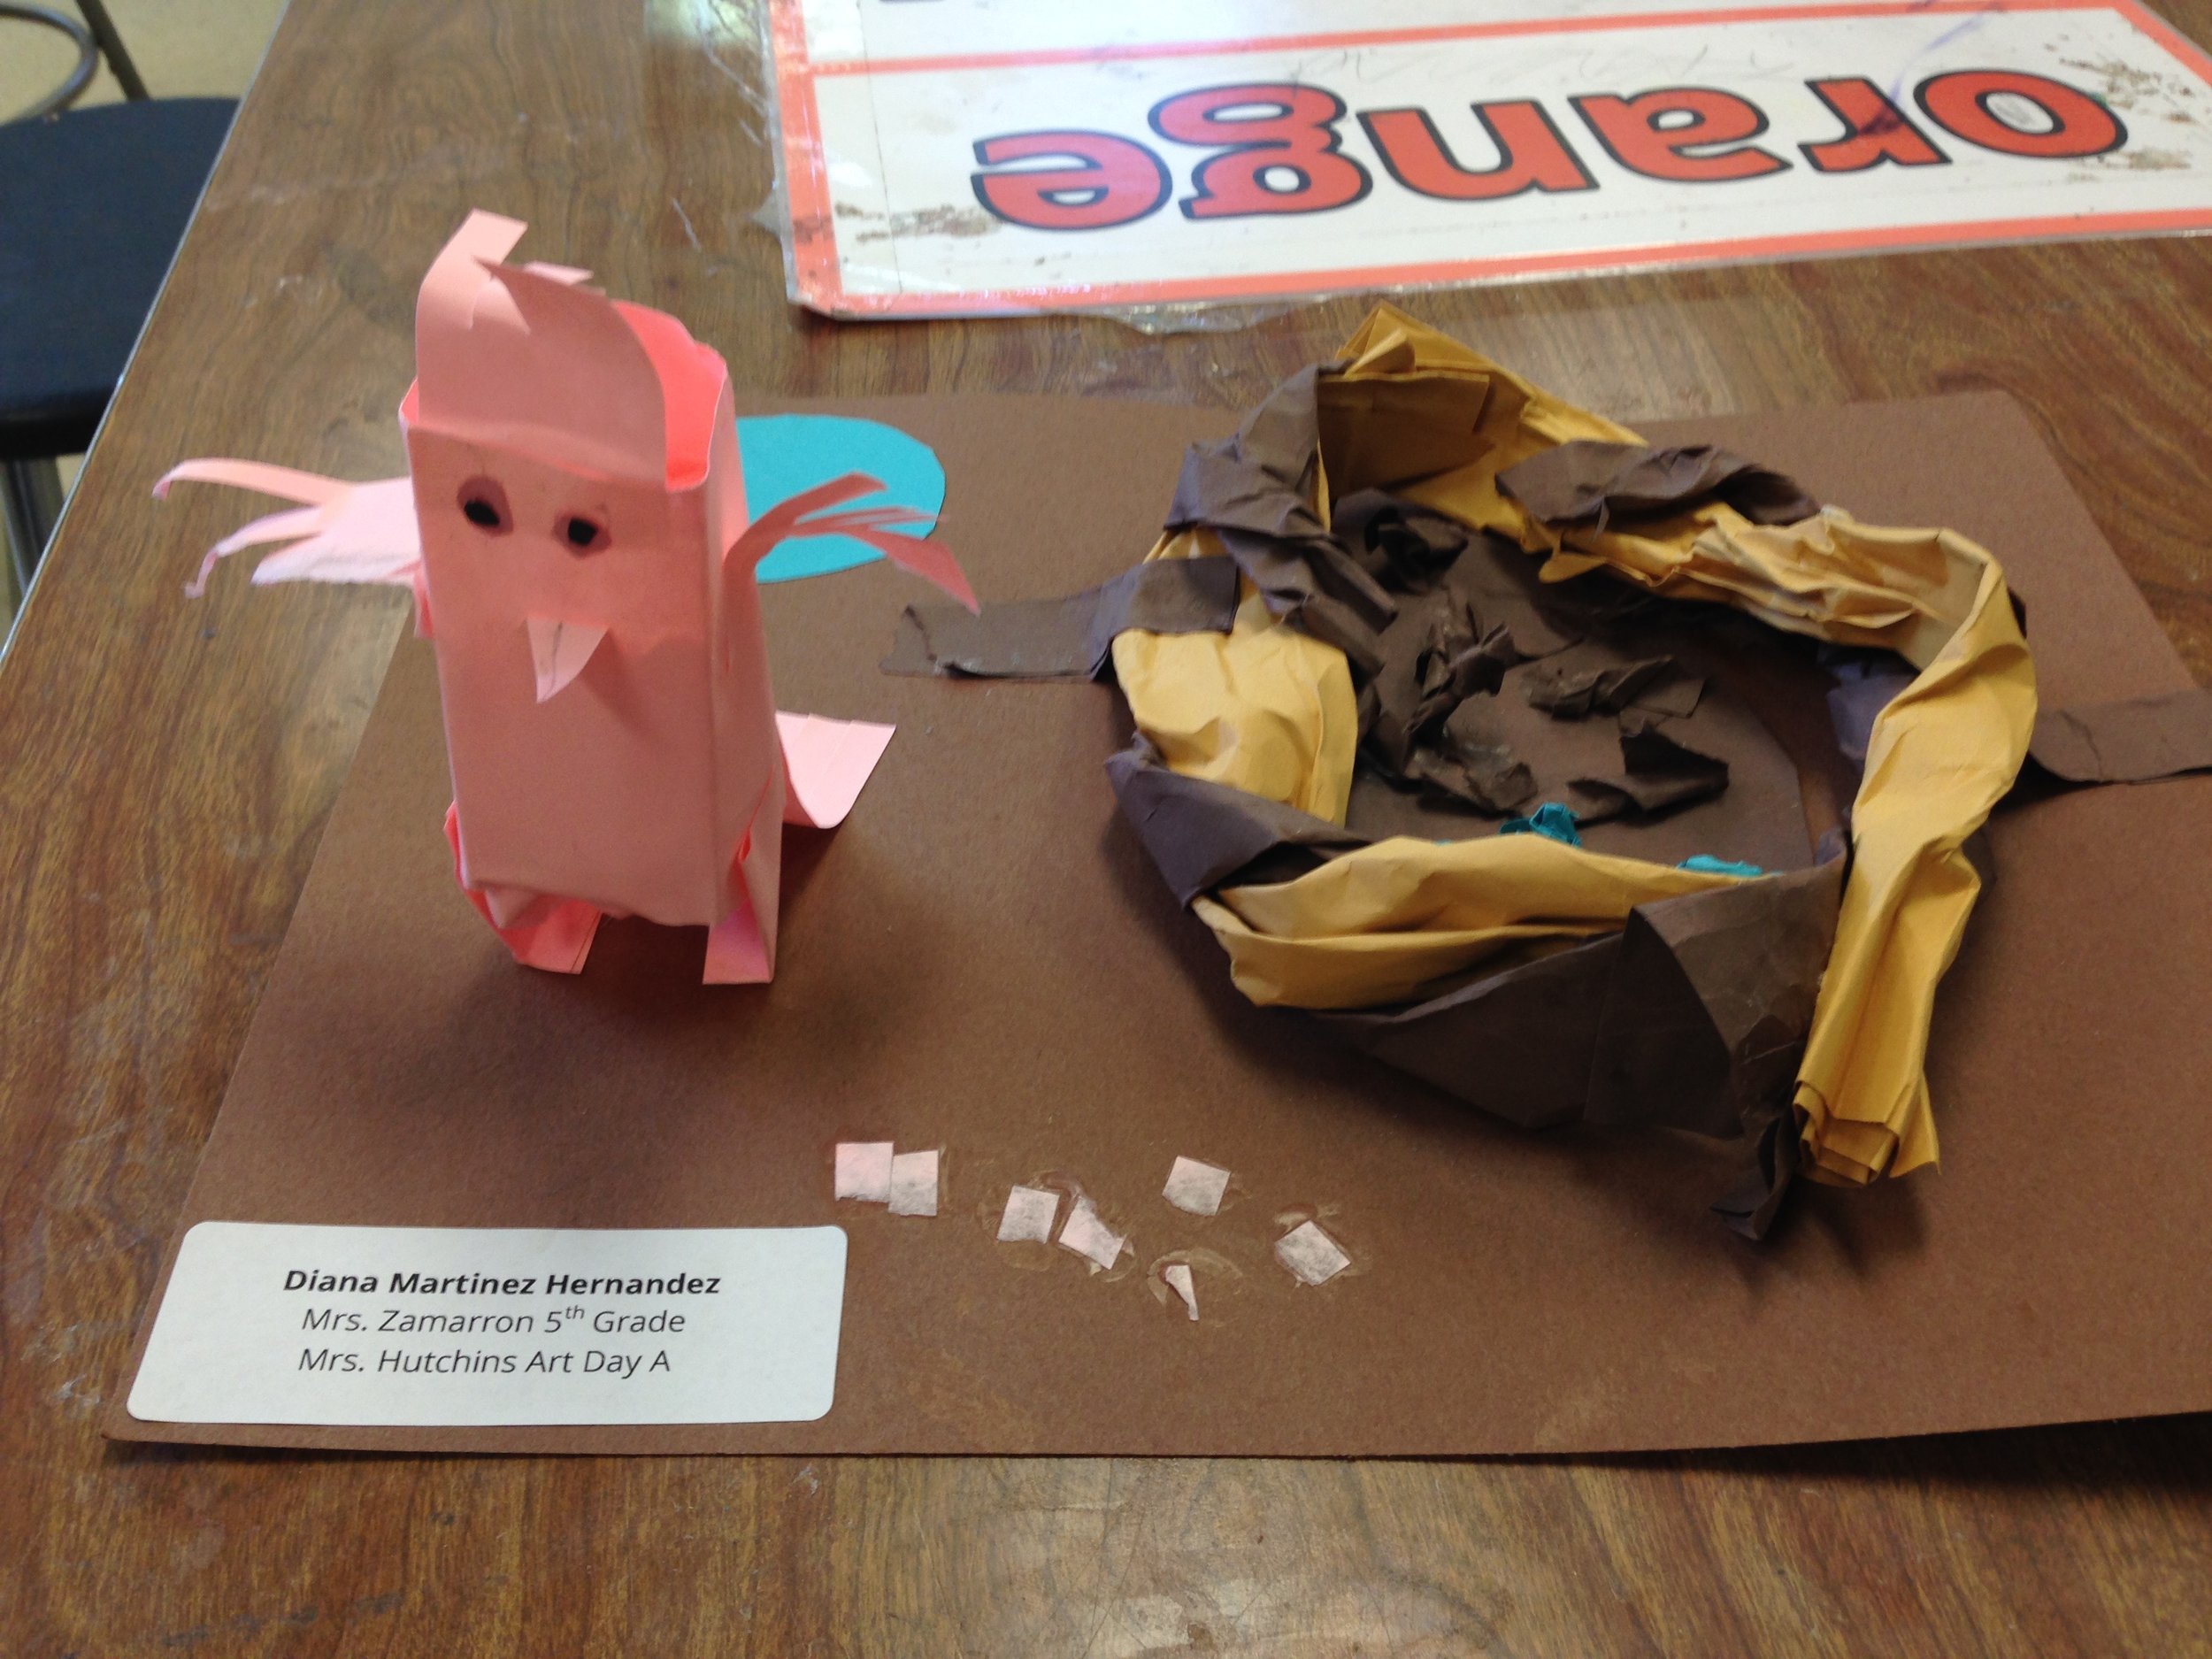
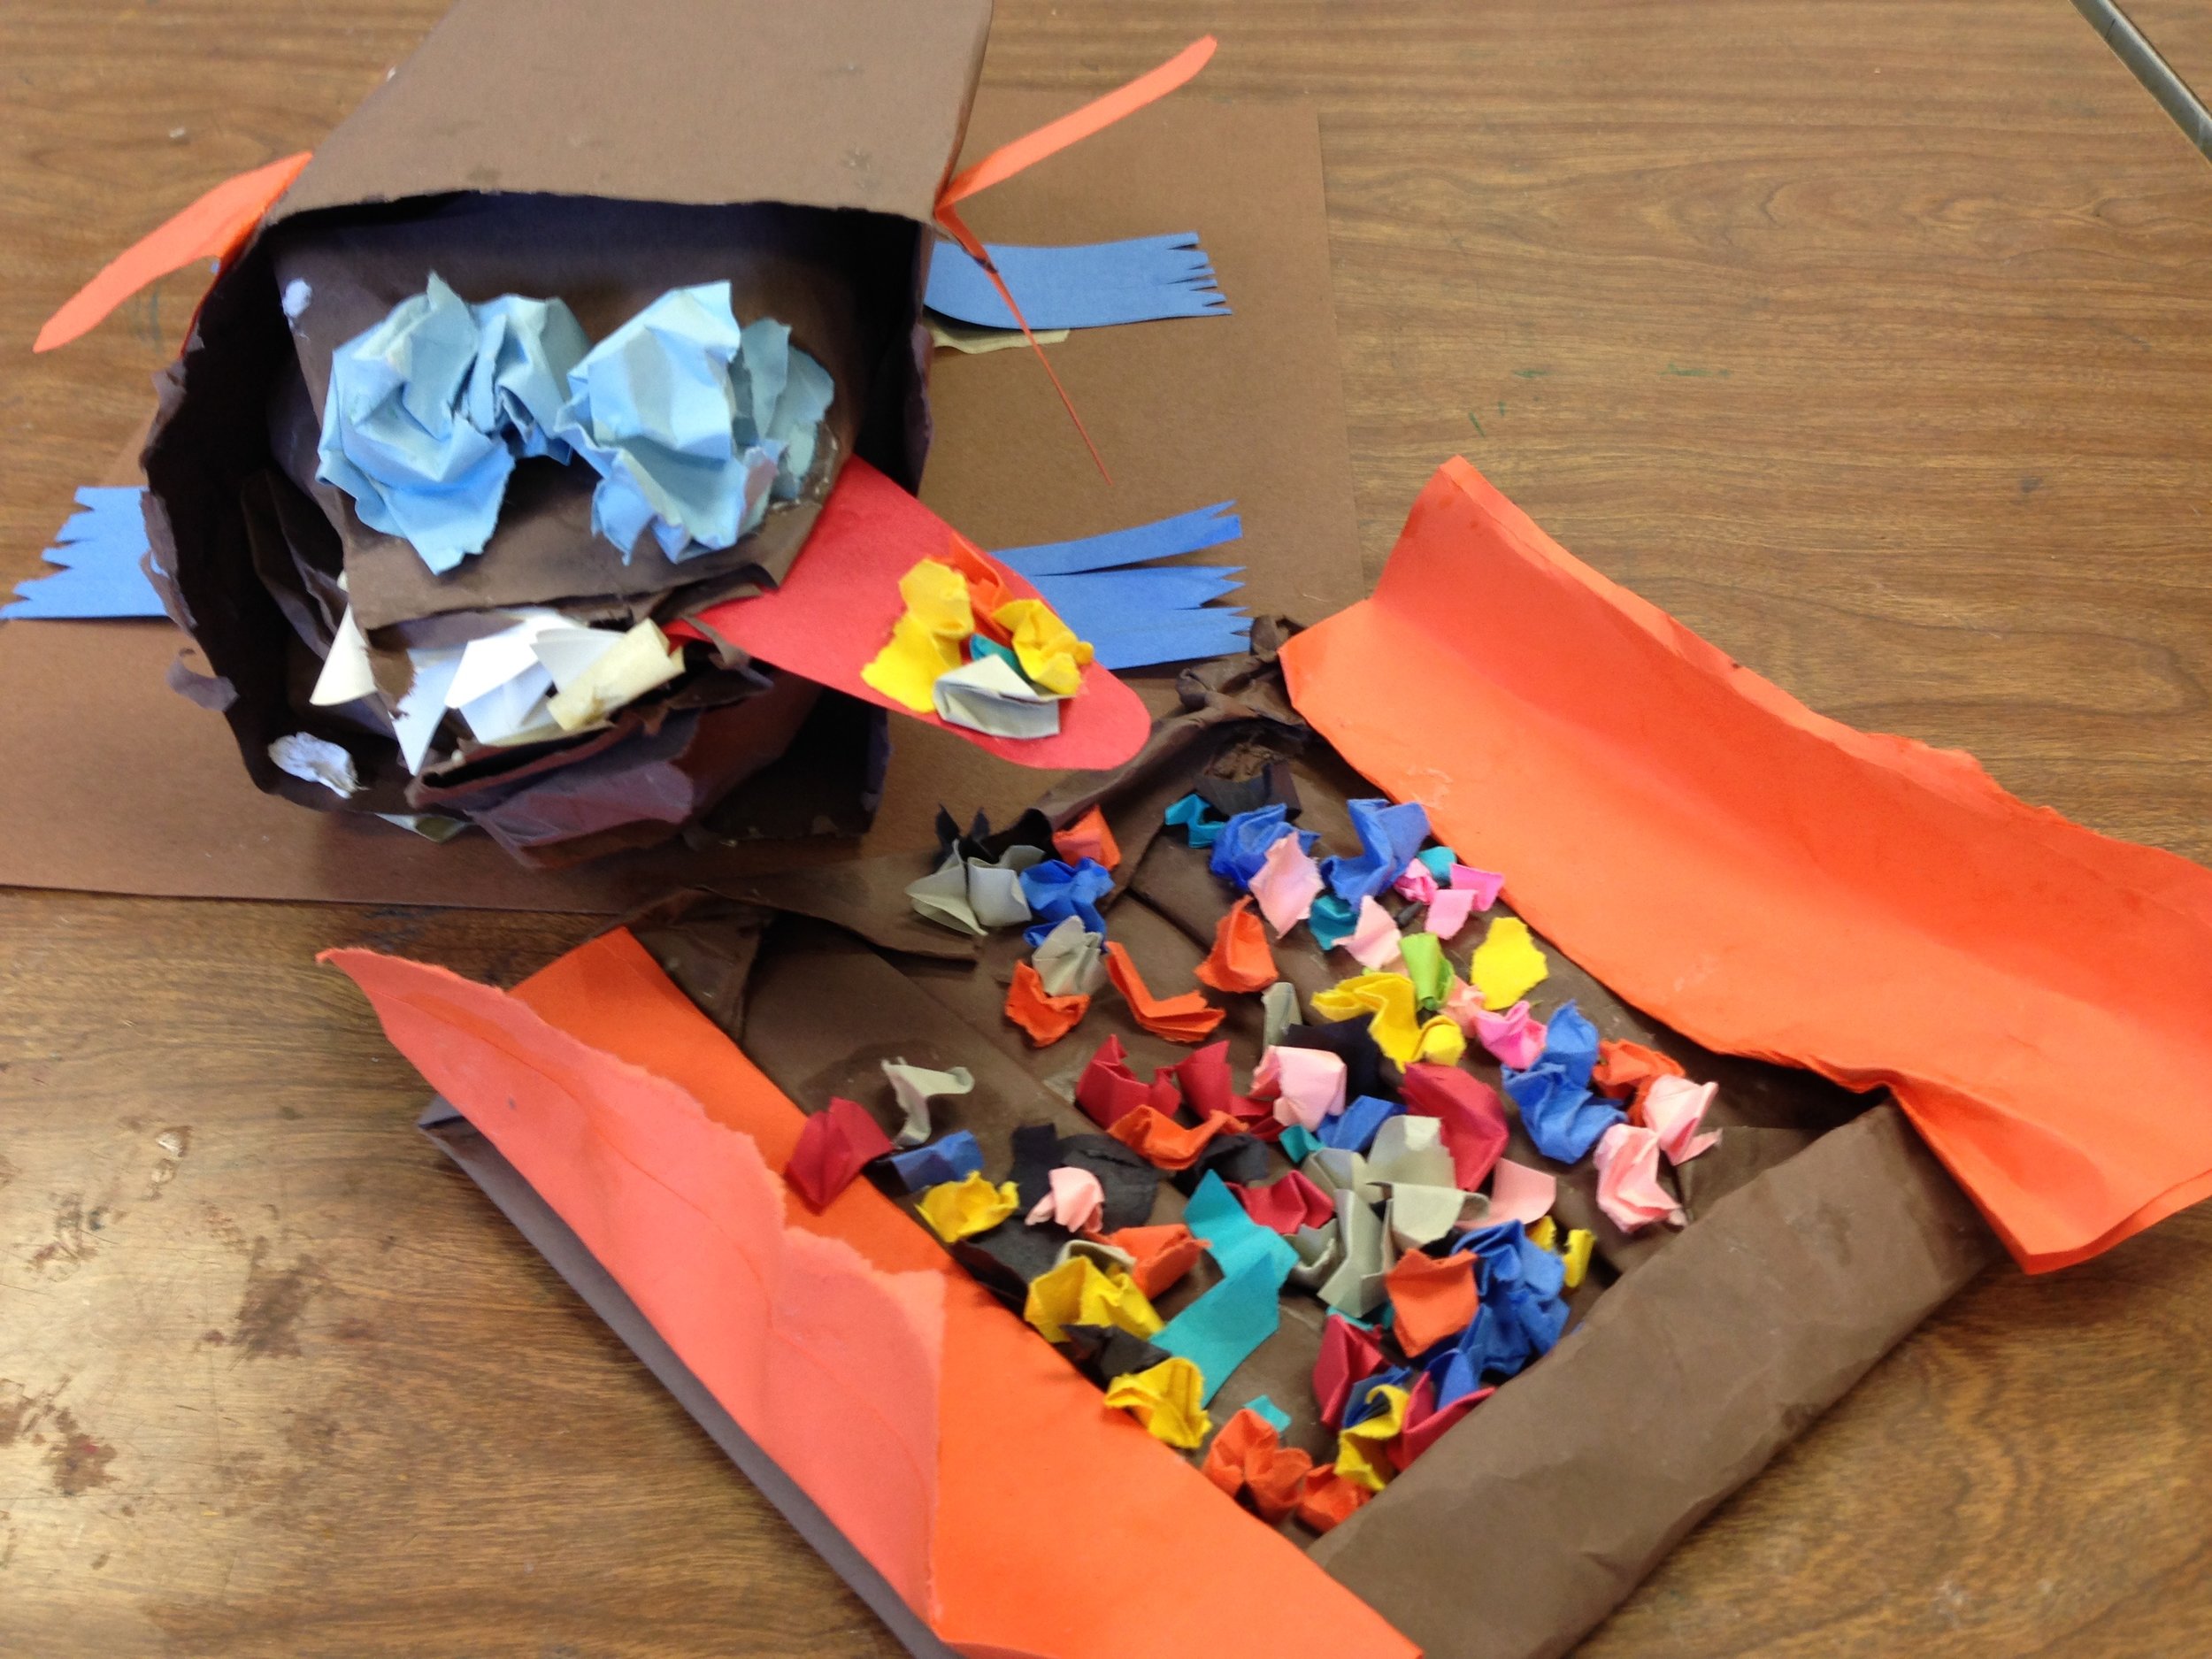
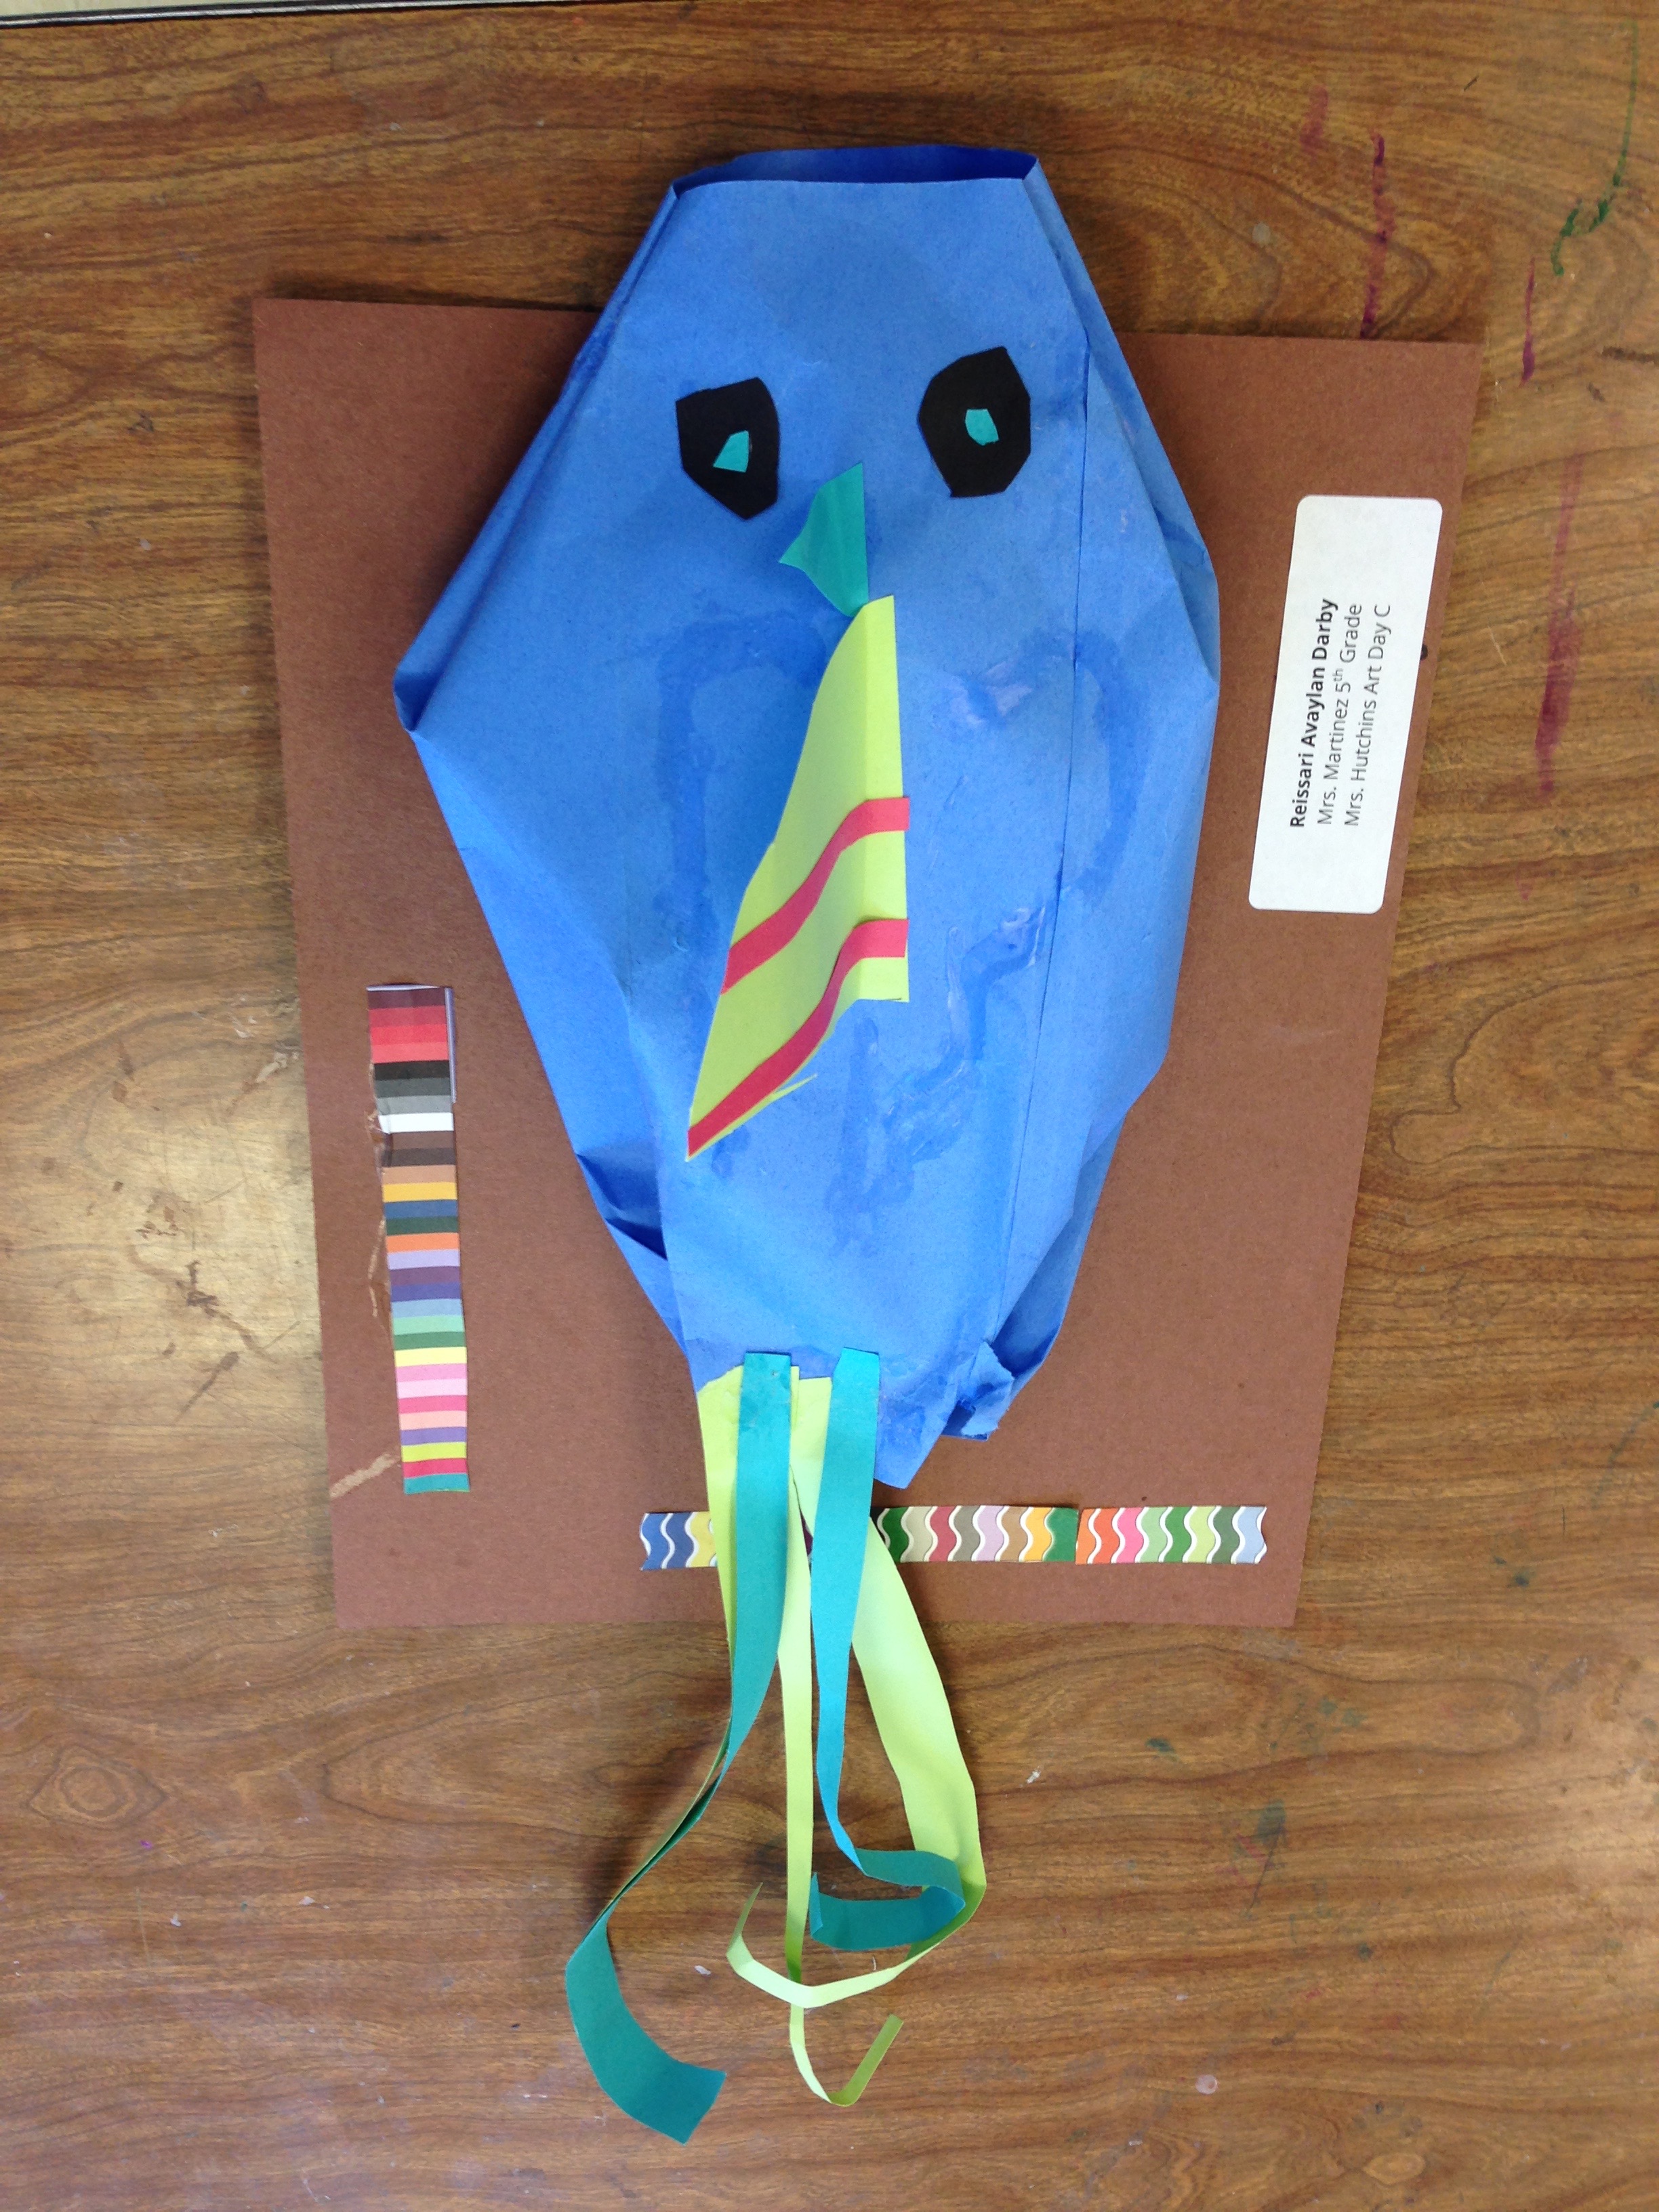
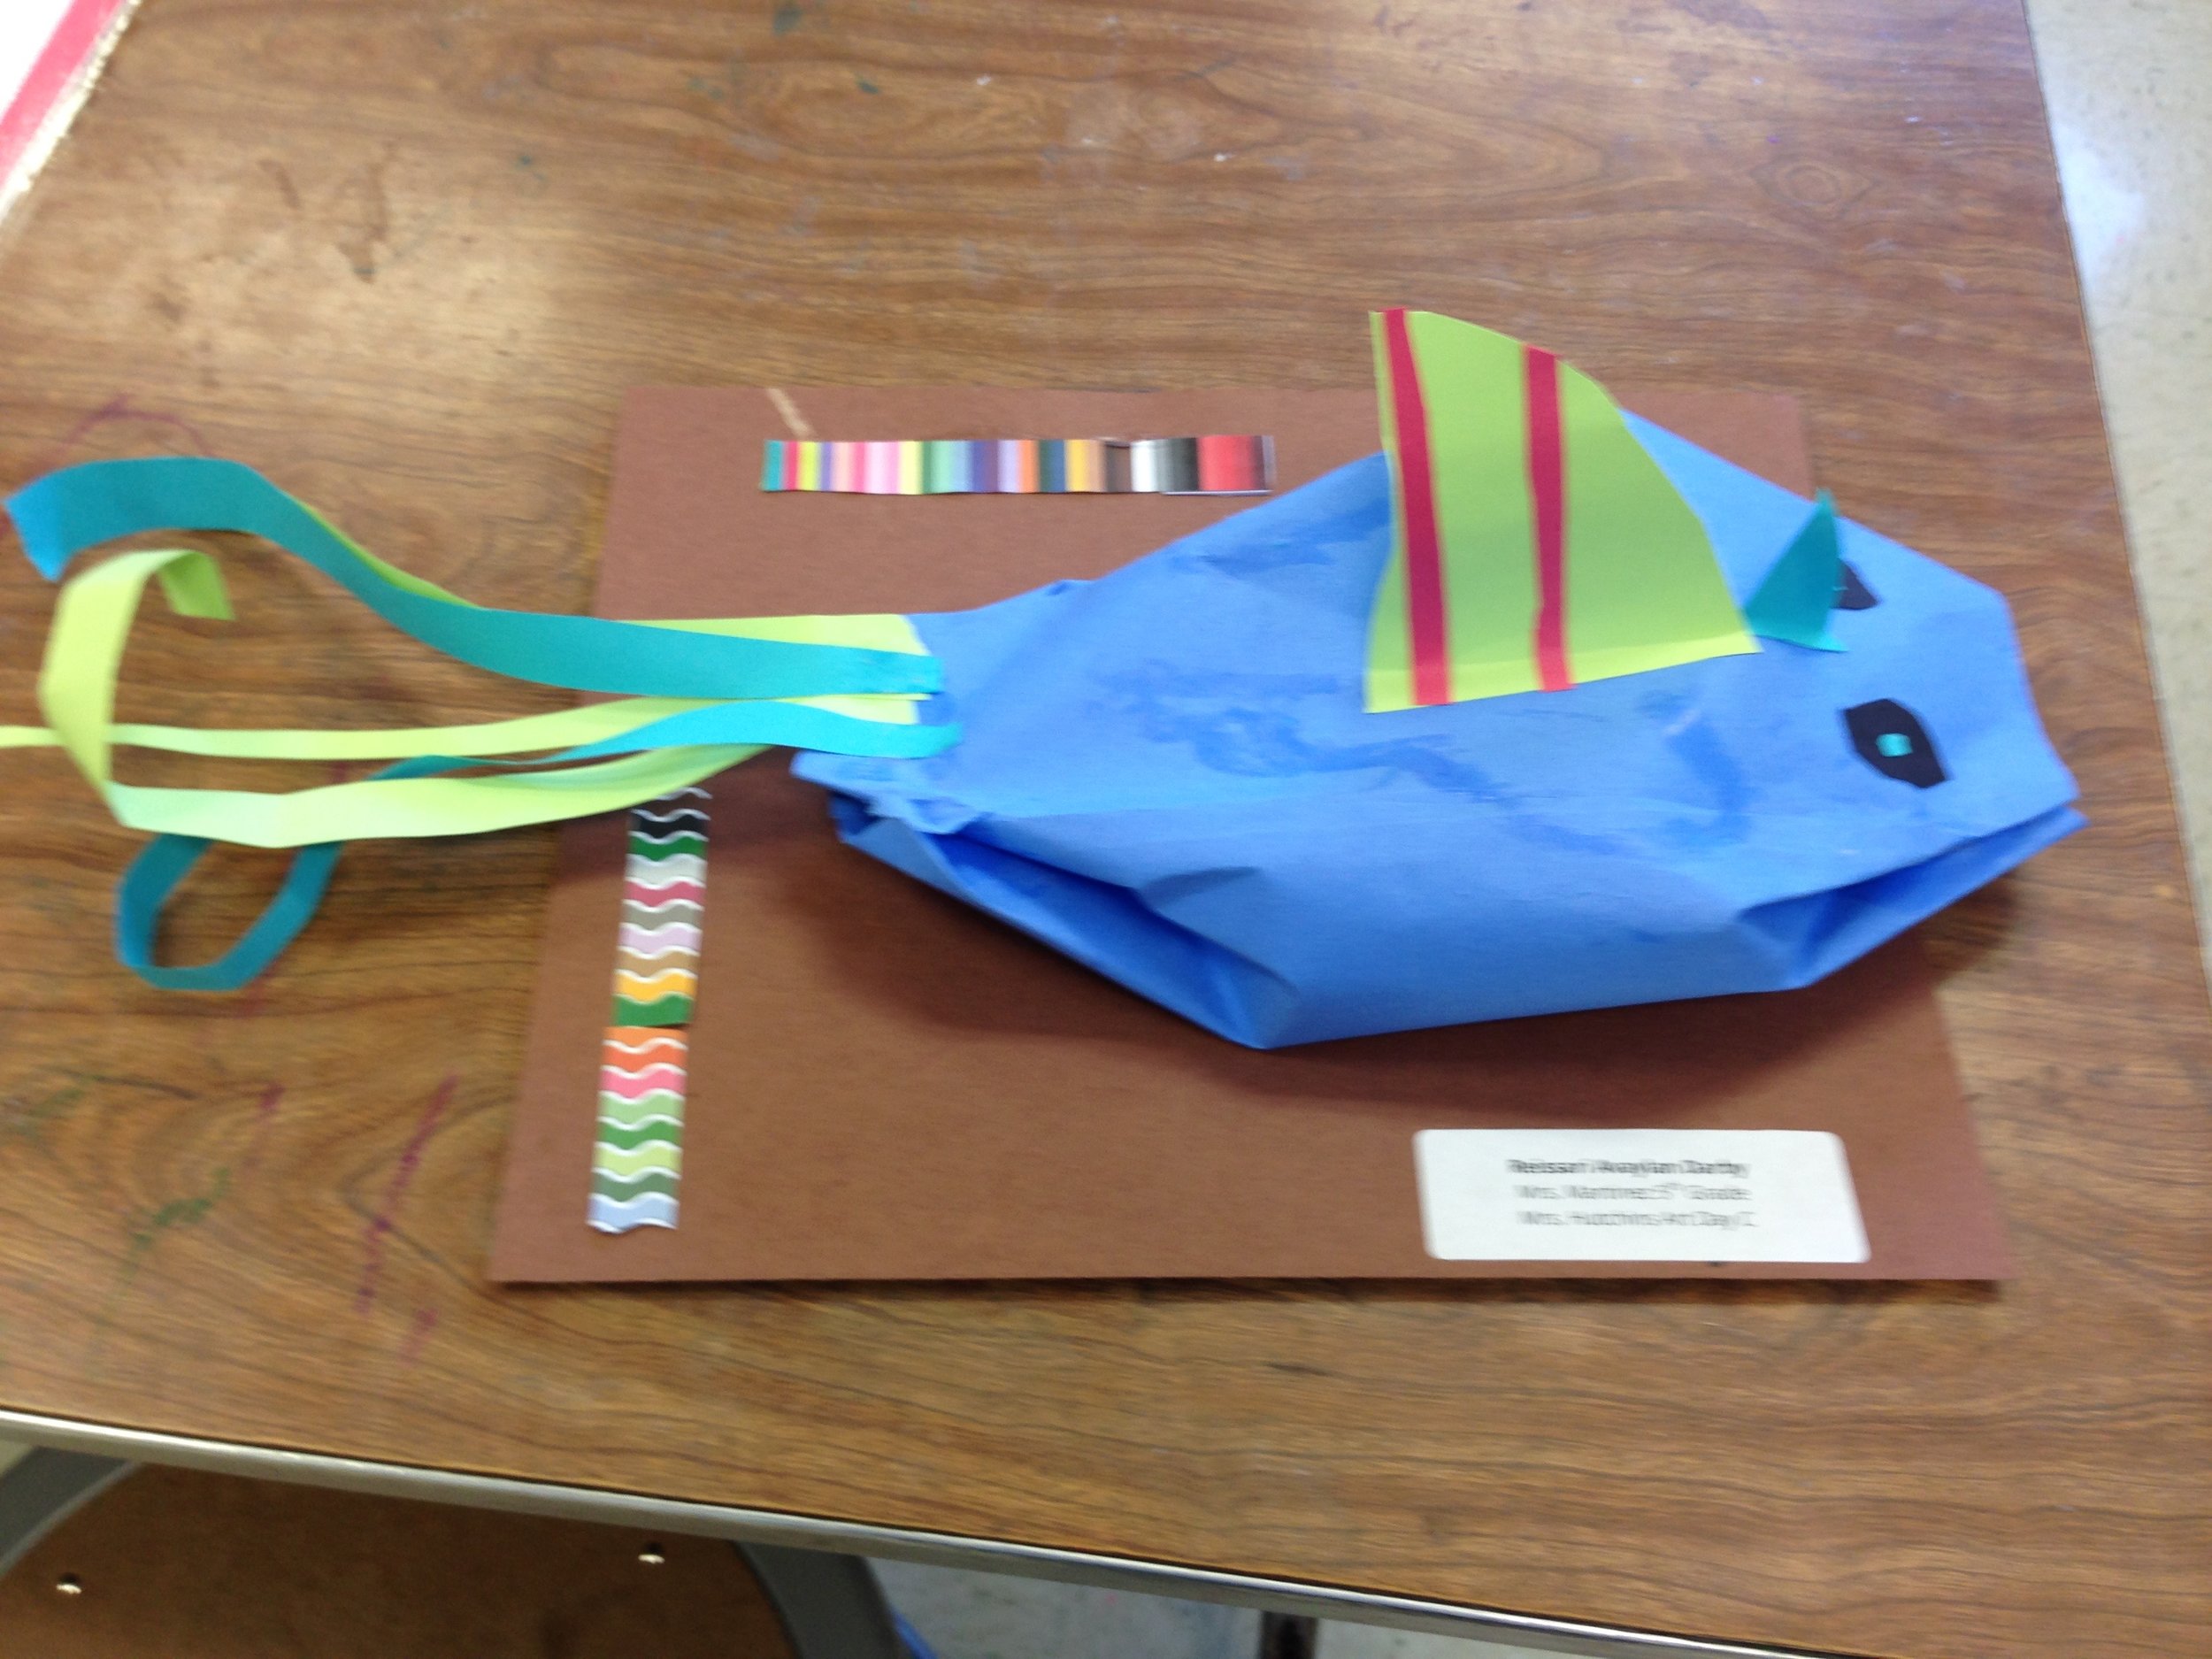
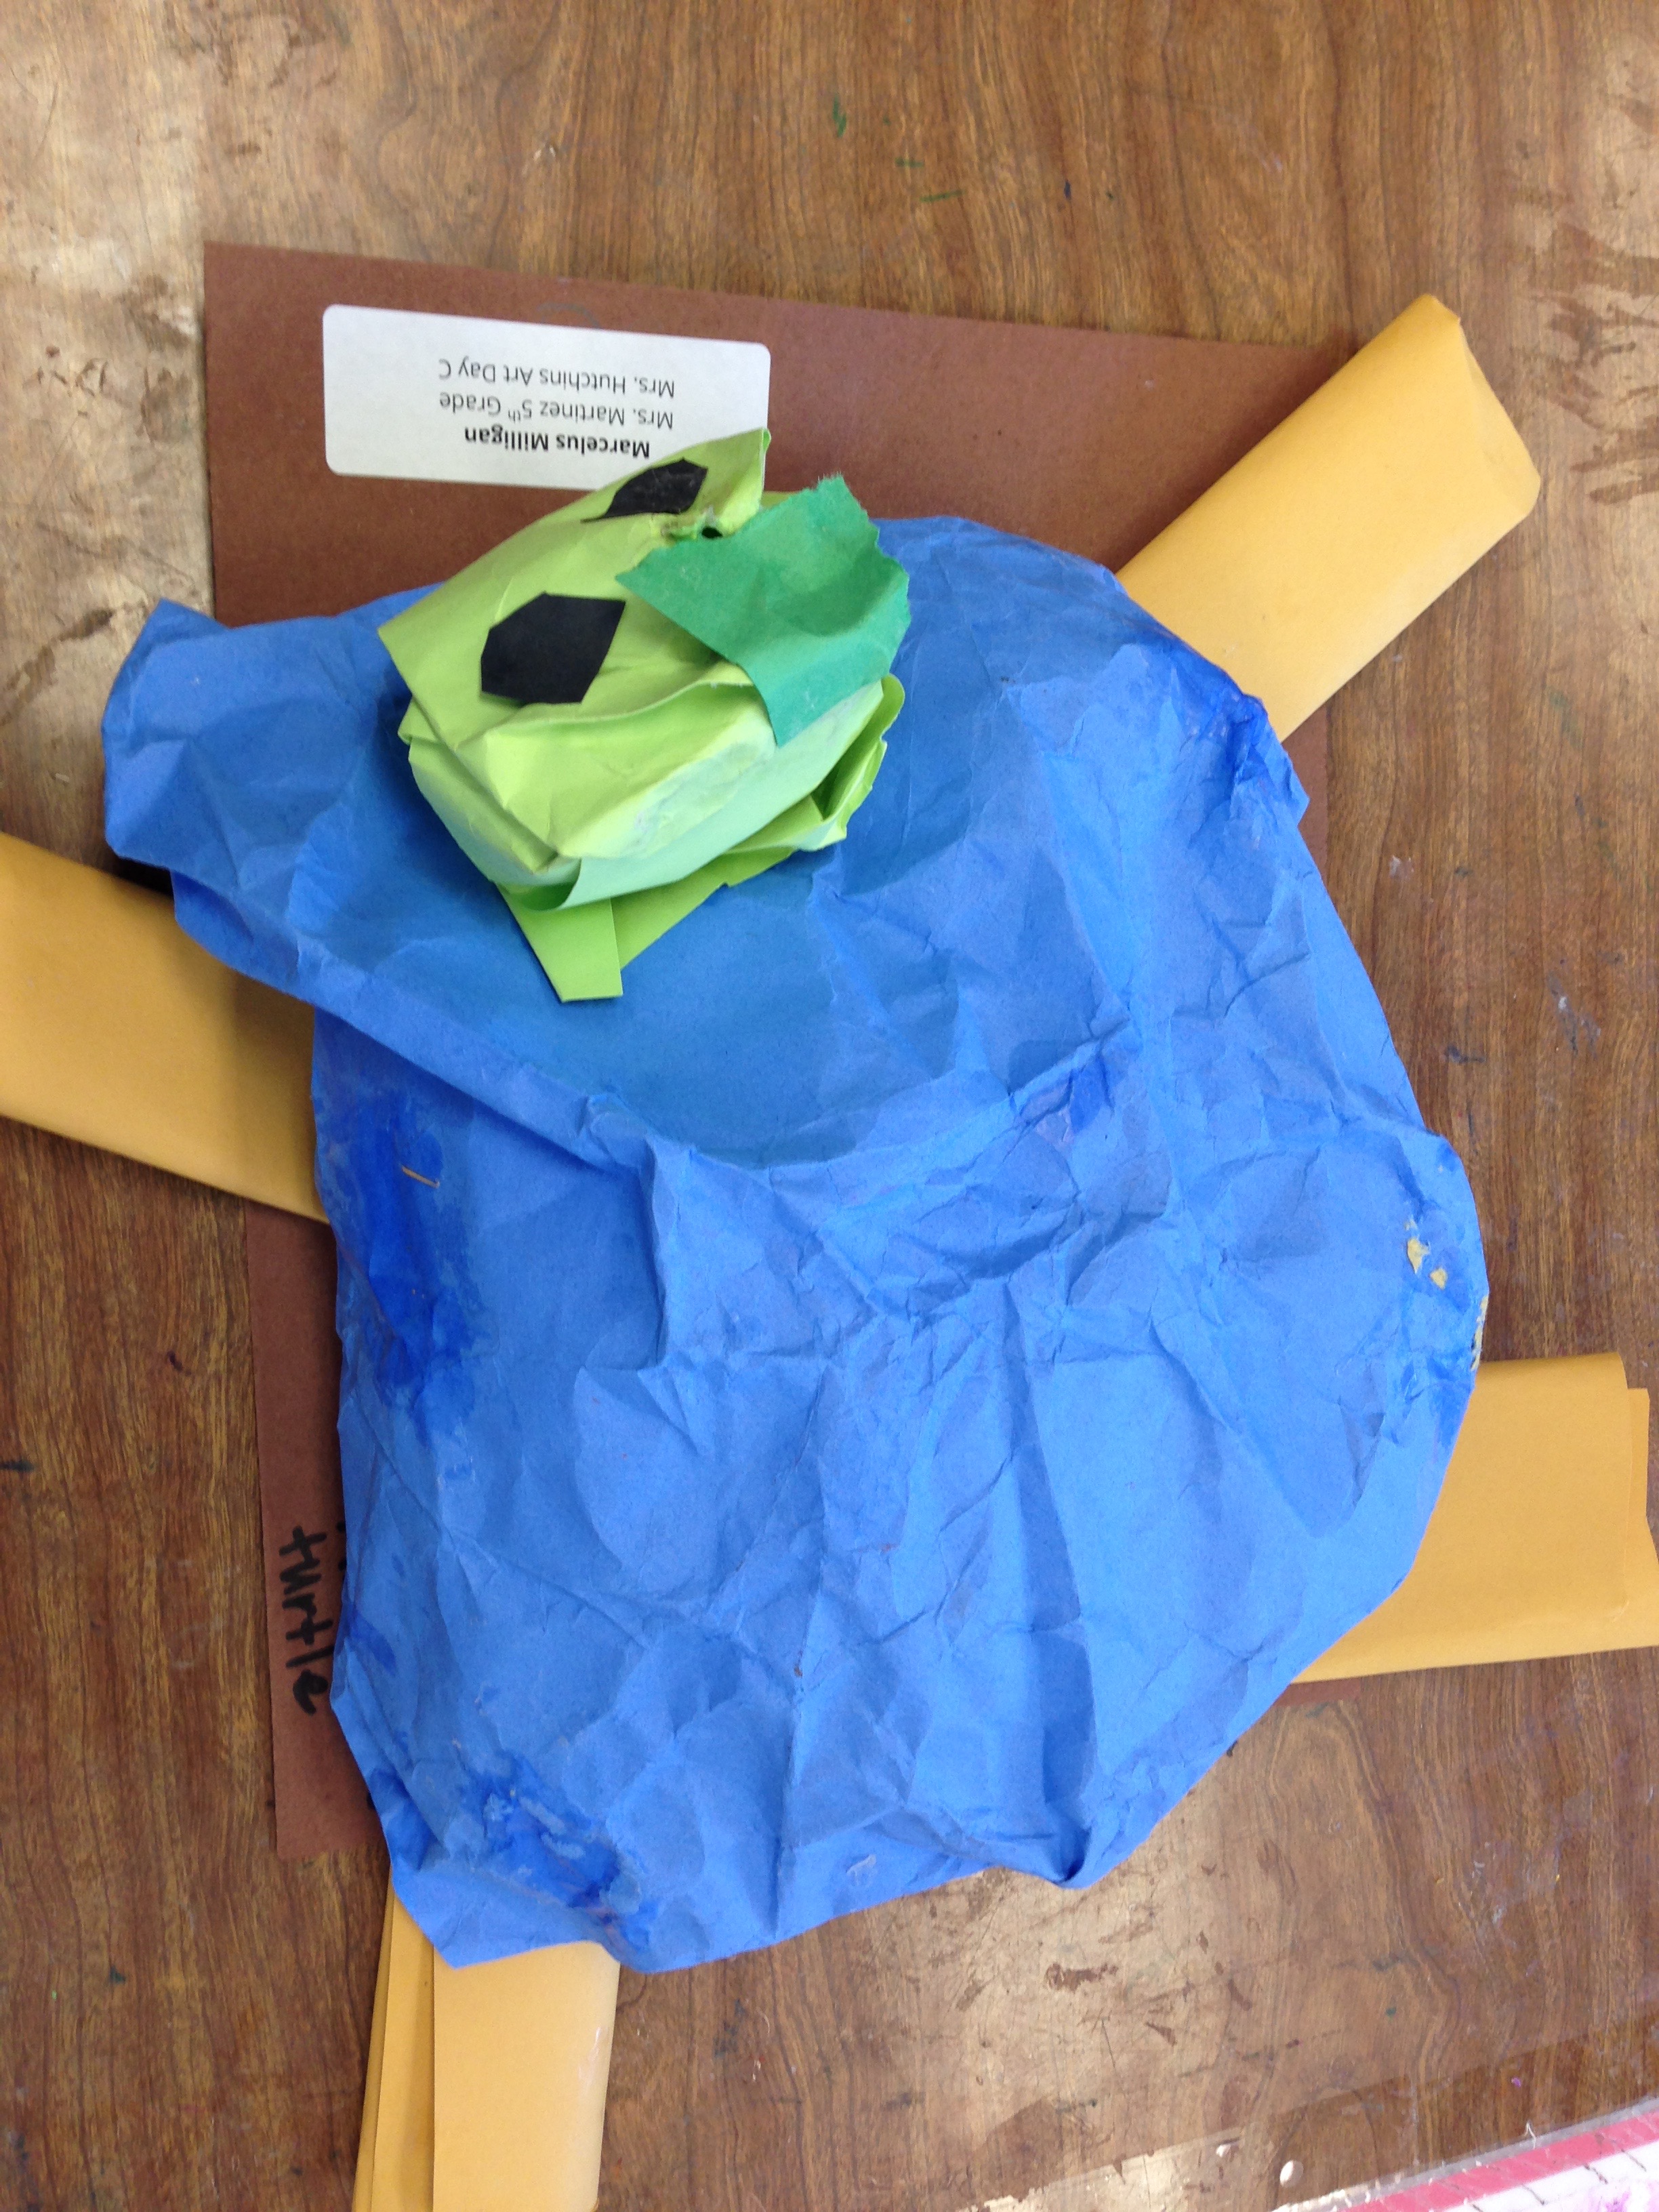
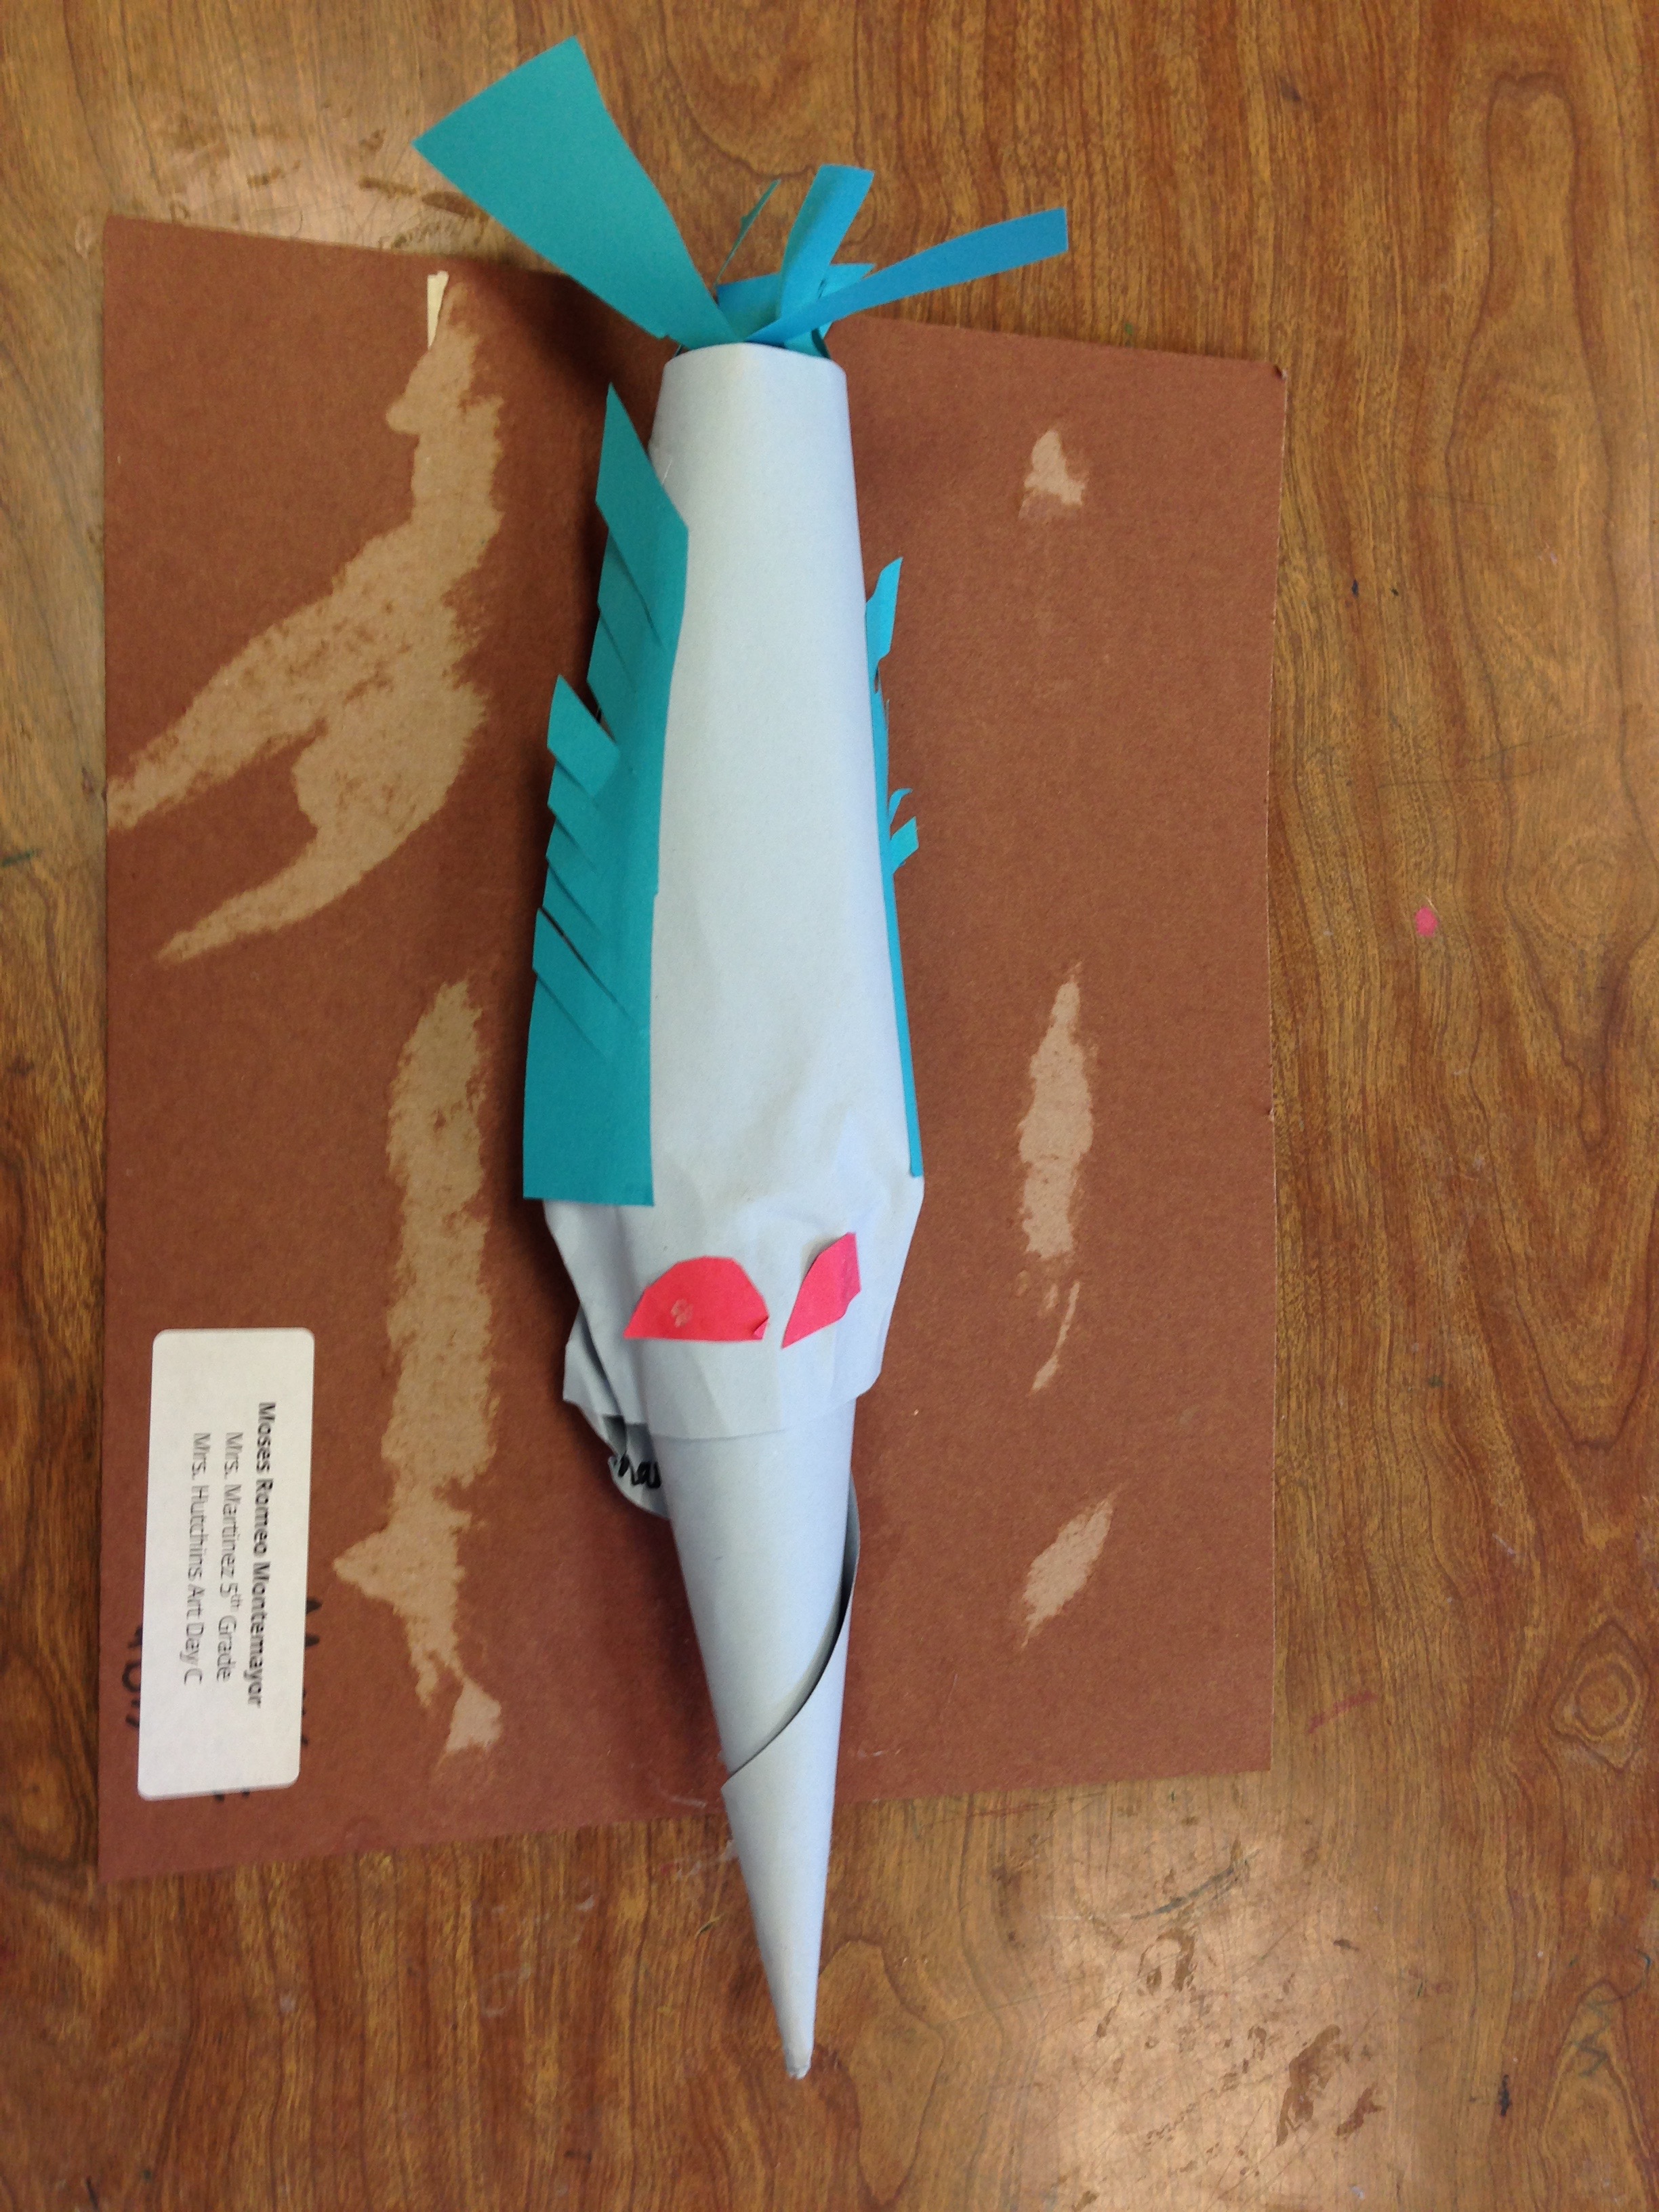
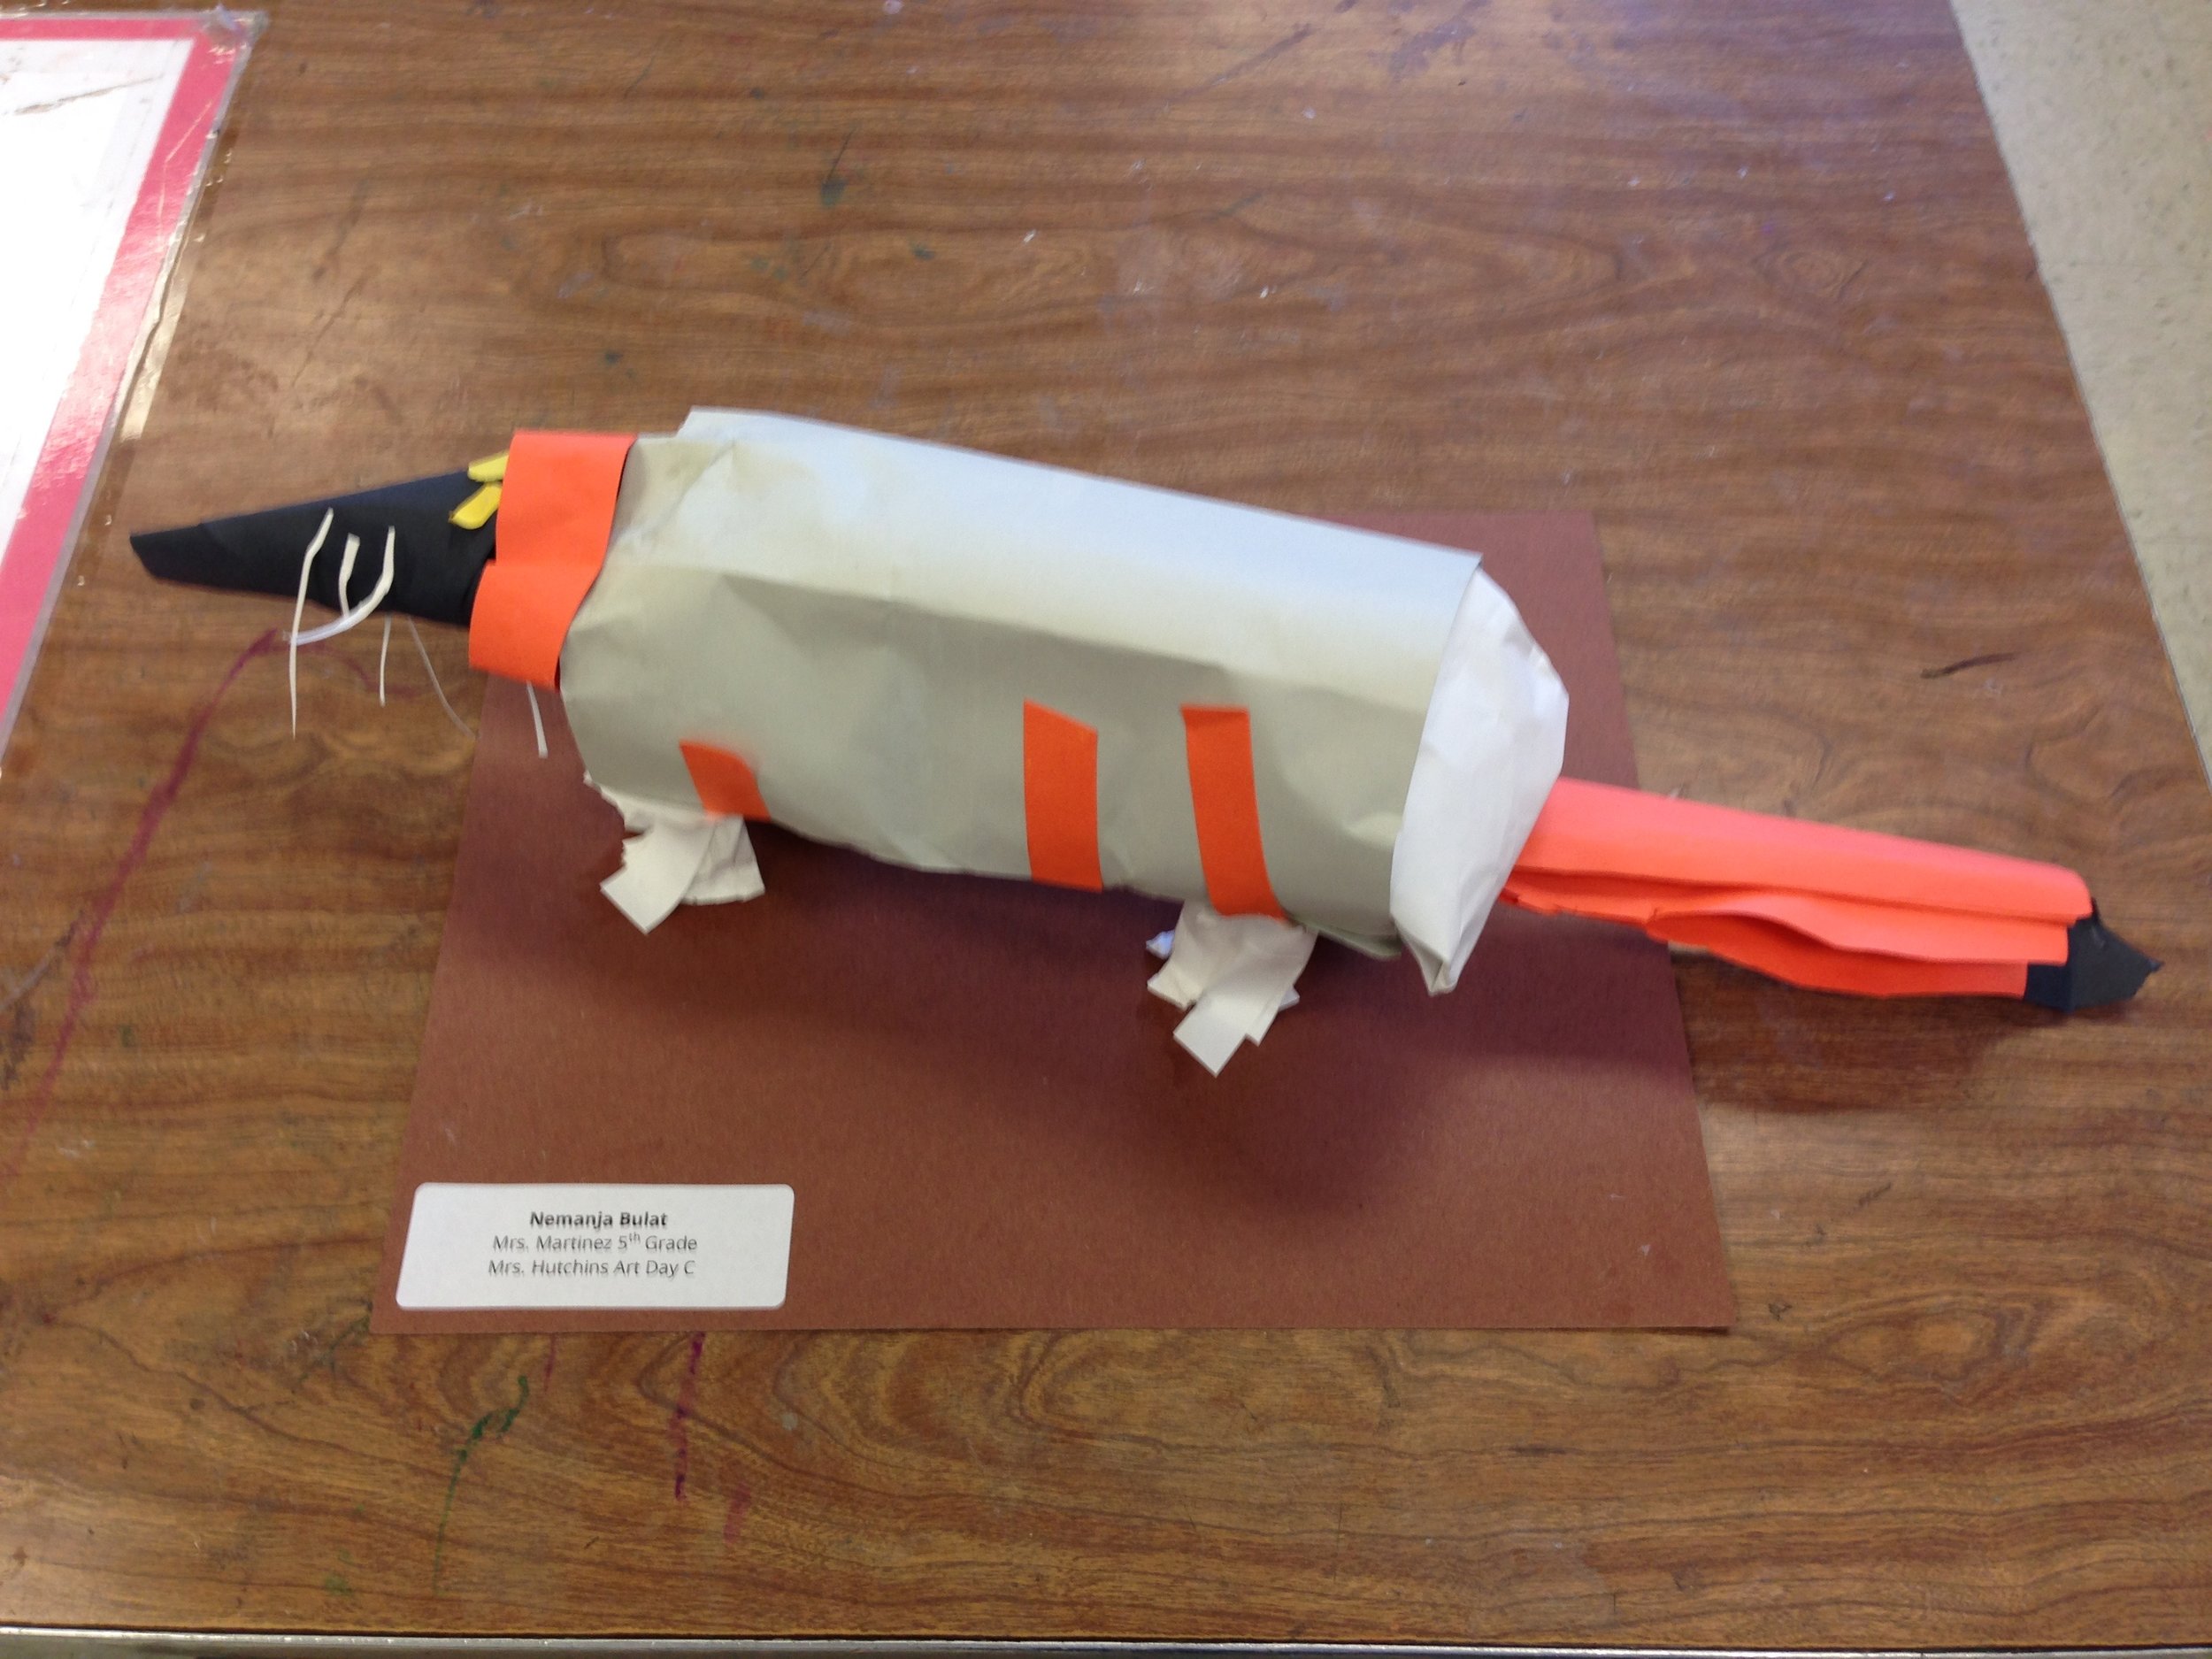
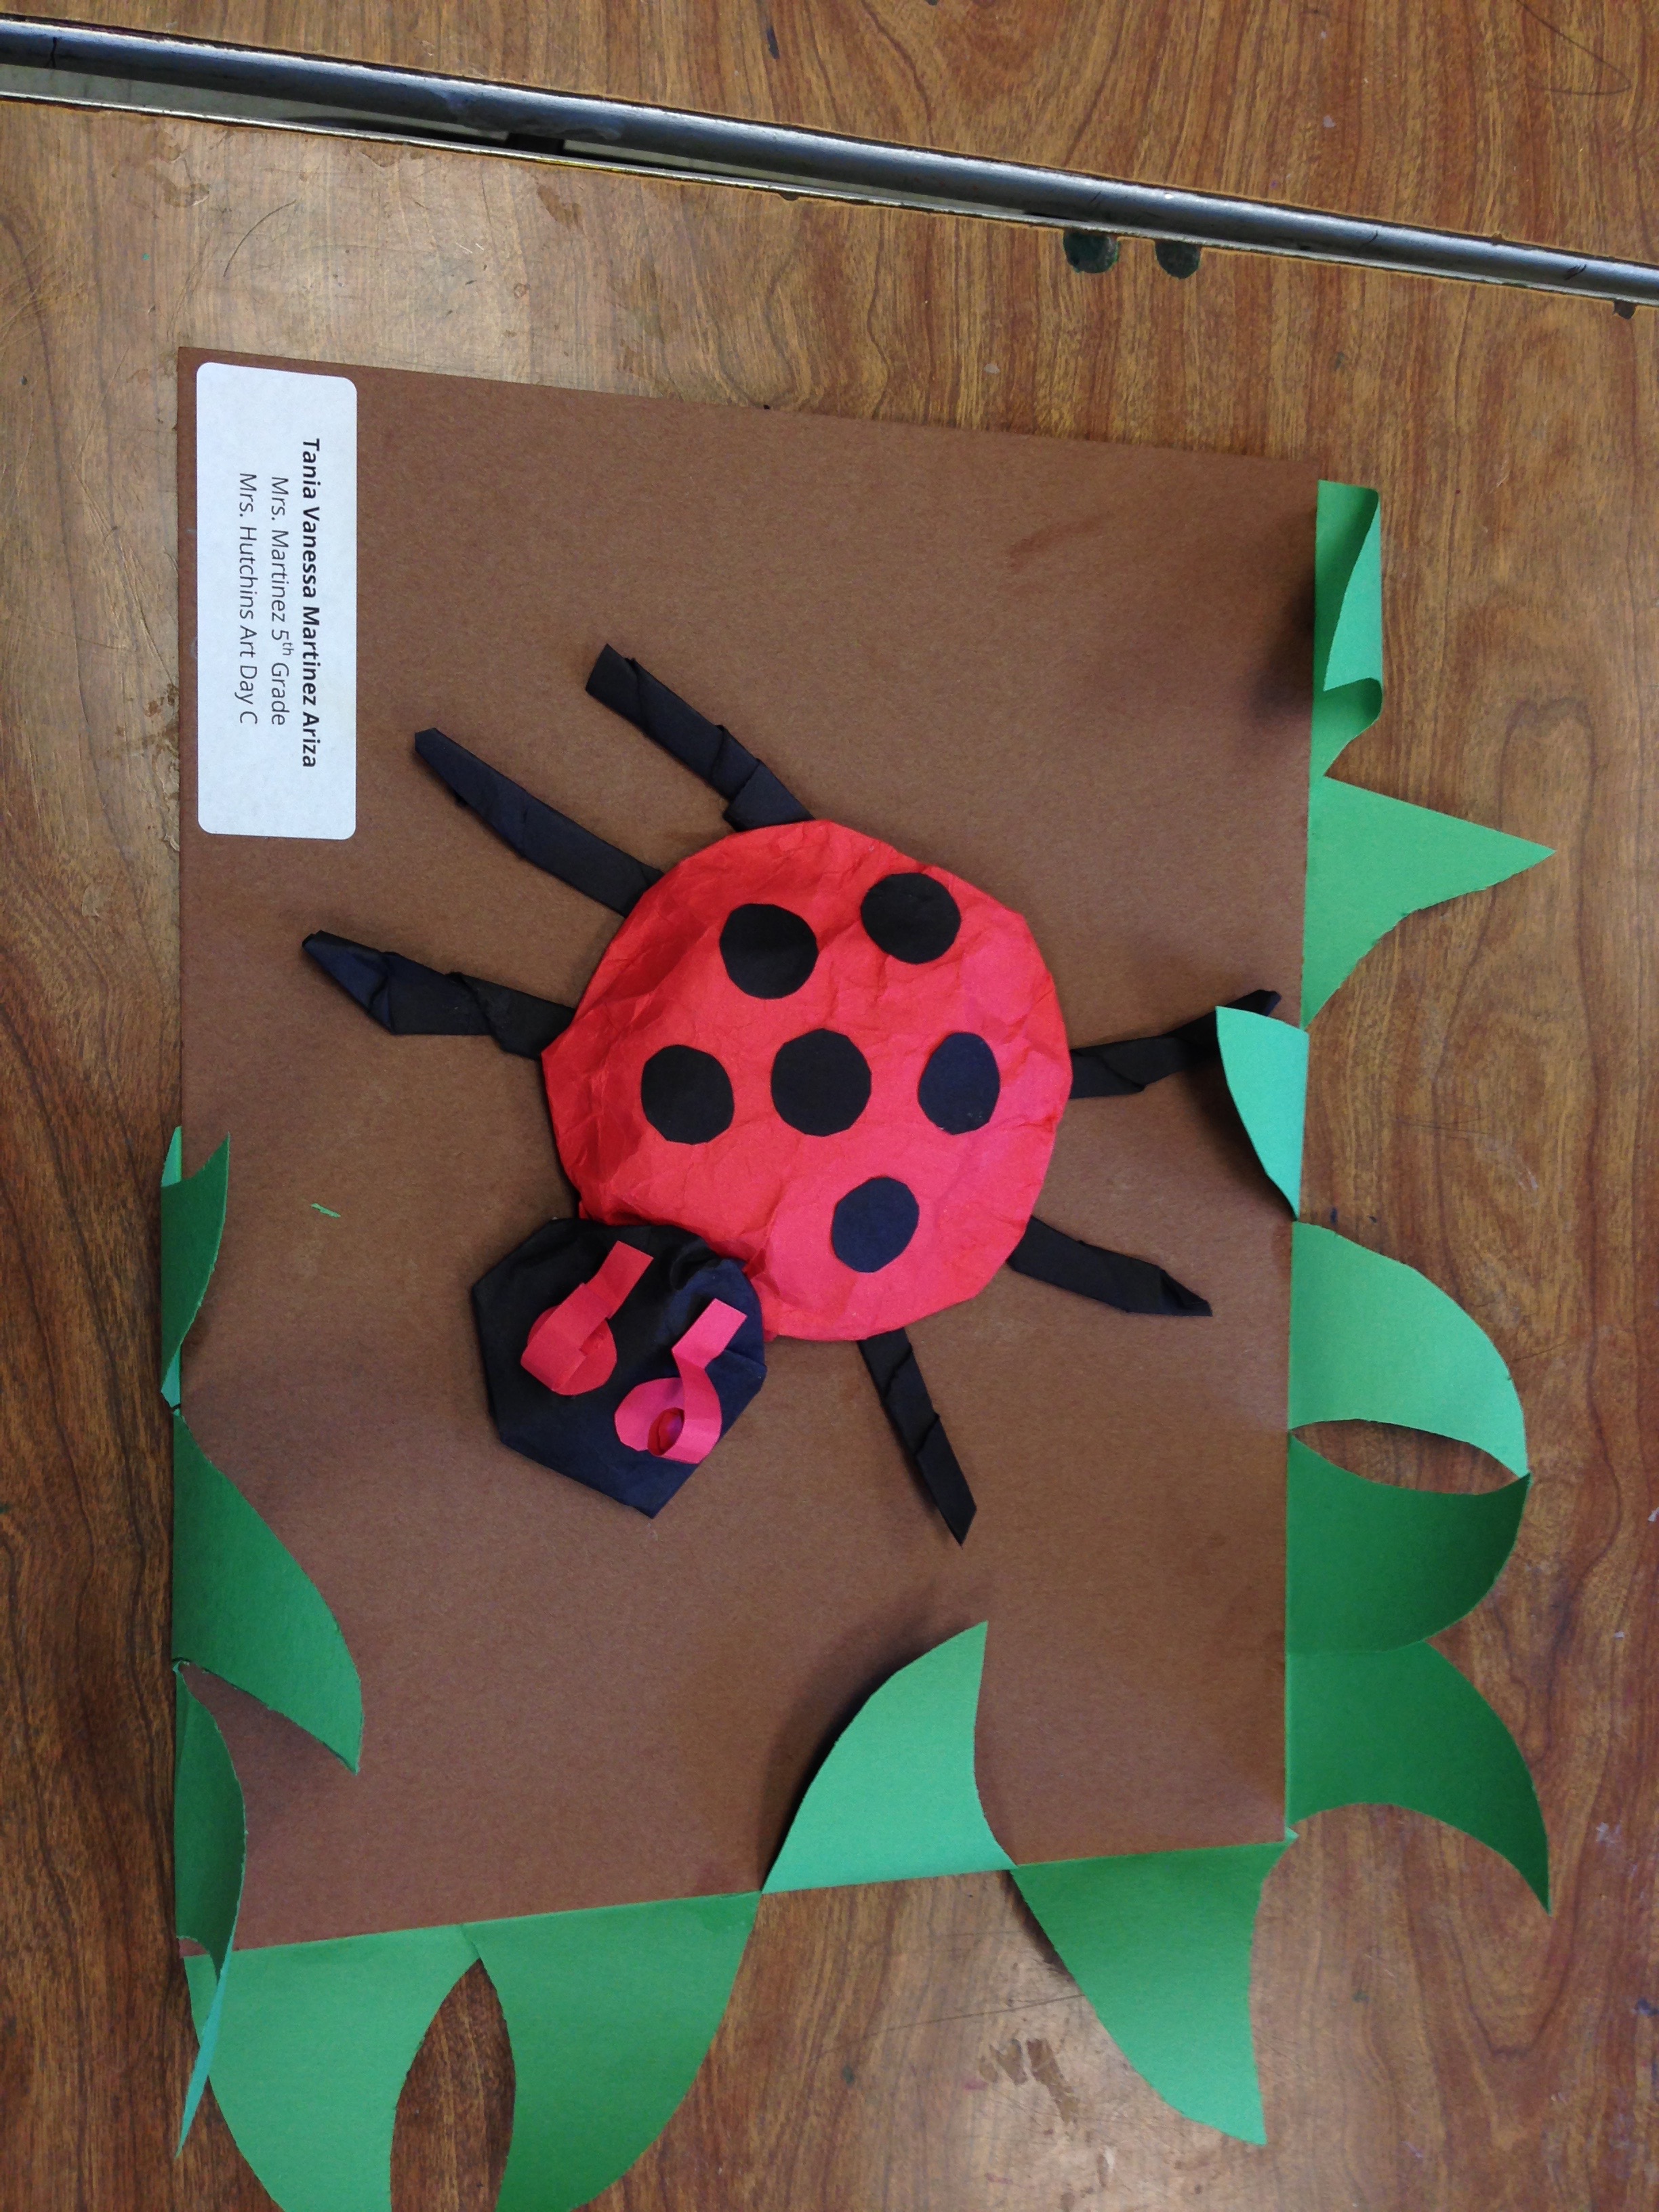
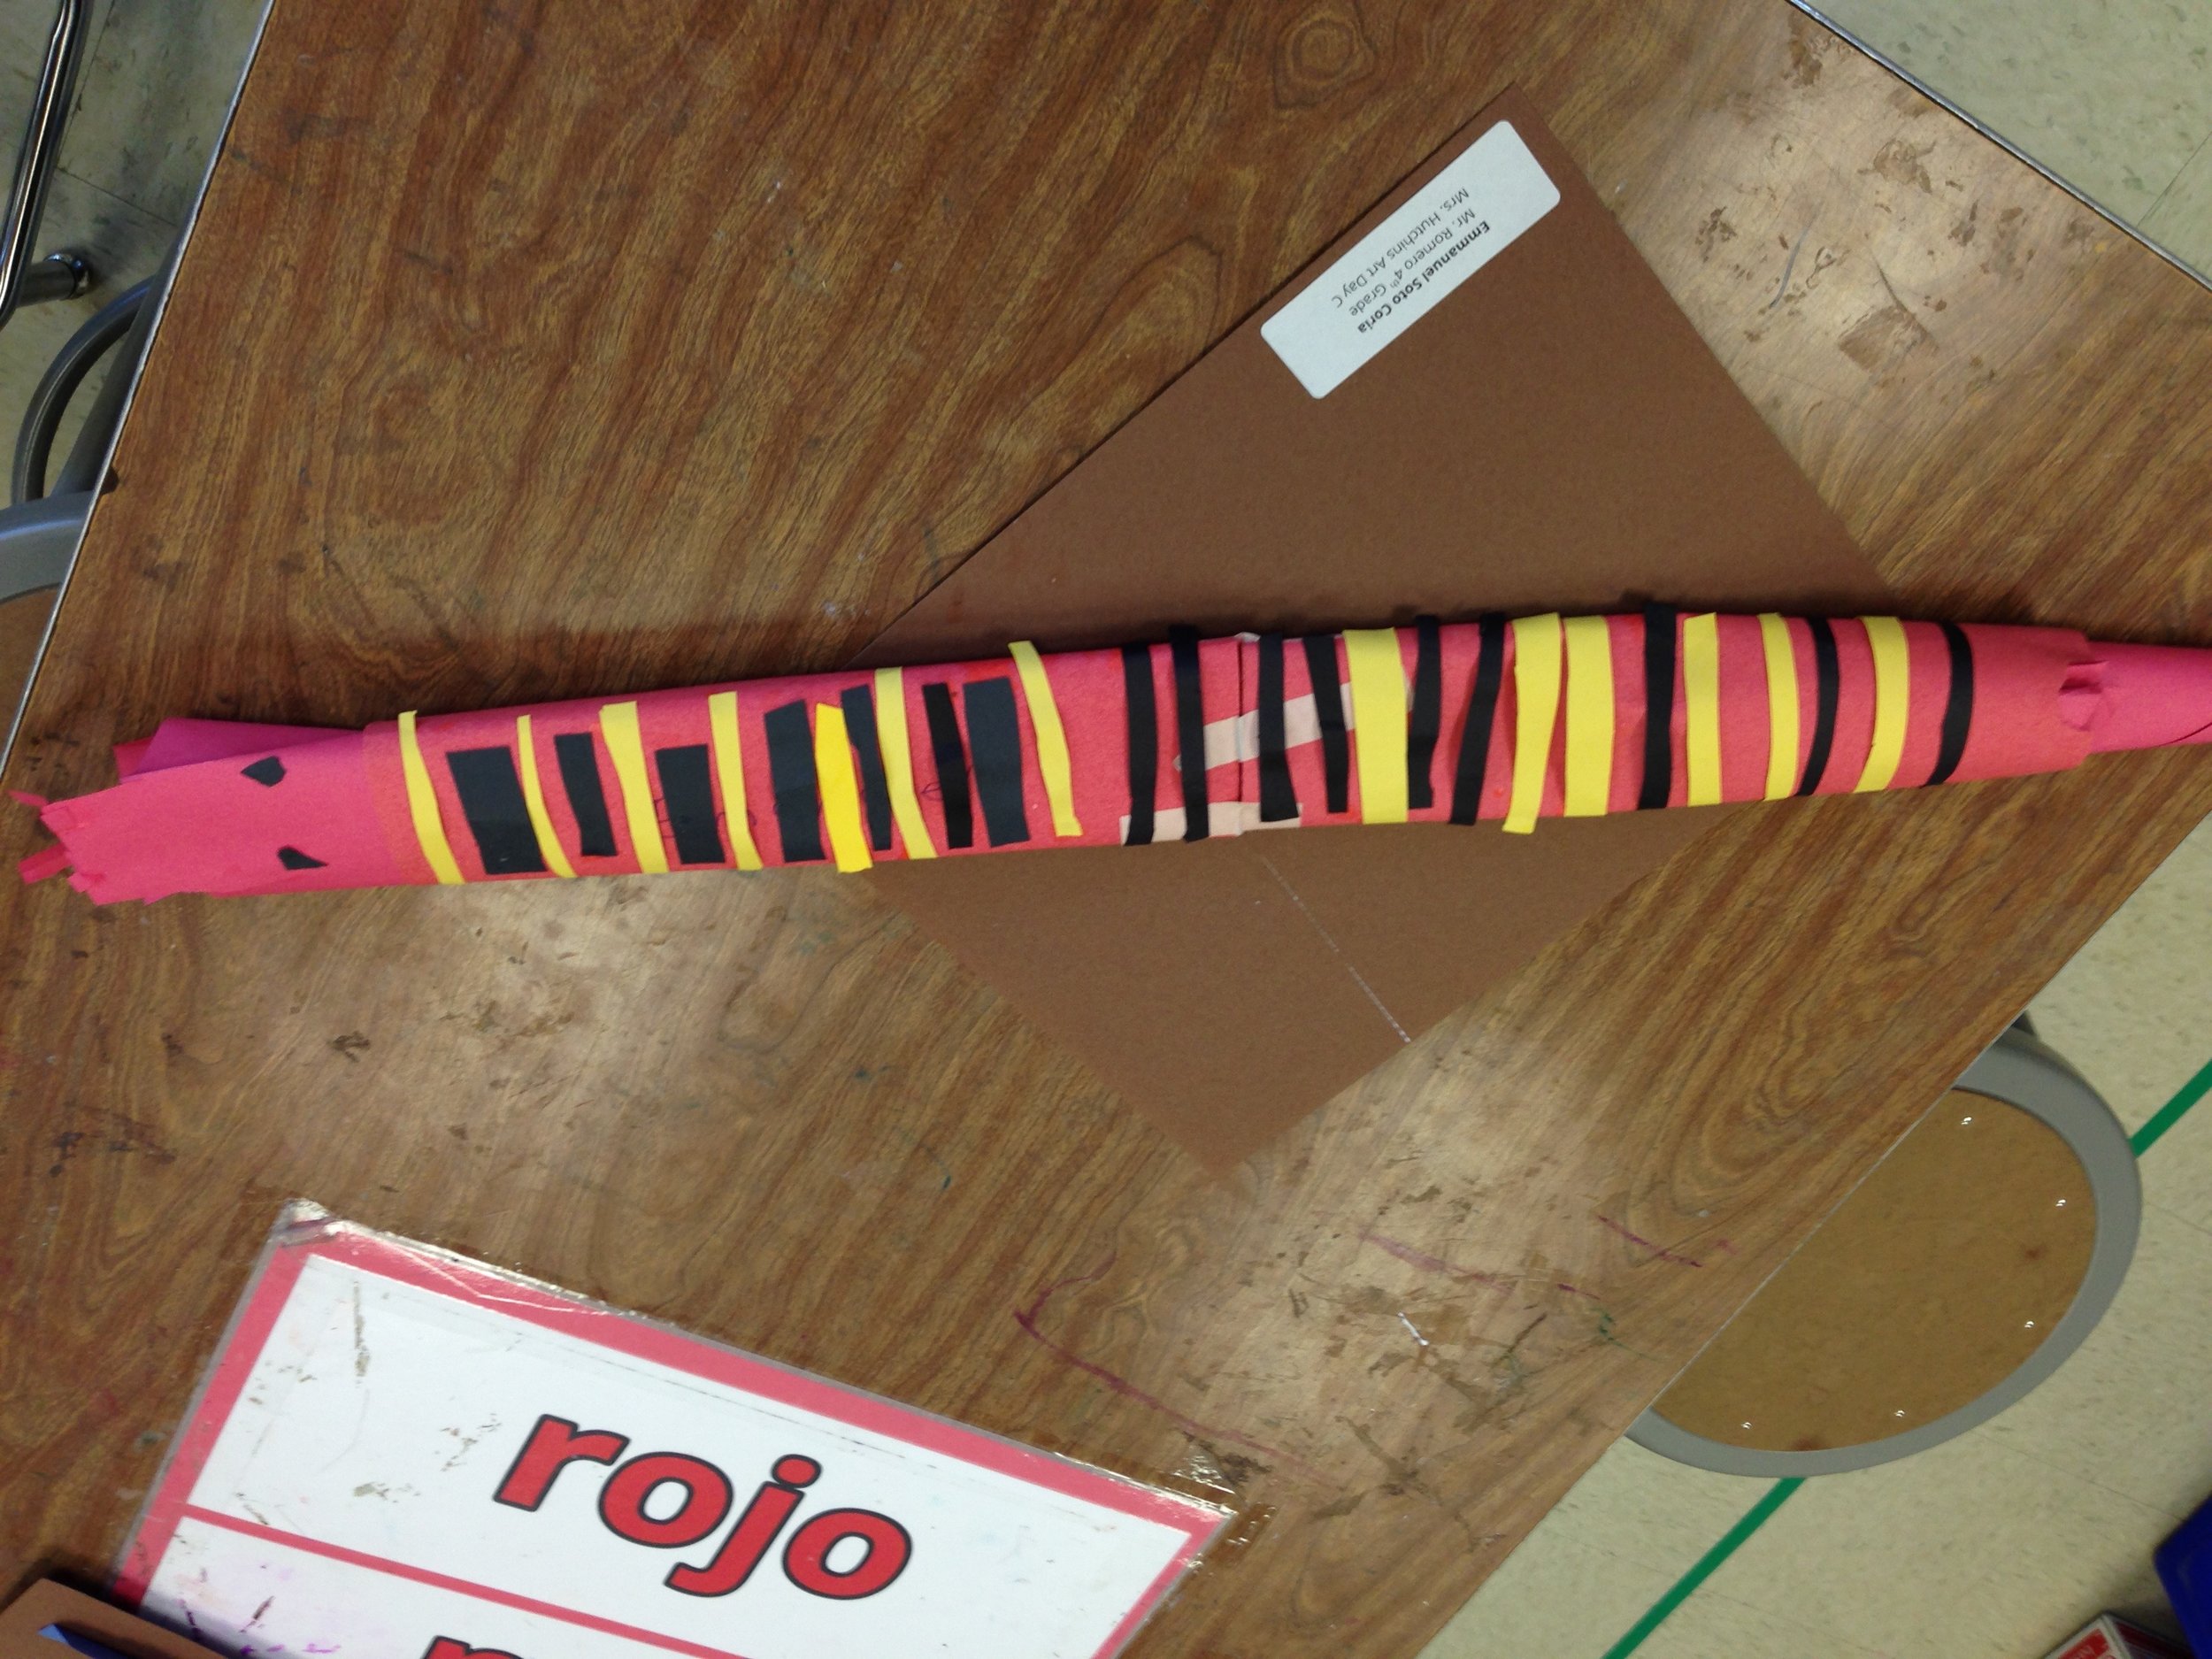
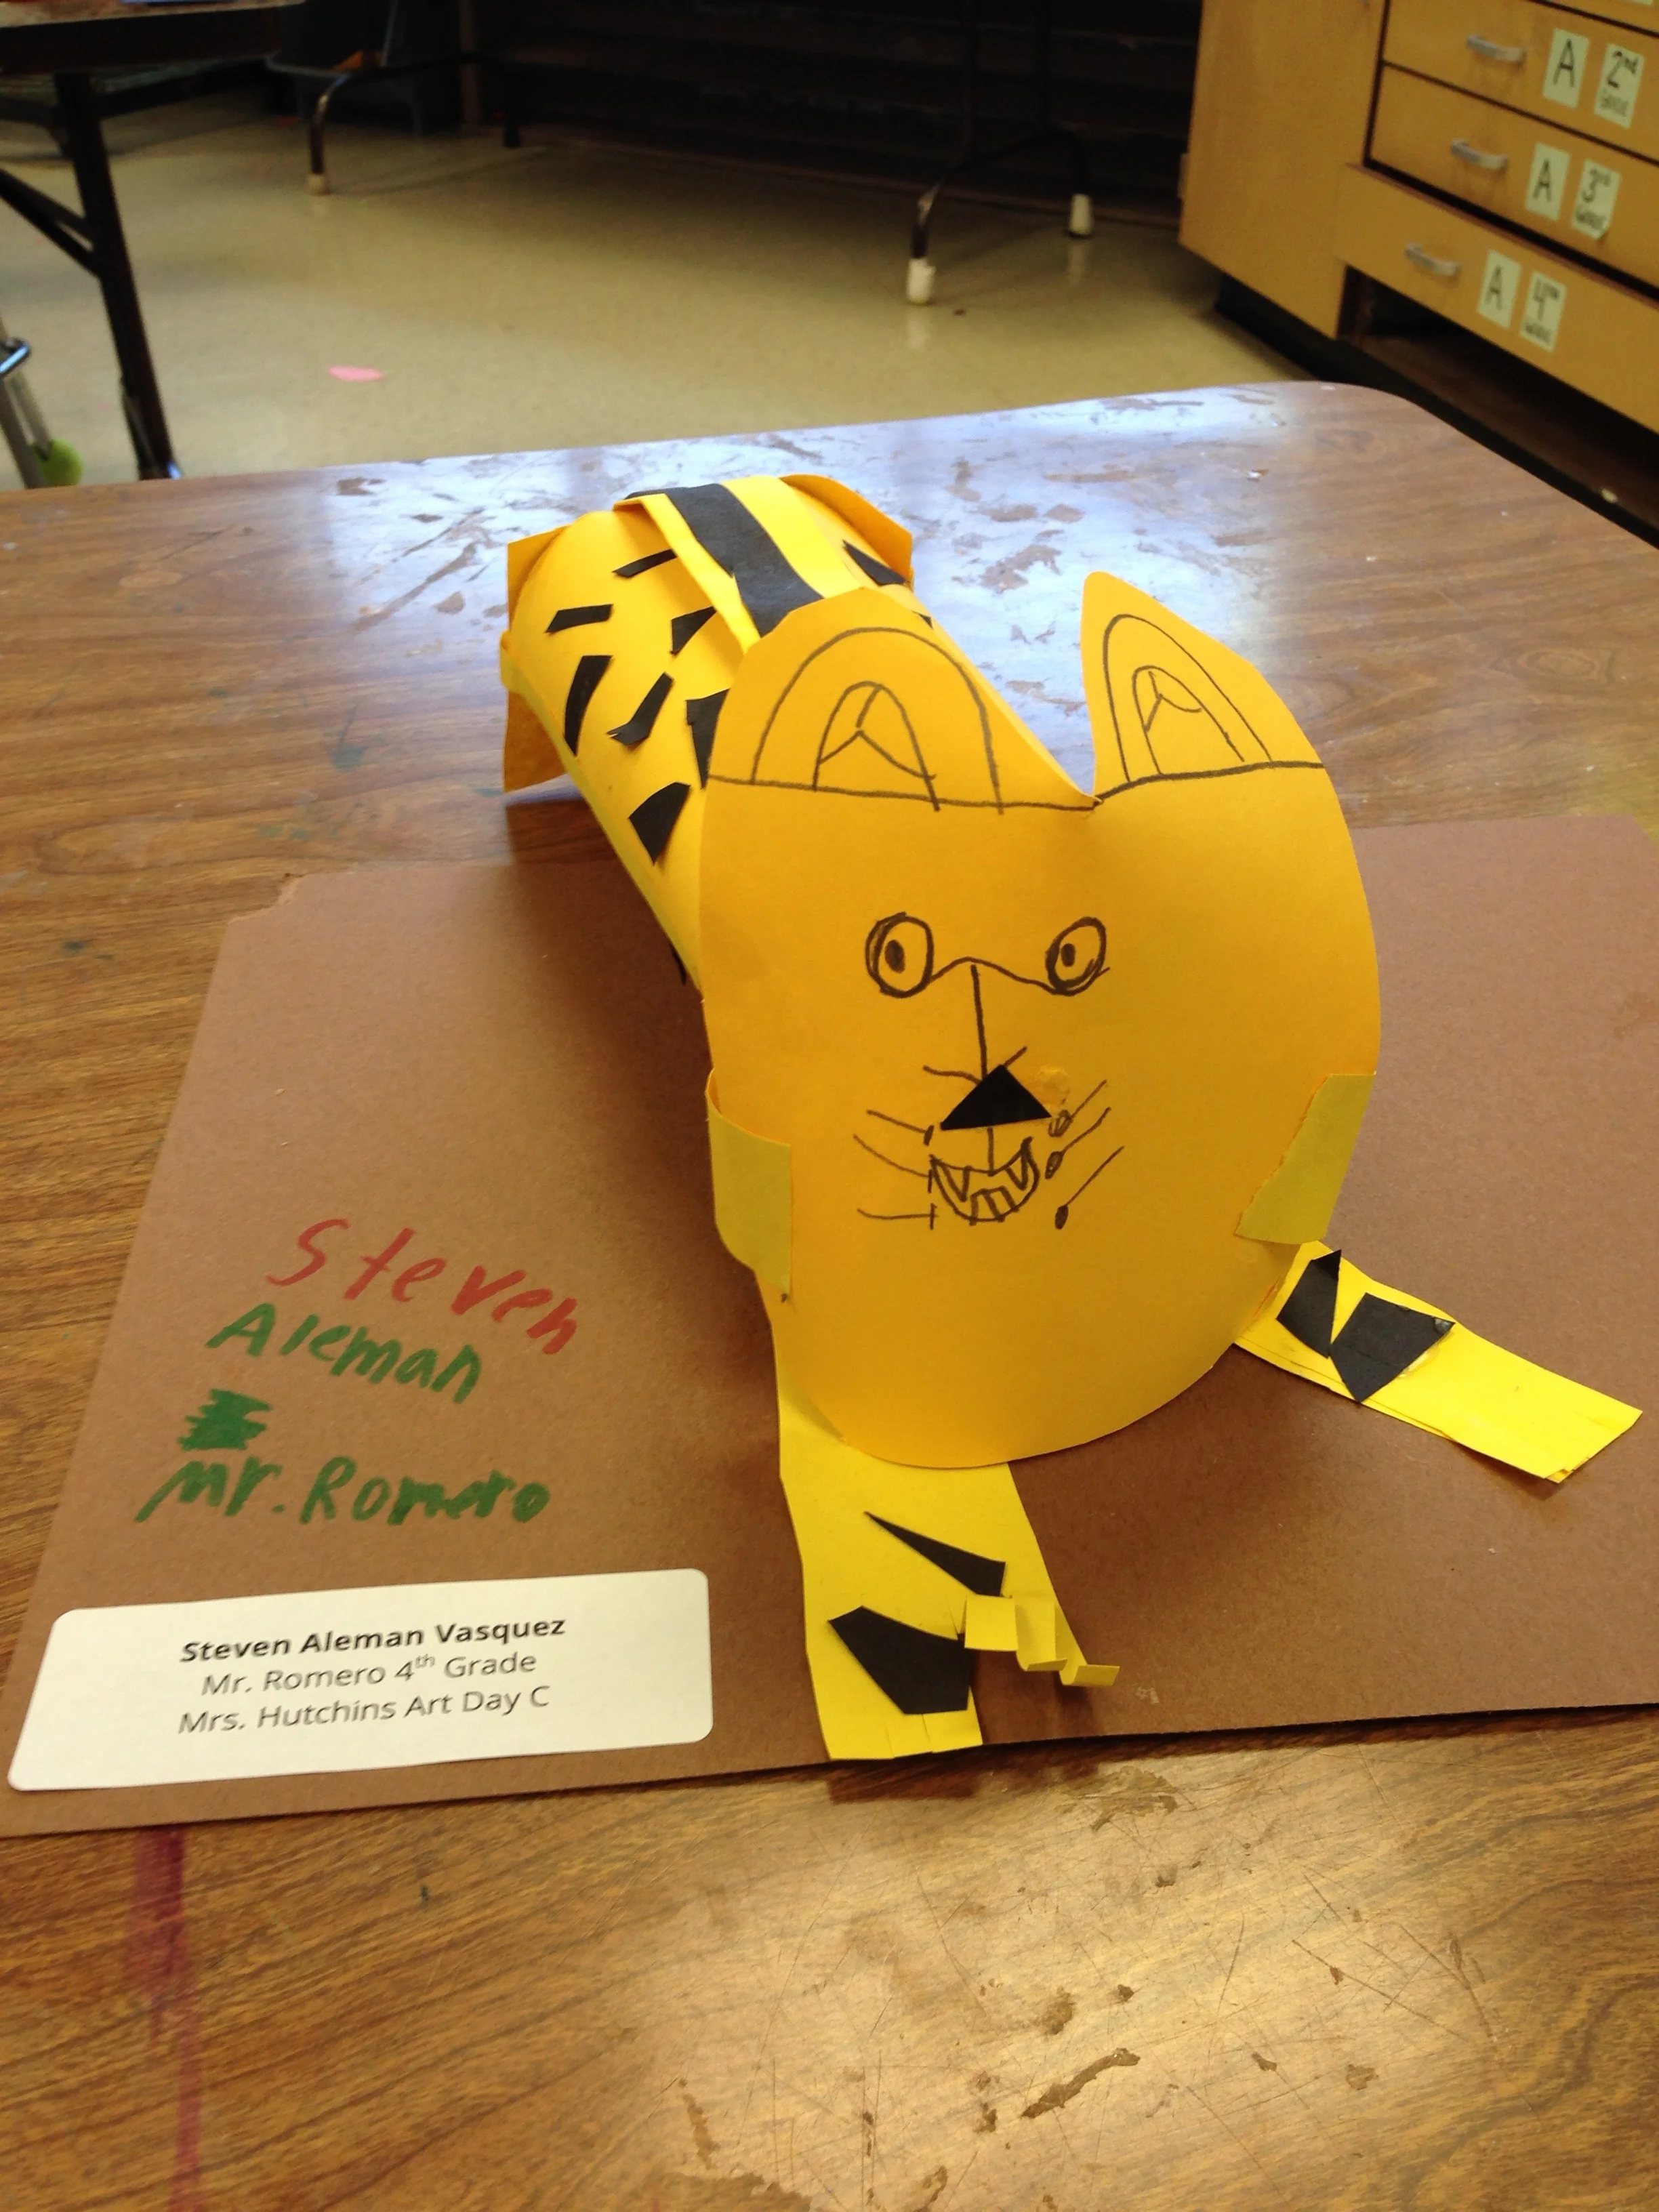
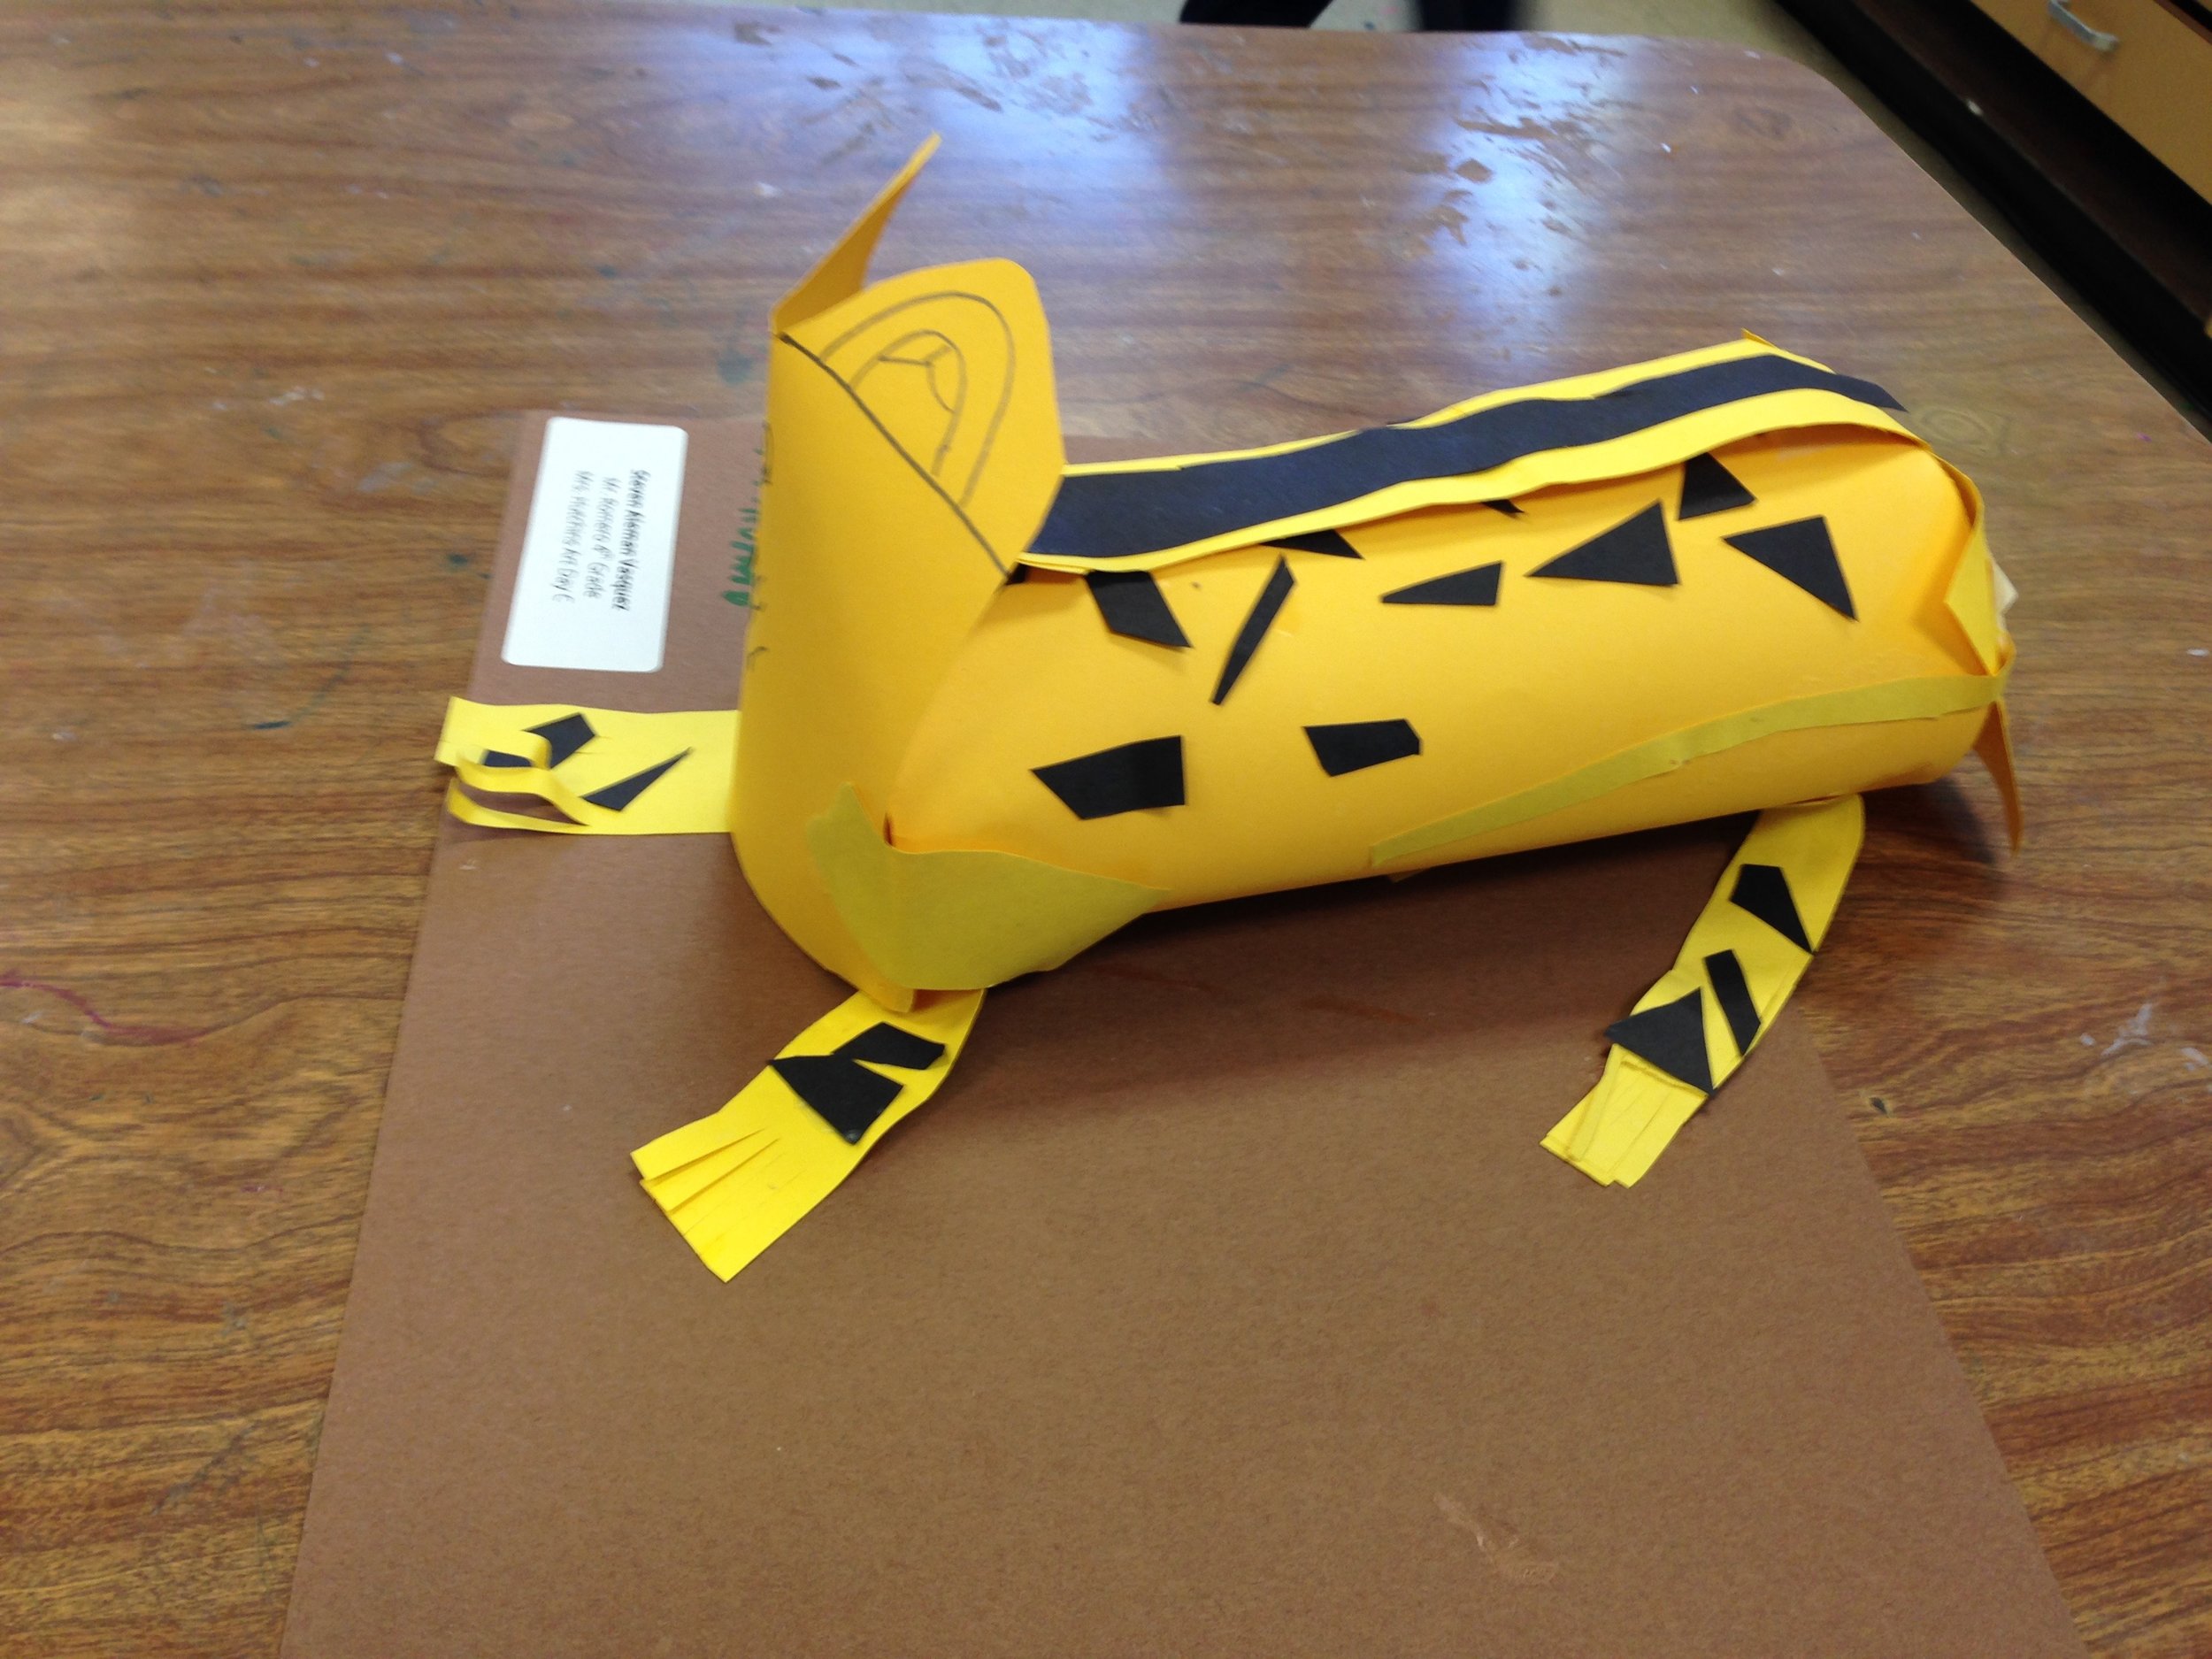
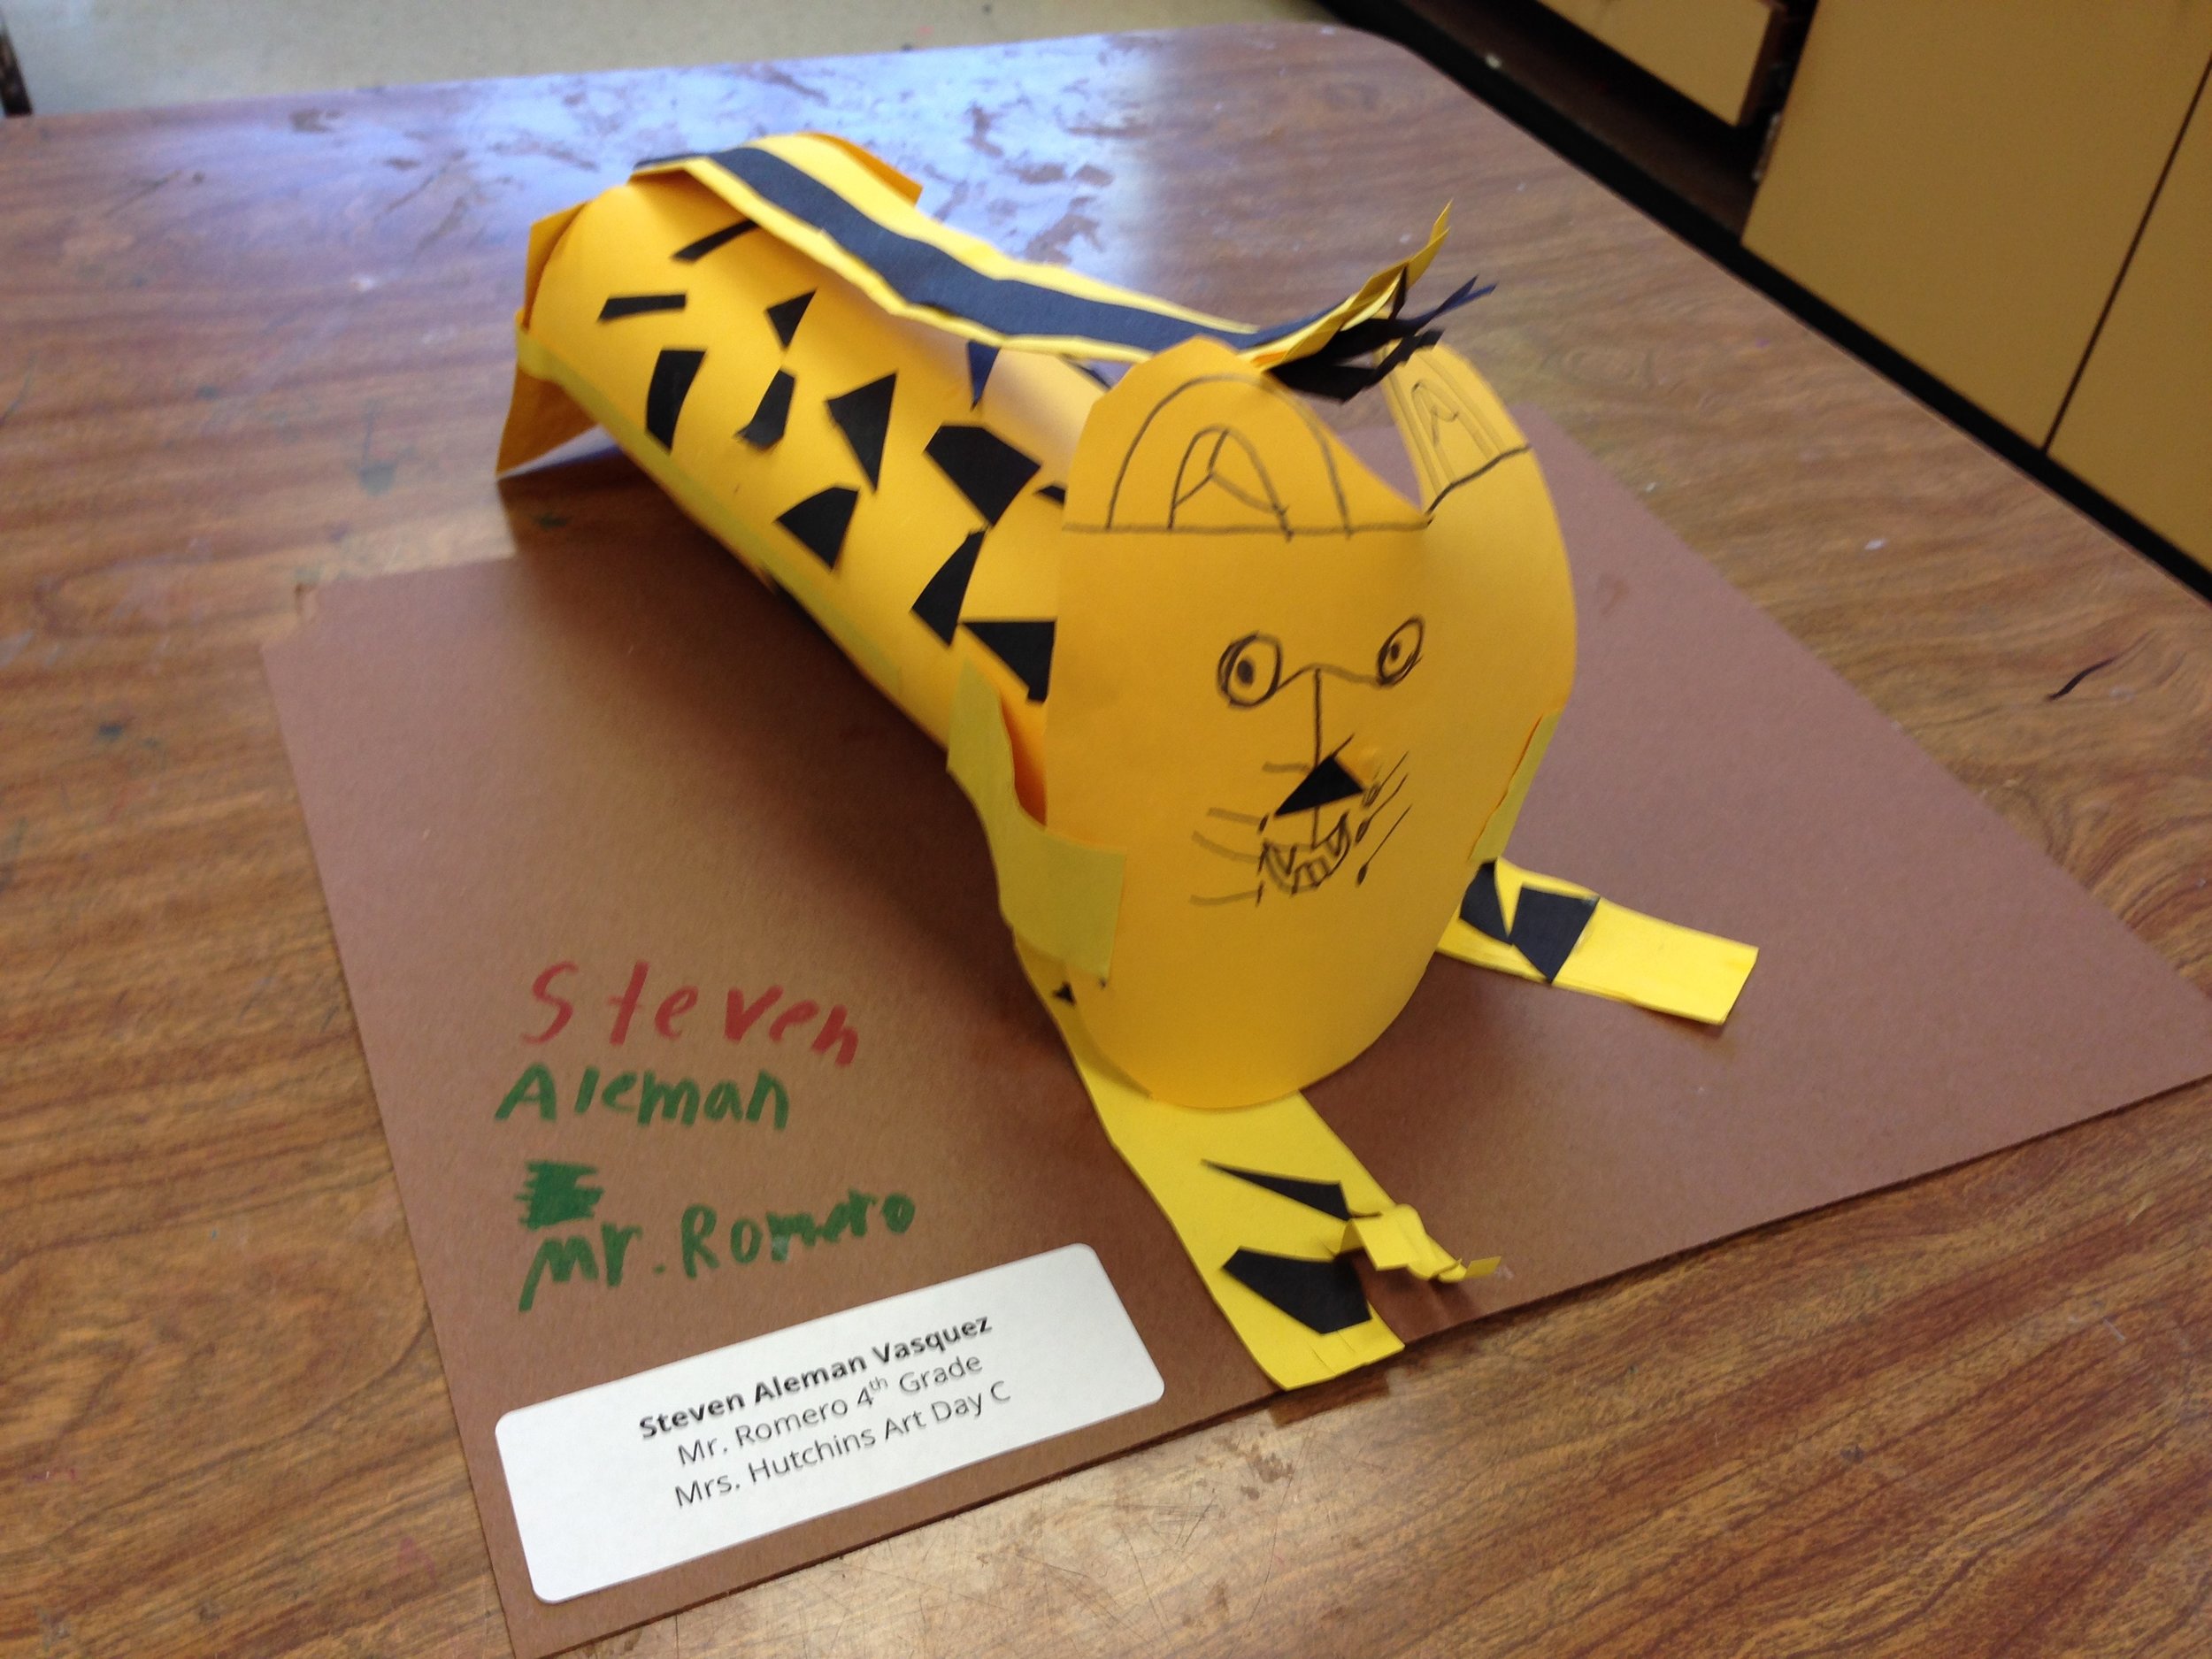
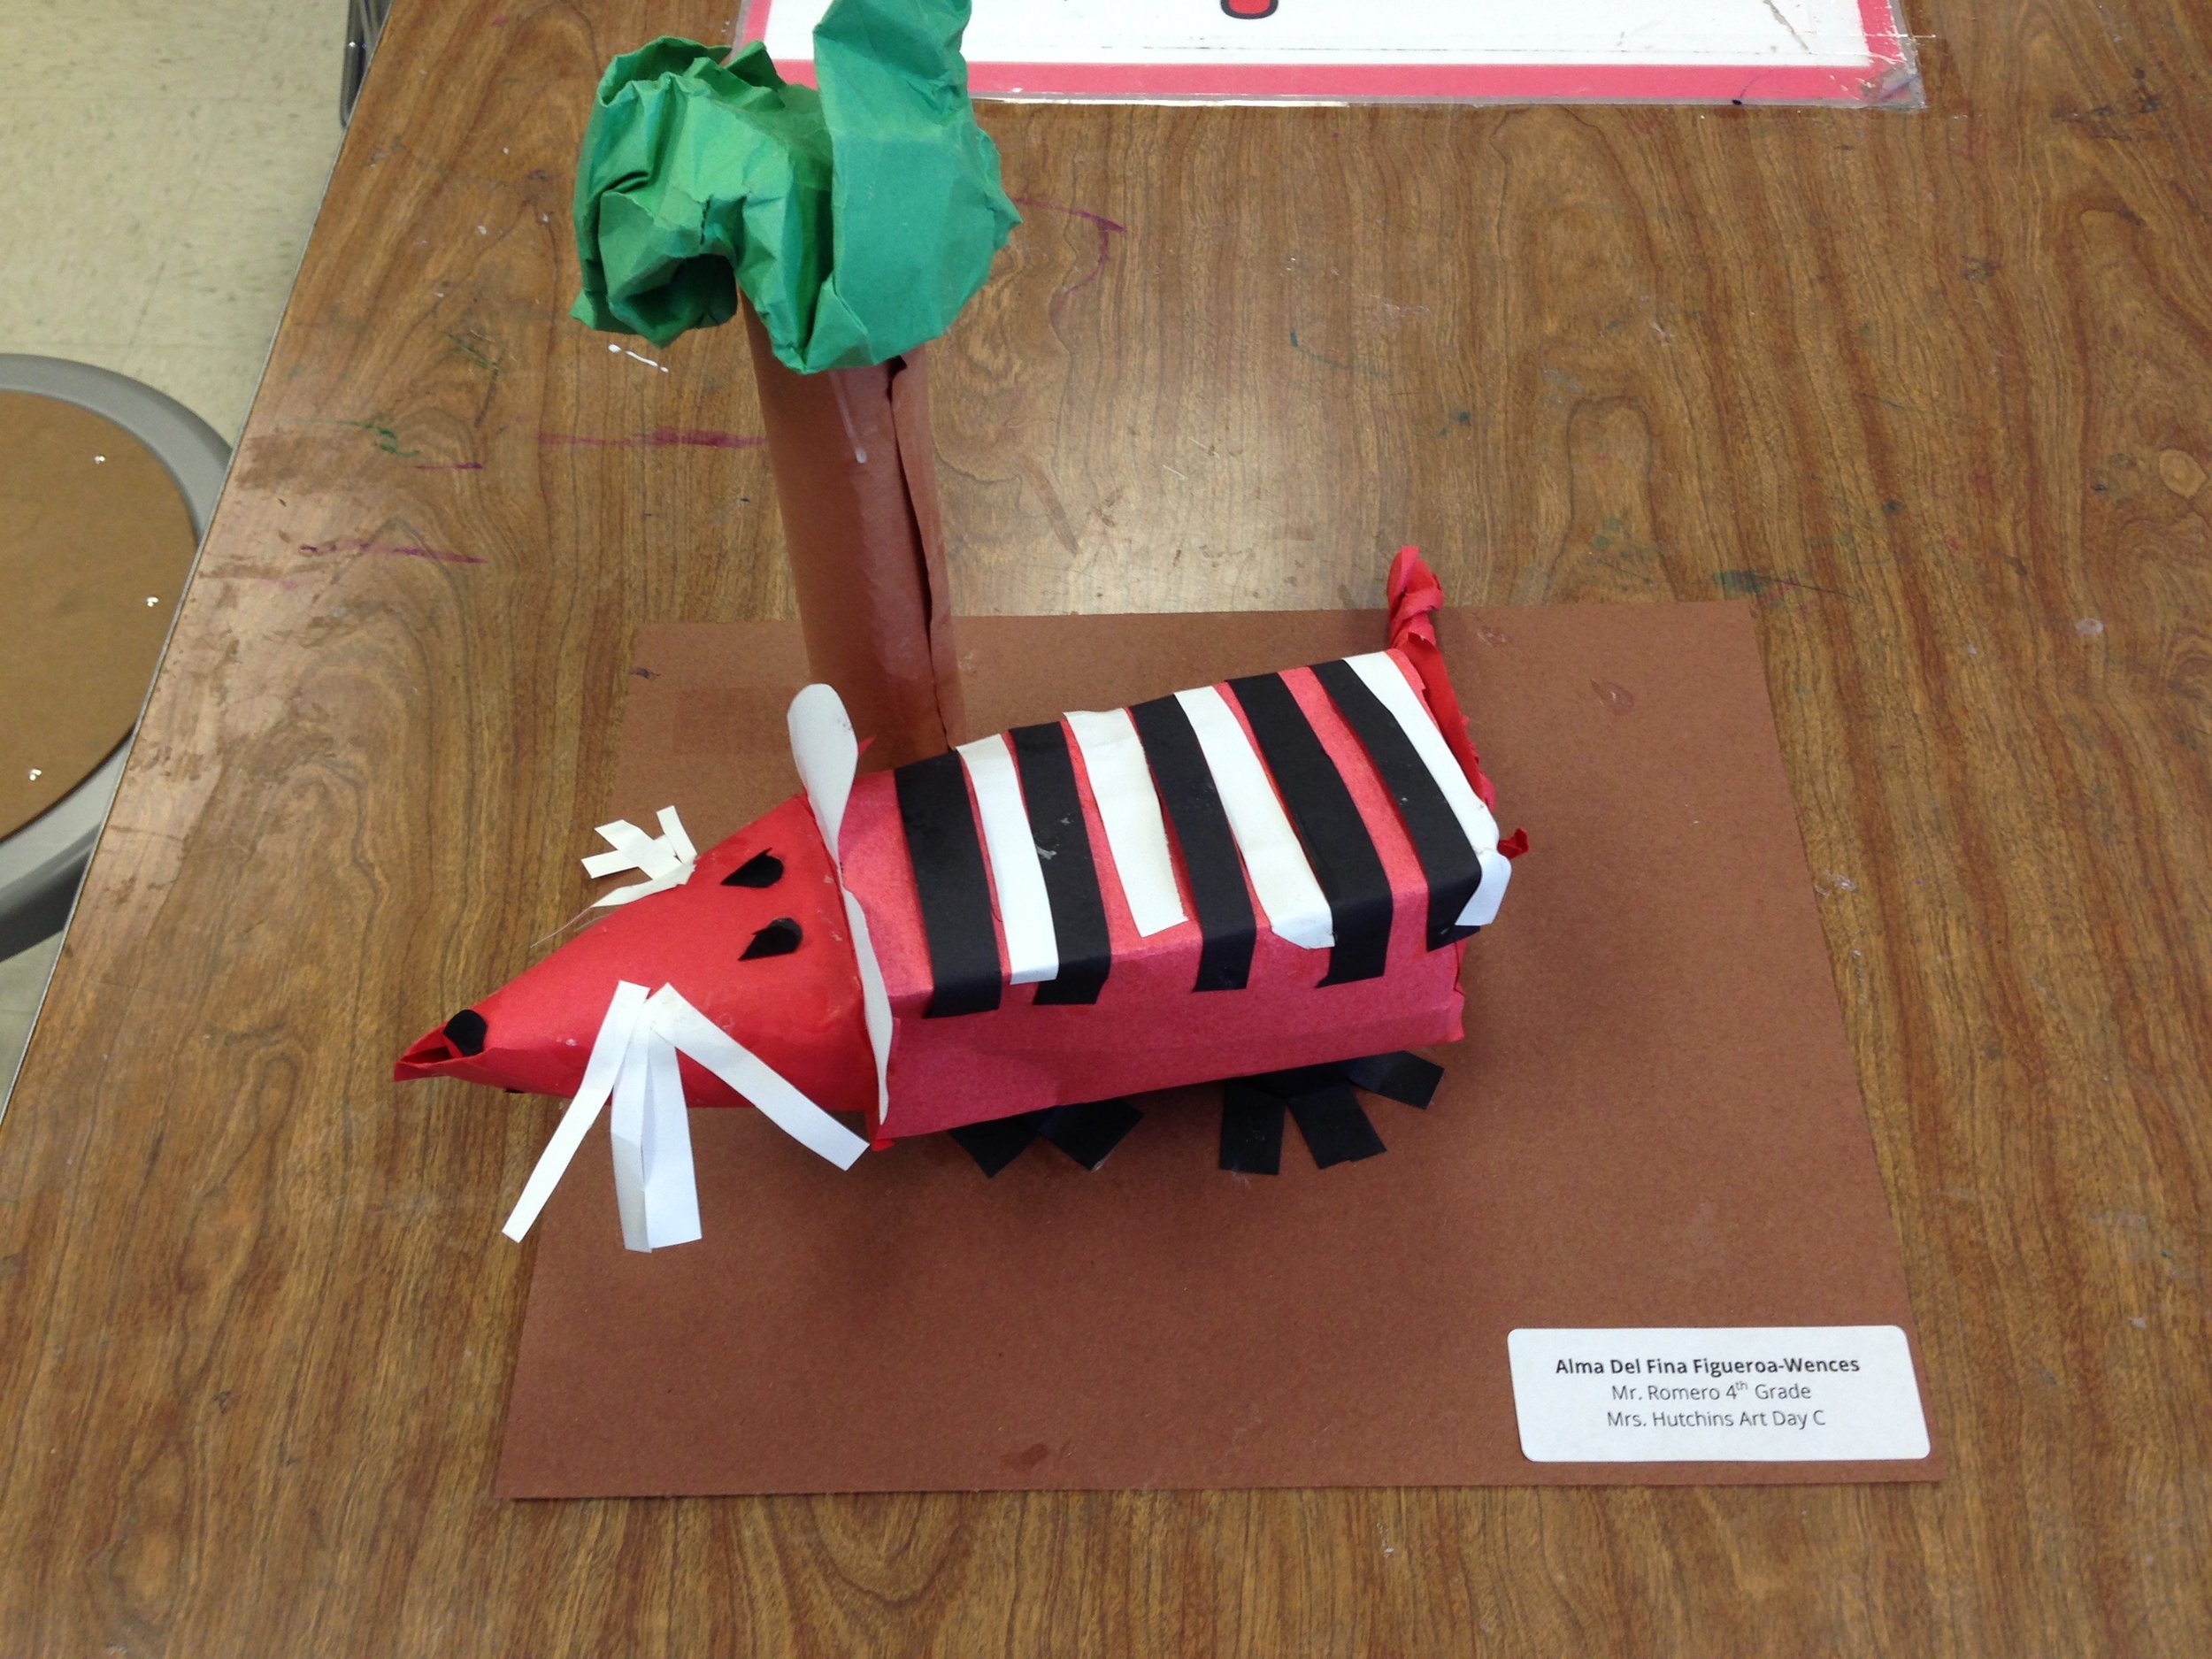
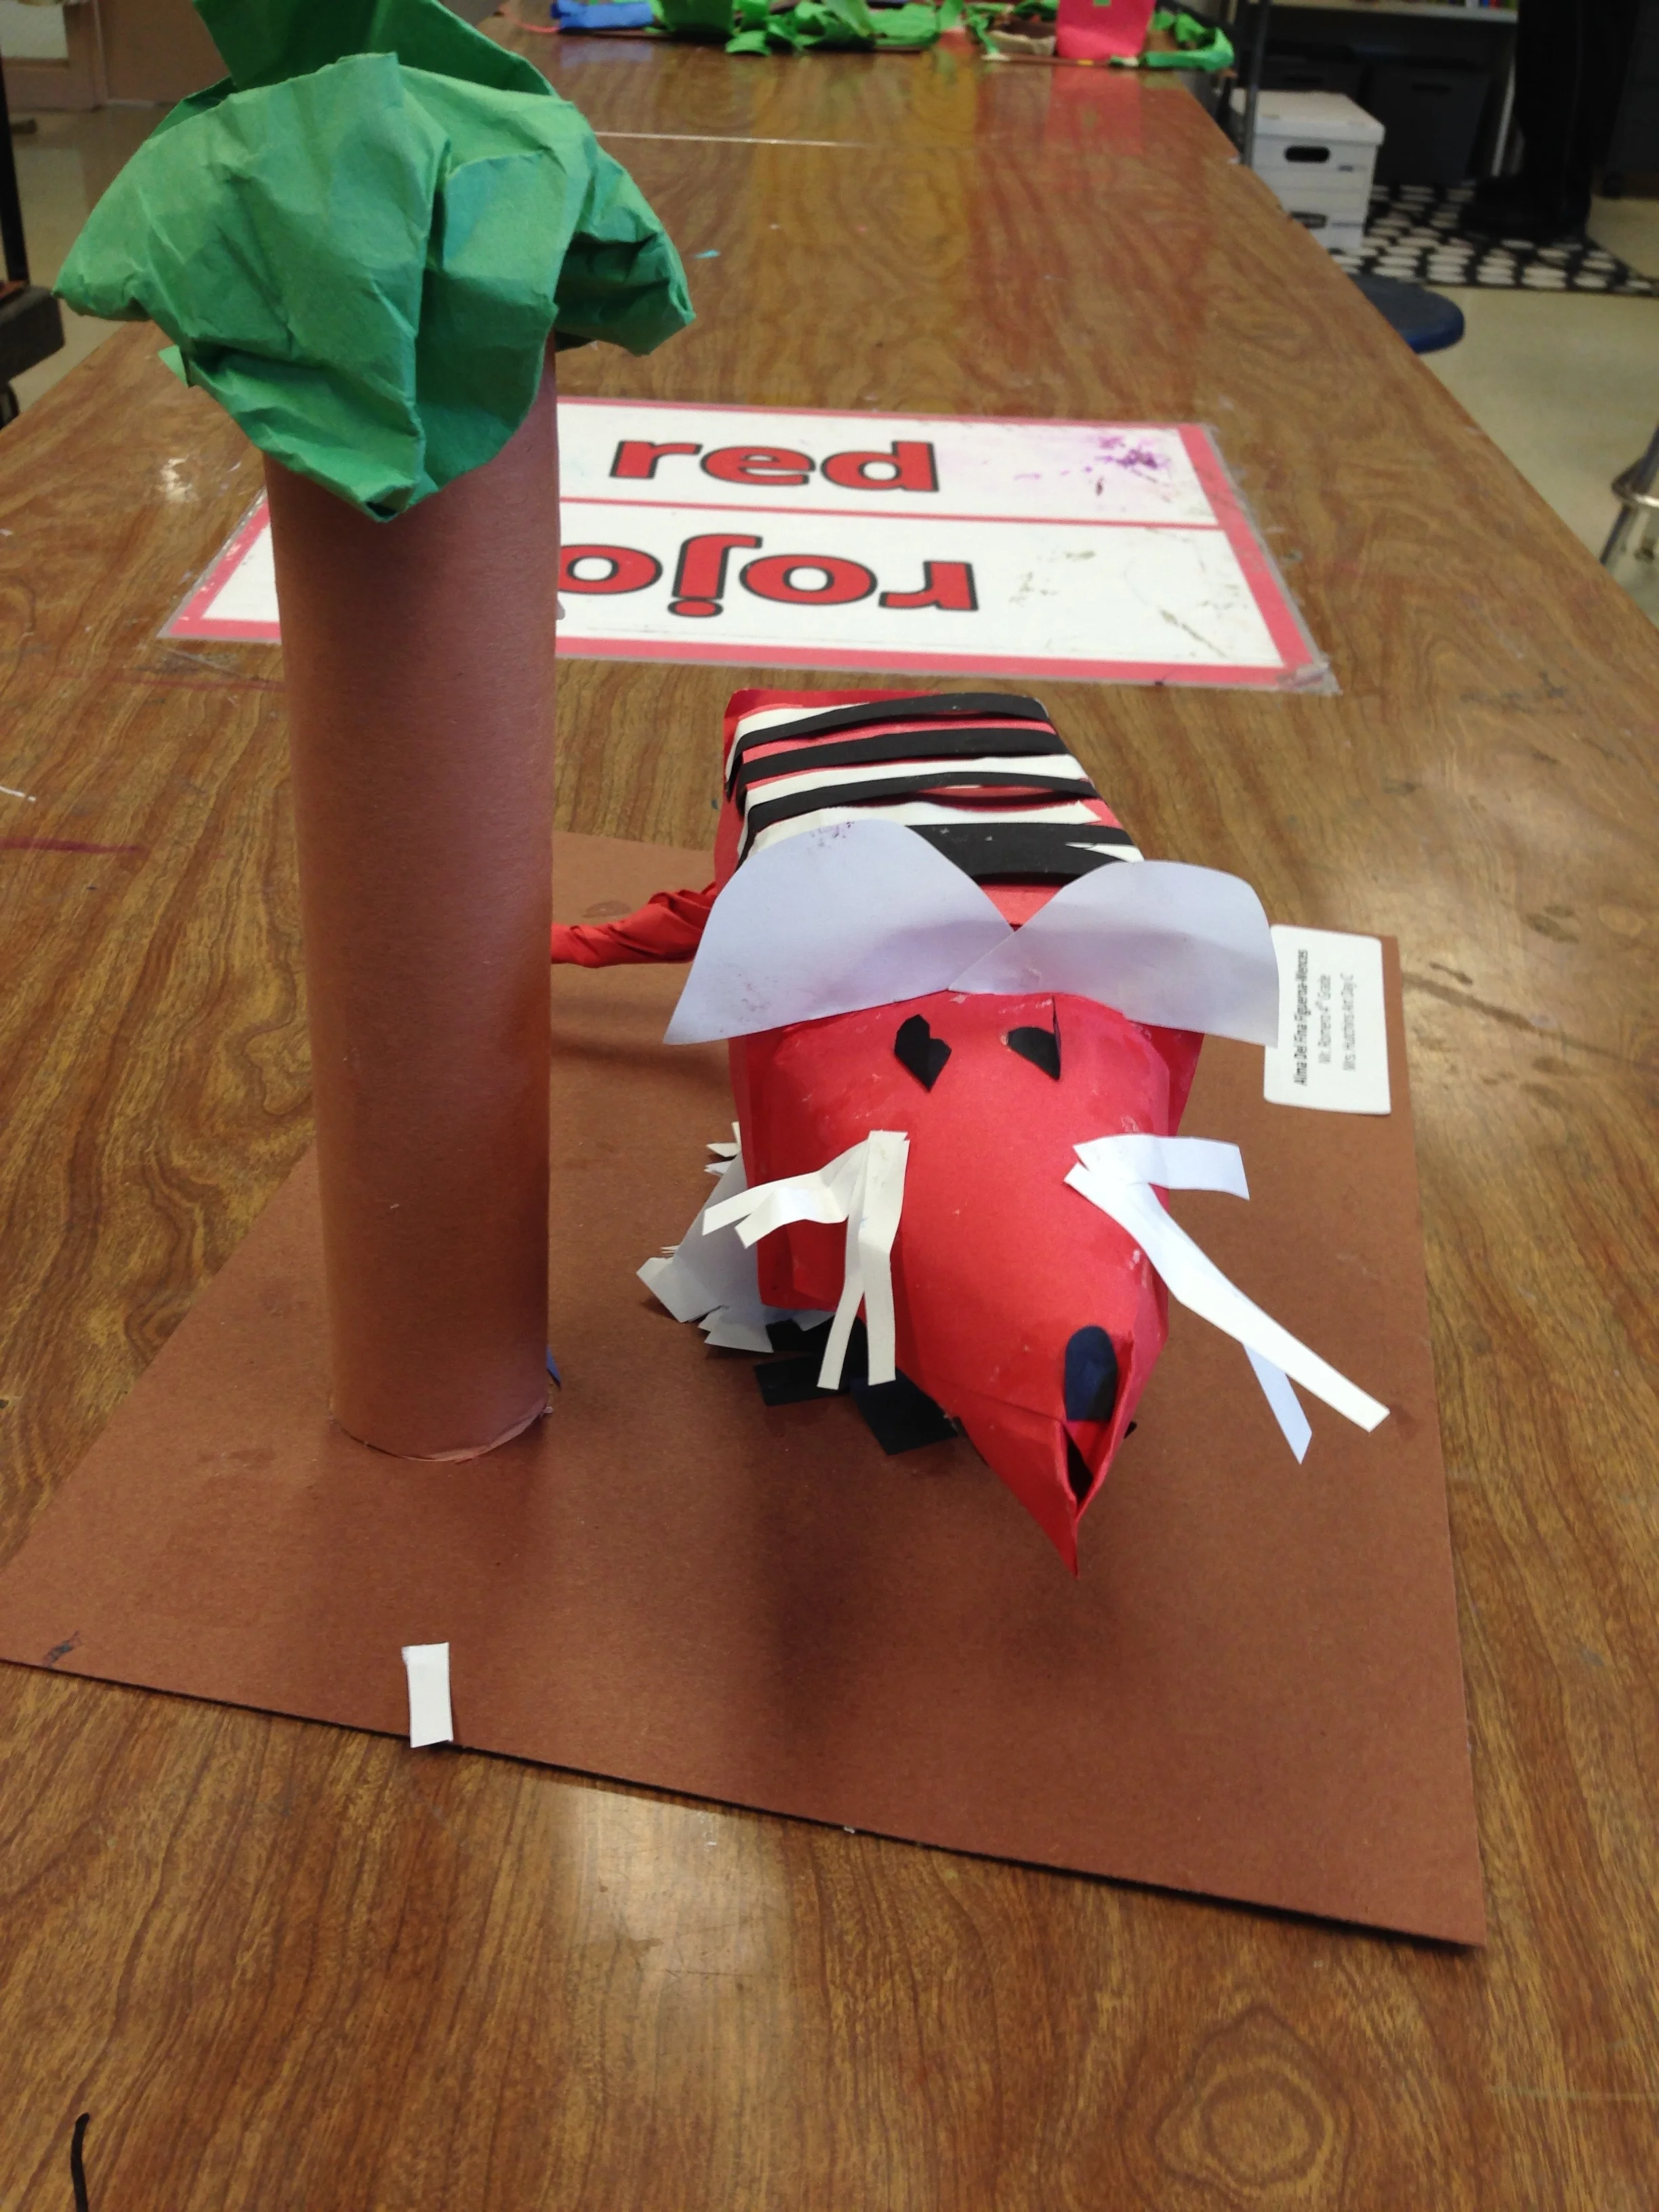
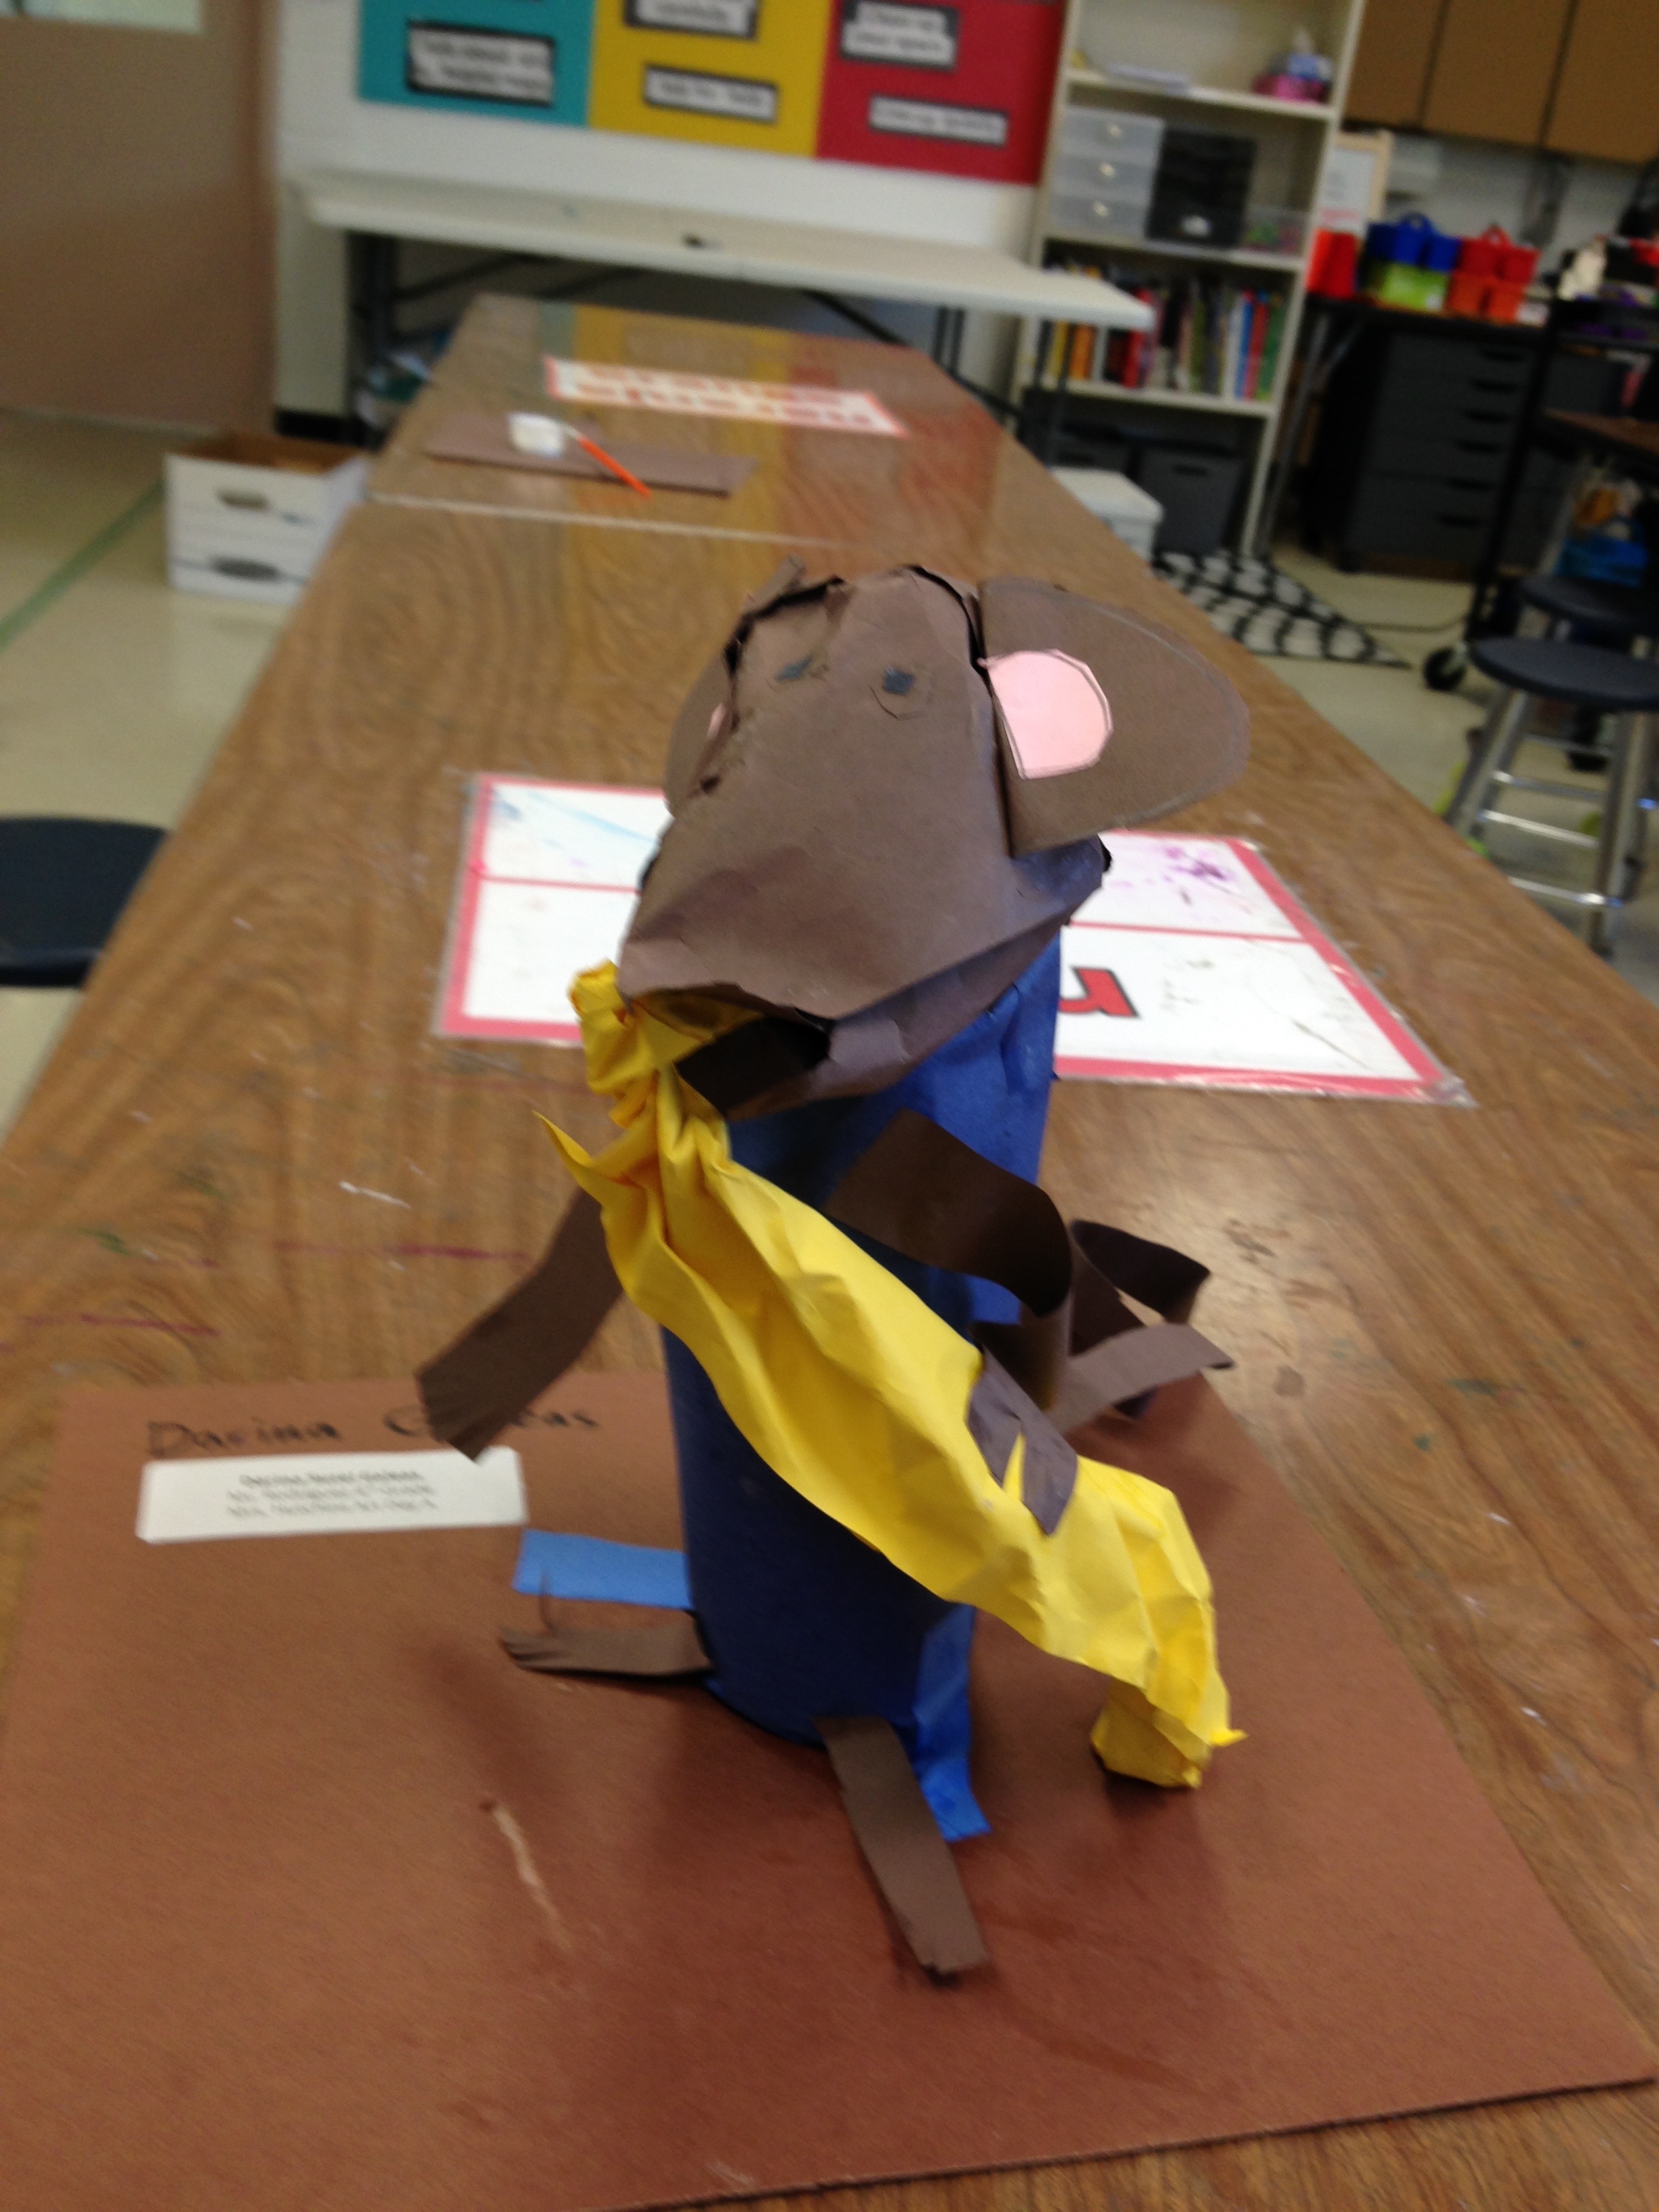
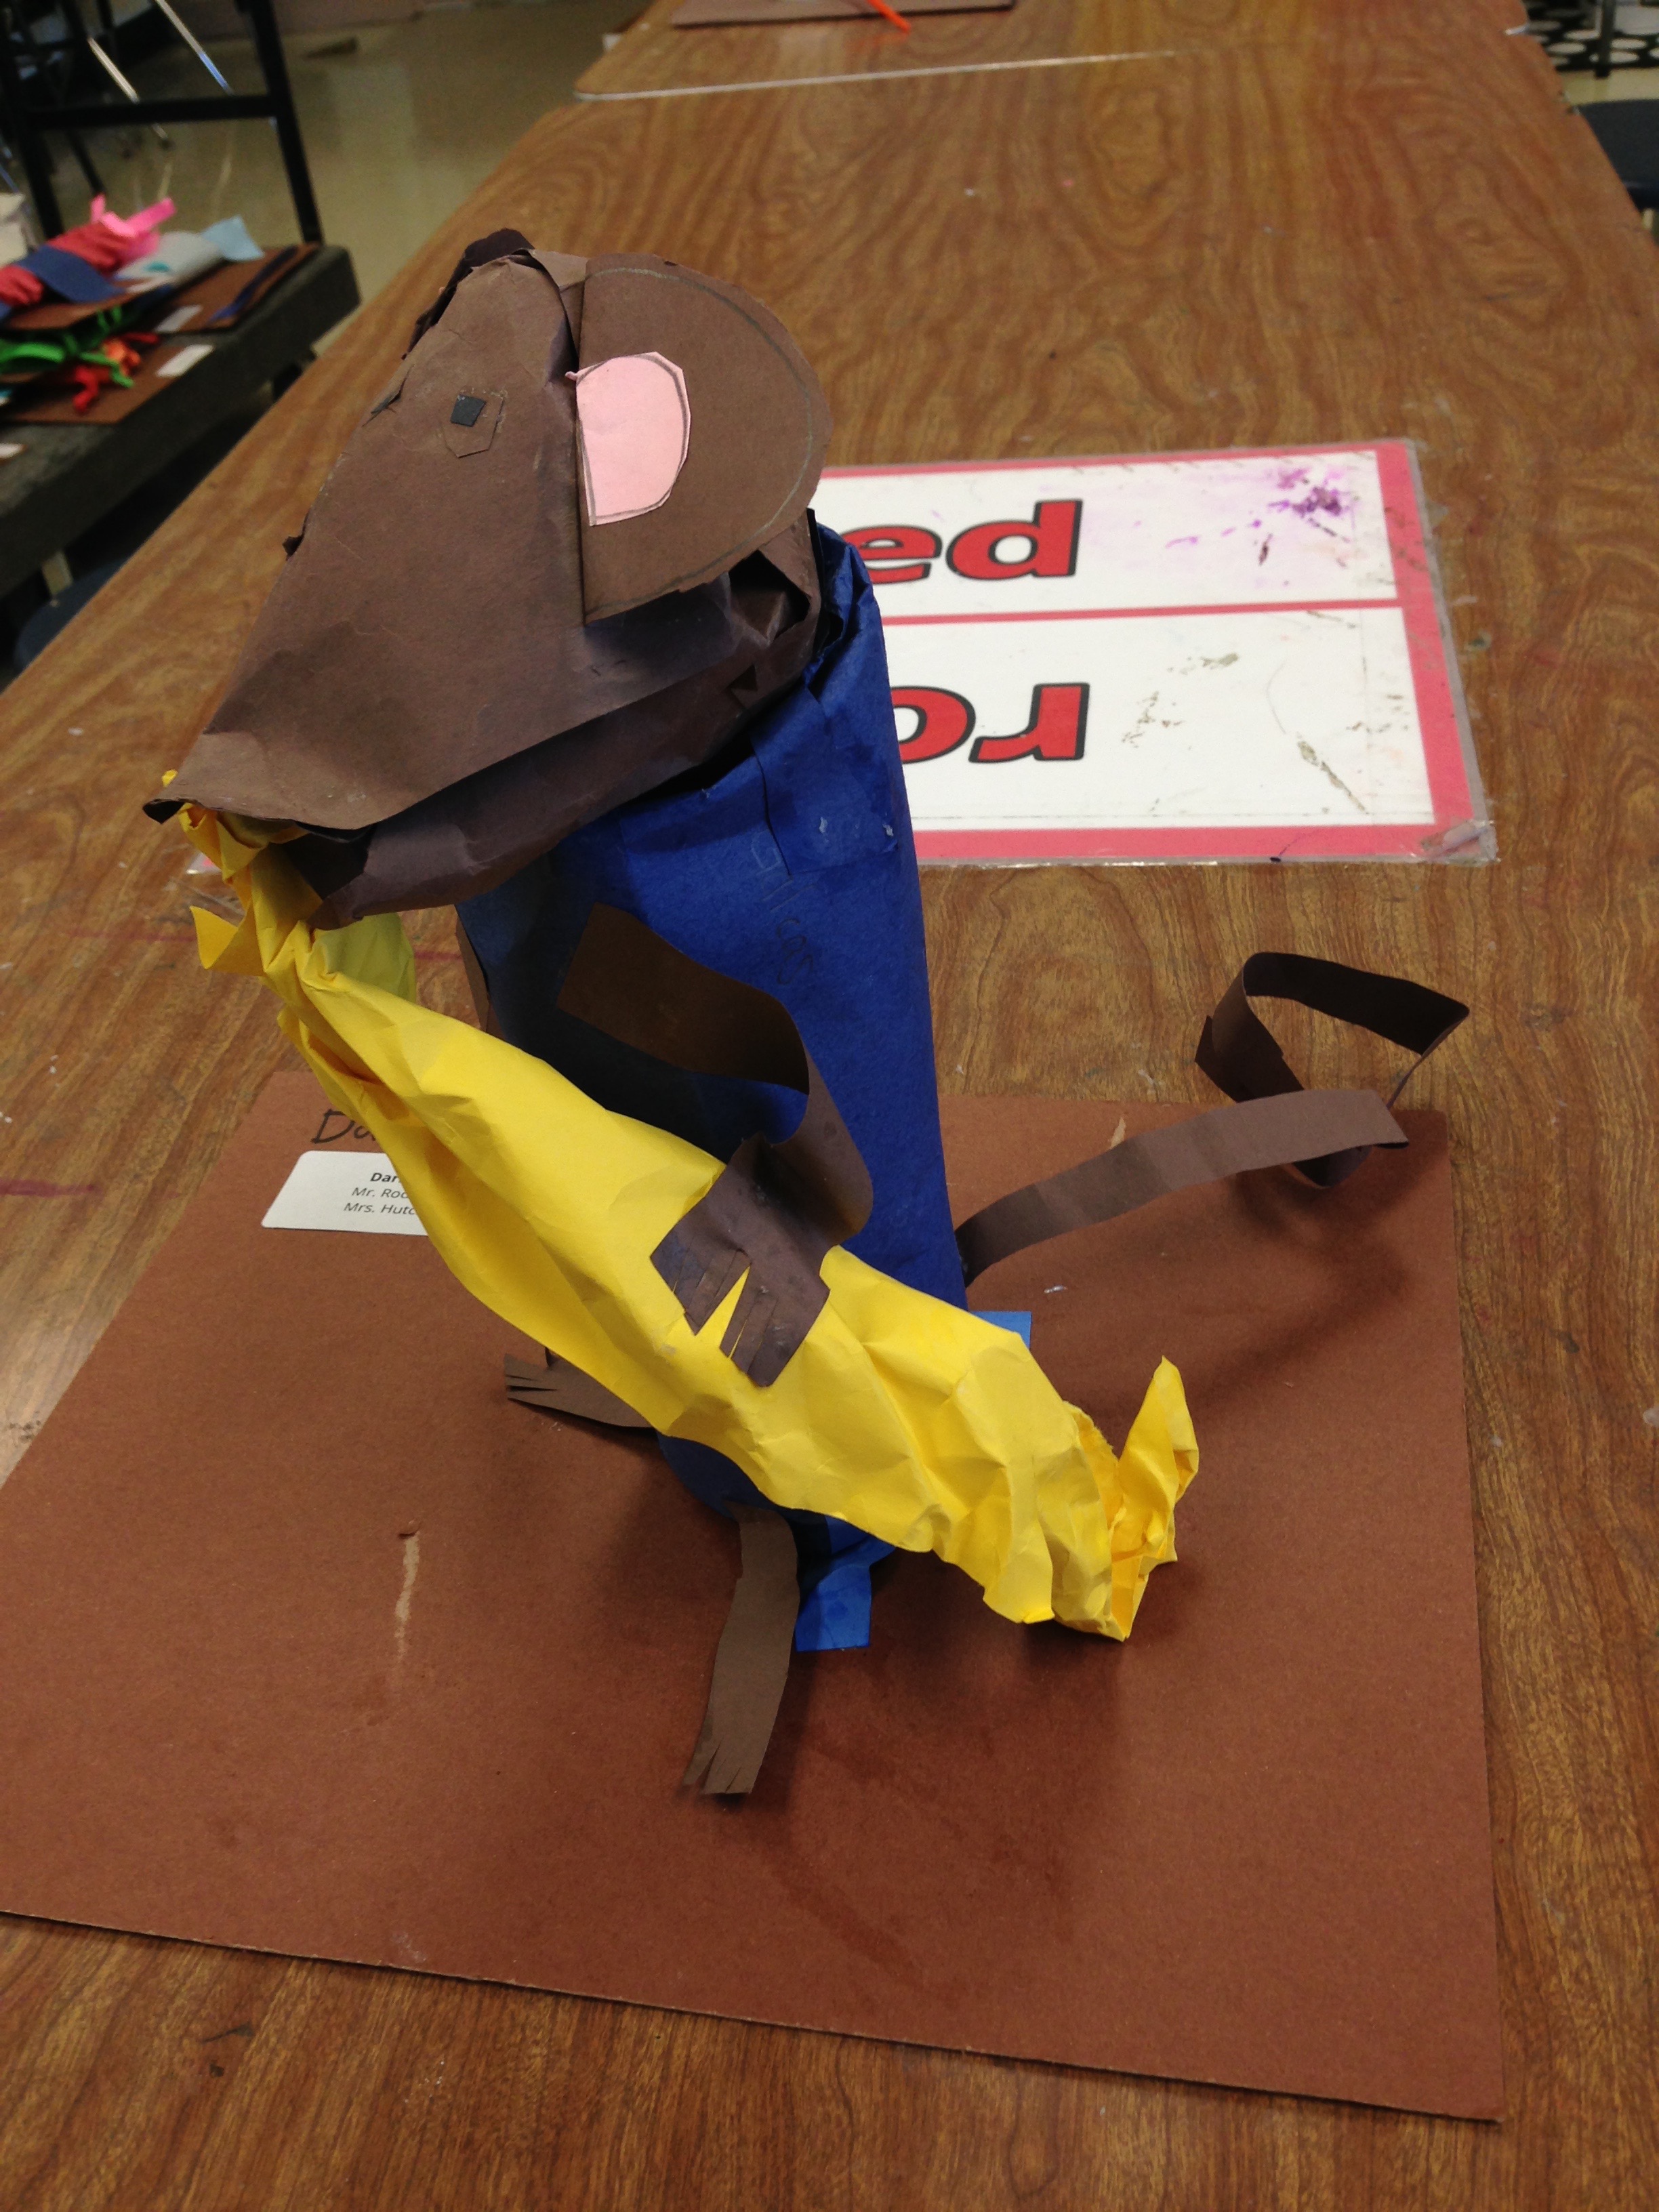
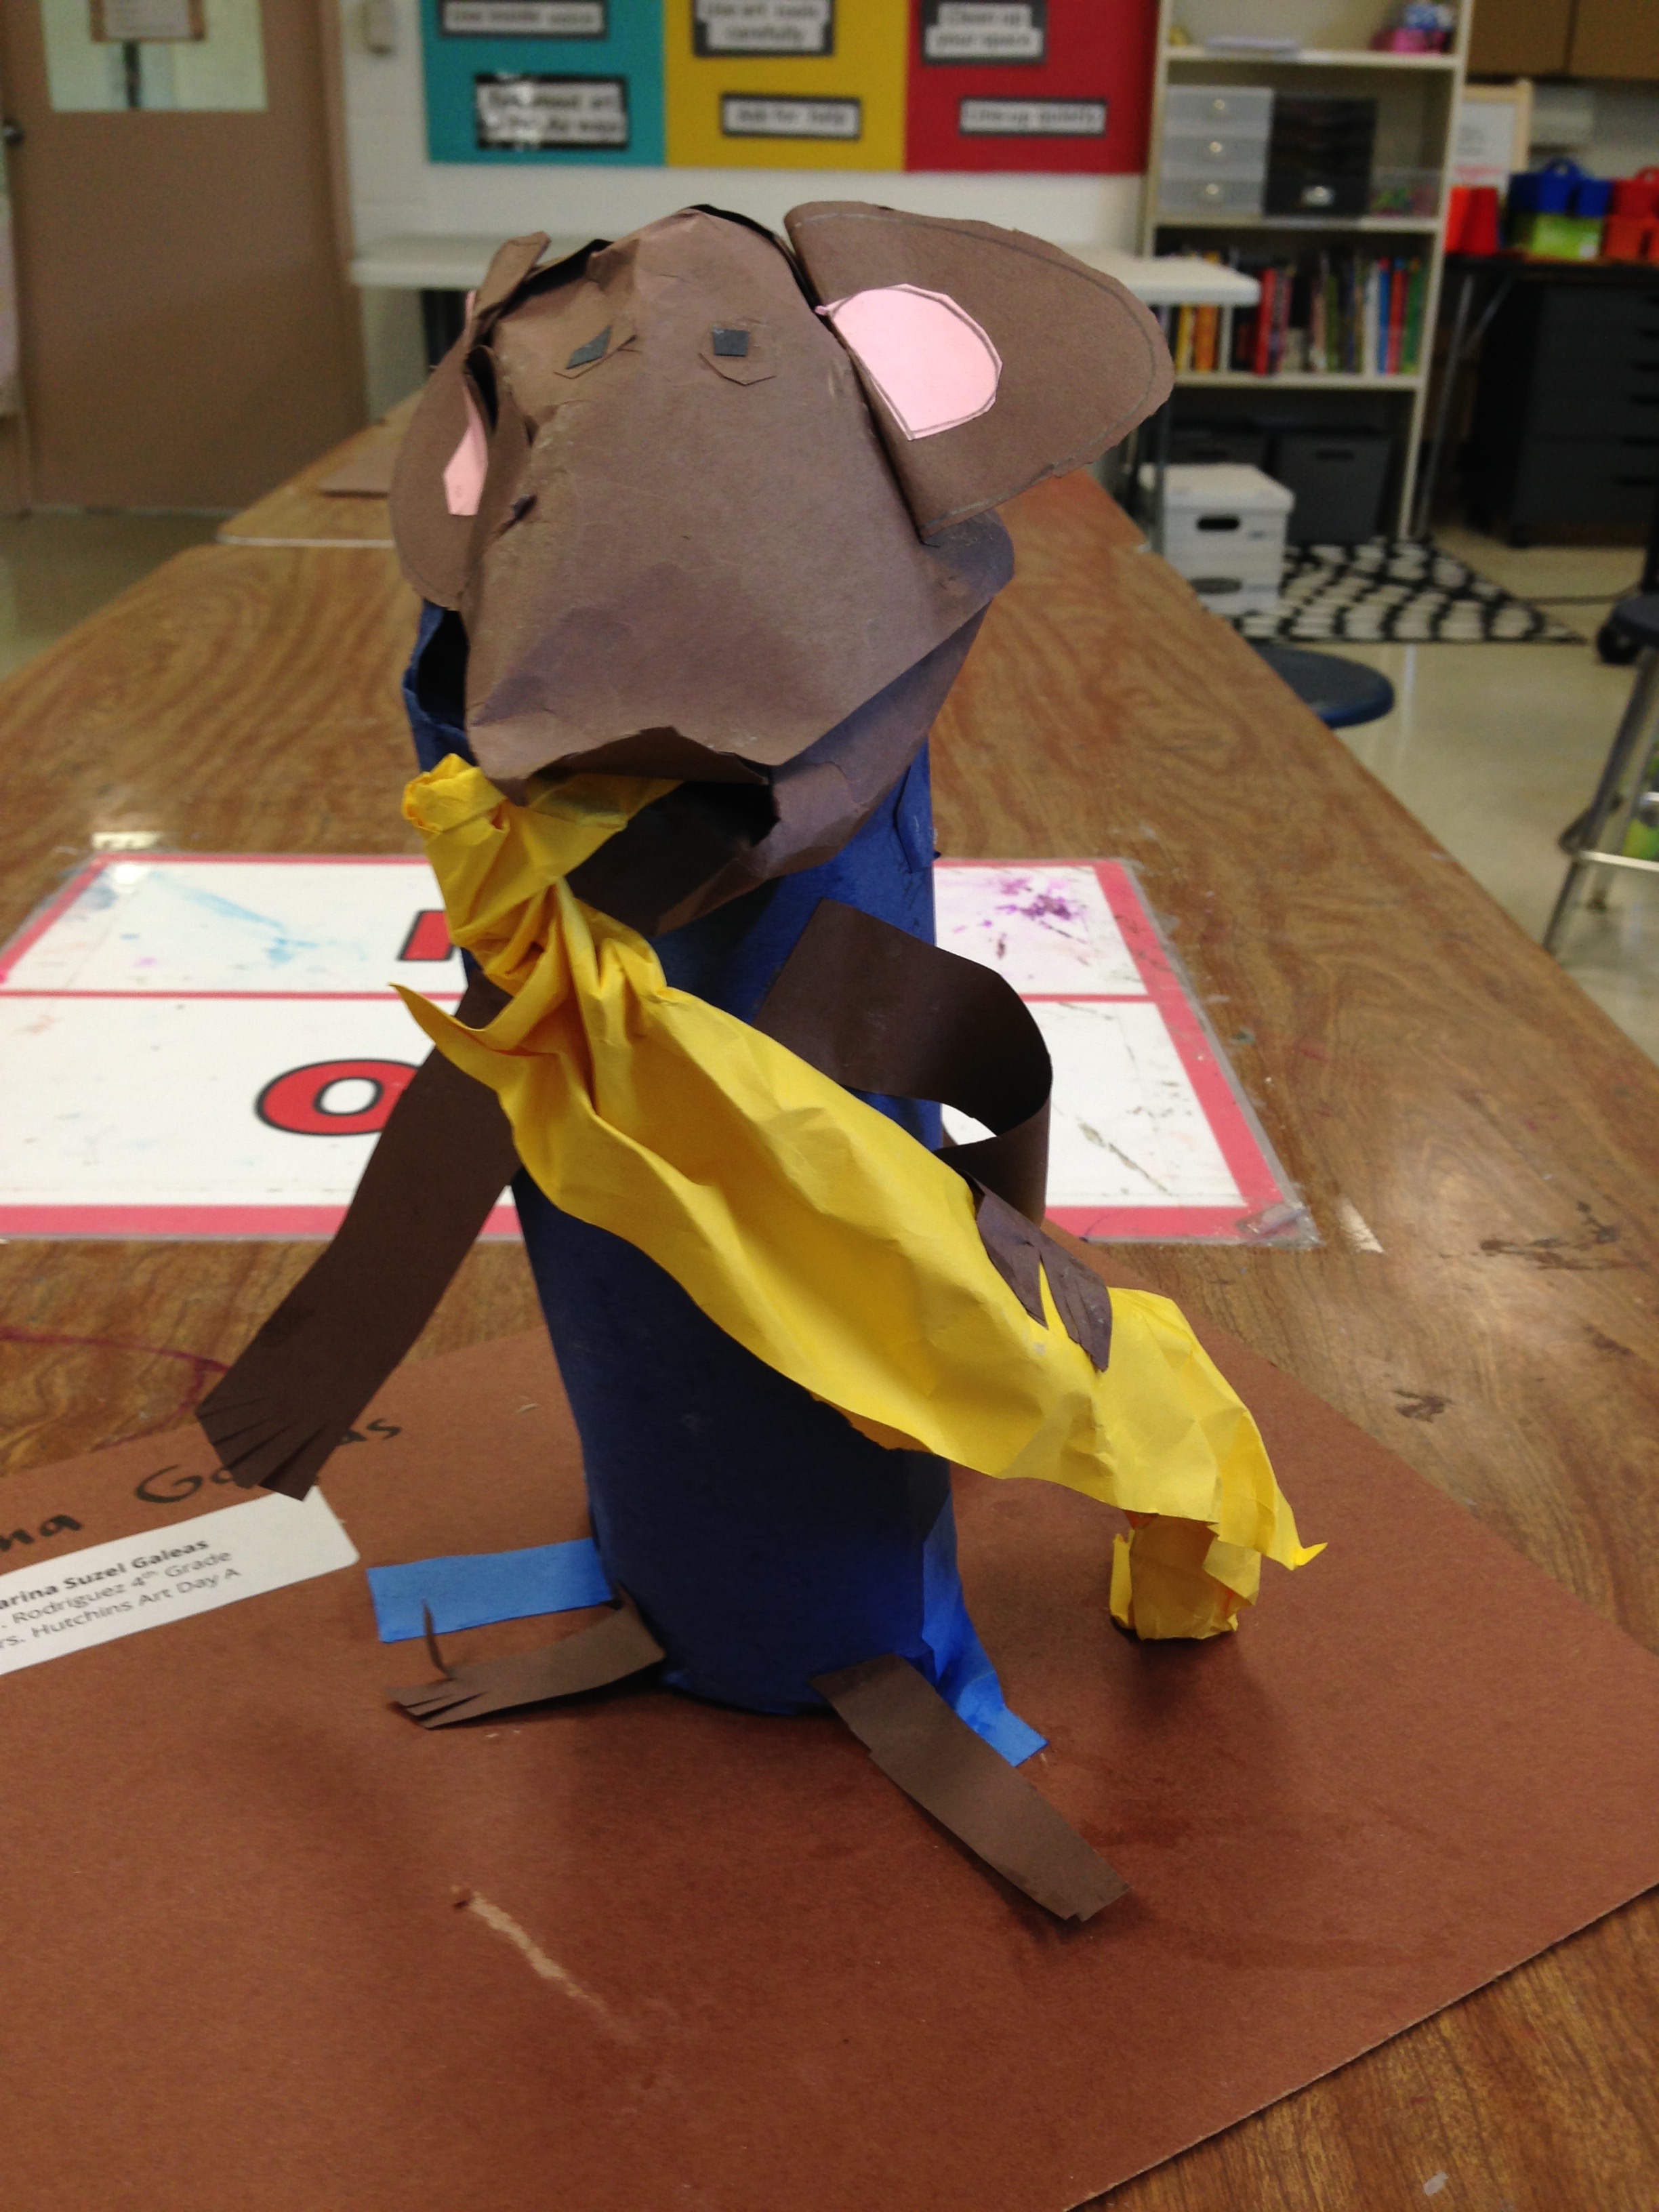
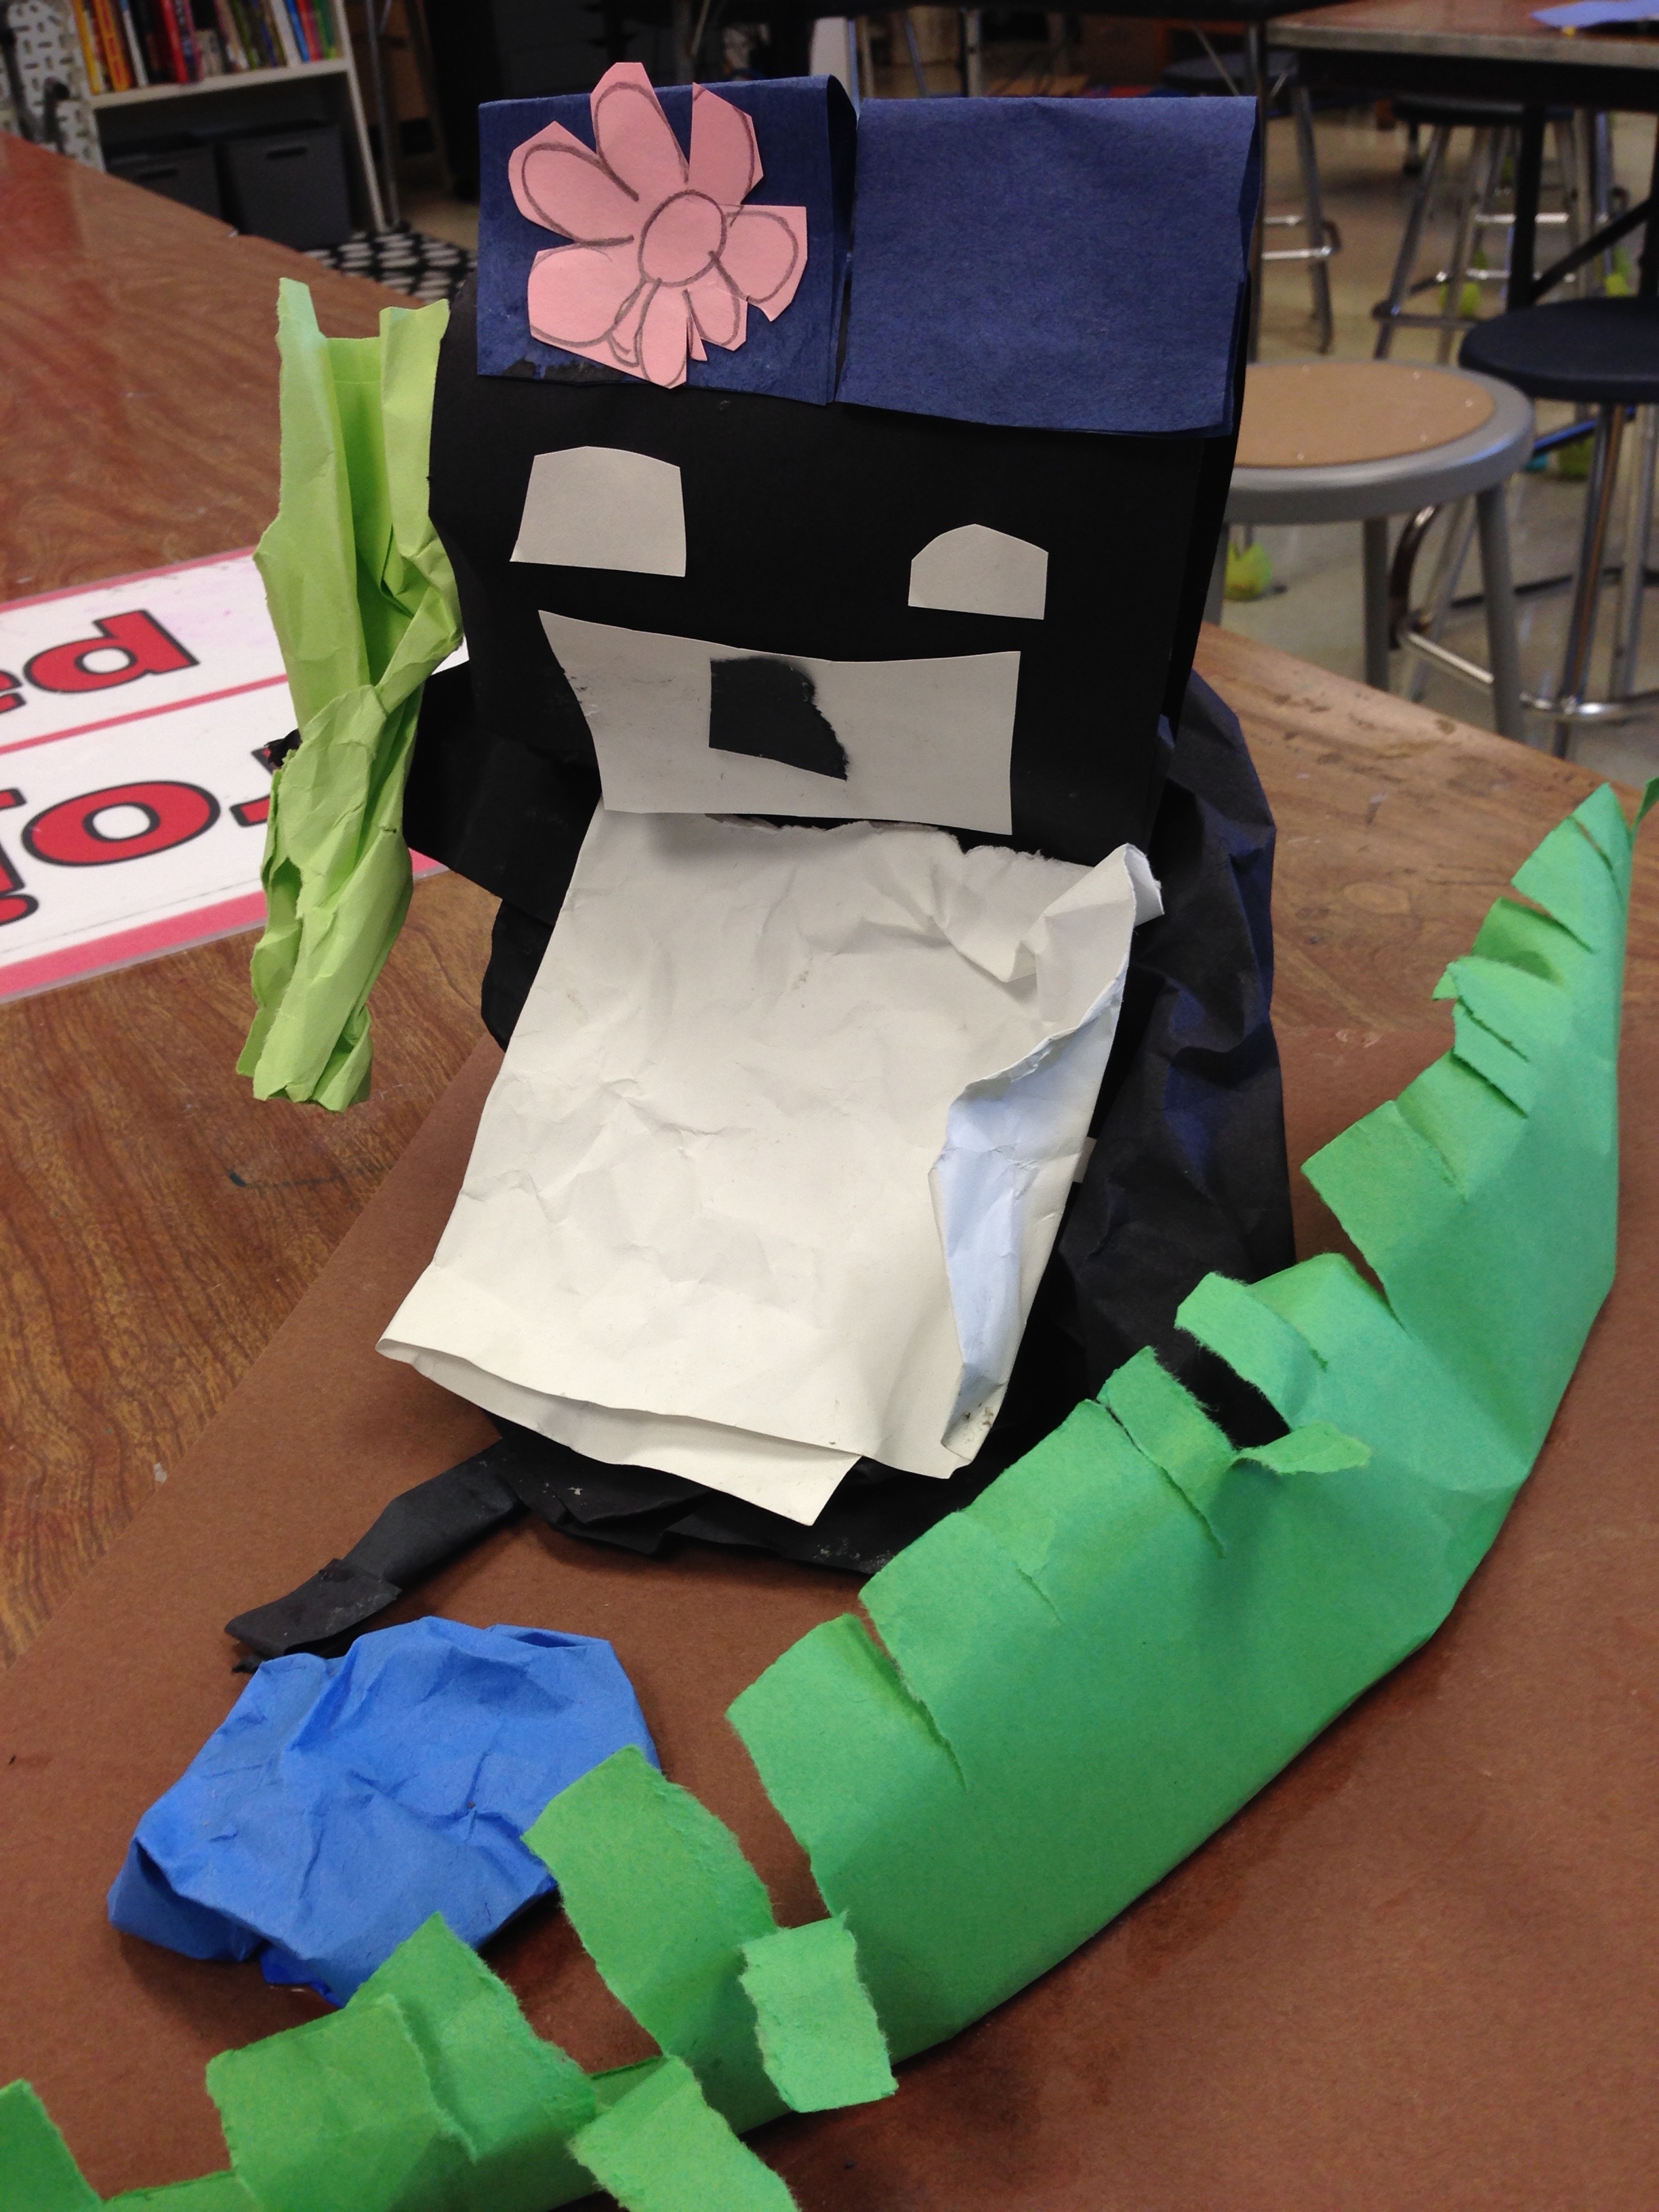
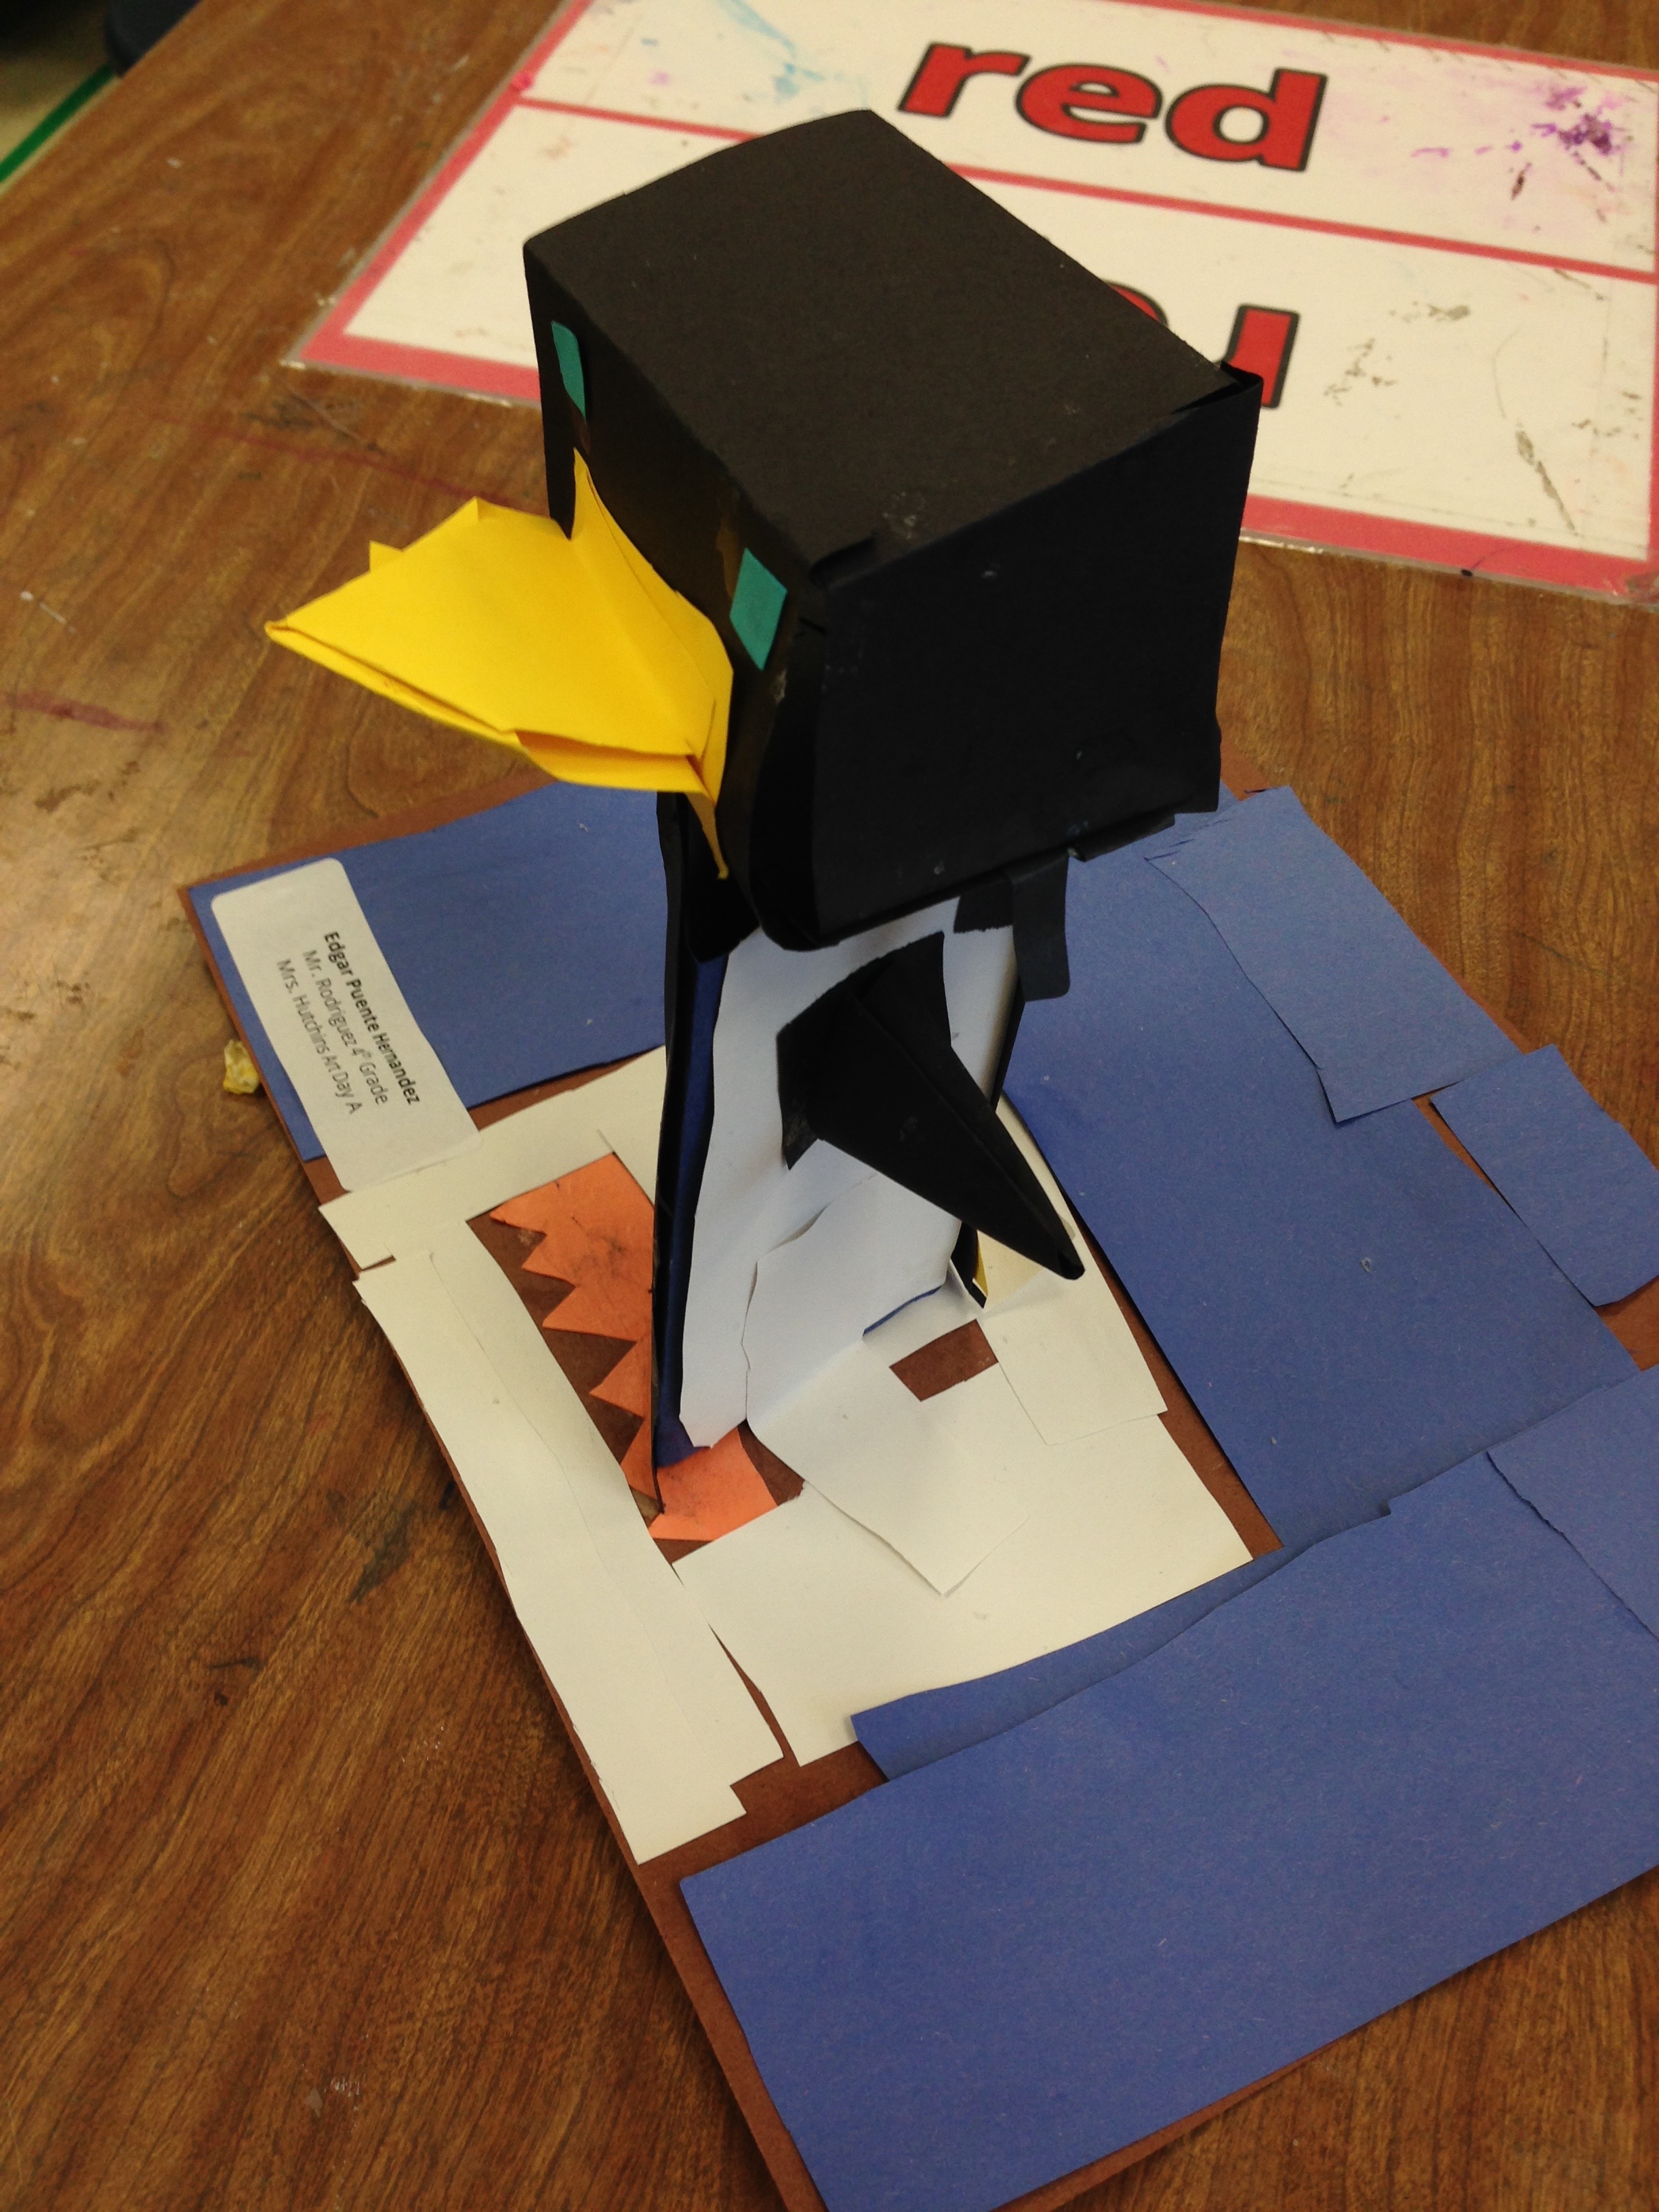
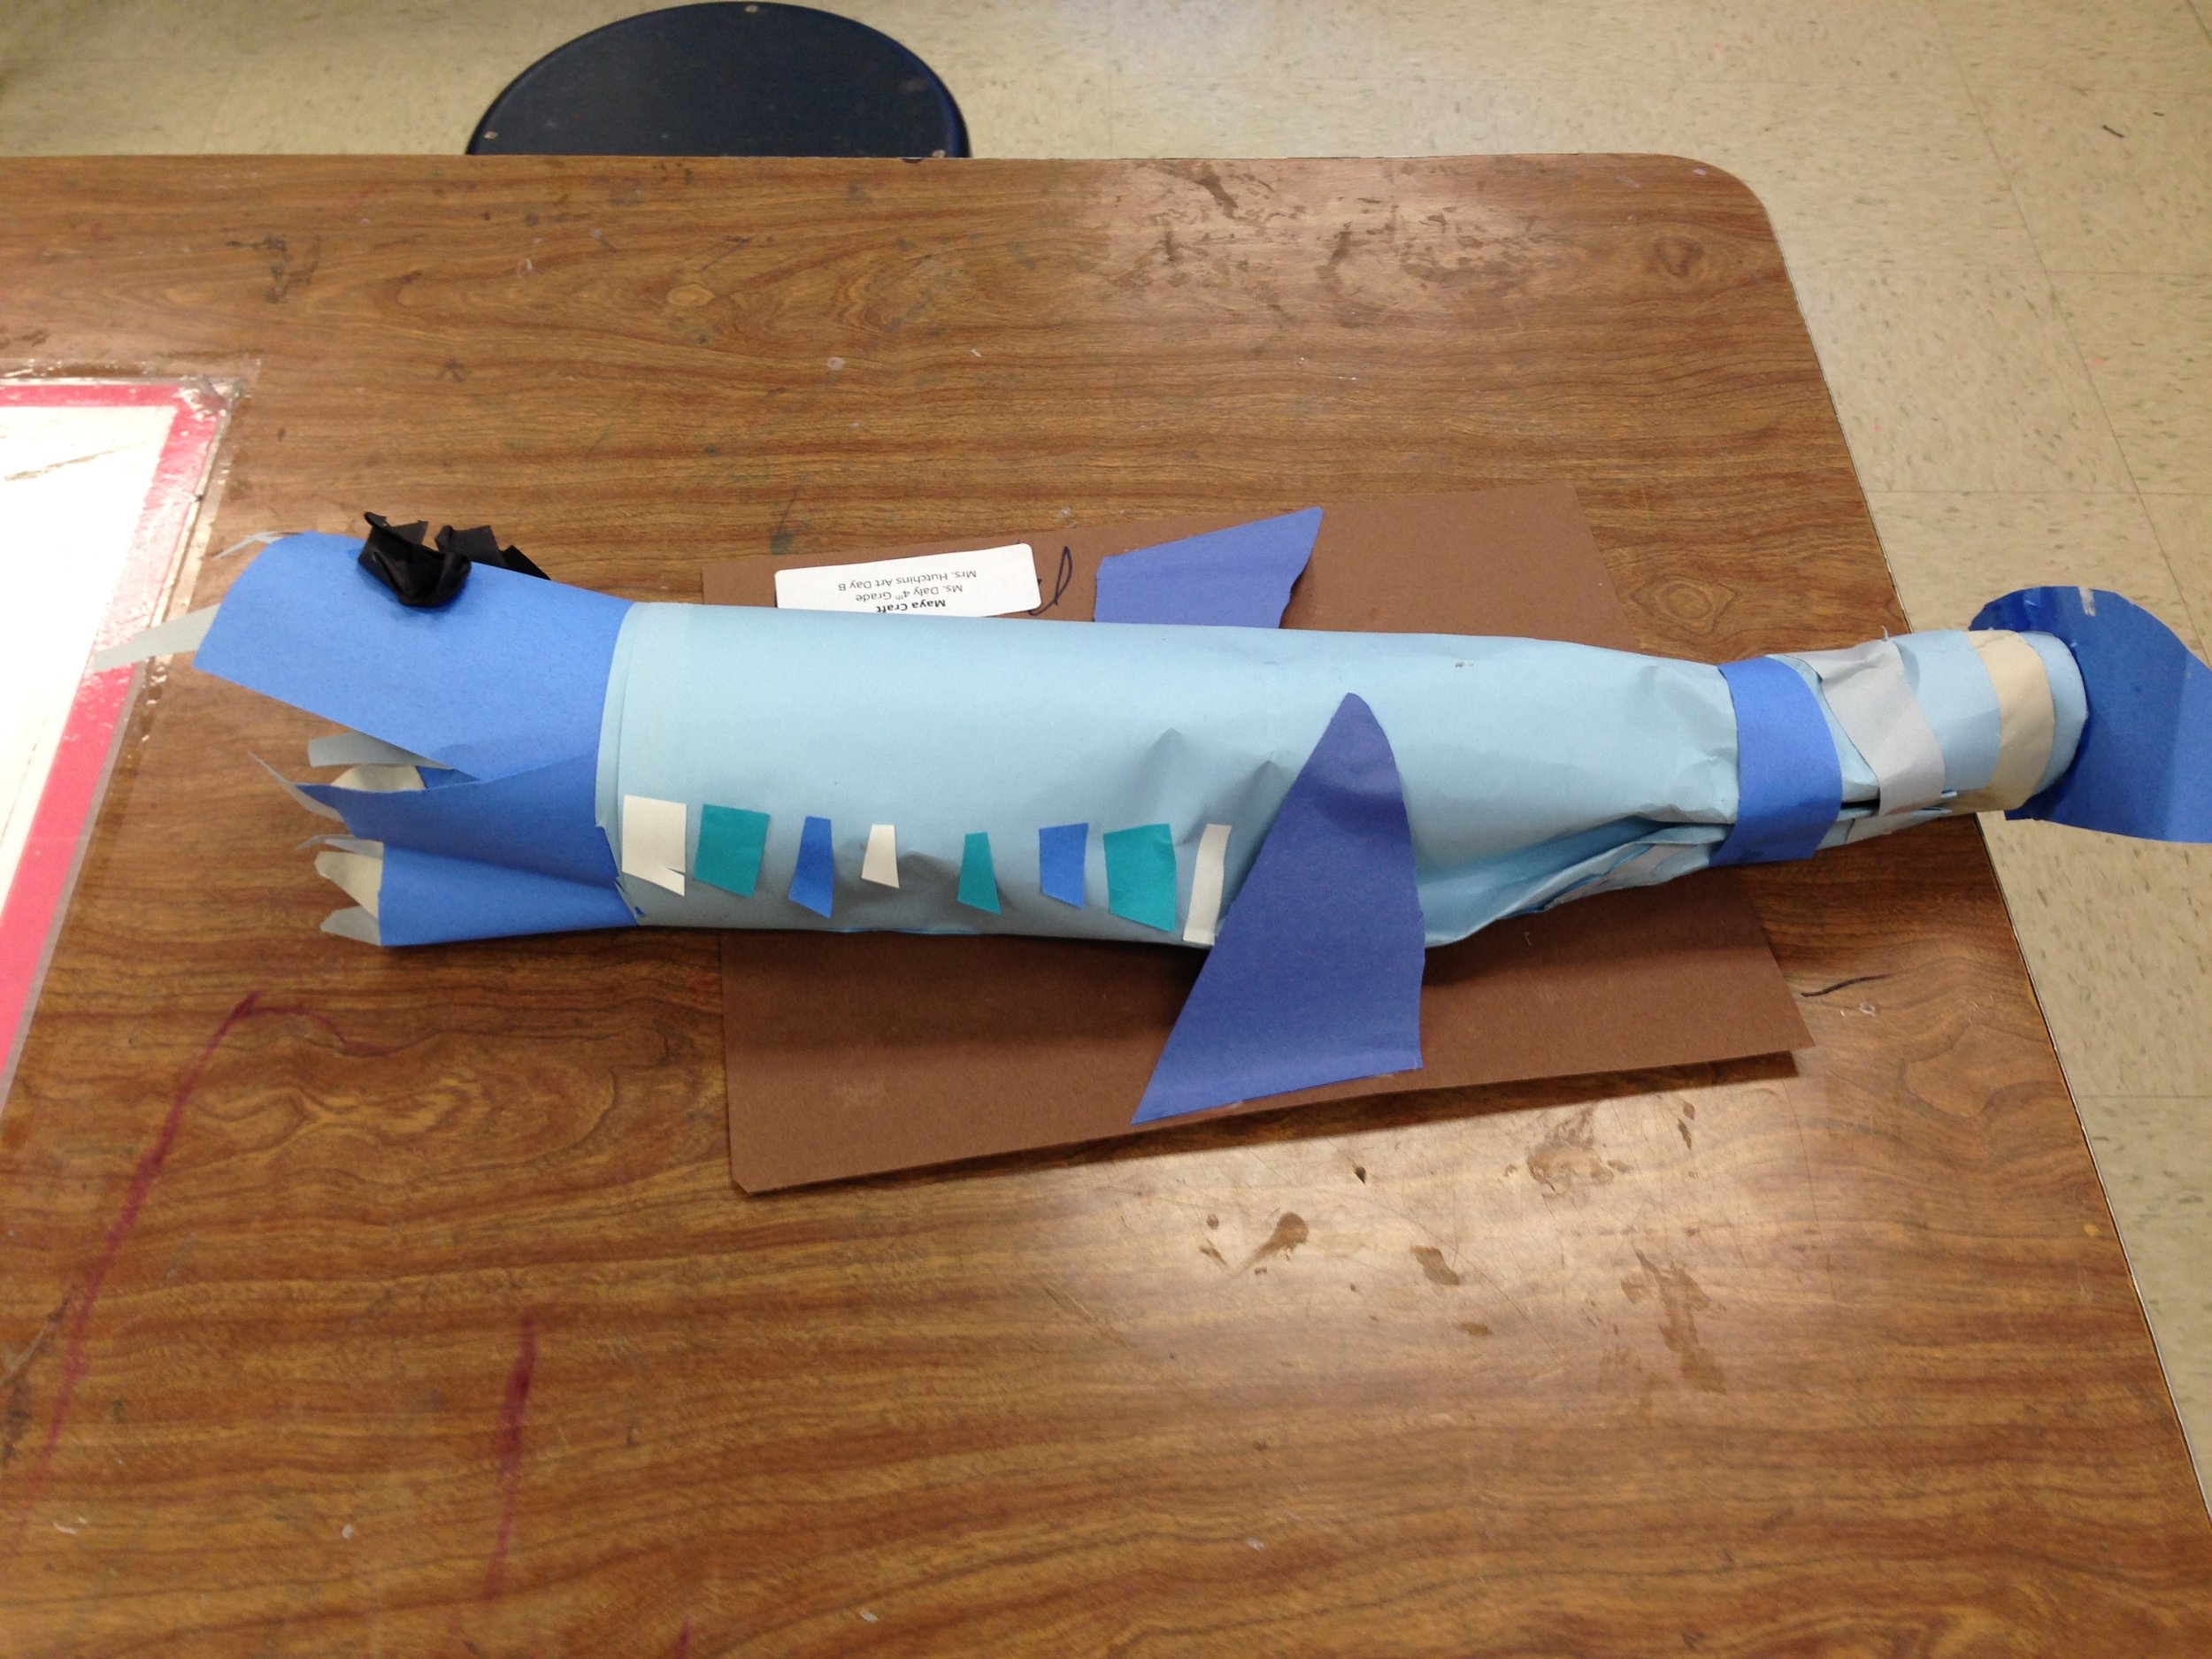
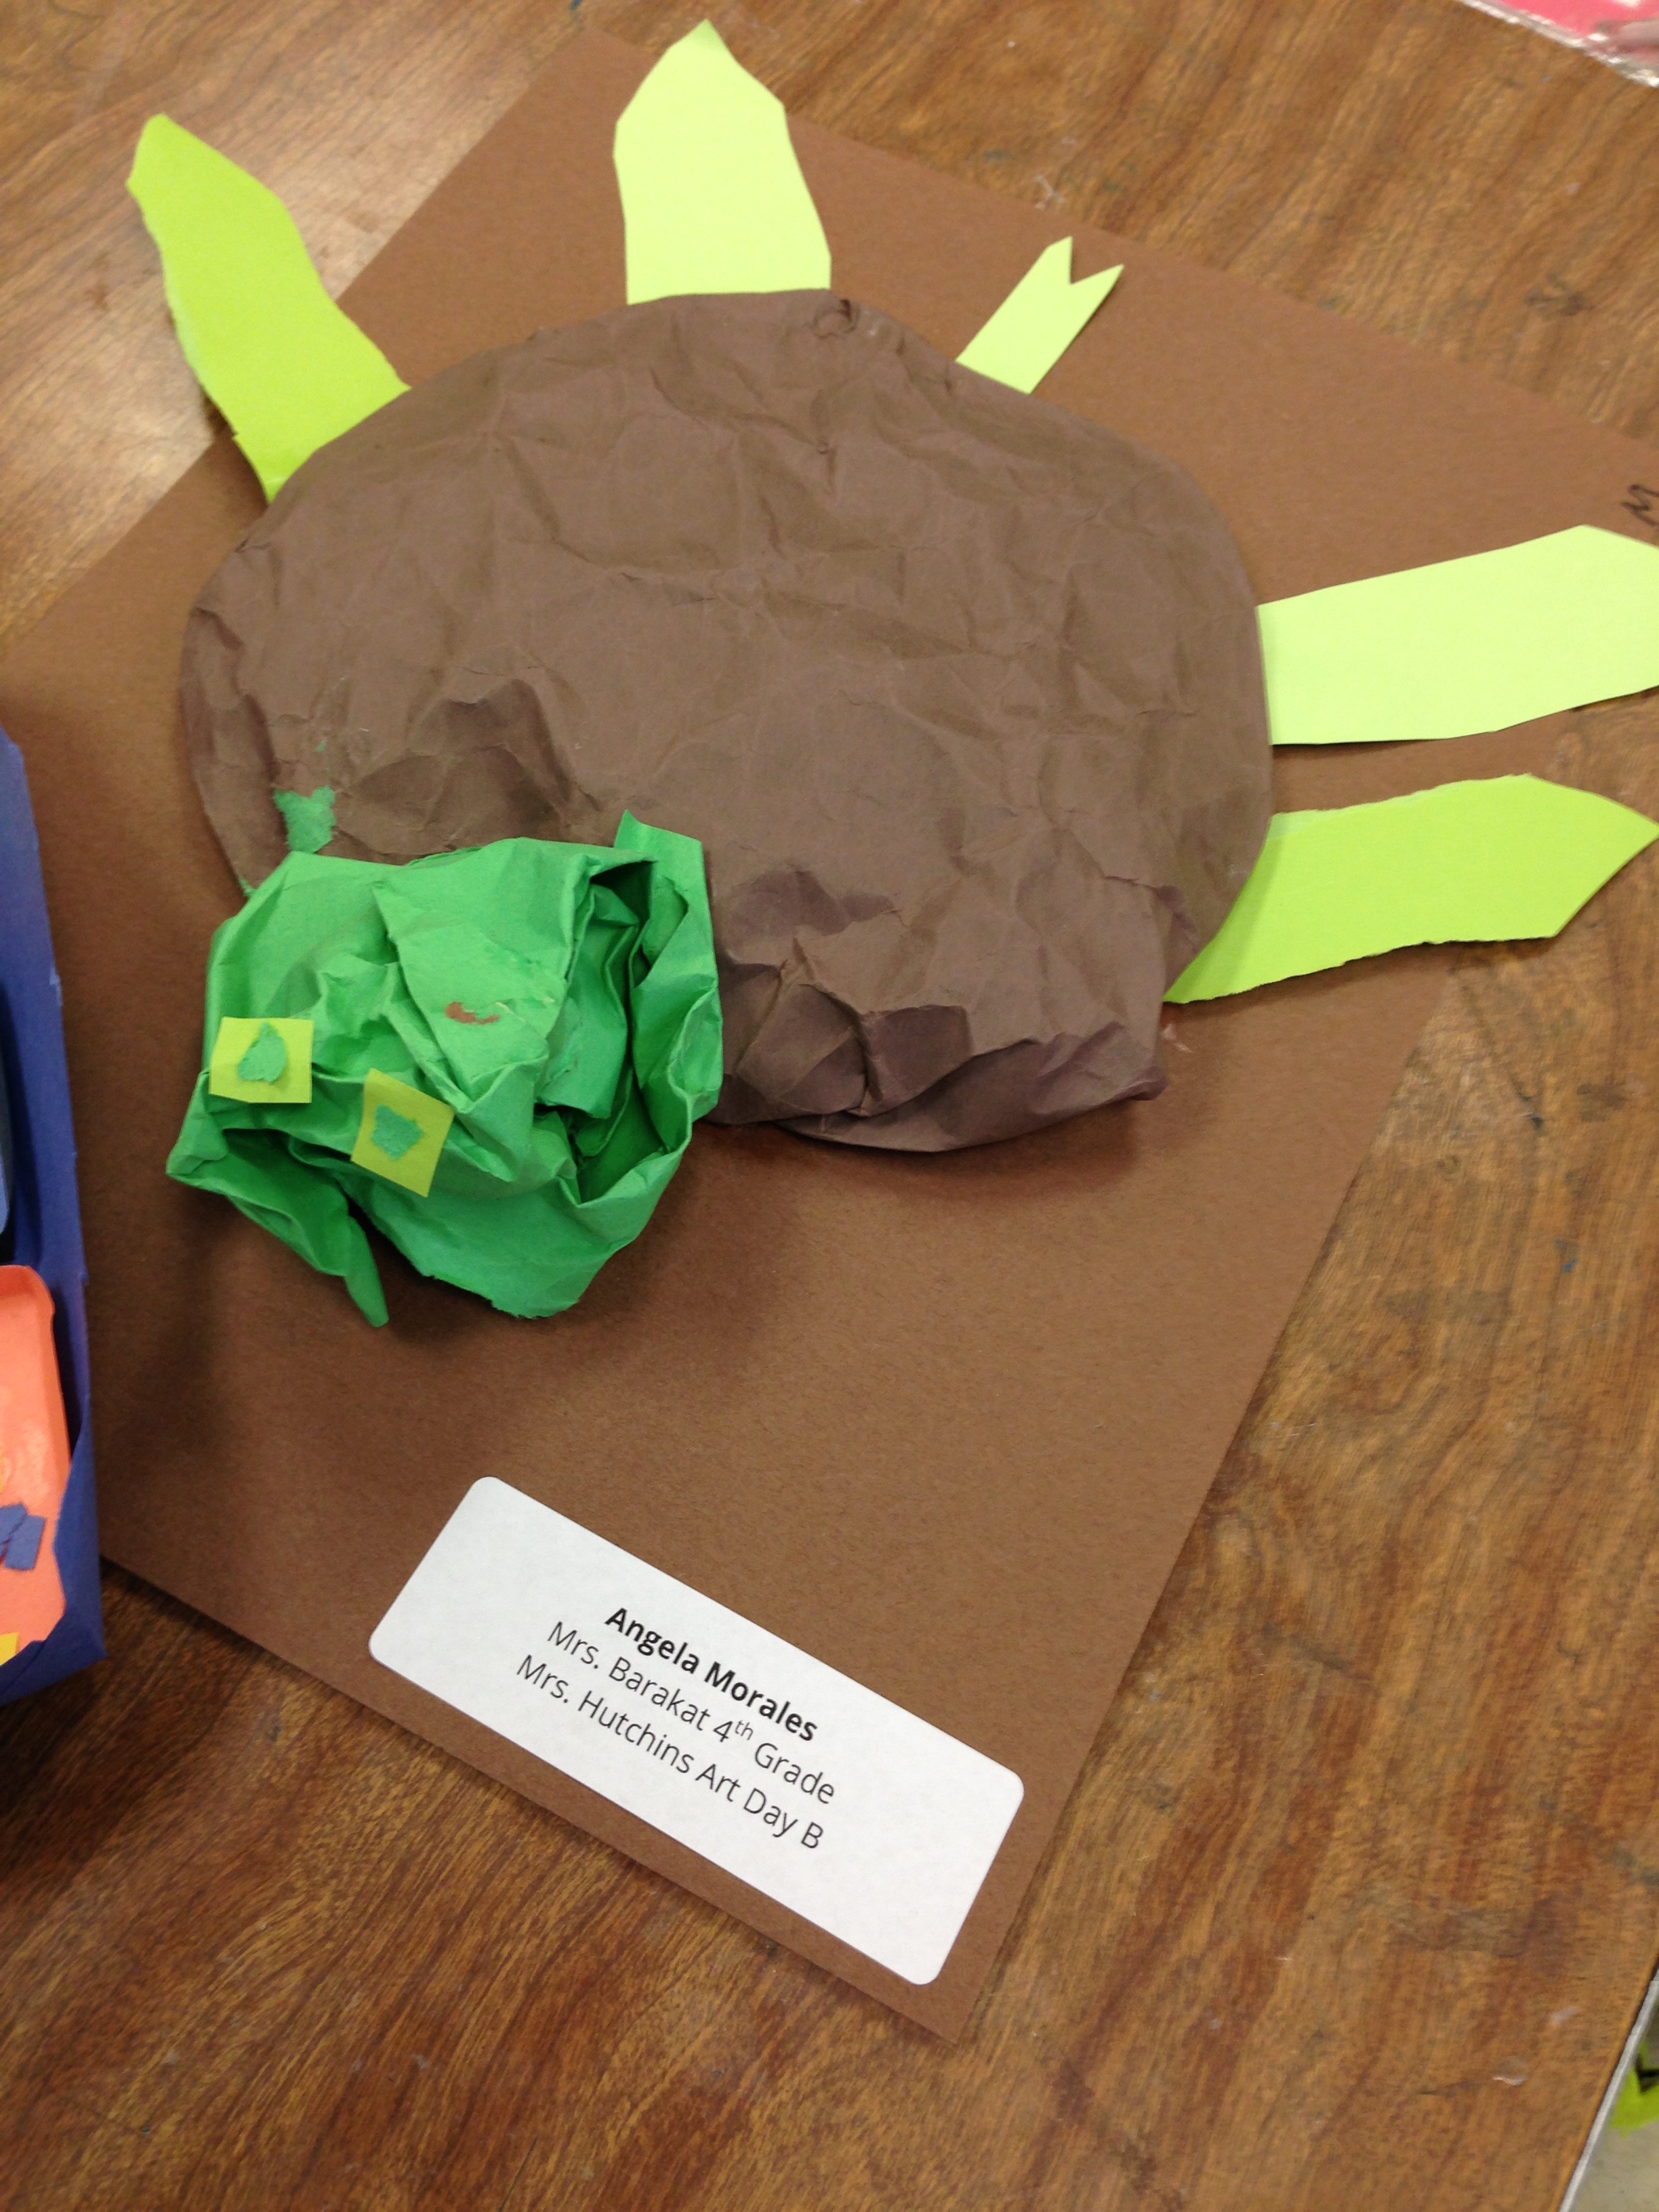
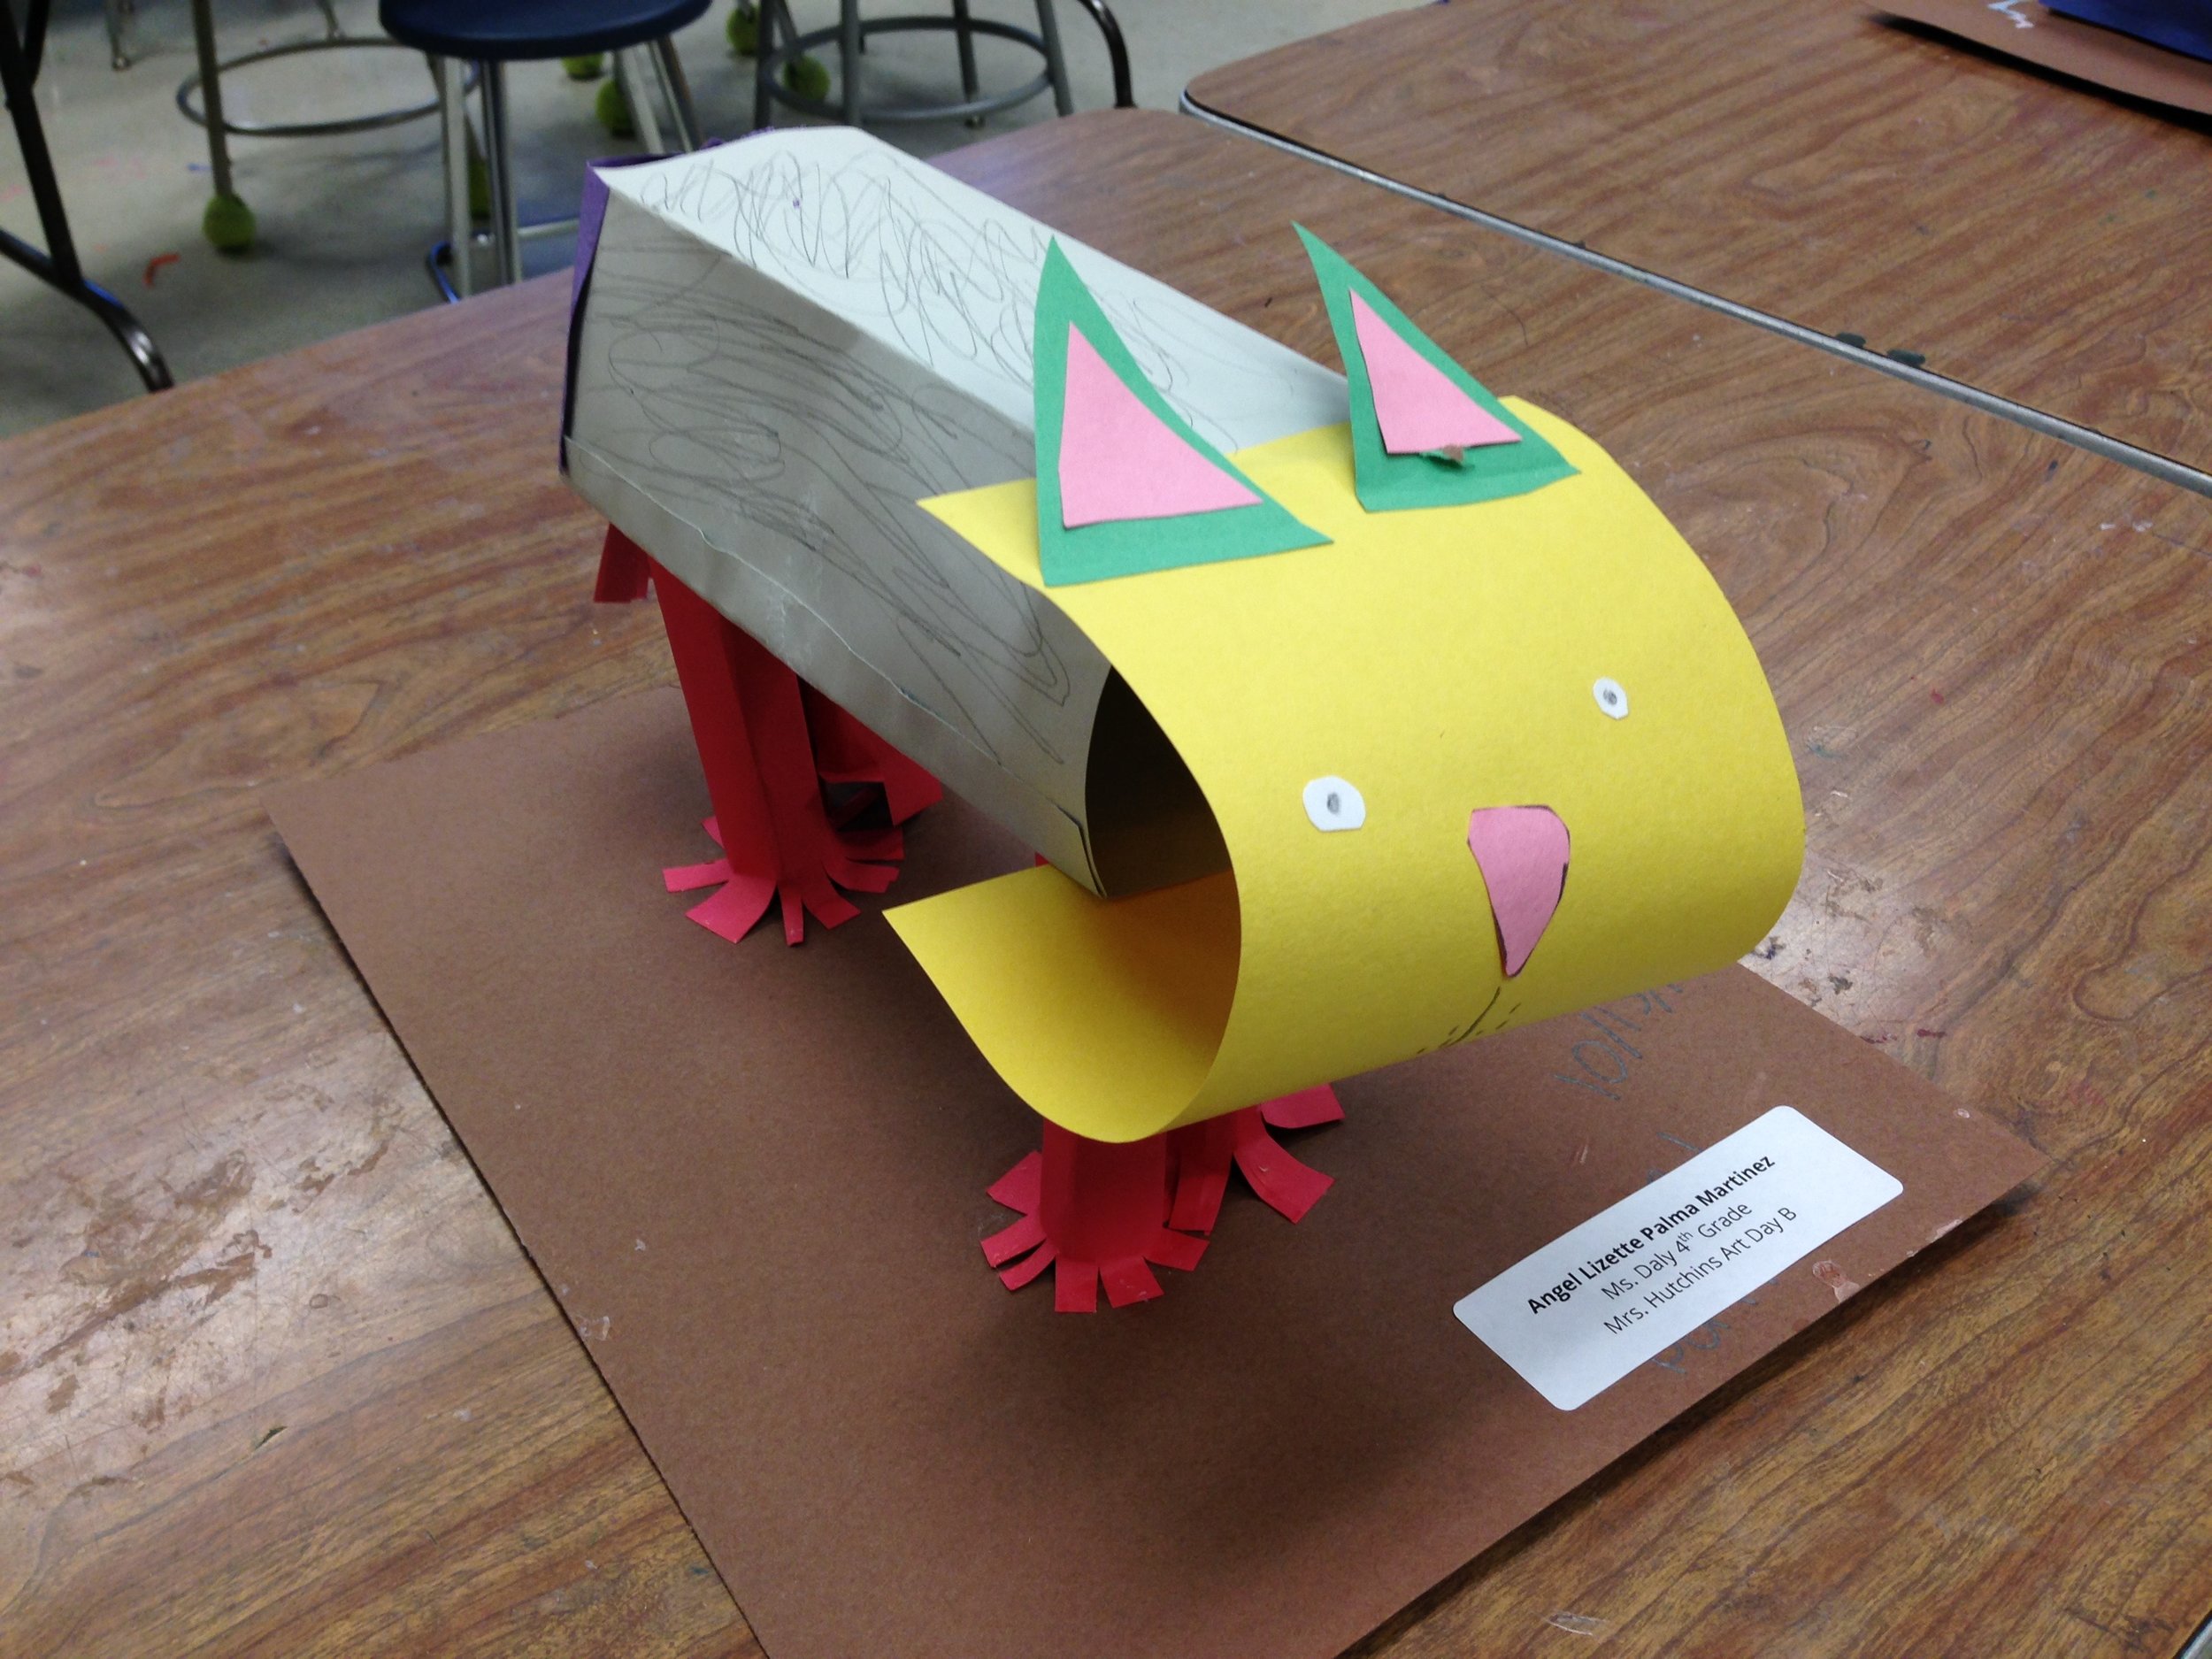
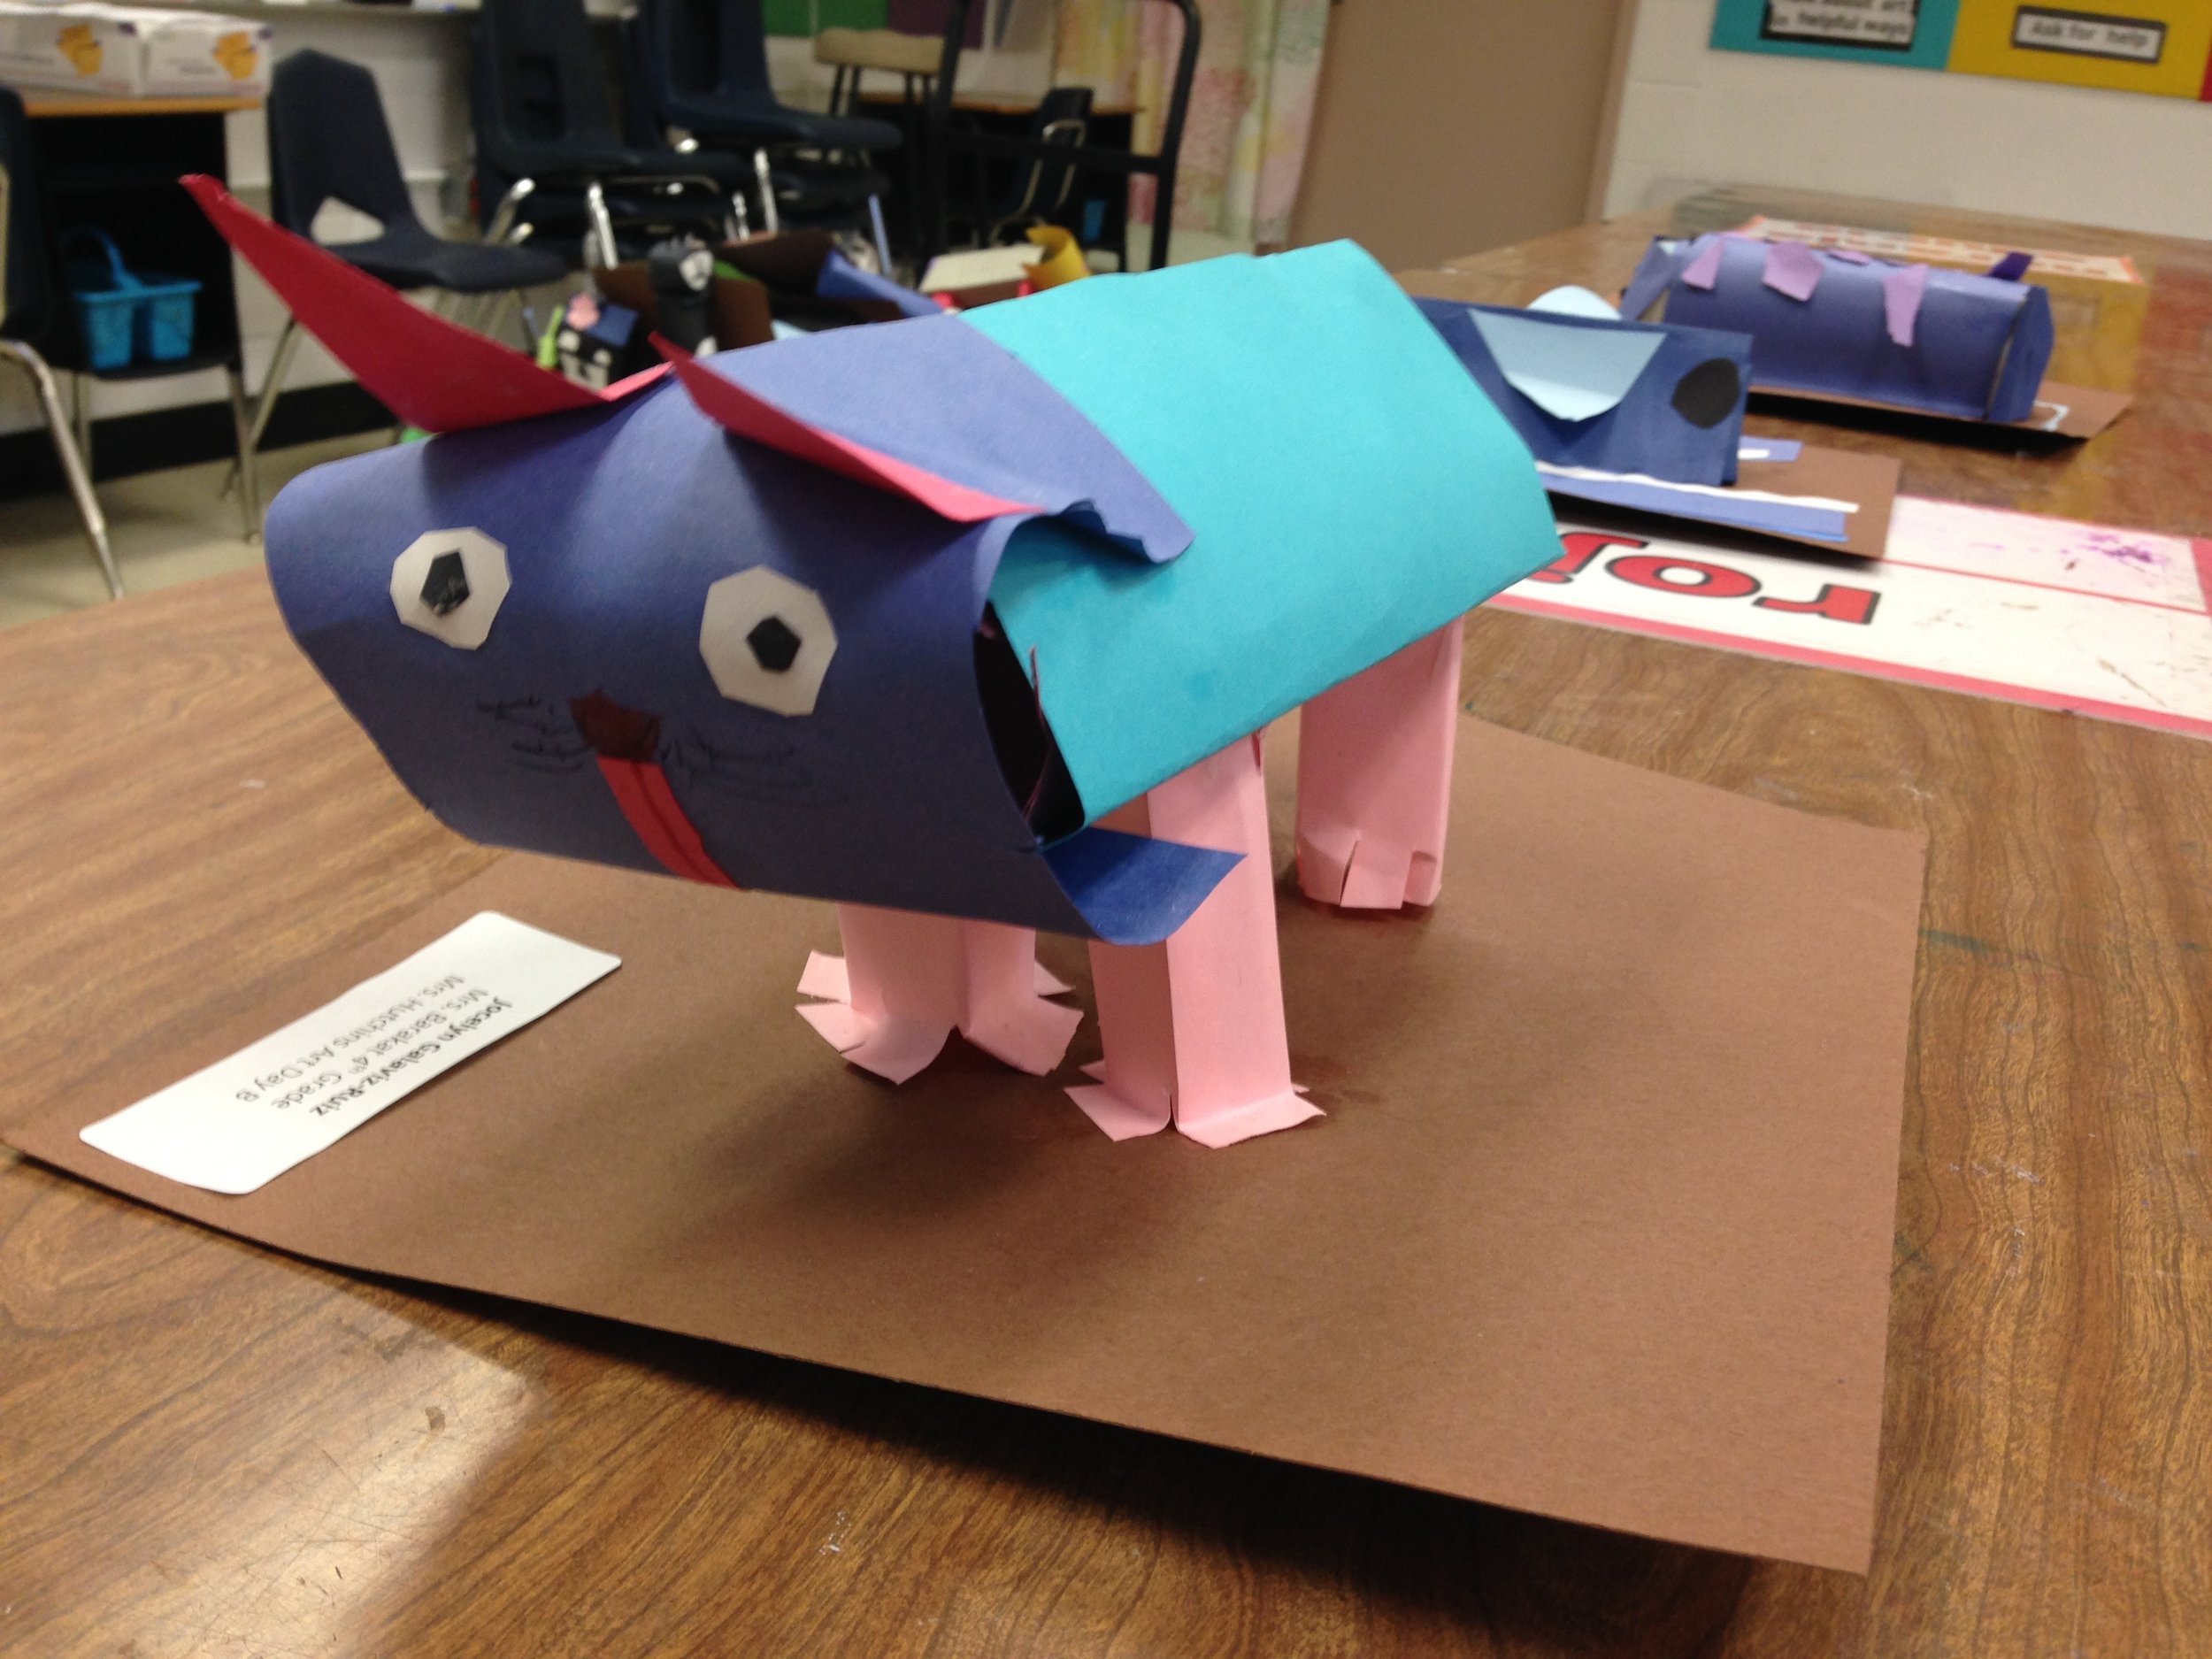
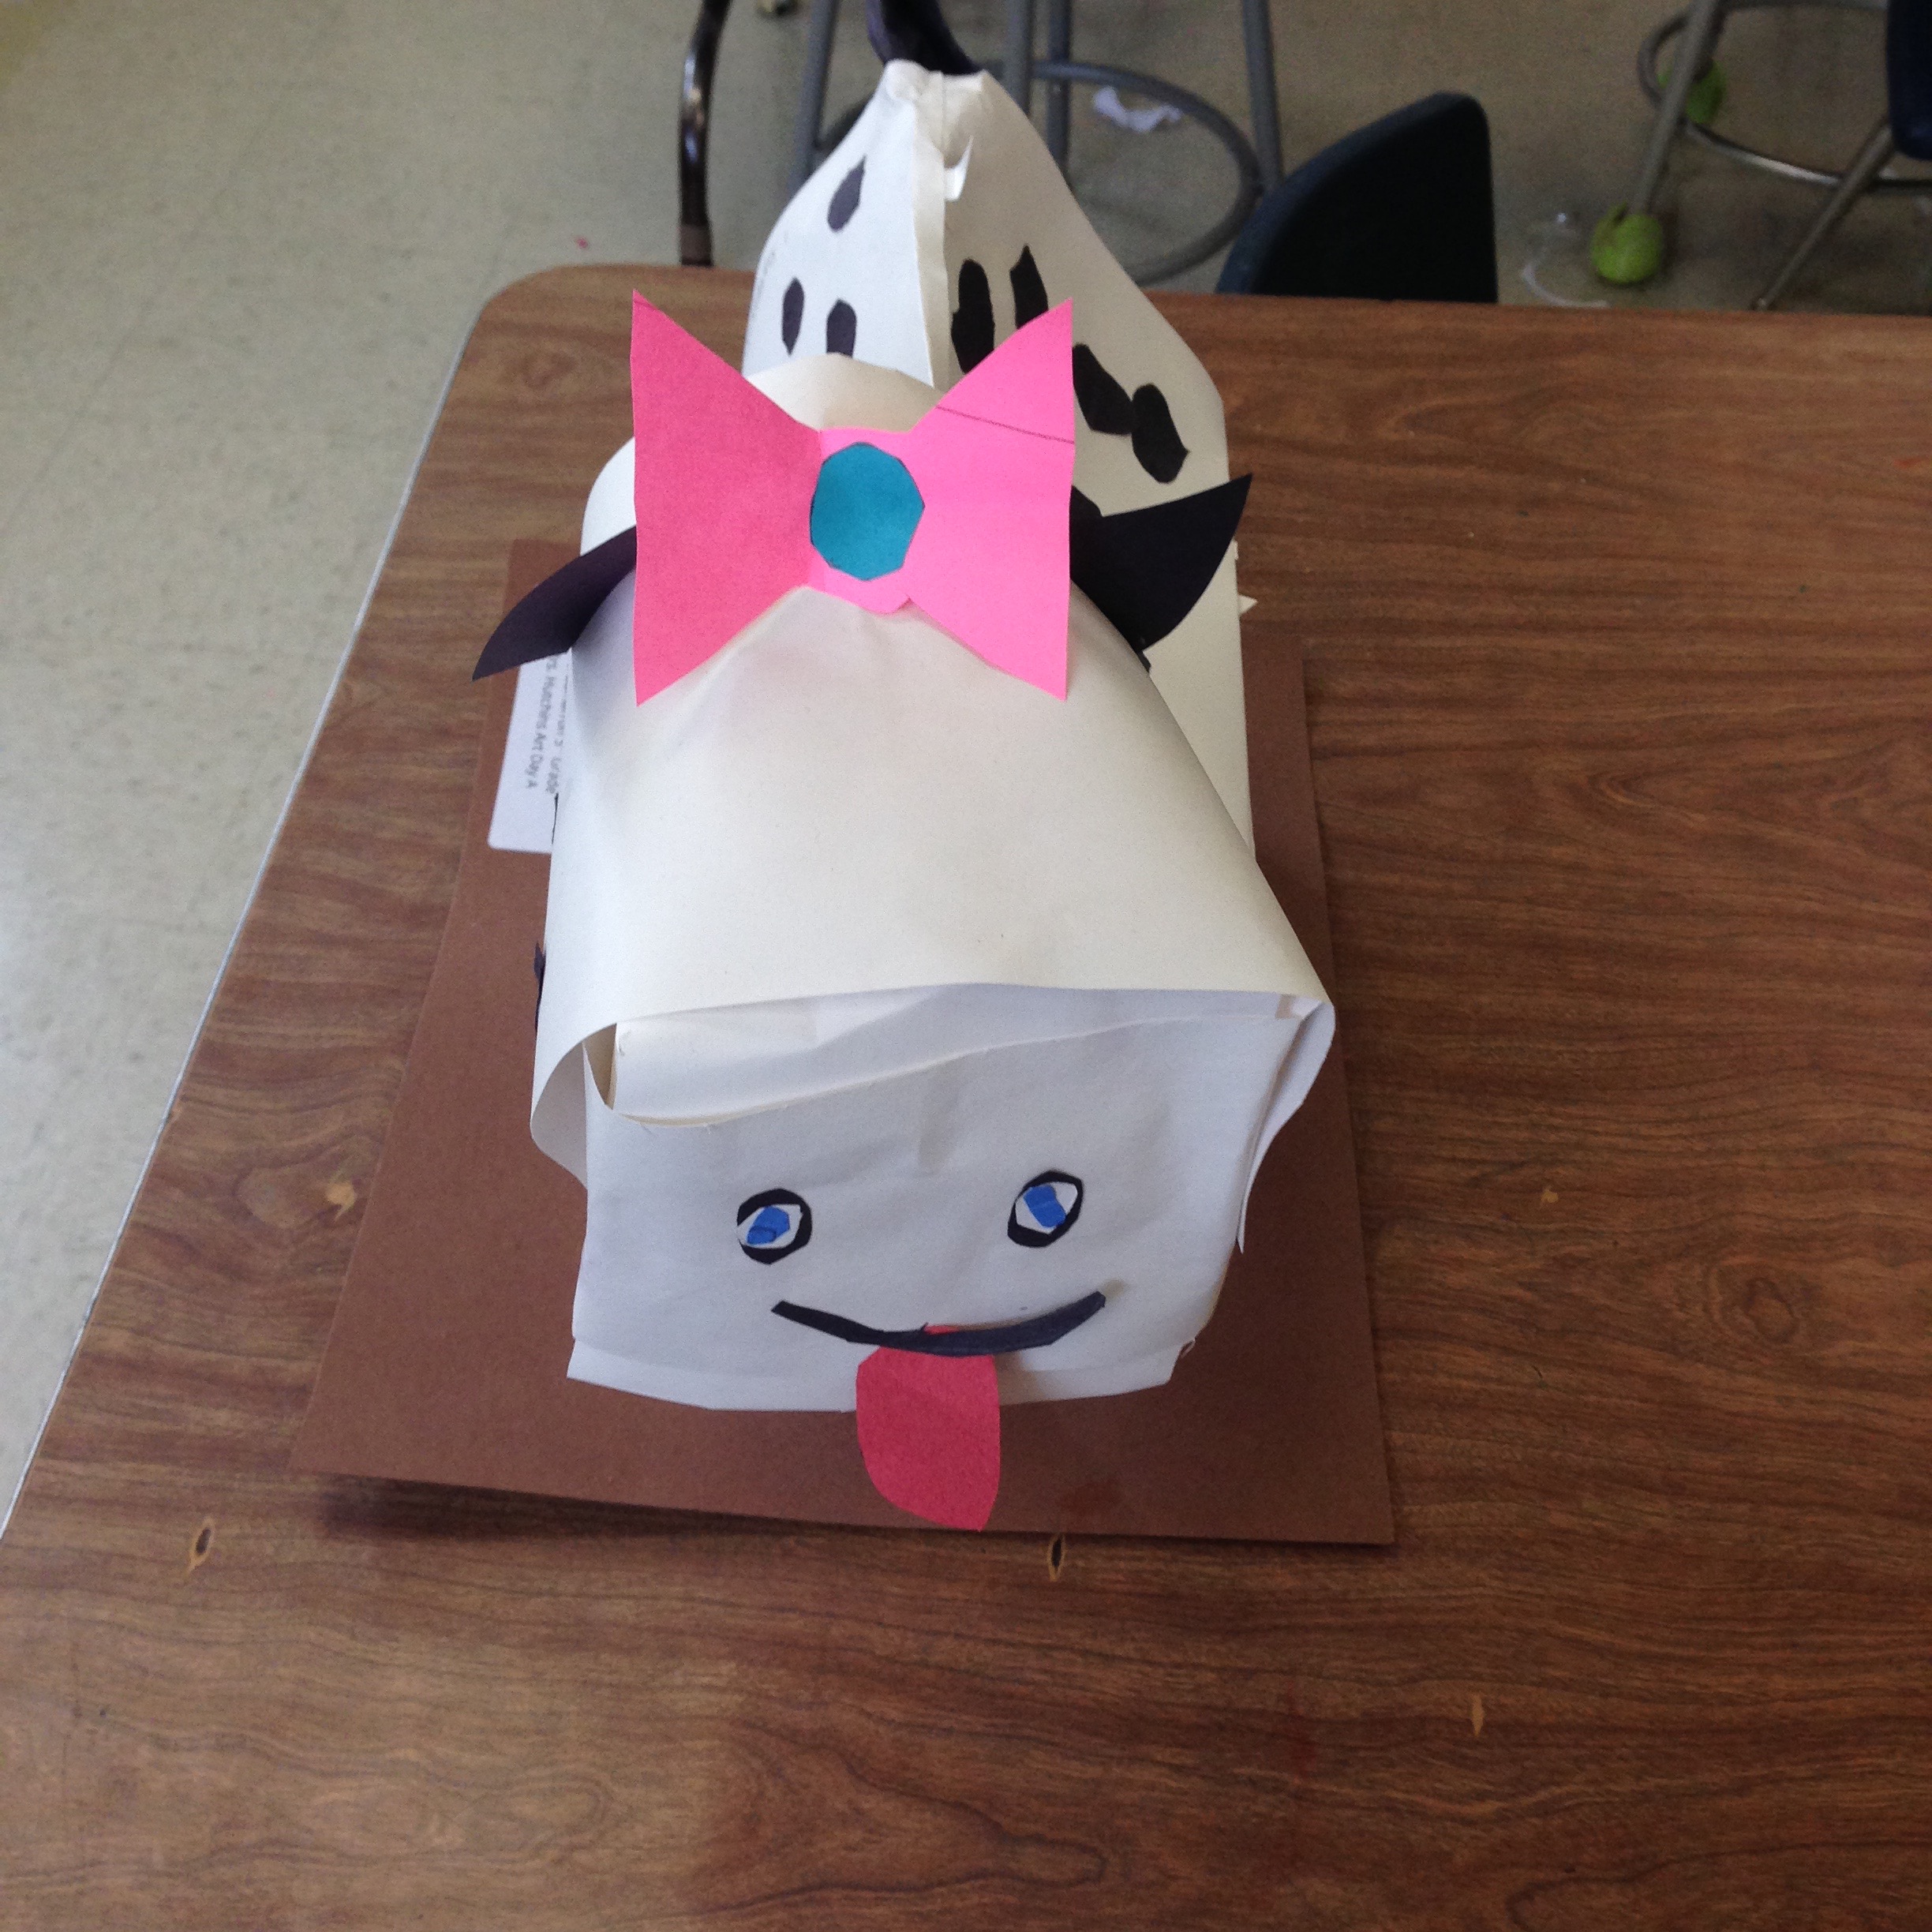
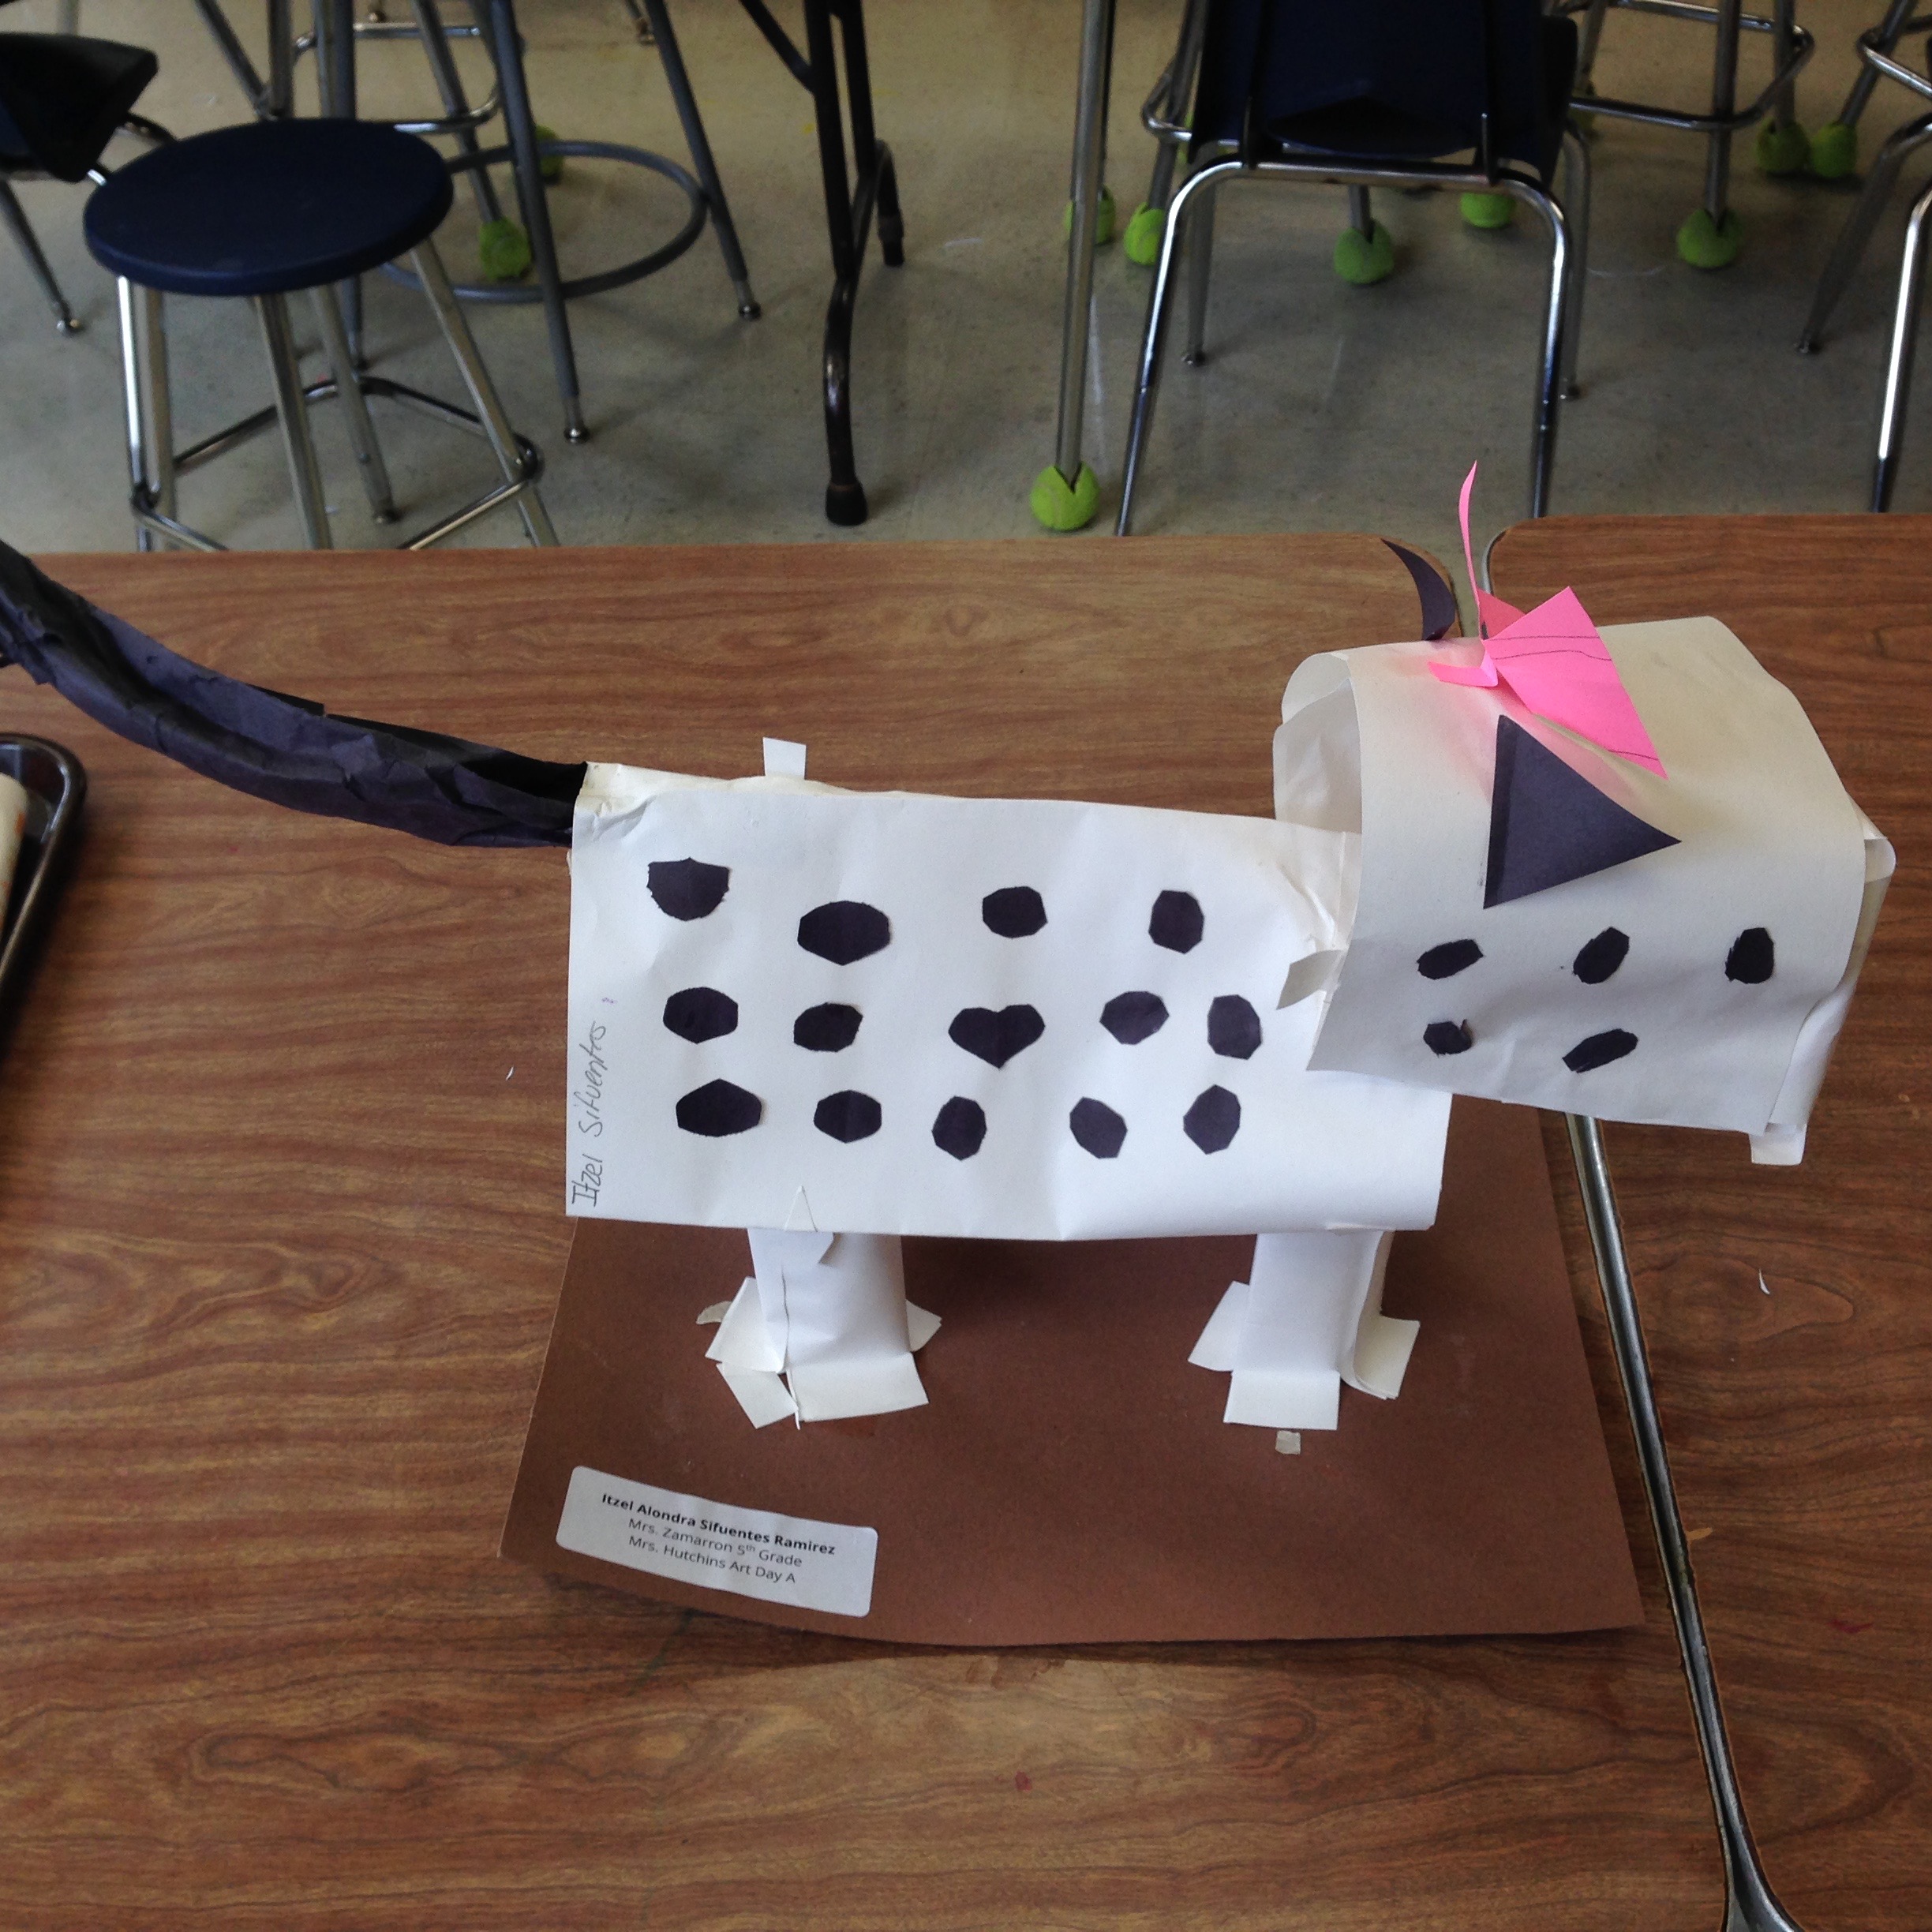
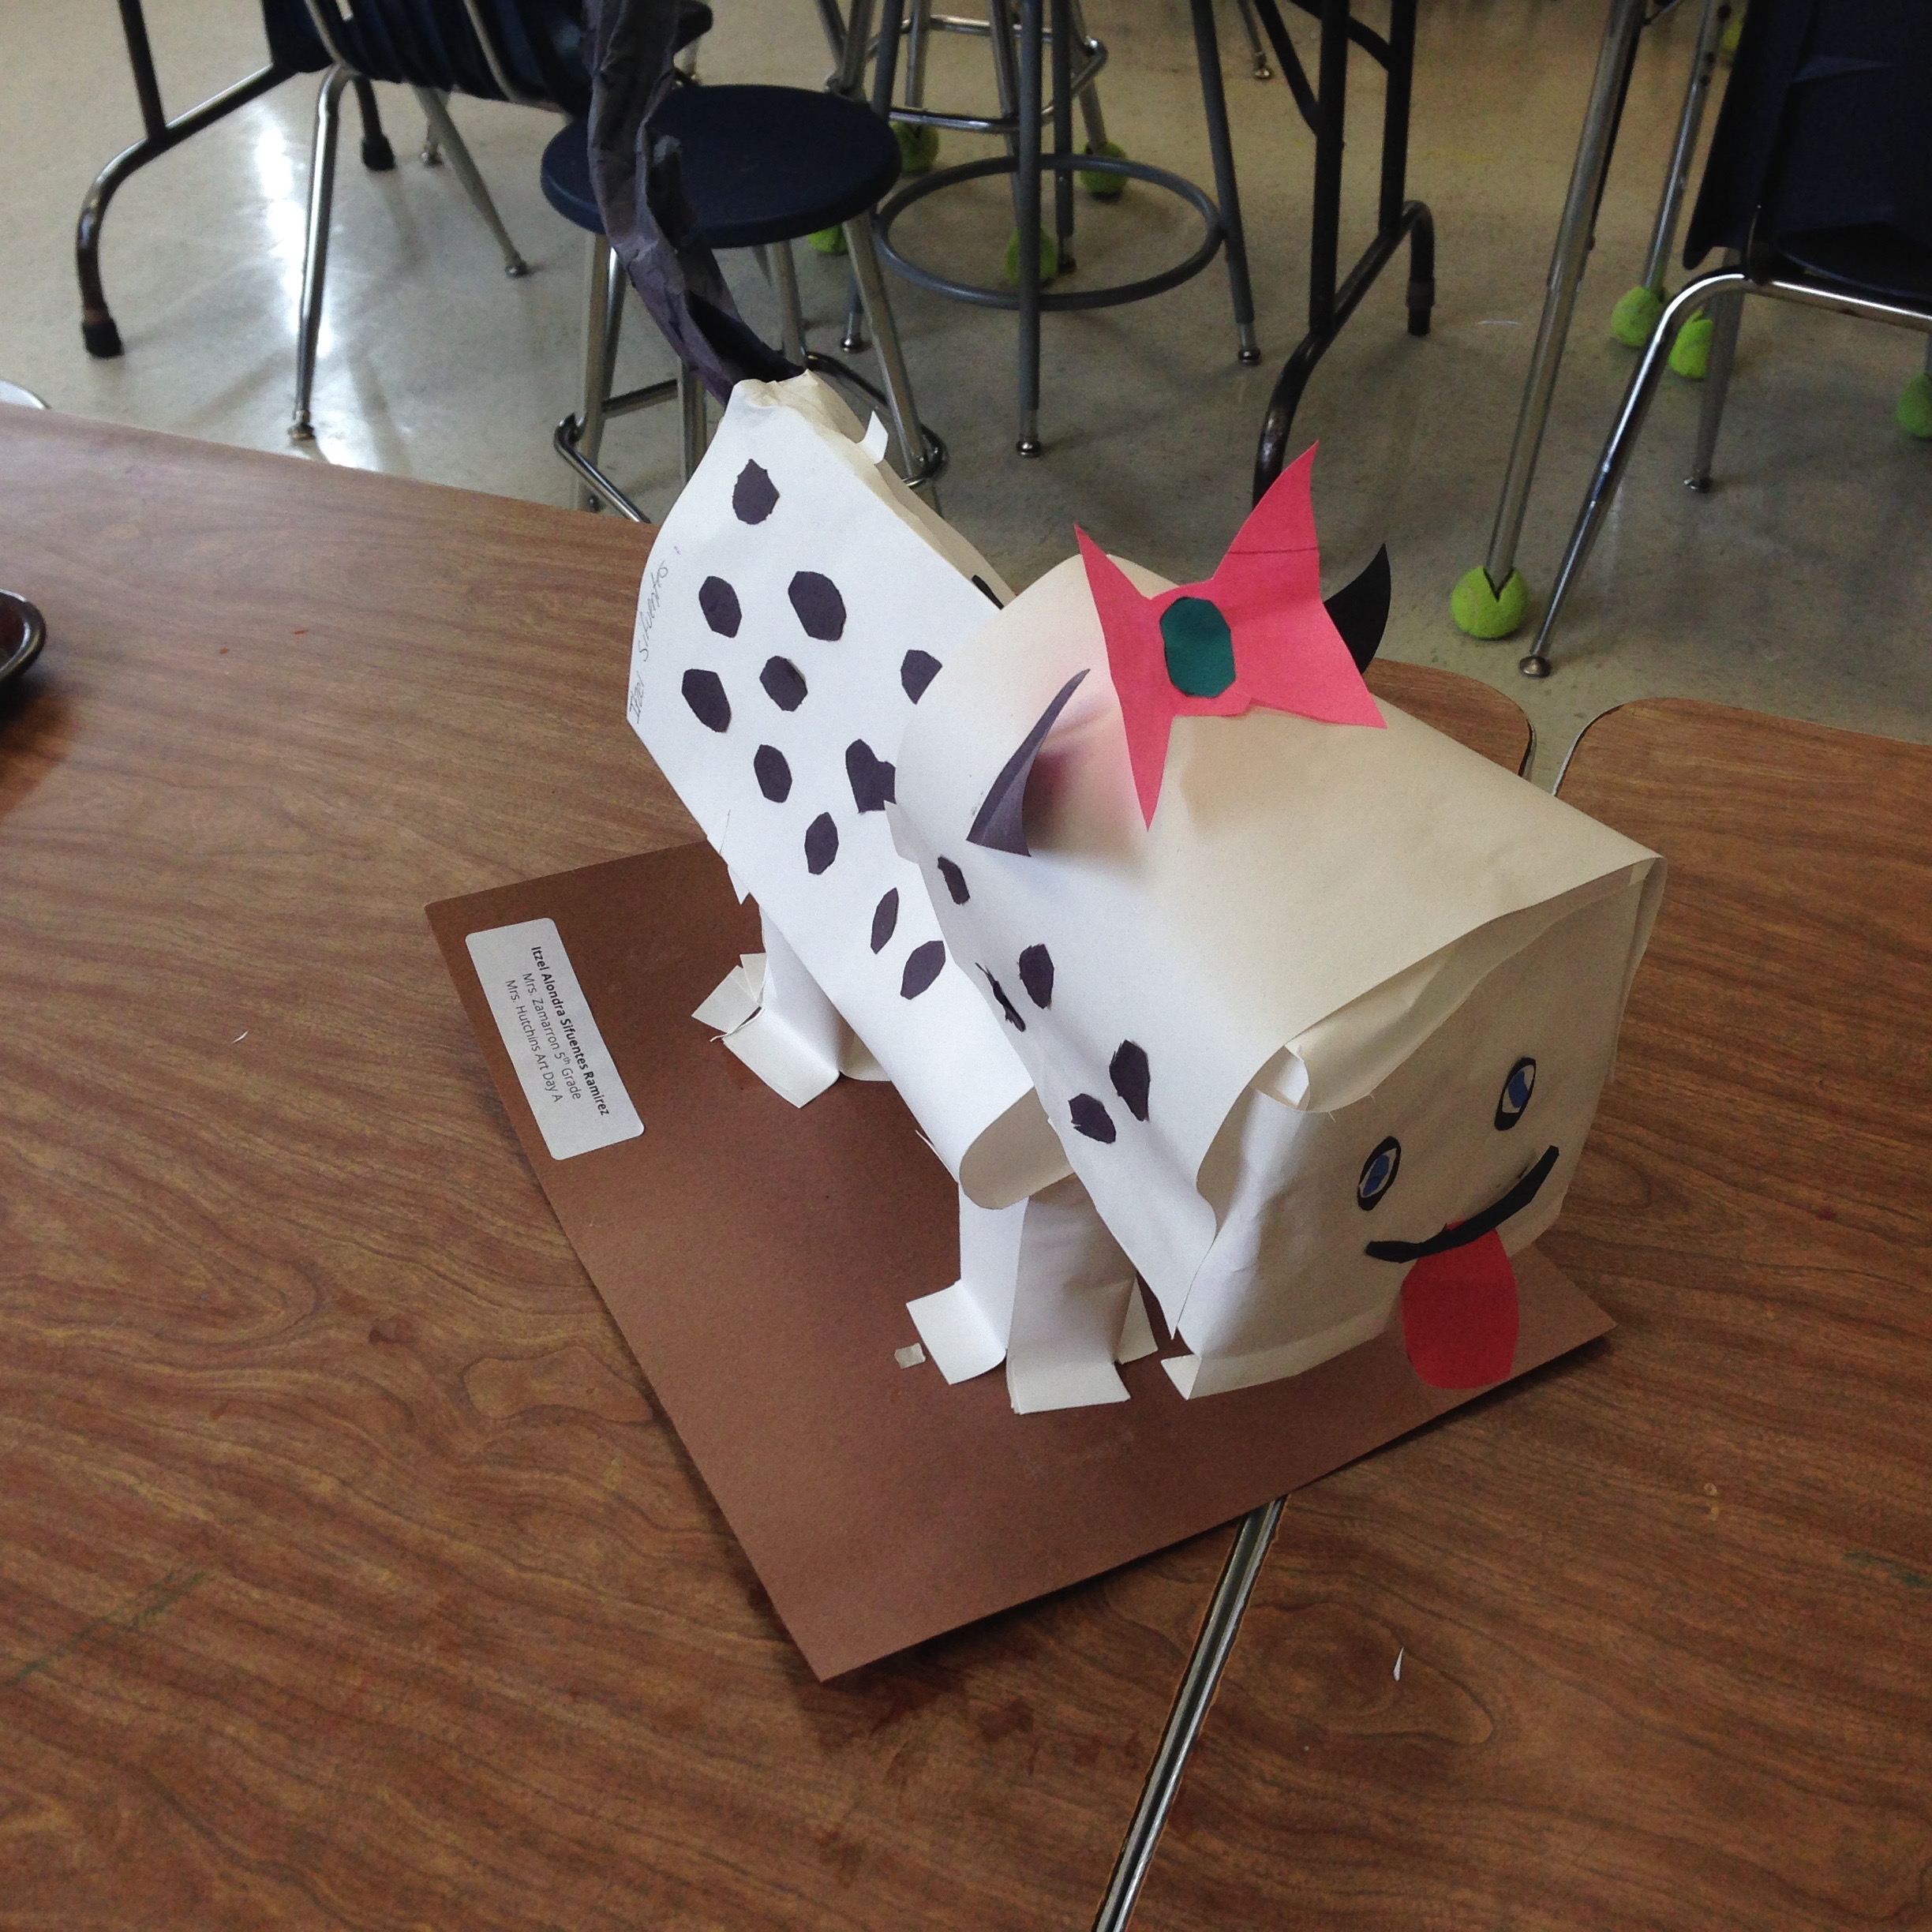
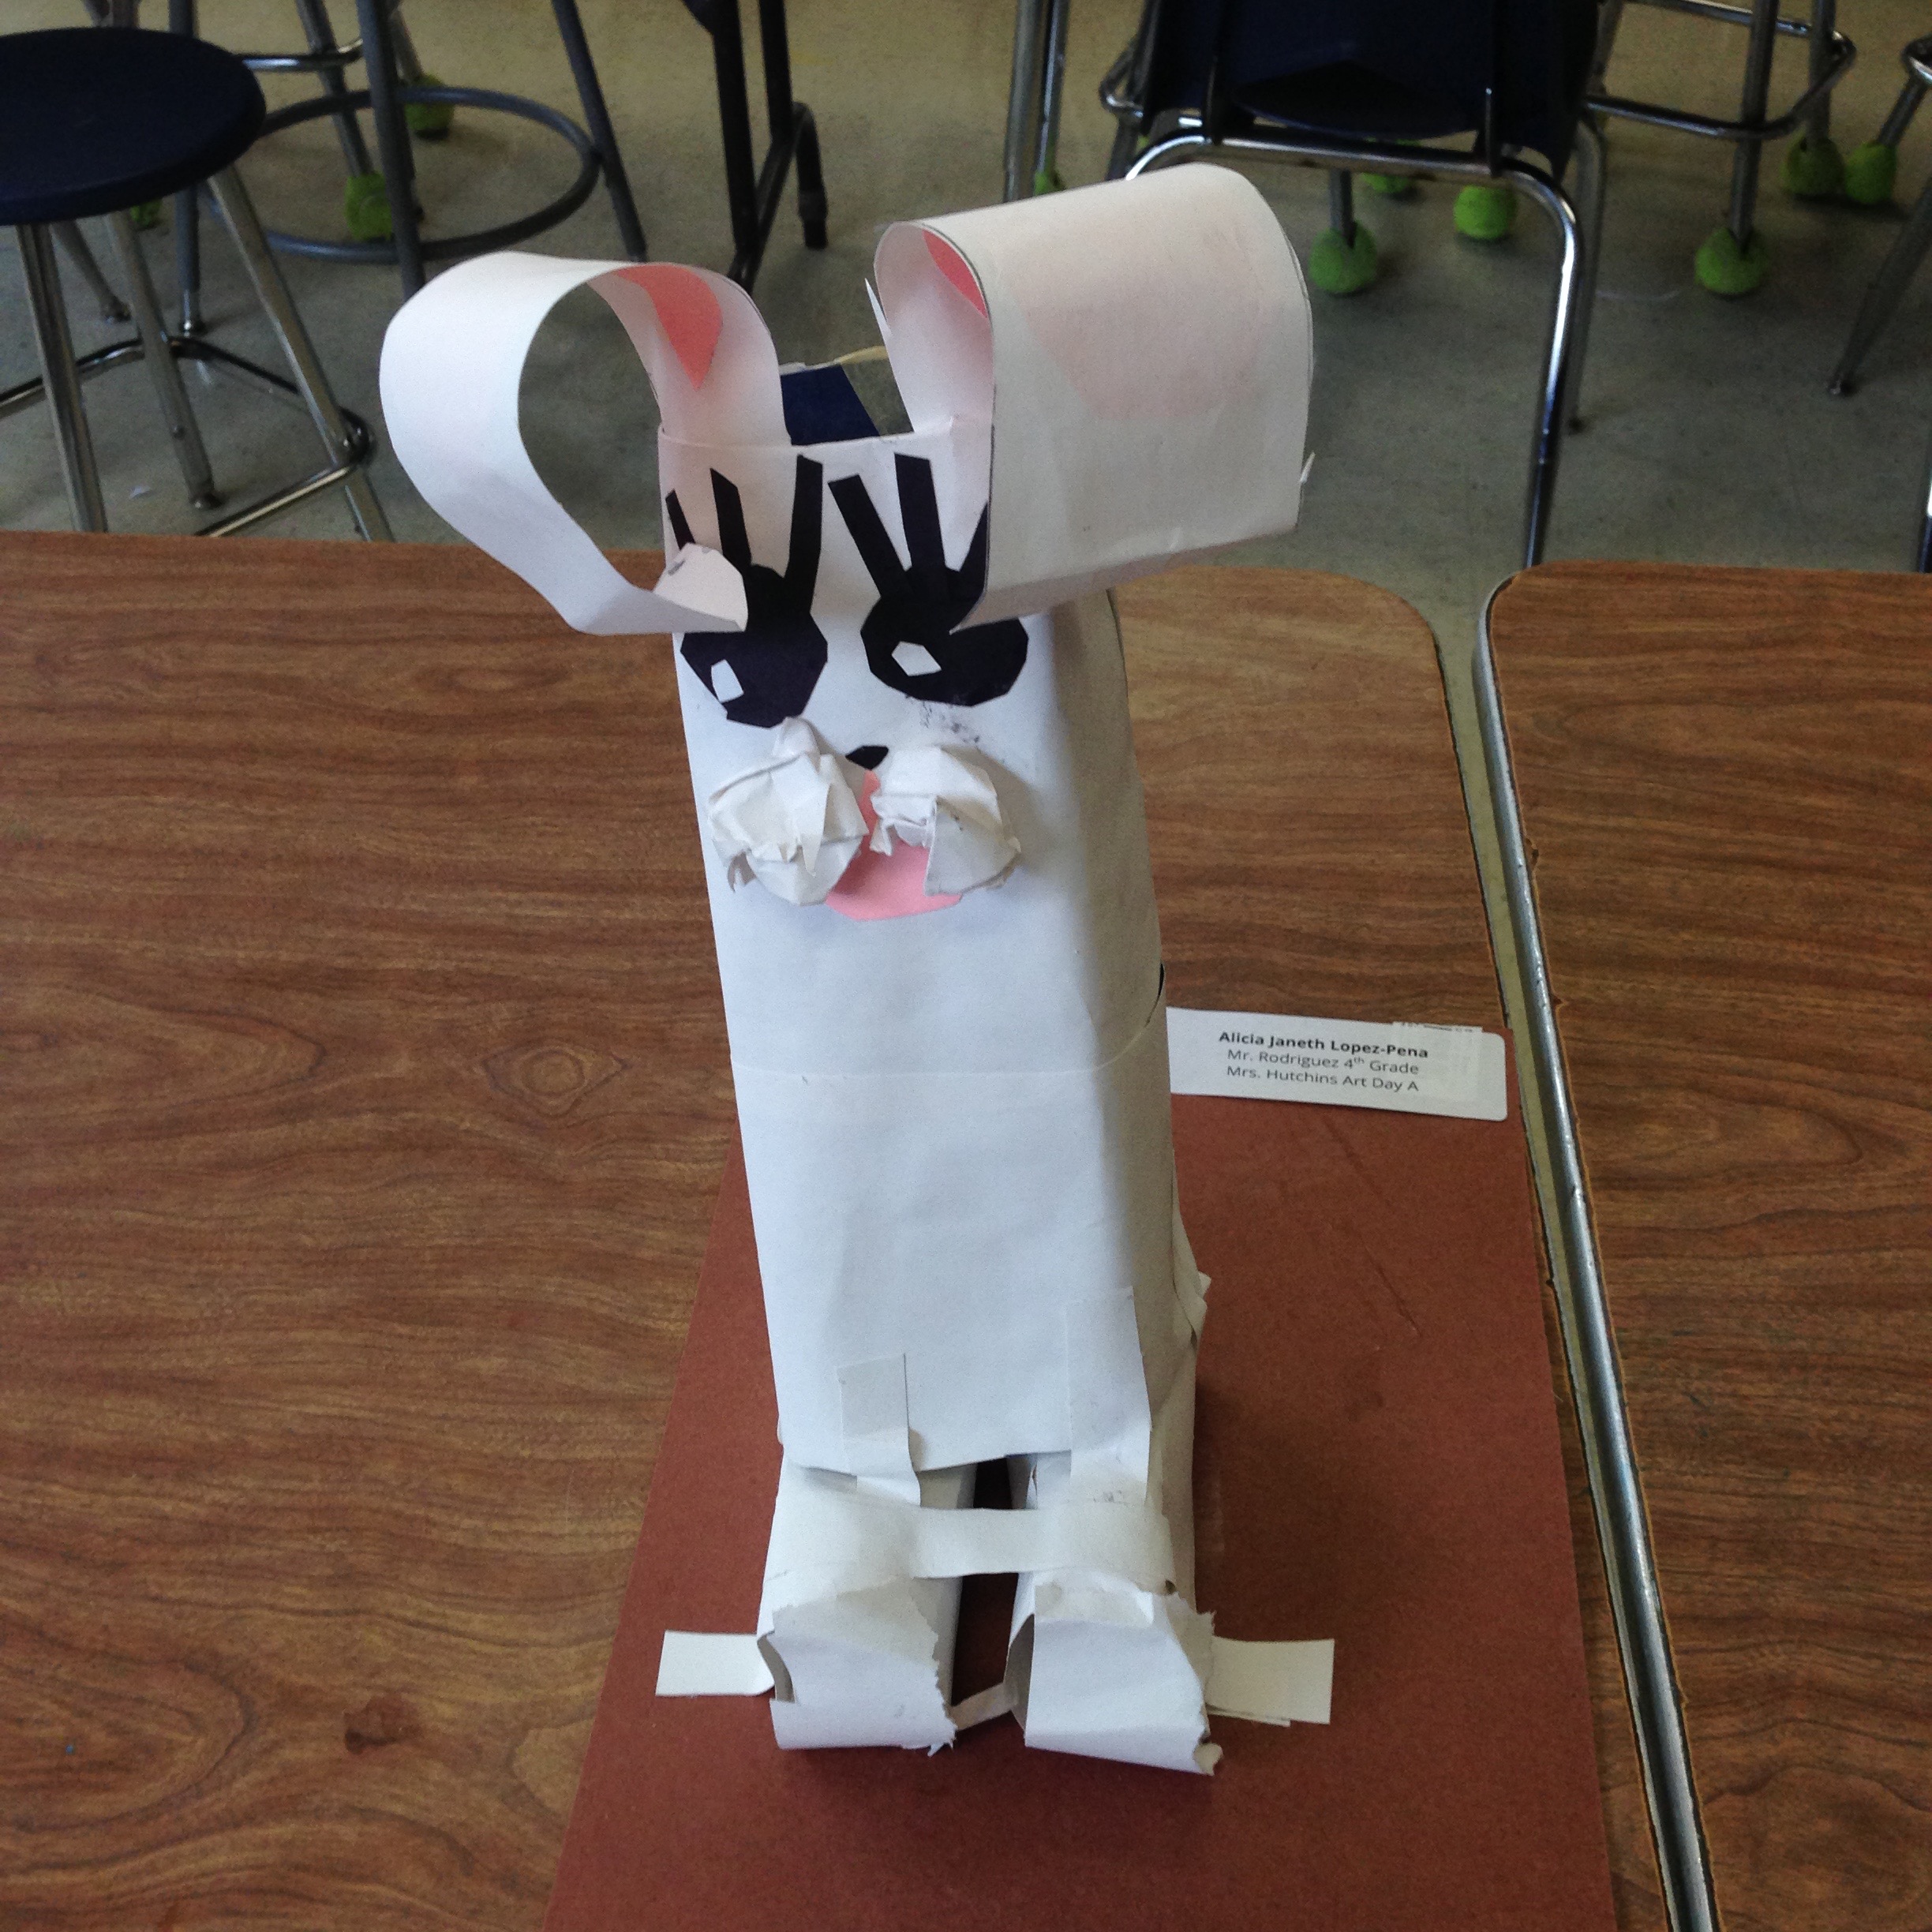
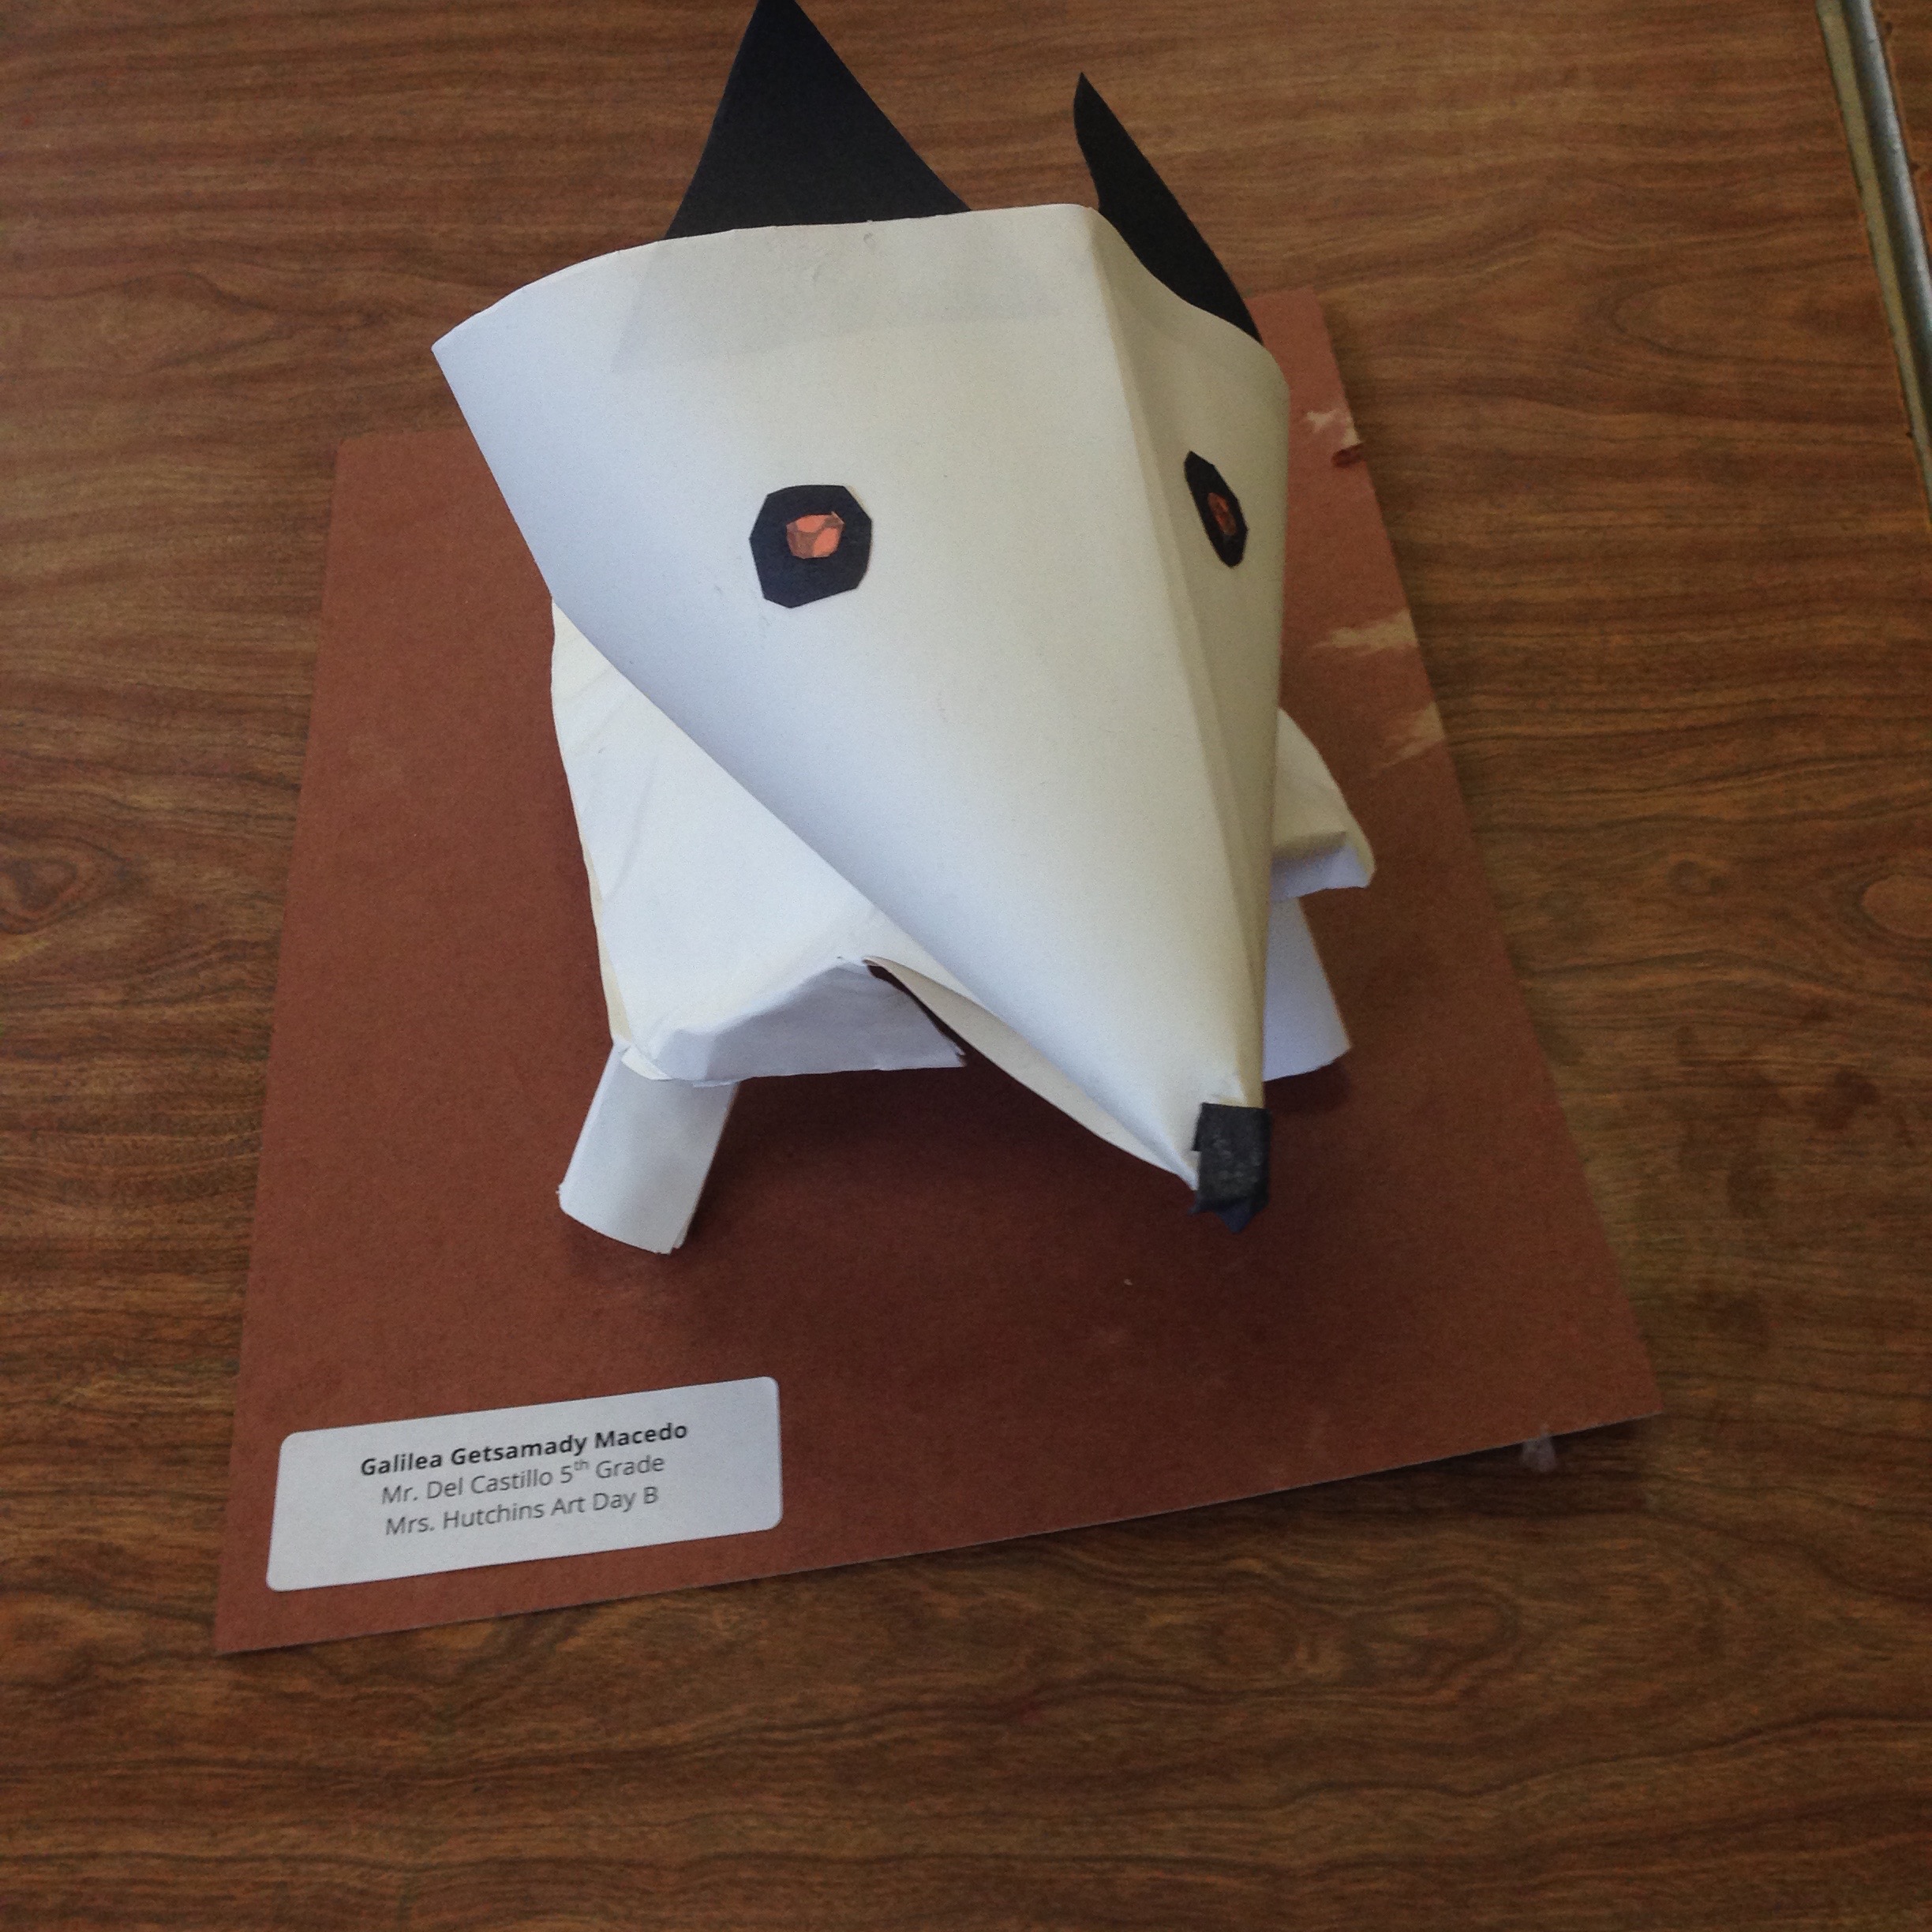
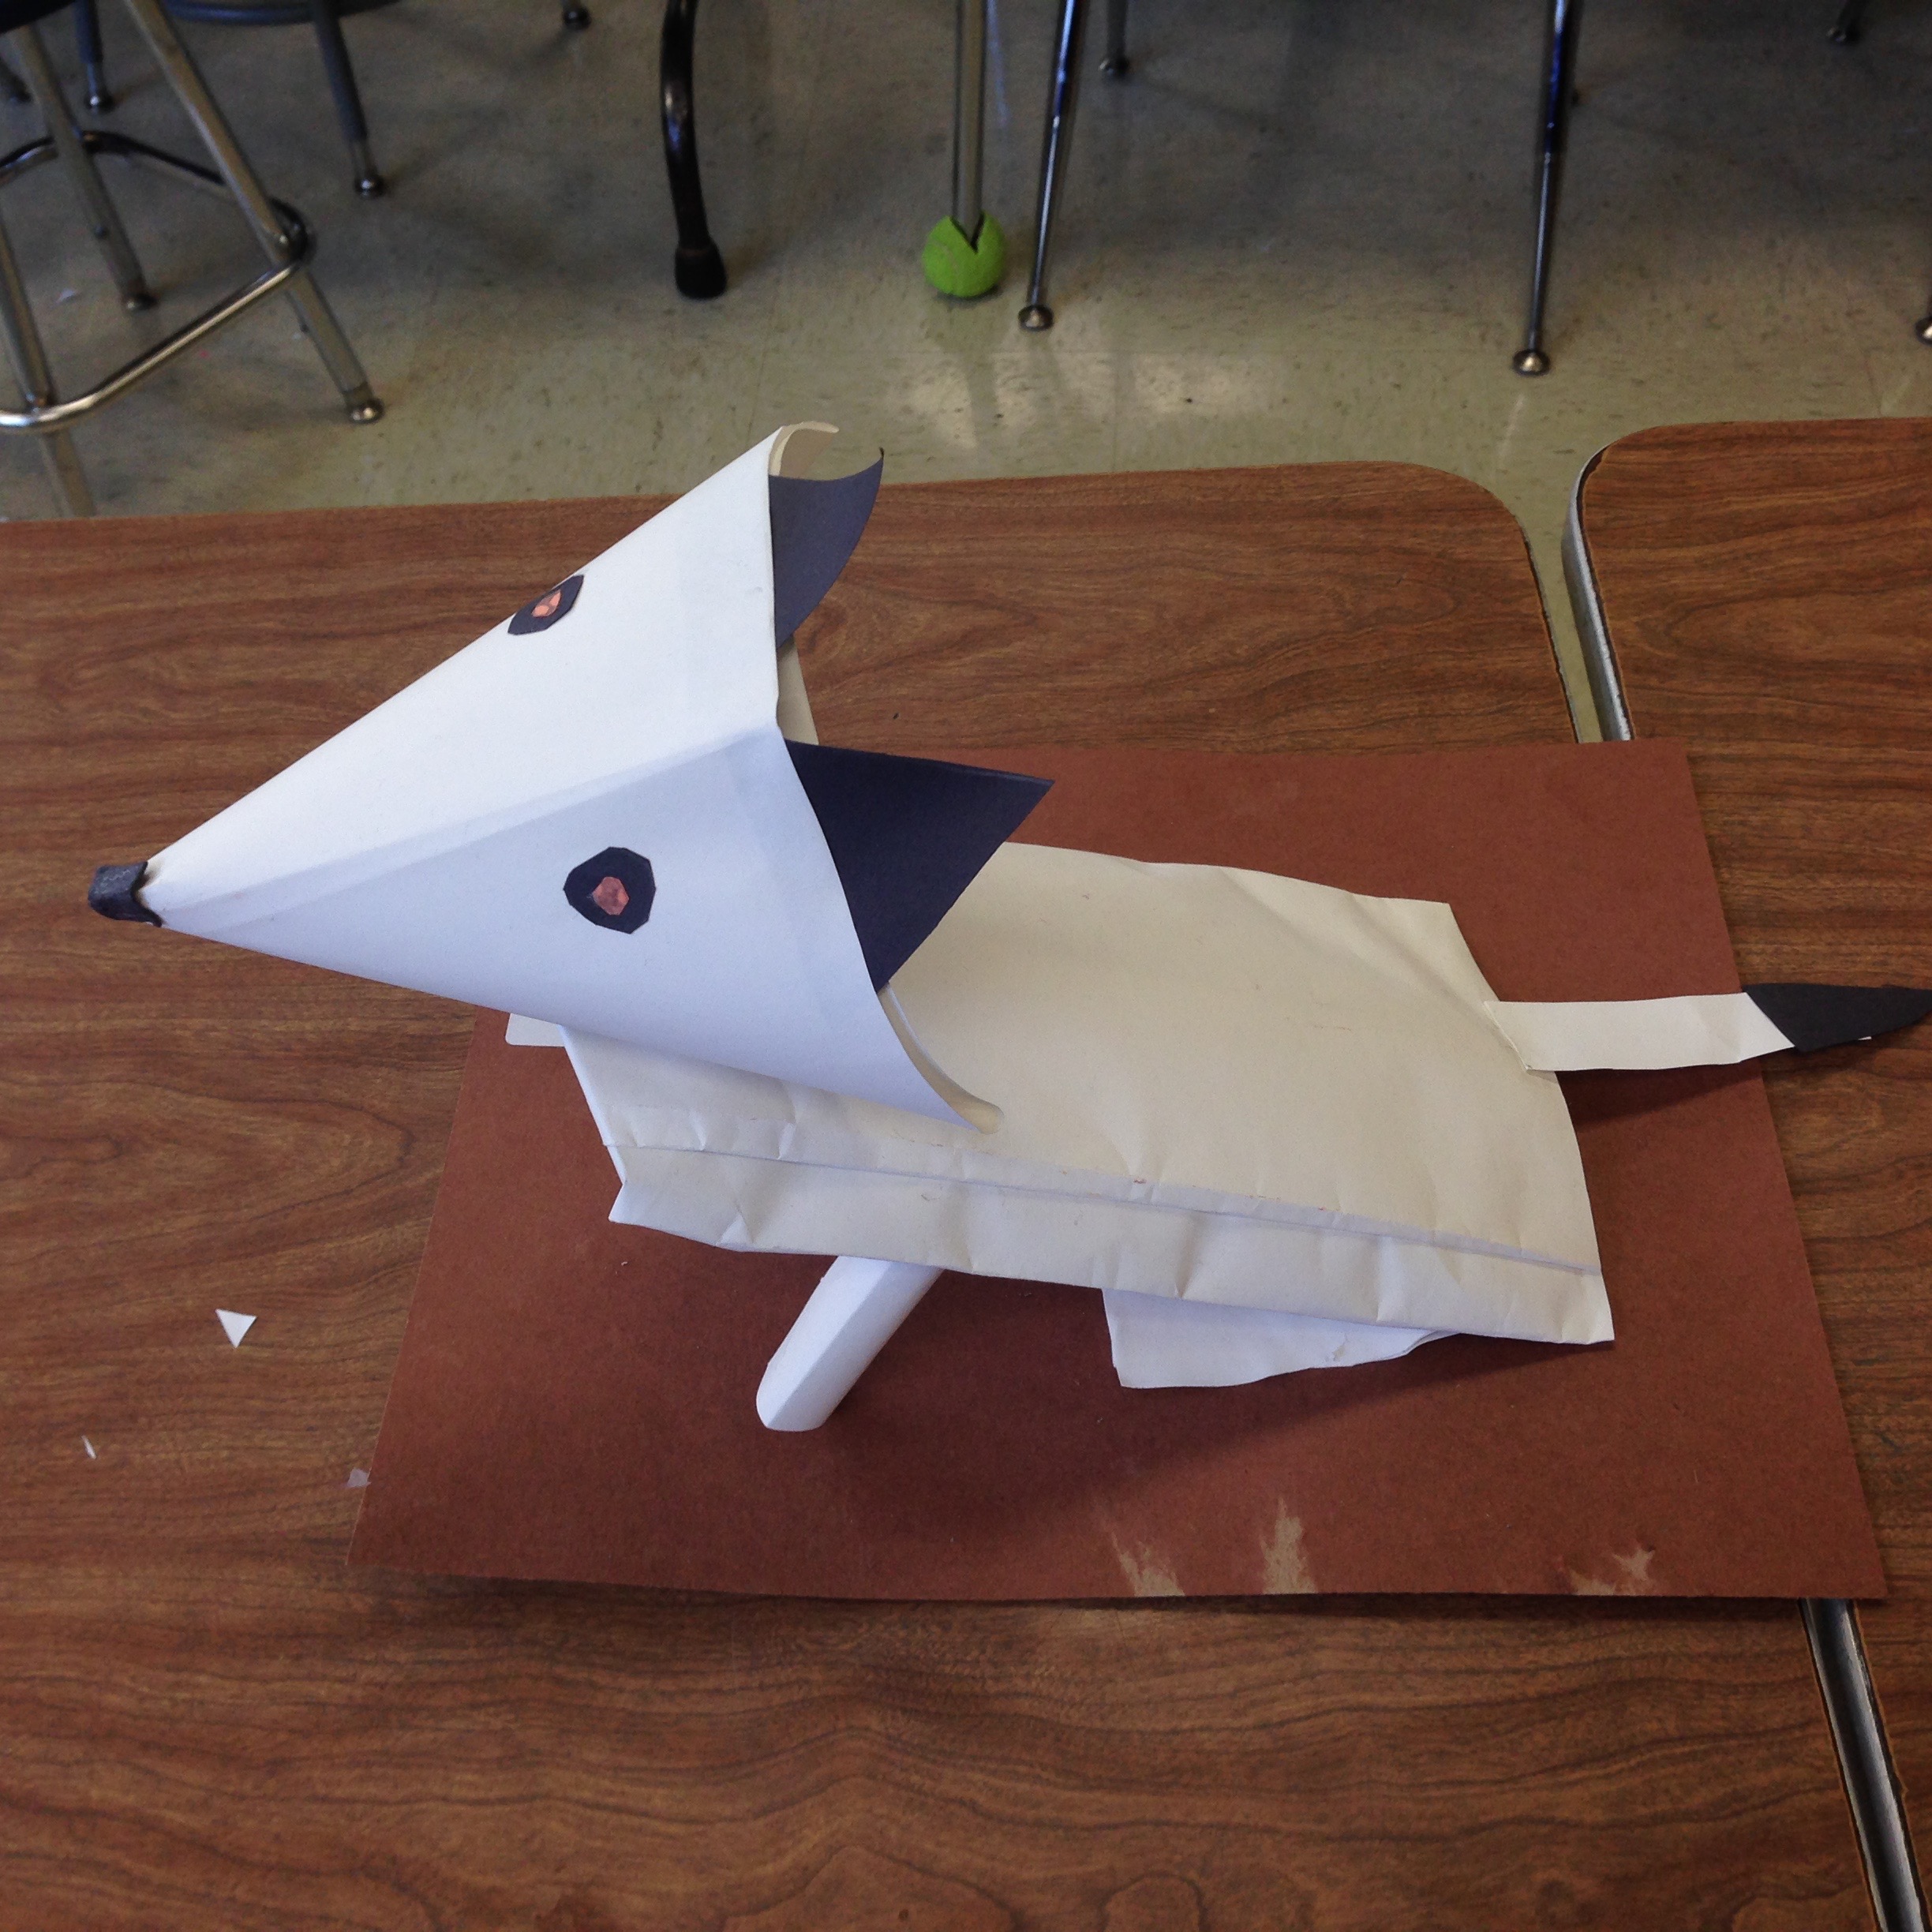
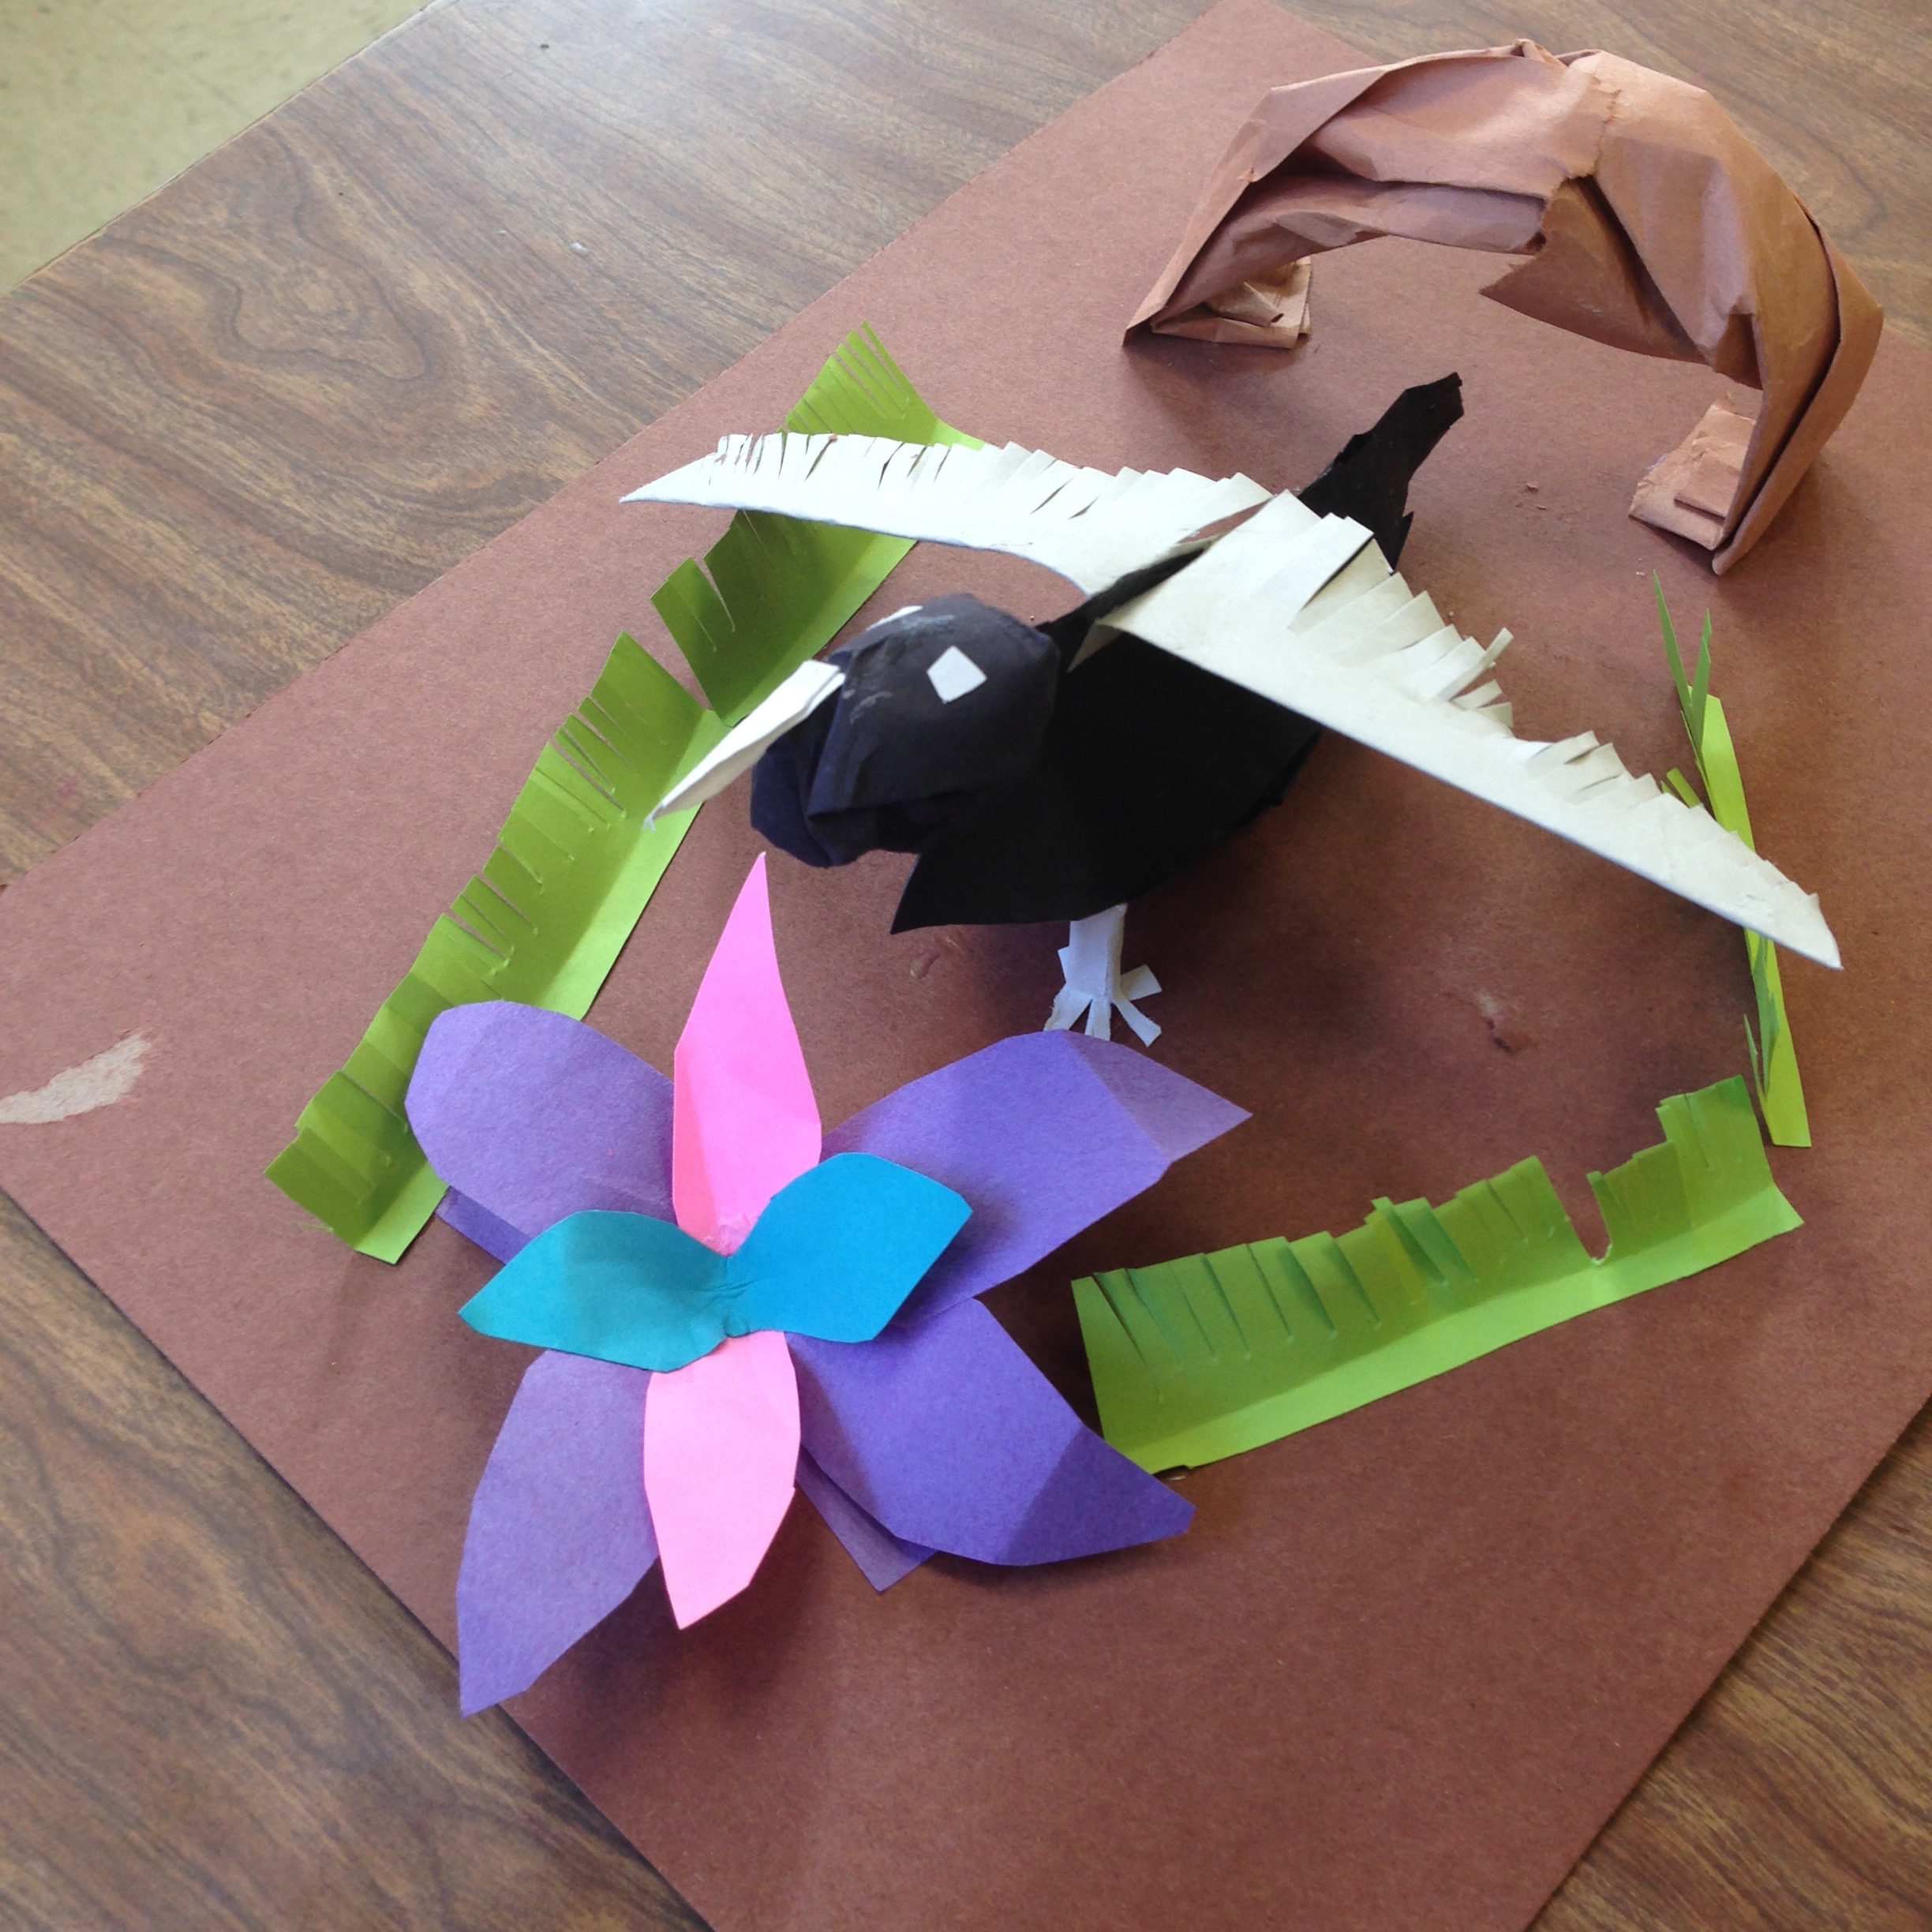
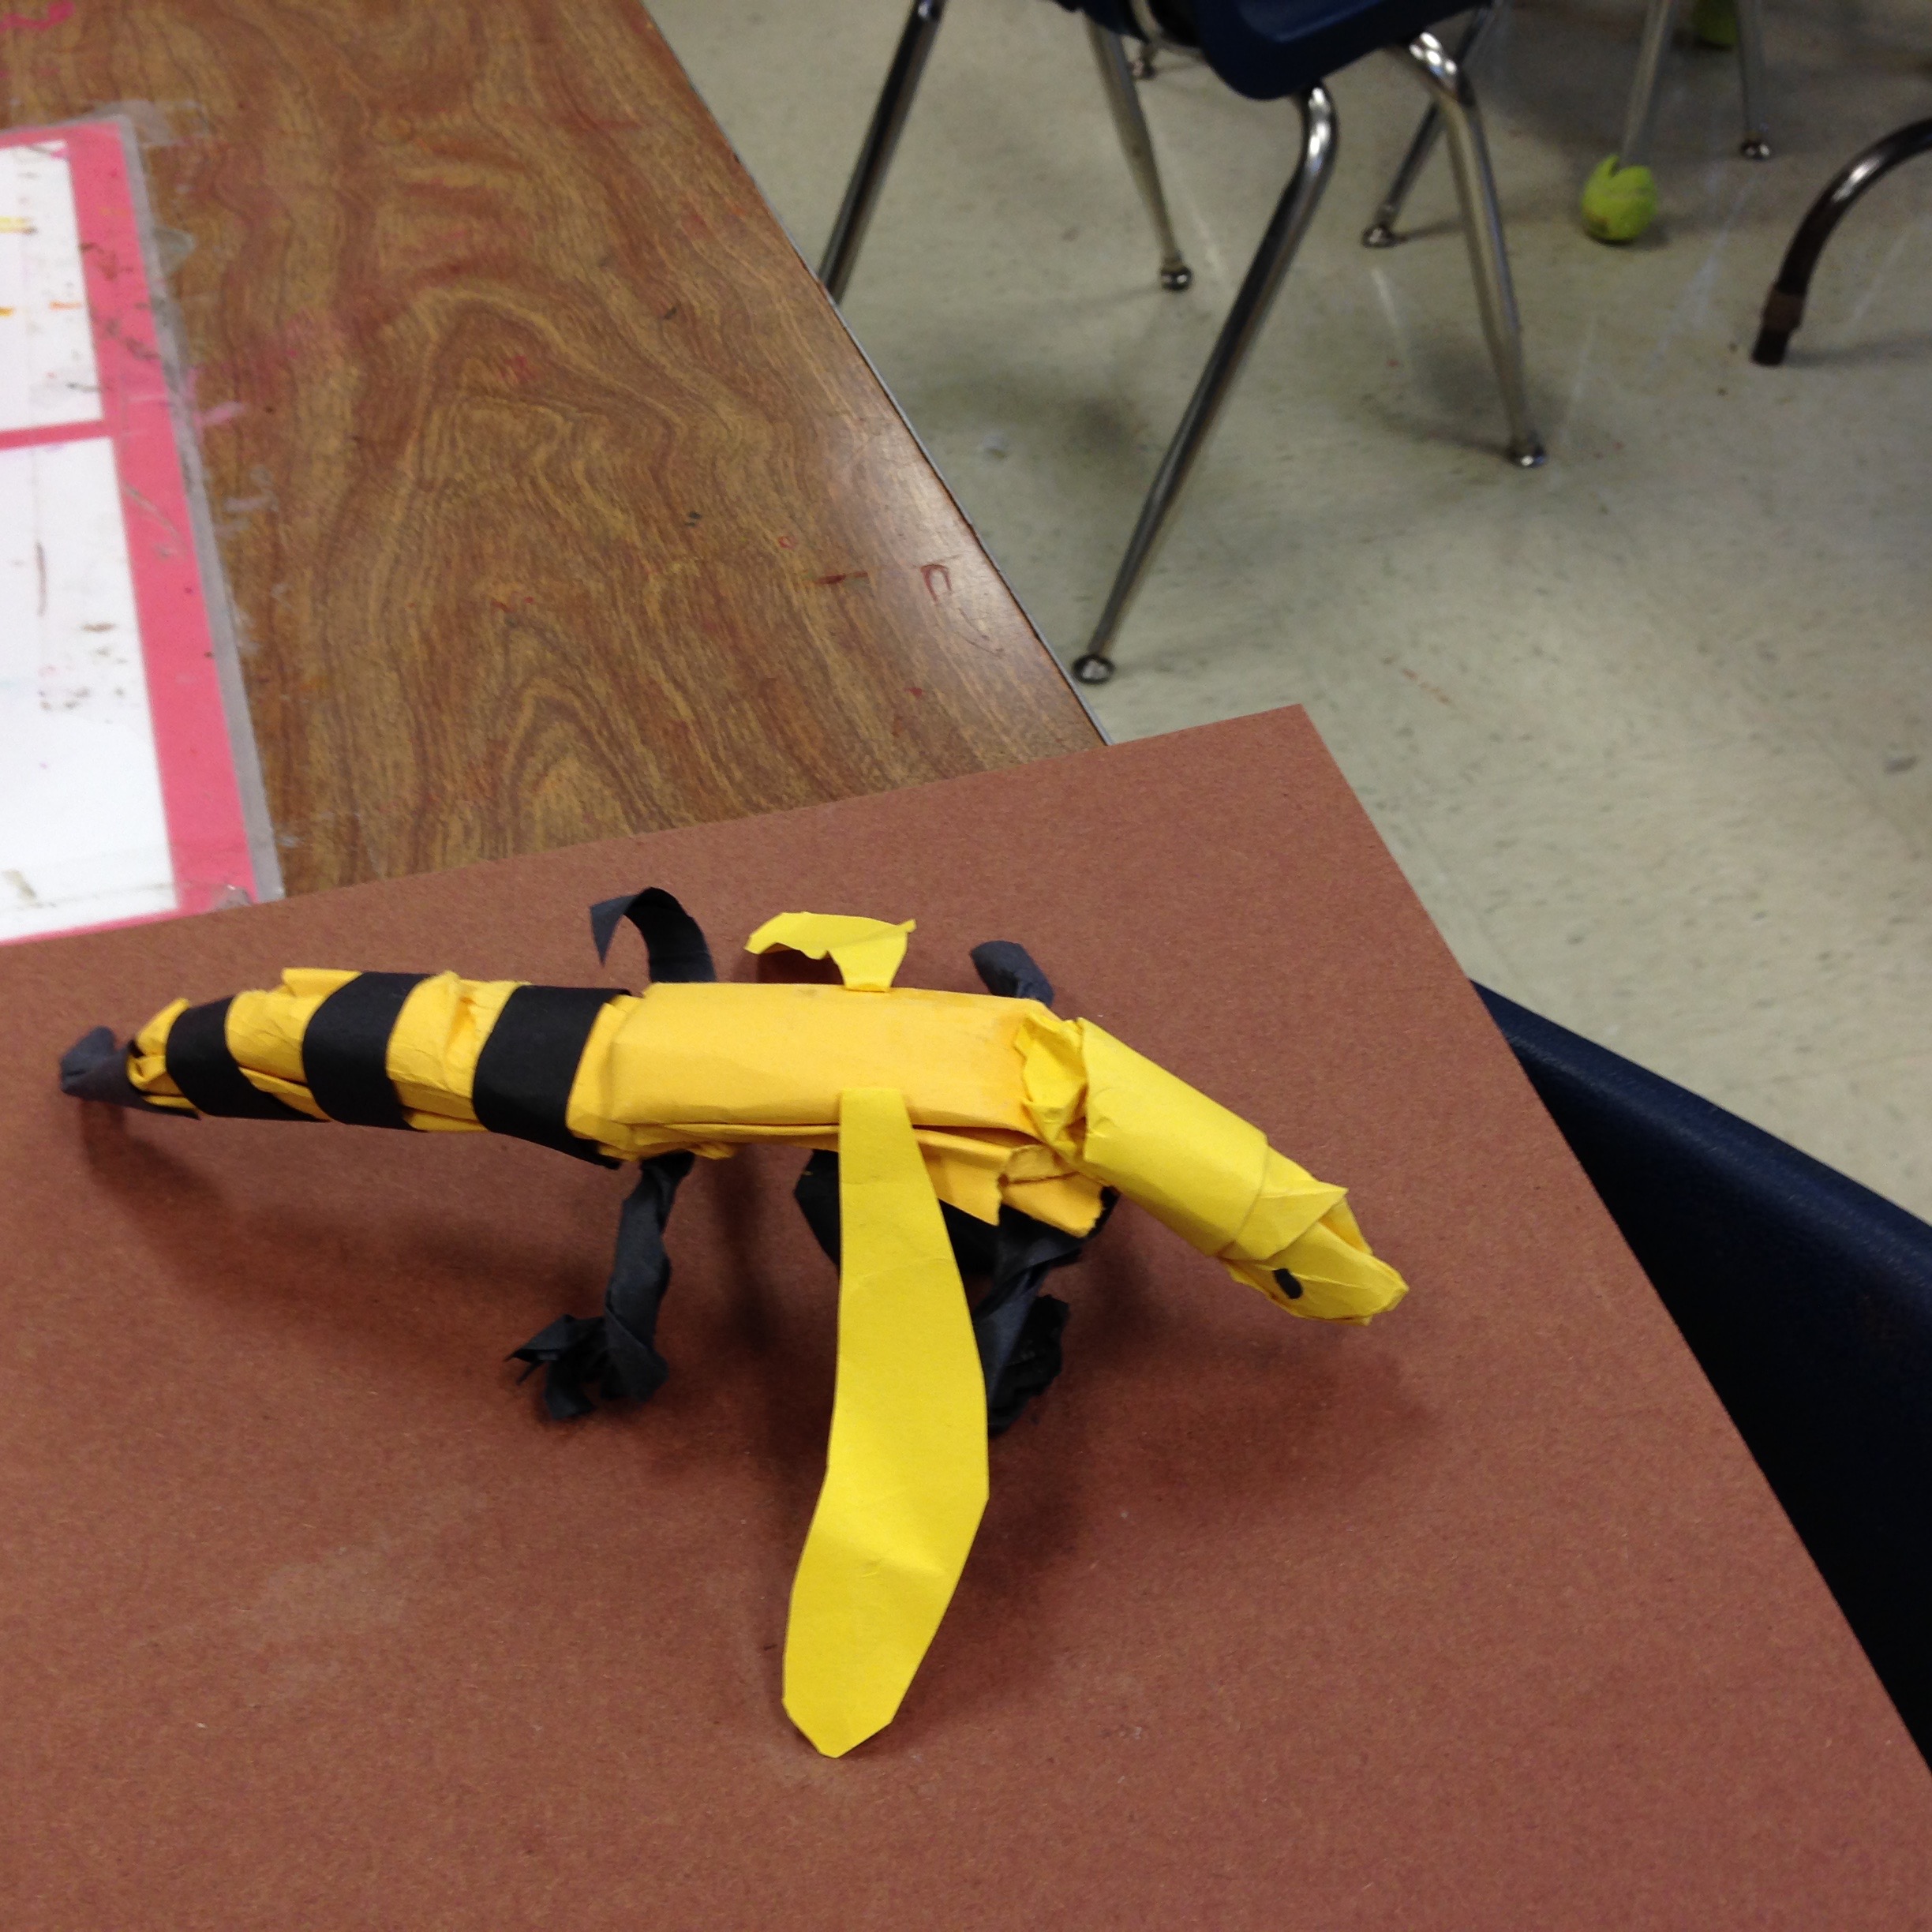
Shape Animals: Kinder Printmaking

Animal Drawings: Part of a District-wide Measure of Artistic Growth

My district started a new initiative last year to measure teacher effectiveness in every subject. I think that it’s important, but complicated, to assess the quality of education that teachers provide in the best interest of students. It’s complex to measure this through any kind of “test” format, considering the diversity of our students (including differences in behavioral and cognitive development within a single class, not to mention differences in socioeconomic and home life situations).

Our district leaders in Visual Arts met with elementary art teachers to discuss the new initiative at the beginning of the academic year. Referred to as SLOs, these tests measure growth based on Student Learning Objectives. I got an impression from our leaders that these SLOs would be a work in progress to be later refined. In terms of measuring teacher effectiveness, it was a fair start to look for growth; it beats trying to measure how each student can match an “ideal” outcome at the end of the year, no matter their starting point. However, I still think this first attempt at SLOs was flawed in a few ways.

The SLO Task & Rubric

Elementary Art teachers had the option to choose one grade level for the SLOs. And, within each grade level, there were maybe a couple of different activities (mostly drawing) to choose from as the measurement for artistic growth. I went with the Kinder Shape Animals activity because the simple nature of the task felt like a good choice to get to know the process in this first run. Here you will find the rubric and prompt for this activity. My kinders were prompted to do the task in the beginning of the year, and then again at the end of the year.

The selection of activities can be problematic. Firstly, the nature of drawing materials on paper makes it manageable for the teacher to grade and compile documentation, compared to bulkier or messier media. But then, the ability to manipulate different artistic materials is key to artistic development, and it can be hard to genuinely measure growth through drawing alone.

Secondly, most of these prompts measured artistic growth based on representational ability. Art is so much more than the representation of the natural world. Of course, representational art is a part of the art world and I cover it in my curriculum among other creative tasks. But, arguably, the best measurement of artistic learning will regard how students give shape to ideas by using different habits of mind.

The third issue I found may only be something that relates to the activity I picked. It came to my mind as I observed my kinders drawing in response to the task in the beginning of the year. Some of the growth, that relates to this rubric, isn’t completely due to my role as their art teacher. Kindergartners grow in some of the skills naturally (e.g. fine motor, comprehension) as well as outside my classroom (identifying shapes). In the case of my students, most of kinders come to us without having gone to preschool or daycare before, and are behaviorally getting used to school. Their homeroom teachers play a huge role in their behavioral growth, including their ability to follow directions. Of course, I still implement activities in my curriculum throughout the year to support growth in these areas, but a lot of it happens for reasons outside of my teaching effectiveness.

That said, it’s important to consider that the SLO is just one part of a greater way that they assess our teaching, which includes classroom visits by administrators. For now, I’ll talk about my experience of this SLO. As per instructions, I read the prompt at the beginning of the year (in English and in Spanish for dual language classes): “Make an animal. Draw a large circle for the body and a smaller circle for the head. Then, use other shapes for the ears, legs, and tail.” Here are some adorable examples of their drawings in response to the prompt at the beginning of the year. They really run the gamut!

Relevant Activities

With kinders, throughout the year, I sometimes do “follow-me” drawing or collage activities that are representational, and these include putting shapes together one step at a time. I also prompt a lot of explorational activities, that incorporate using materials at different stations in response to a prompt. E.g at modeling clay station: “How can you make an animal that stands up by itself?” and the students will discover that they need to add thickly formed legs! In the spring, as we approached the post-assessment for this prompt, I started a small unit geared towards the activity. It started with using pre-made, cut out shapes for an animal collage. I didn’t snap photos because they just made it in a day and took it with them, but it’s a popular activity like this one.

After animal shape collage day, I did a couple of activities that unfortunately felt like I was teaching to the test. And I don’t know if that’s okay; maybe it was just a review of things we’ve already learned, or maybe it was too close to the testing prompt. We practiced those fine motor skills, and reviewed tricks I’ve showed them before that help them to draw shapes. For example, place “fingers-together” hand on a paper, draw a “mitten” with pencil around that hand, and then close the mitten at the bottom to make an oval. Last, I did a look and respond at some animal drawings (see slides below). I started by showing a red circle and oval at different parts of the paper. Then I showed some complete animal drawings that included the circle and oval in the same spot. “What do we add to theses shapes to turn it into the animal?” Students then went on to draw some animals on their own. They put all their animal drawings together in a folder to make an “animal book.”

The next class was “Post-Assessment” SLO day. I gave the test the same exact way I did when I gave the “Pre-Assessment” version at the beginning of the year. No review at the start, students went straight to their desks, I read the prompt, and then they drew their animal. Here’s examples of before and afters from one of my classes (and I can’t help but point the amazing lion and tiger by in the last slide, by a student who adored drawing animals with his parents before ever setting foot in my class):

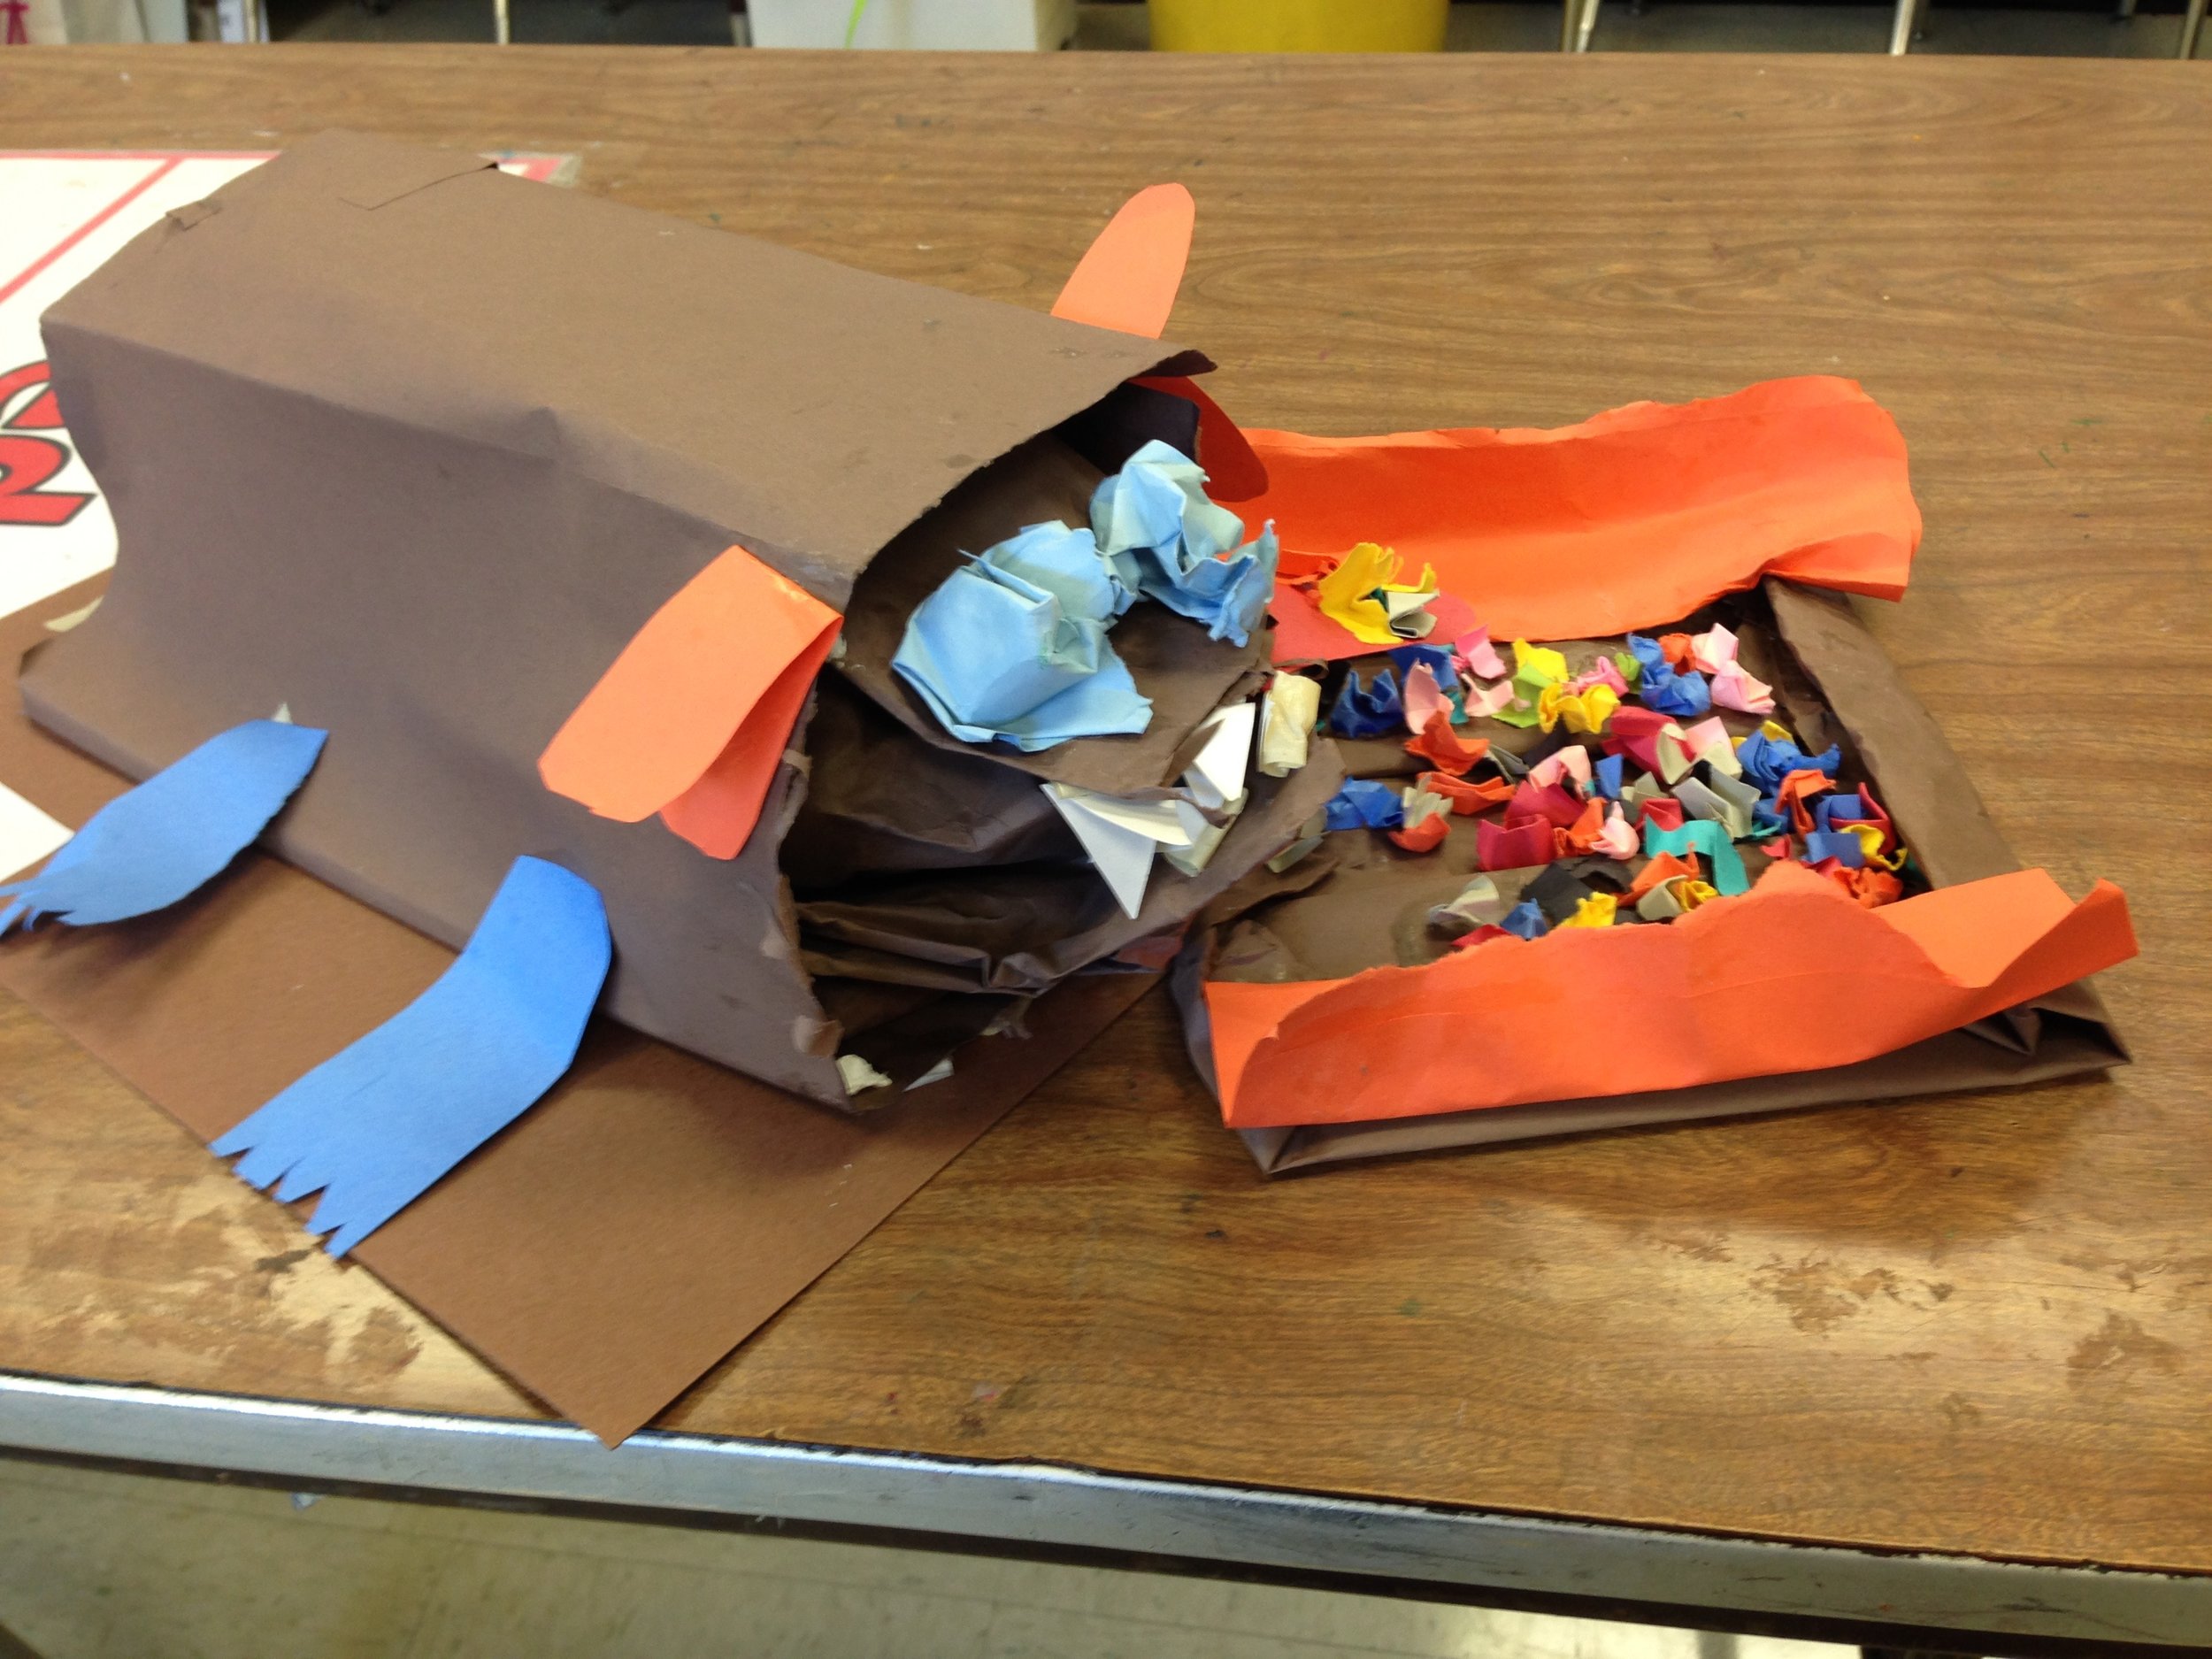
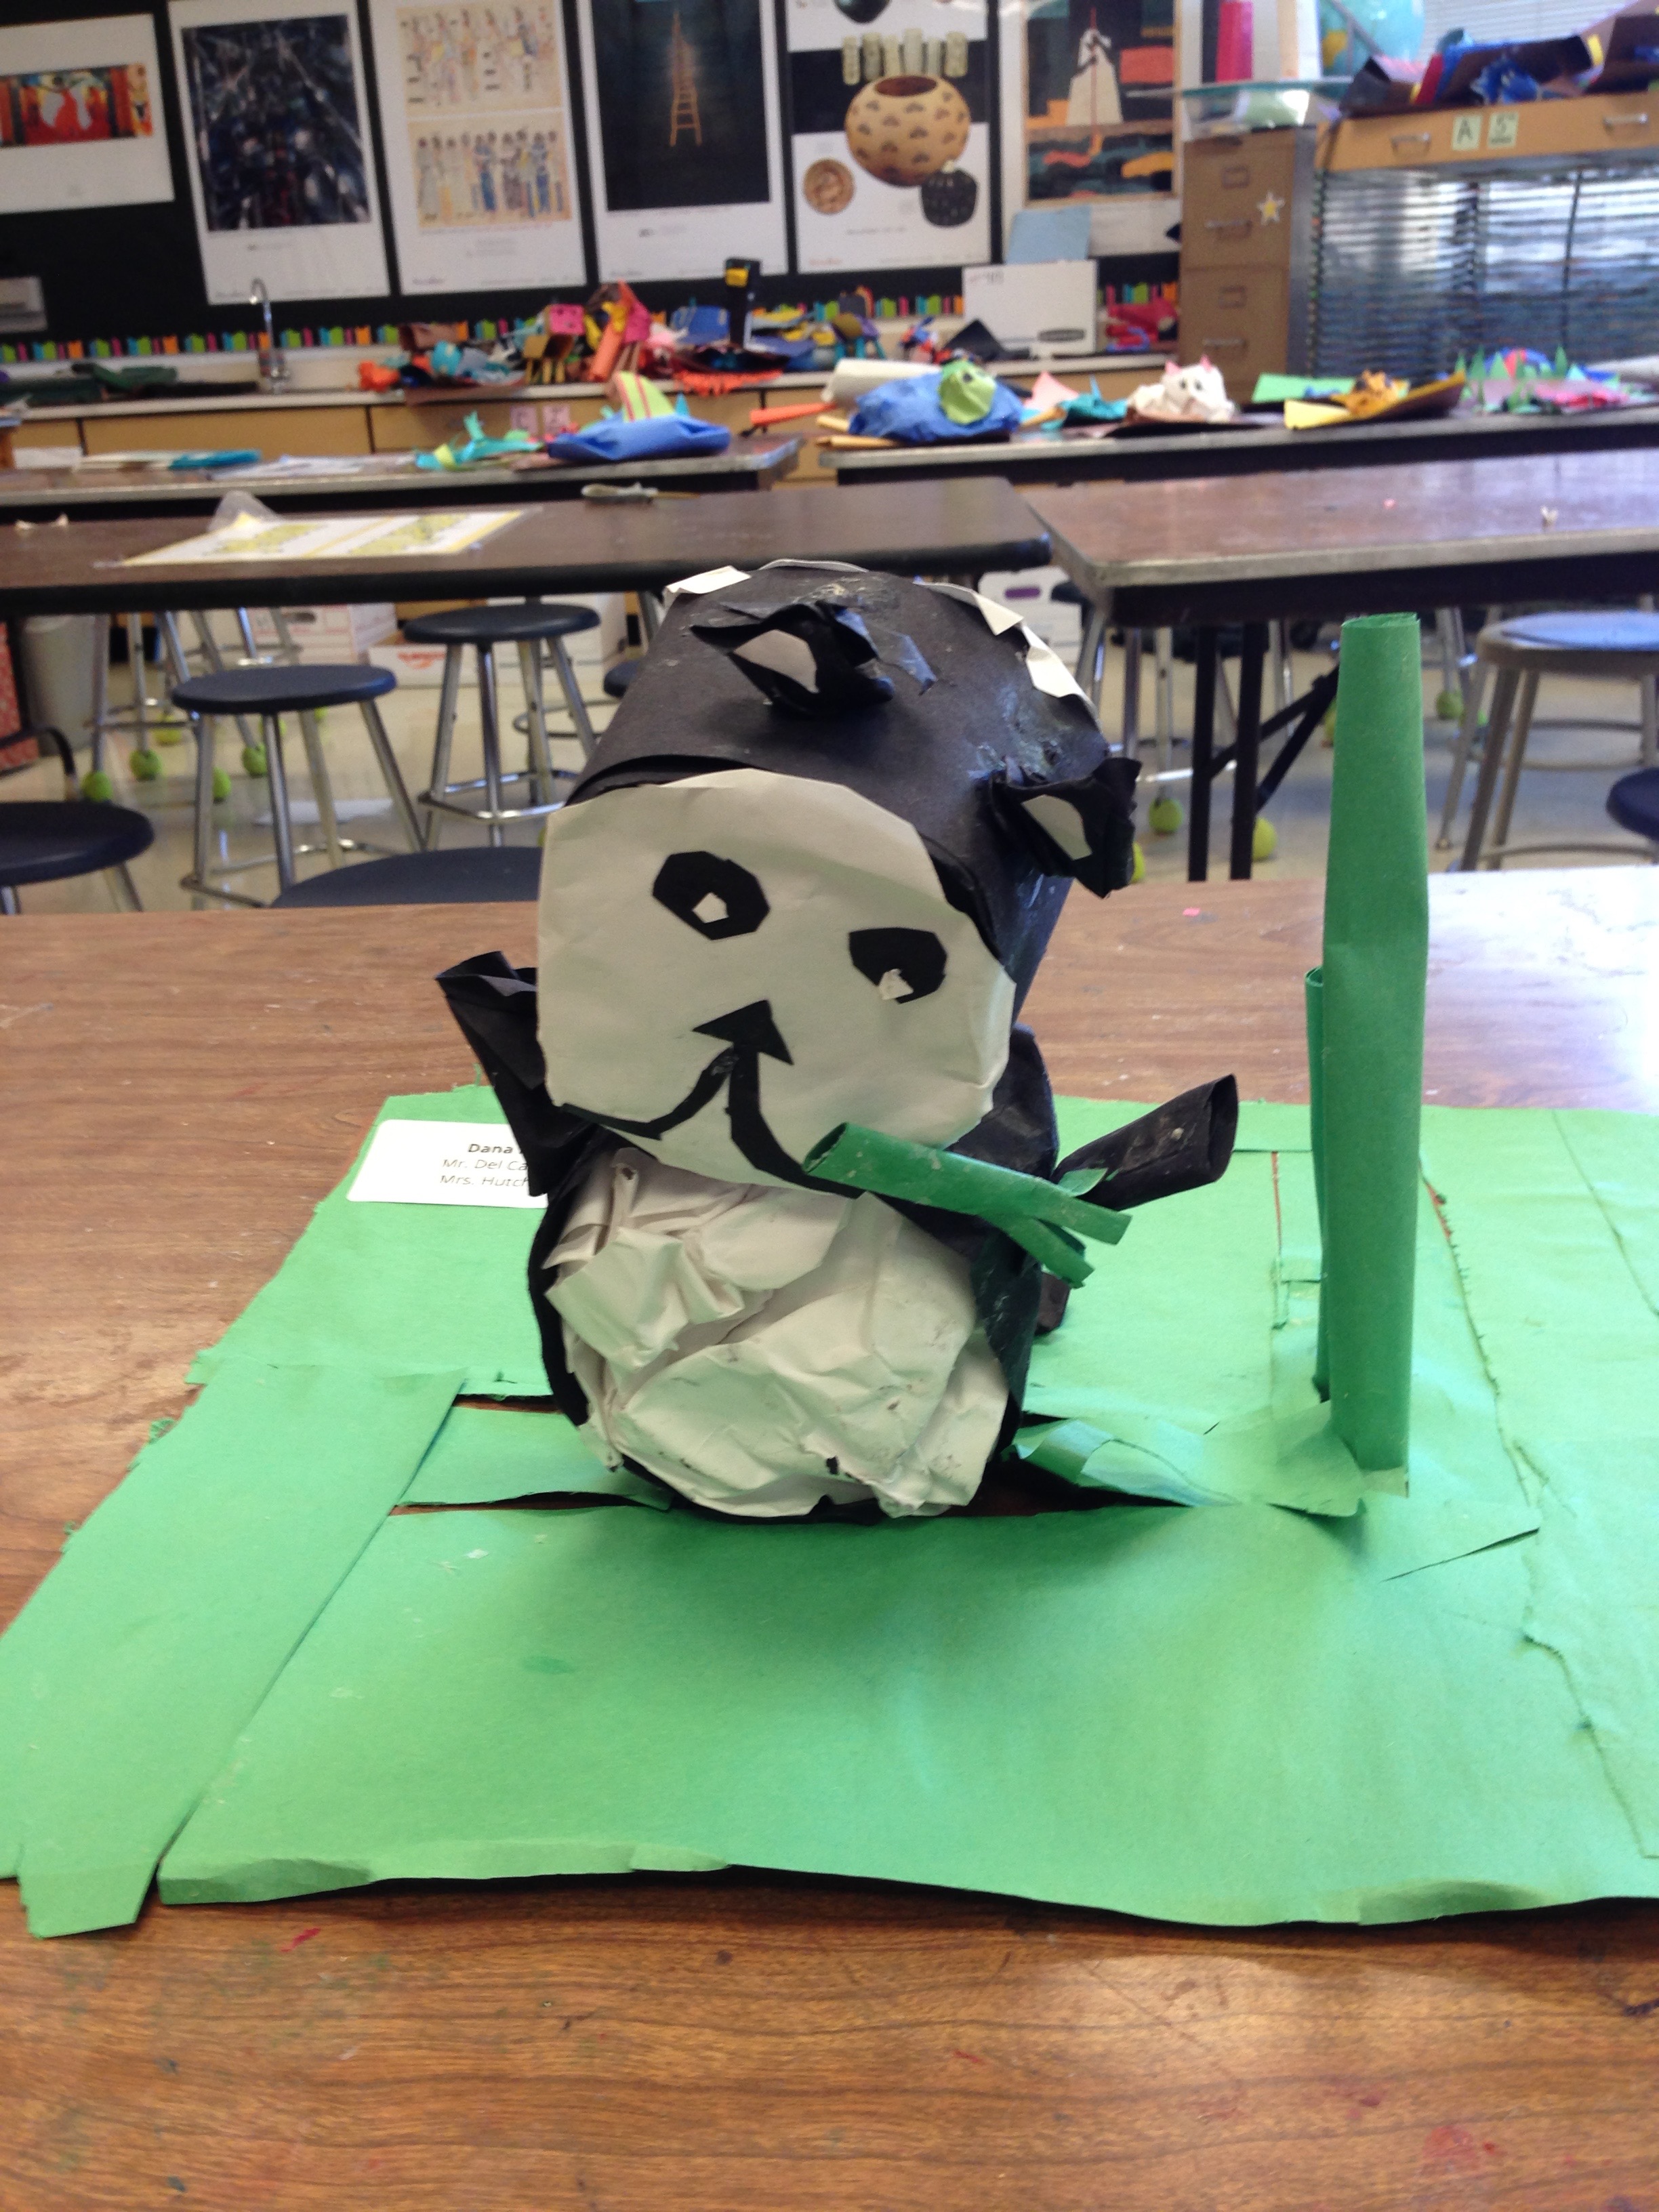
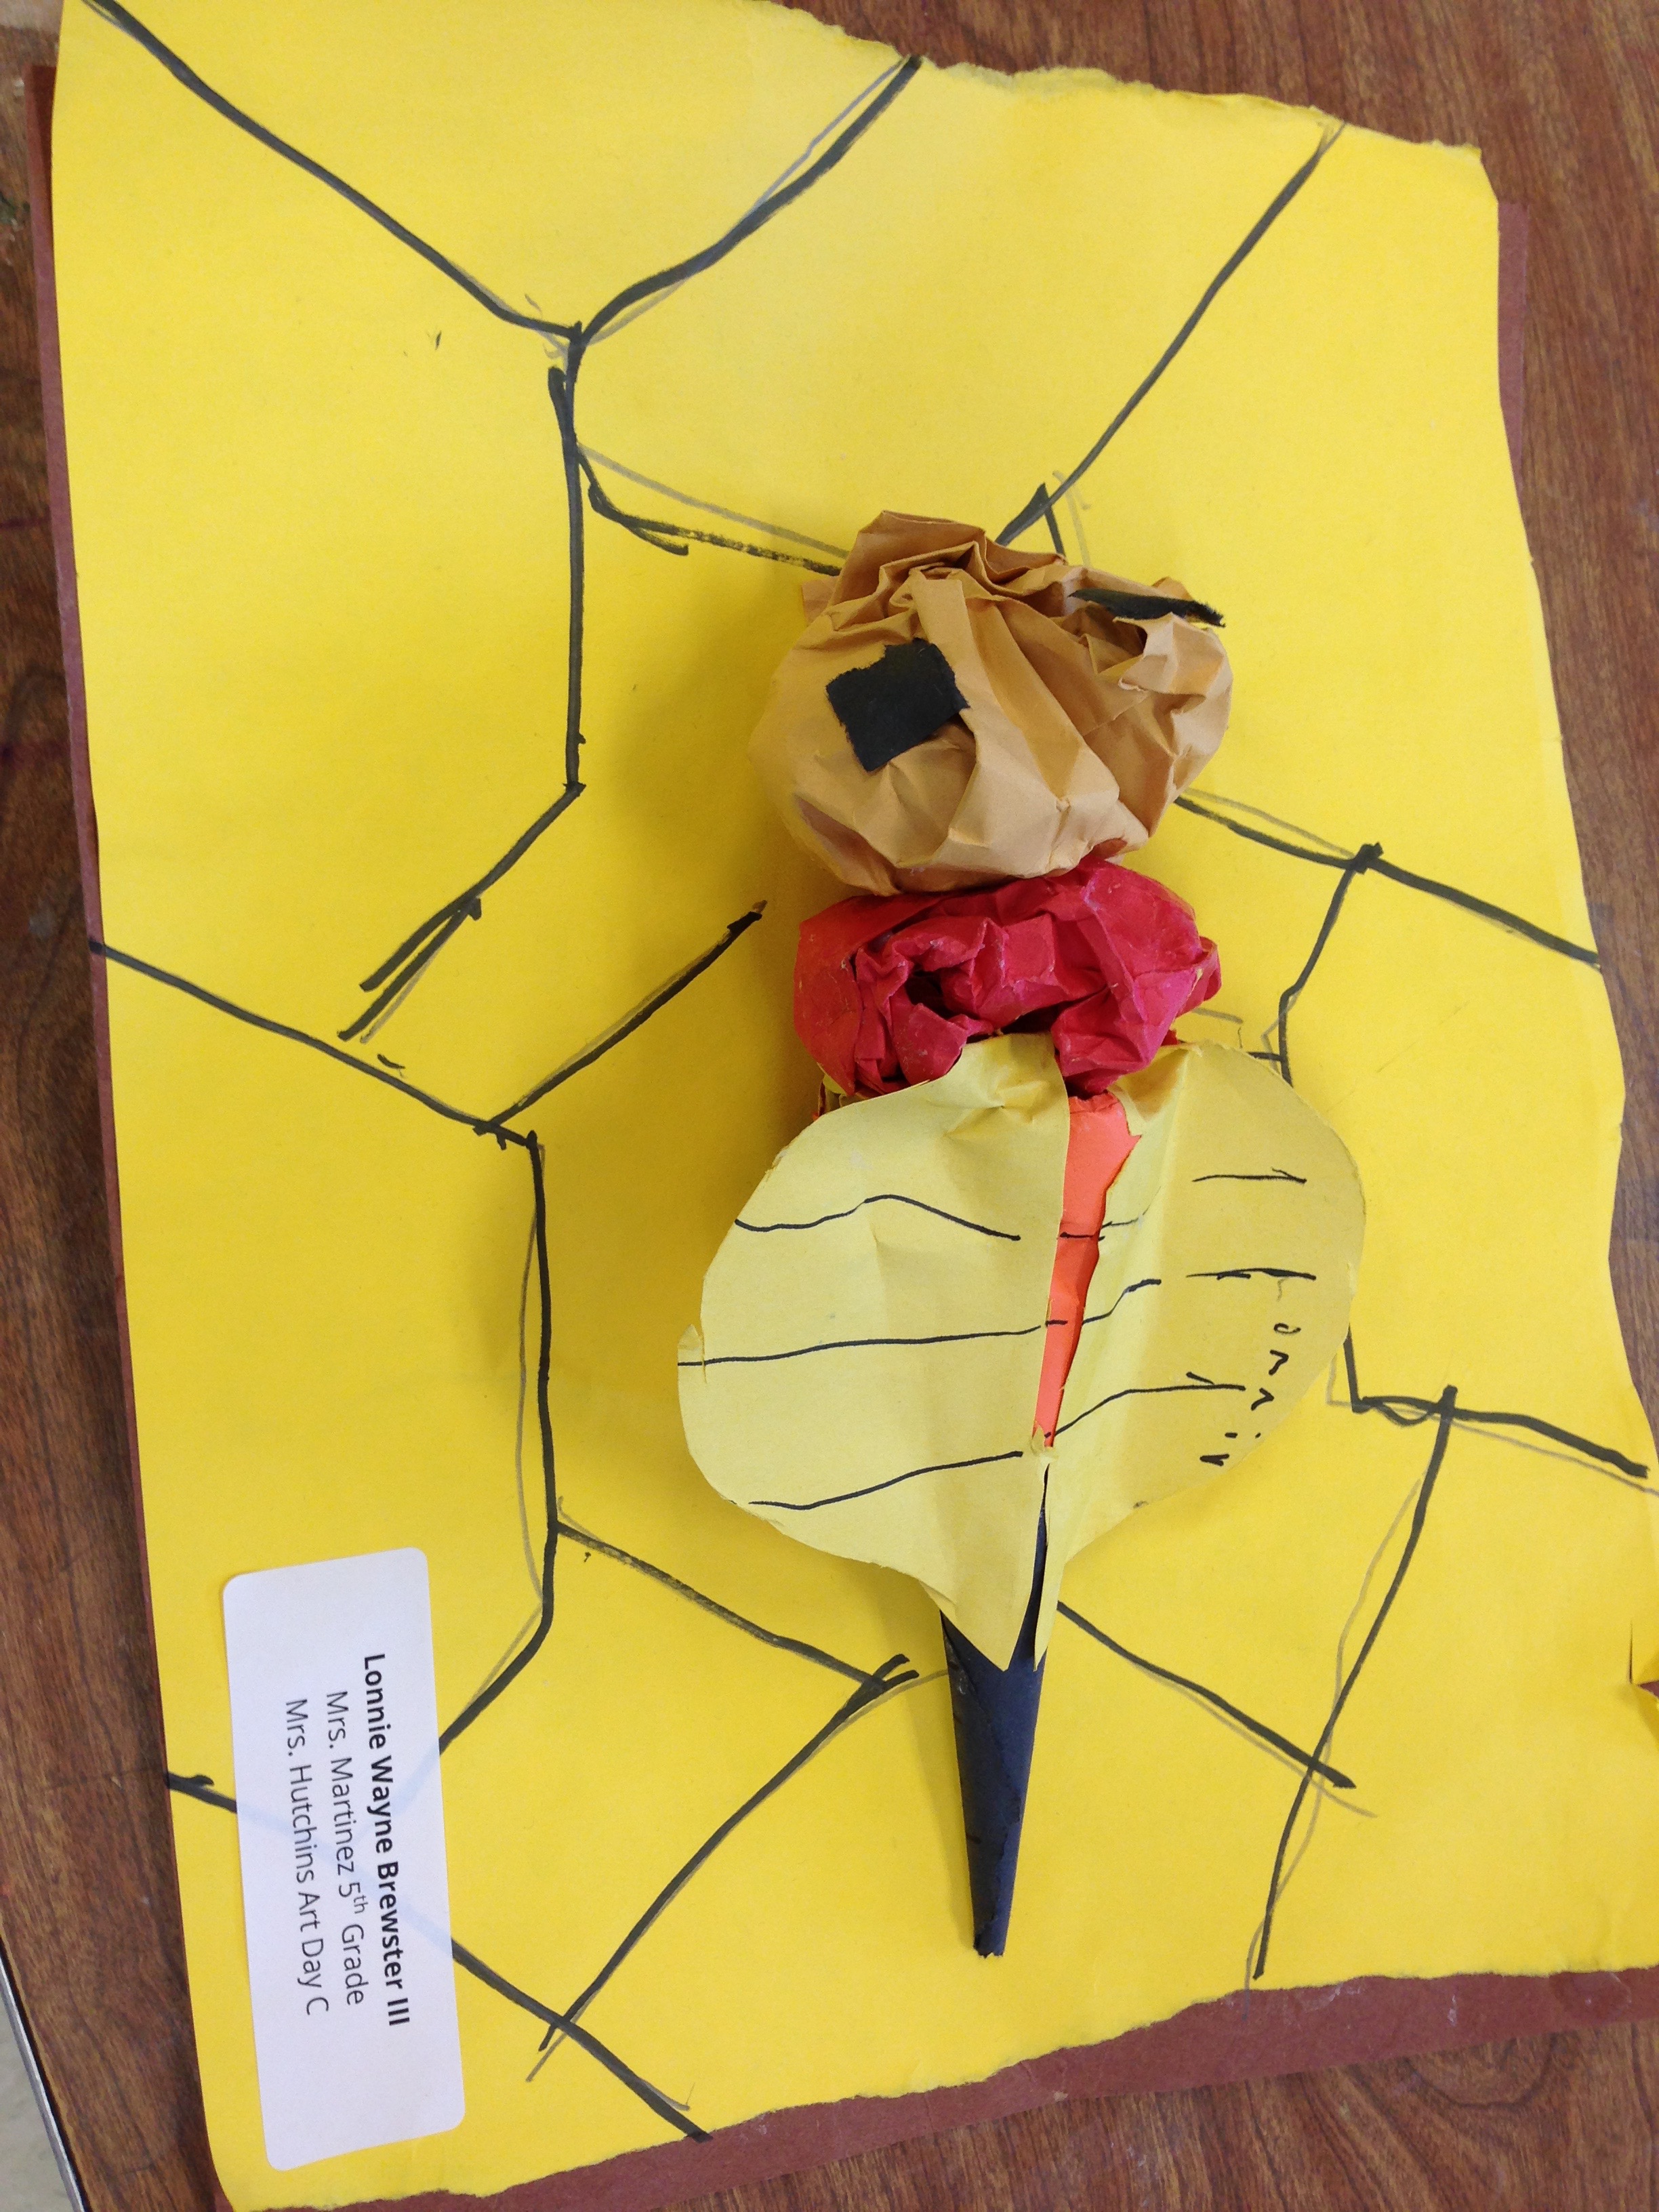
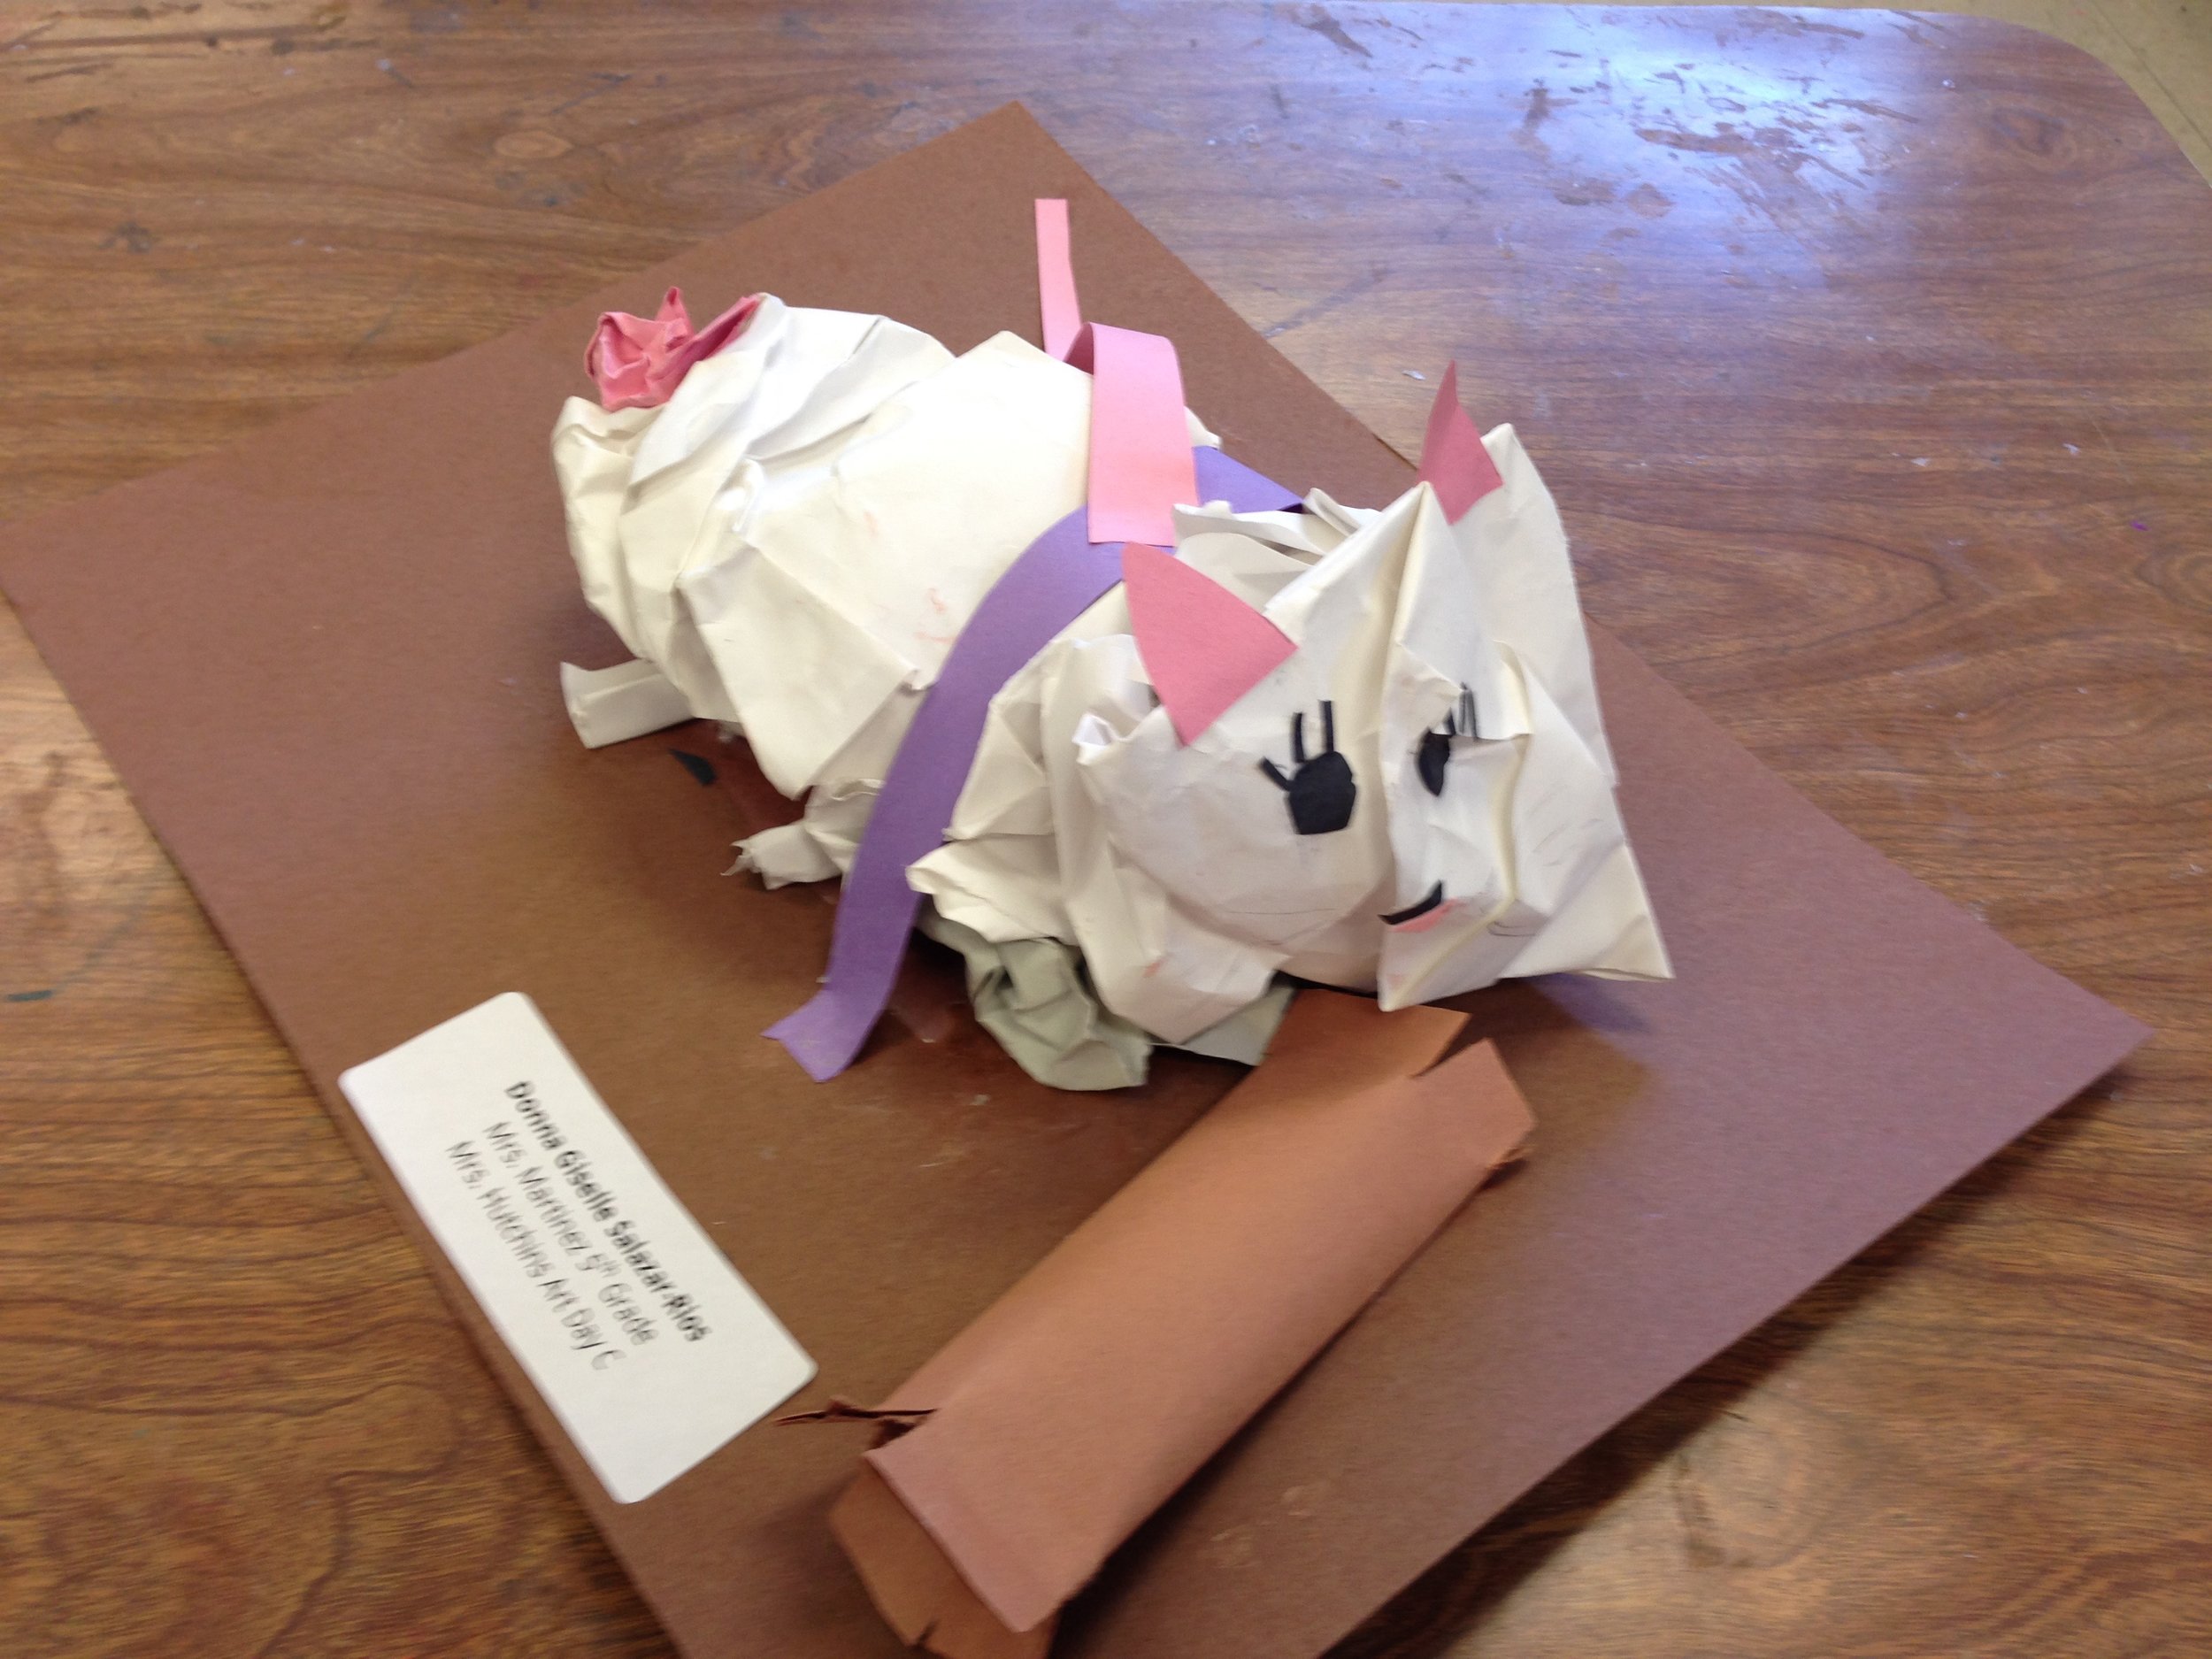
Once the SLO tests were all done, I figured we’d have some printmaking fun with these animal drawings! So the next class, I showed them how to draw onto a styrofoam sheet, and then use that like a stamp. At their tables, I passed back their “animal books.” They chose one animal to draw again on the styrofoam sheet. While they waited for their turn at the printmaking station, they would color their existing drawings or make more animal drawings for their book.

I’m still not sure about how I feel about the way I taught leading up to the SLO, but here’s what was nice at the end: the students enjoyed making animal art, felt proud of their drawings from the start of the year to the end, and had lots of fun with the prints!


Cityscapes: 5th Grade Printmaking & Collage

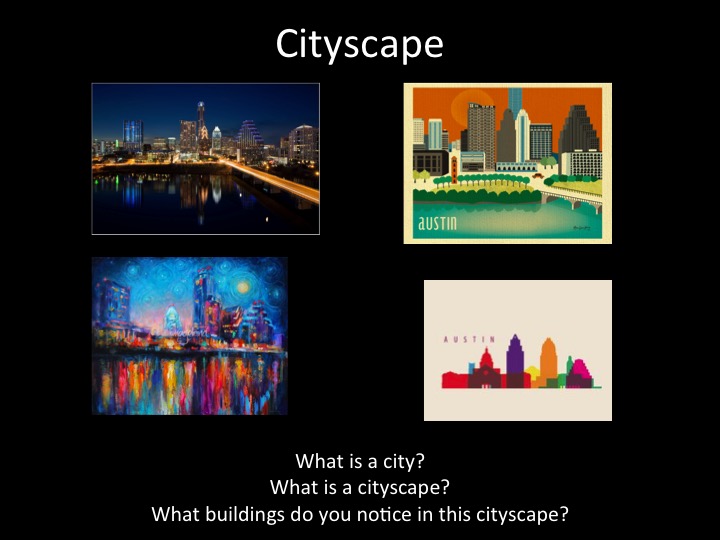
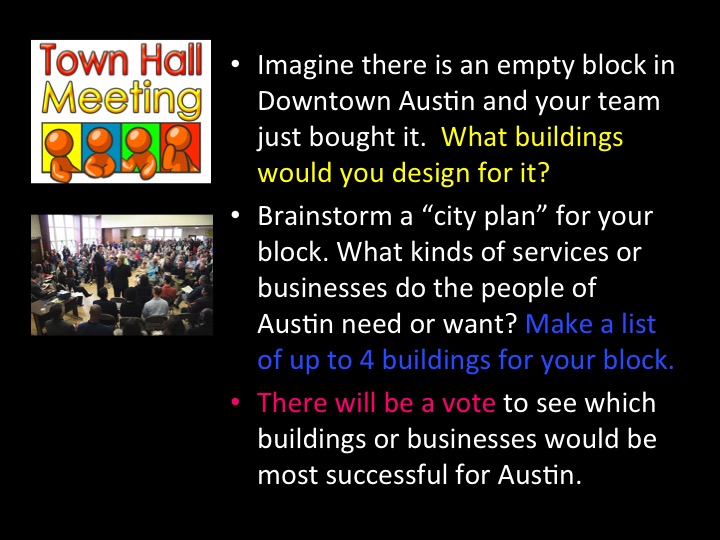
This turned out to be a MEGA unit with tons of learning and activities! I was inspired by a similar unit that a fellow art teacher presented at our frequent AISD art teacher “share” meetings. To begin, my students responded to art and photographs of Downtown Austin: What is a city?  What is a cityscape? What buildings do you notice in this cityscape? Then, they played an abridged version of Town Hall, one of our district’s CLI teaching strategies. I explained to students that there is a (pretend) new, empty lot/block in Downtown Austin. What businesses or community services would you like to see in this new block? What would the citizens of Austin need or want to add to our city? Working in groups of 3, the students brainstormed and listed up to 4 possible buildings and businesses.
Problem-based Learning

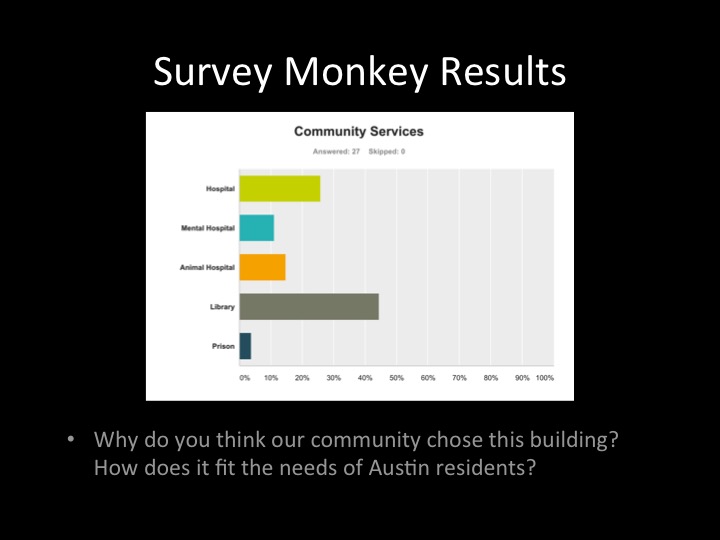
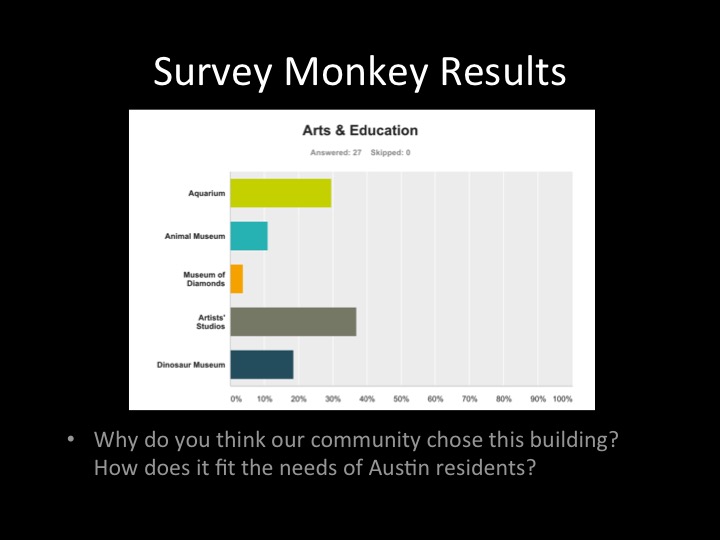
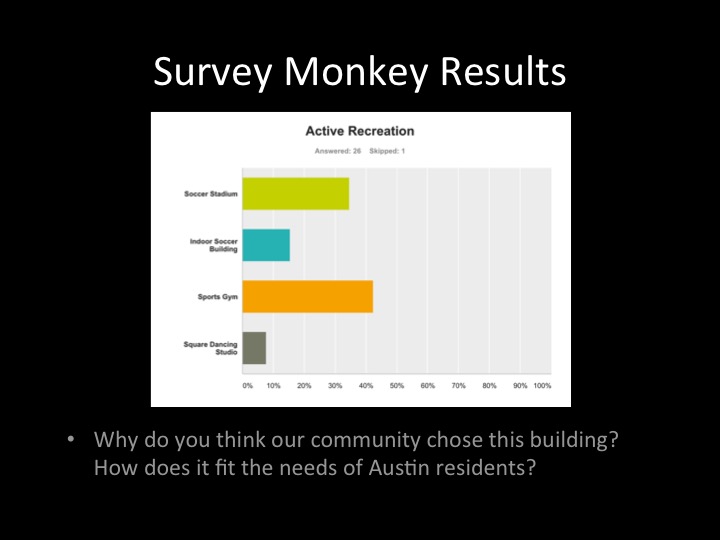
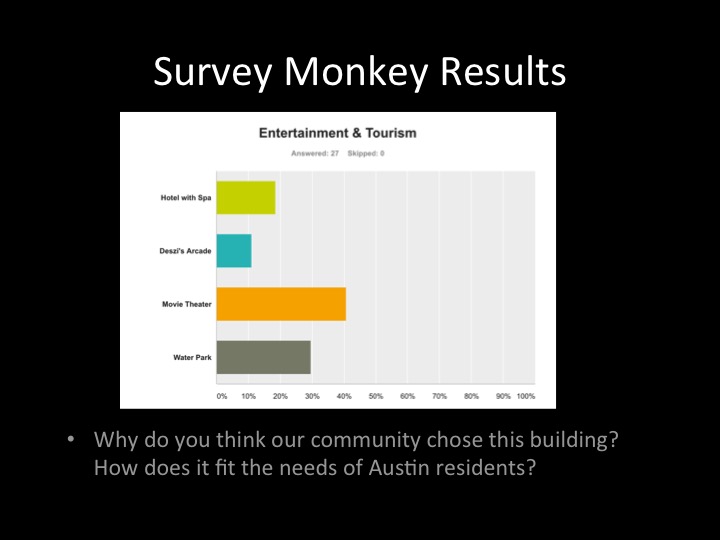
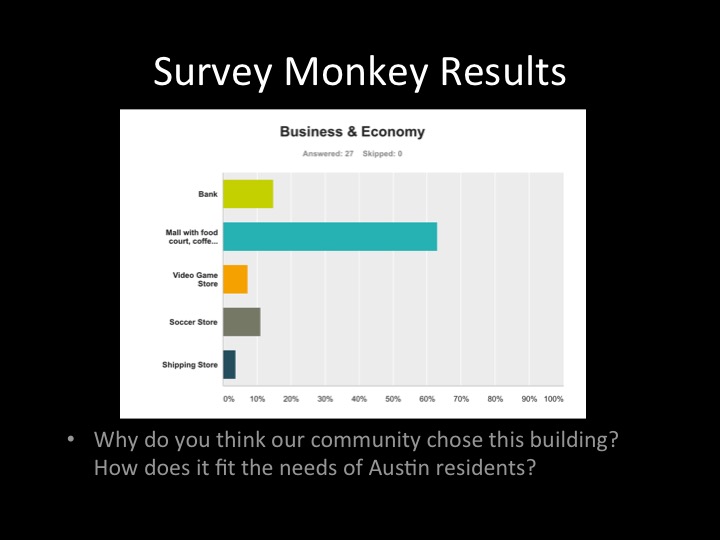
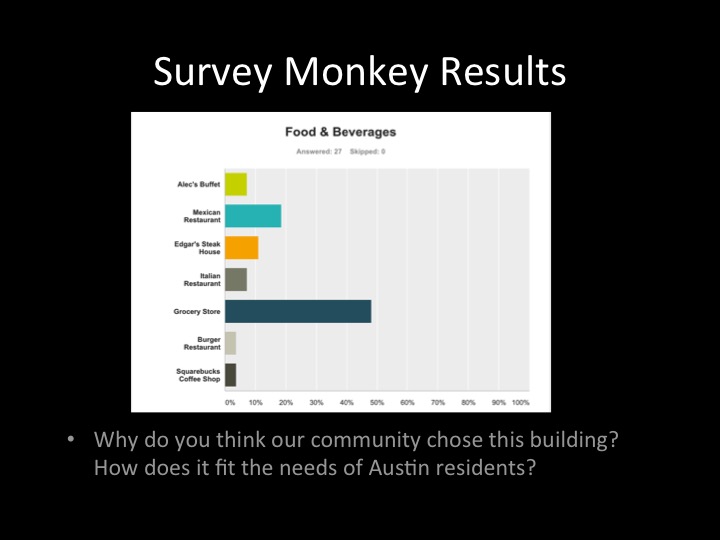
The intro and brainstorming described above was achieved in the first session of this unit. After the brainstorm was over, we had about 20 minutes left in this session. So, student groups quickly took turns telling me their list, and I typed it all into a PPT display in front of them. The class voted for their favorites, and we got our semi-finalists. (With all the different 5th grade classes I had combined, we got a total of 30 semi-finalist business ideas). I turned these semi-finalists into a survey for the staff and faculty at our school. I used SurveyMonkey, emailed our campus with the link, and then took screen shots of the results that I could incorporate into a PPT for the kids (see below, starting at the fourth slide). For session two, we went through the PPT slides, including the survey results, and I prompted students to consider if/how their ideas matched the demands and interests of the rest of our community. In the slides below, you will also see how the presentation began with a review of what we learned last class, then transitioned into the next phase of the project (architecture).

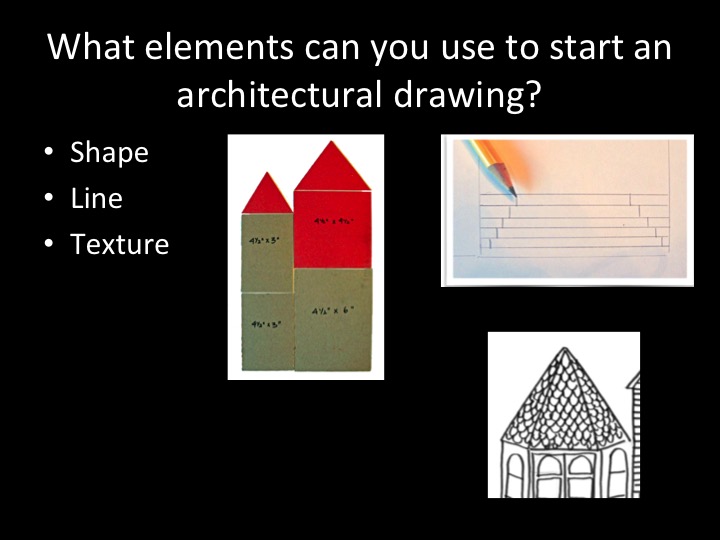
This unit fostered some problem-based learning (PBL), since our students started with a problem that relates to real-world city development: What businesses, institutions, and services can meet our community’s demands and needs? The first phase, for this scenario, prompted the students to consider and propose a wish list as citizens and consumers. They were asked to consider what the wider community wanted, with empathy for the perspectives of their neighbors. By the second class session, the students transformed into architects. After defining titles and learning about their career, they would design buildings for their “clients.” Following a quick teacher-led-demo on how to construct an architectural drawing, they did a practice exercise for an architectural drawing of a house. Students were prompted to review, at the end of class, how they used the elements of art to get their architectural drawing started.

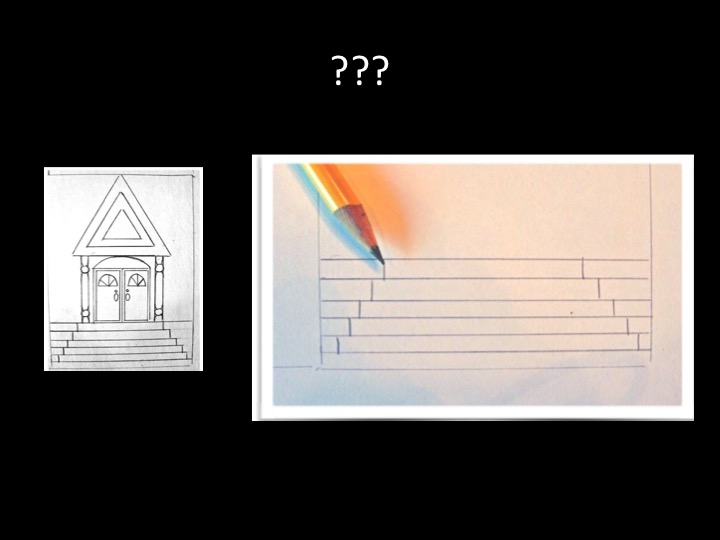
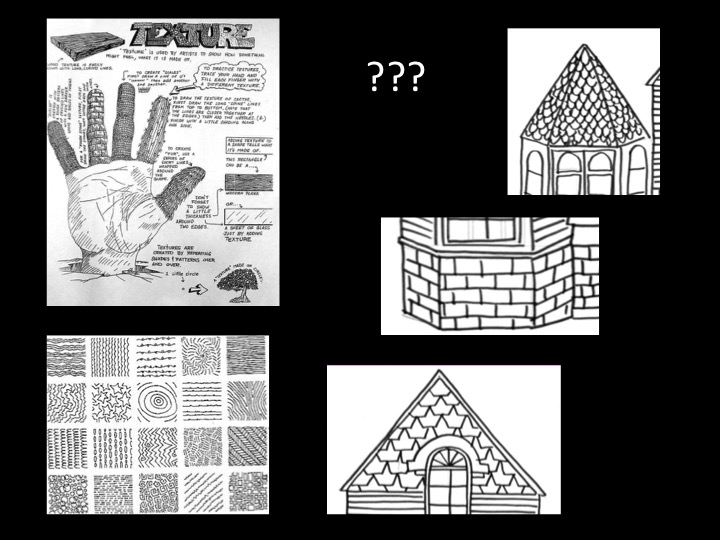
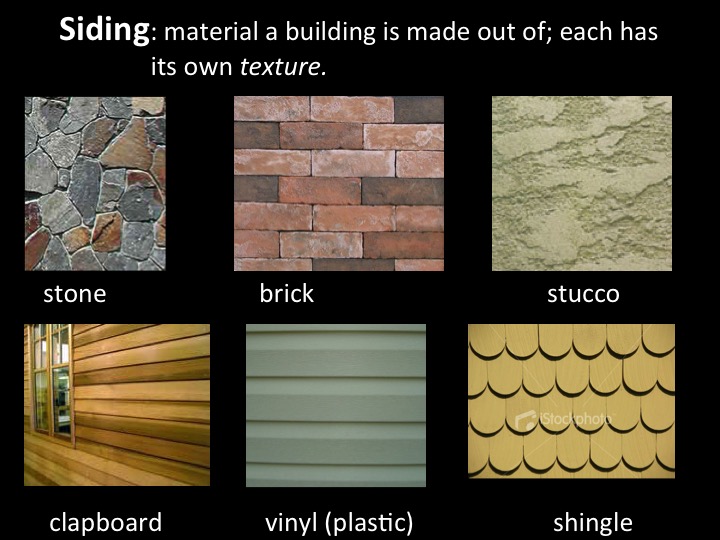
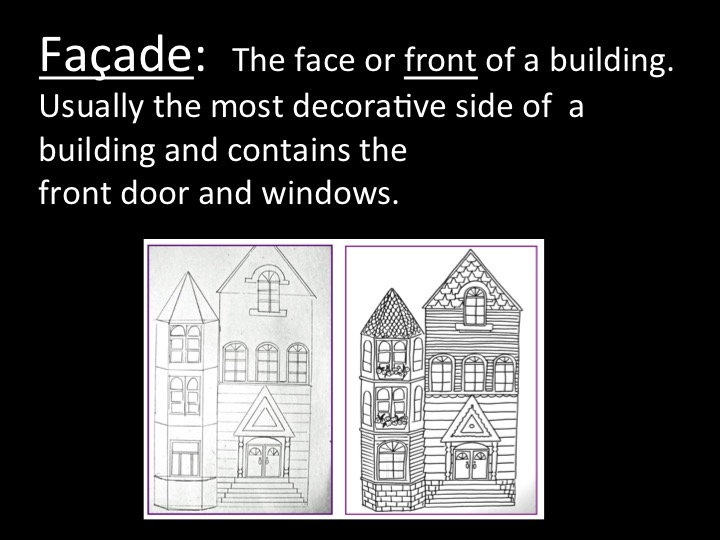
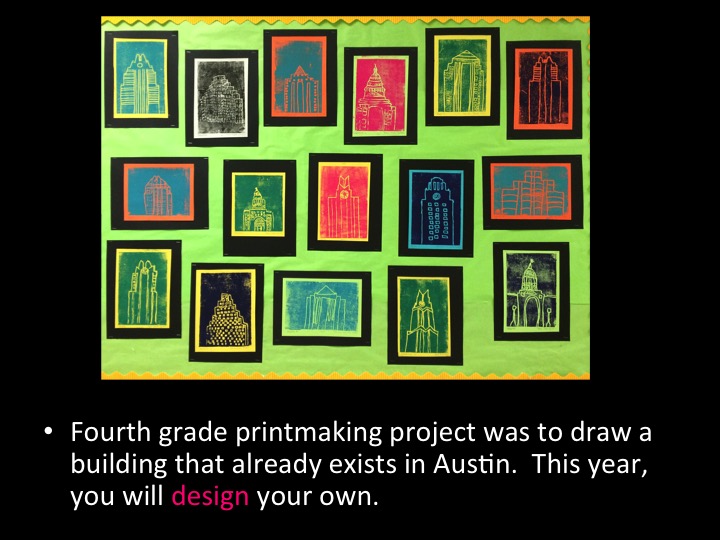
This unit is an extension of a building printmaking project that I did with the students as fourth graders. During the PPT I prompted students to review how they used shape, line, and texture for their drawings last year. Class session 2 ended with the using these elements again, spending about 20 minutes to make a practice drawing of a house. I found some great online resources for these practice drawings (I used the one for the Victorian house). To differentiate for students with less developed drawing skills, I provided some stencils (see the last slide, above).

Architectural Drawings: Design your client’s building!
You may have noticed, in the PPT slides, how I organized the semi-finalist buildings into categories for the Survey Monkey: Community Service; Arts & Education; Active Recreation; Entertainment & Tourism; Business & Economy; and, Food & Beverages. This ensured that there would be variety of finalists (one for each category). And….our finalists were…drumroll….

Library

Artist Studios

Sports Gym

Movie Theater

Mall with food court, coffee, and anime store

Grocery Store

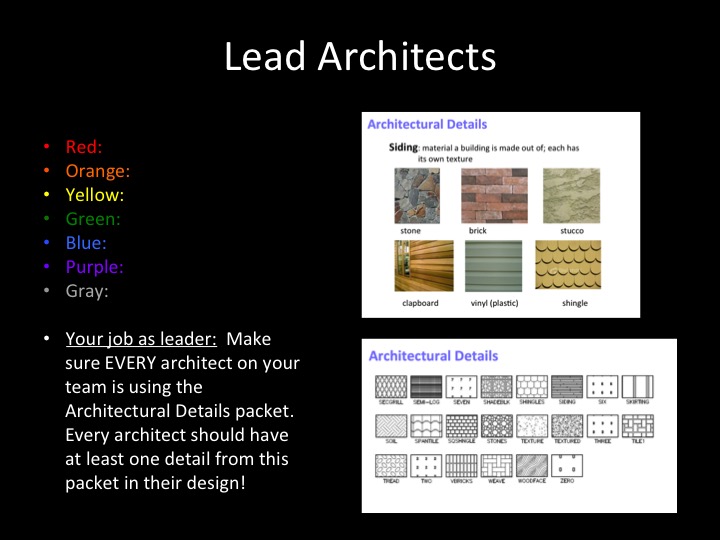
Each of these finalists represented a client, who needed an architect to design their building. Each student picked one client. If you click on the link for each building above, you will find a PDF packet of buildings that they could look at for inspiration. Having only six kinds of buildings to choose from provided structure for the students, and made it much more manageable for me to provide visual resources for each design. I also provided a more general Architectural Details packet. After creating a unique building design, they traced their drawing onto a styrofoam plate to prepare for printmaking.

Here are some examples of their work. The first two images show drawings taped to the styrofoam plate and prepped for tracing. I am so proud of their work! These drawings are by mostly 10 year olds, and this year we had really large classes (28-31 per section). They showed a lot of self-motivation and focus to carry out their drawings. They each made such creative designs showing their grip on line, shape, and implied texture.

Here’s my demo video for the printmaking process:

Collaborative Collage: Combining Building Prints into a Cityscape

Each of my three 5th grade sections worked with classmates to create long collages in each class. I provided each table with 18x24” construction paper in sky blue, and pre-cut strips of dark gray paper and light gray paper for them to glue on for the street and side walk. They then glued their buildings, side by side, on the horizon line created by the sidewalk. They got more background paper as needed, until we fit all the buildings from their class. During my prep, I attached white poster boards together (overlapping them at the back, using my handy dandy Scotch ATG 700) that would provide a long enough fame to fit all the papers together. I then attached their collages onto the frame. At this point, each class had a combined collage that included all their buildings on one backdrop with an empty sidewalk and street. The last step would be for them to come up with details to make it look like a busy city! They used markers and drew mailboxes, cars, pedestrians, planes, along some more creative additions like UFOs. I placed the long collage at the middle of the room as the “collage center.” They had permission to come up and glue their detail drawings onto the collage at any time, as long as there were no more than three people standing at the collage center.

Austin Buildings: 4th Grade Printmaking

Drawing Before Printing

As a fourth grade printmaking project, my students made prints of a chosen building from our hometown, Austin. They began with a set of six different existing skyscrapers that I chose; students drew all of them before choosing one for their print. They made one sketch per building. To do this, they played a sketching game that only allowed one minute per sketch; they rotated to six different stations at which they found photos of a new building for each sketch. Before they began, I asked them about what they expect from such quick drawings. We set expectations that it’s a “first try” drawing that will likely not match what the building looks like. We talked about how to look for the most basic lines or shapes. I wanted this activity to “level the playing field” for all students; I motivated them to approach it with a sense of fun.

This activity is an example of how I like to start kids off with a “low-stakes” motivation whenever we approach a drawing project. I think that drawing is particularly different than other ways of making art (and I’ll try my best to put what I mean into words). With drawing, kids tend to be more likely believe the myth that art is about “talent” instead of skill -building. Other art activities incorporate a more sensory, “hands-on” interaction with materials, and students are more likely to both feel and see growth as they manipulate non-drawing materials.

After their six, one-minute sketches, they chose one building to practice and eventually create a final drawing. In the gallery slide below, you will see some before and after sketches. That year, our amazing principal chose a sports theme and emphasized a slogan that “Practice Optimizes Performance” (POP for the kids!). I made my display POP with this project, highlighting that with practice (not “talent”) you can build your drawing skills.

Printmaking

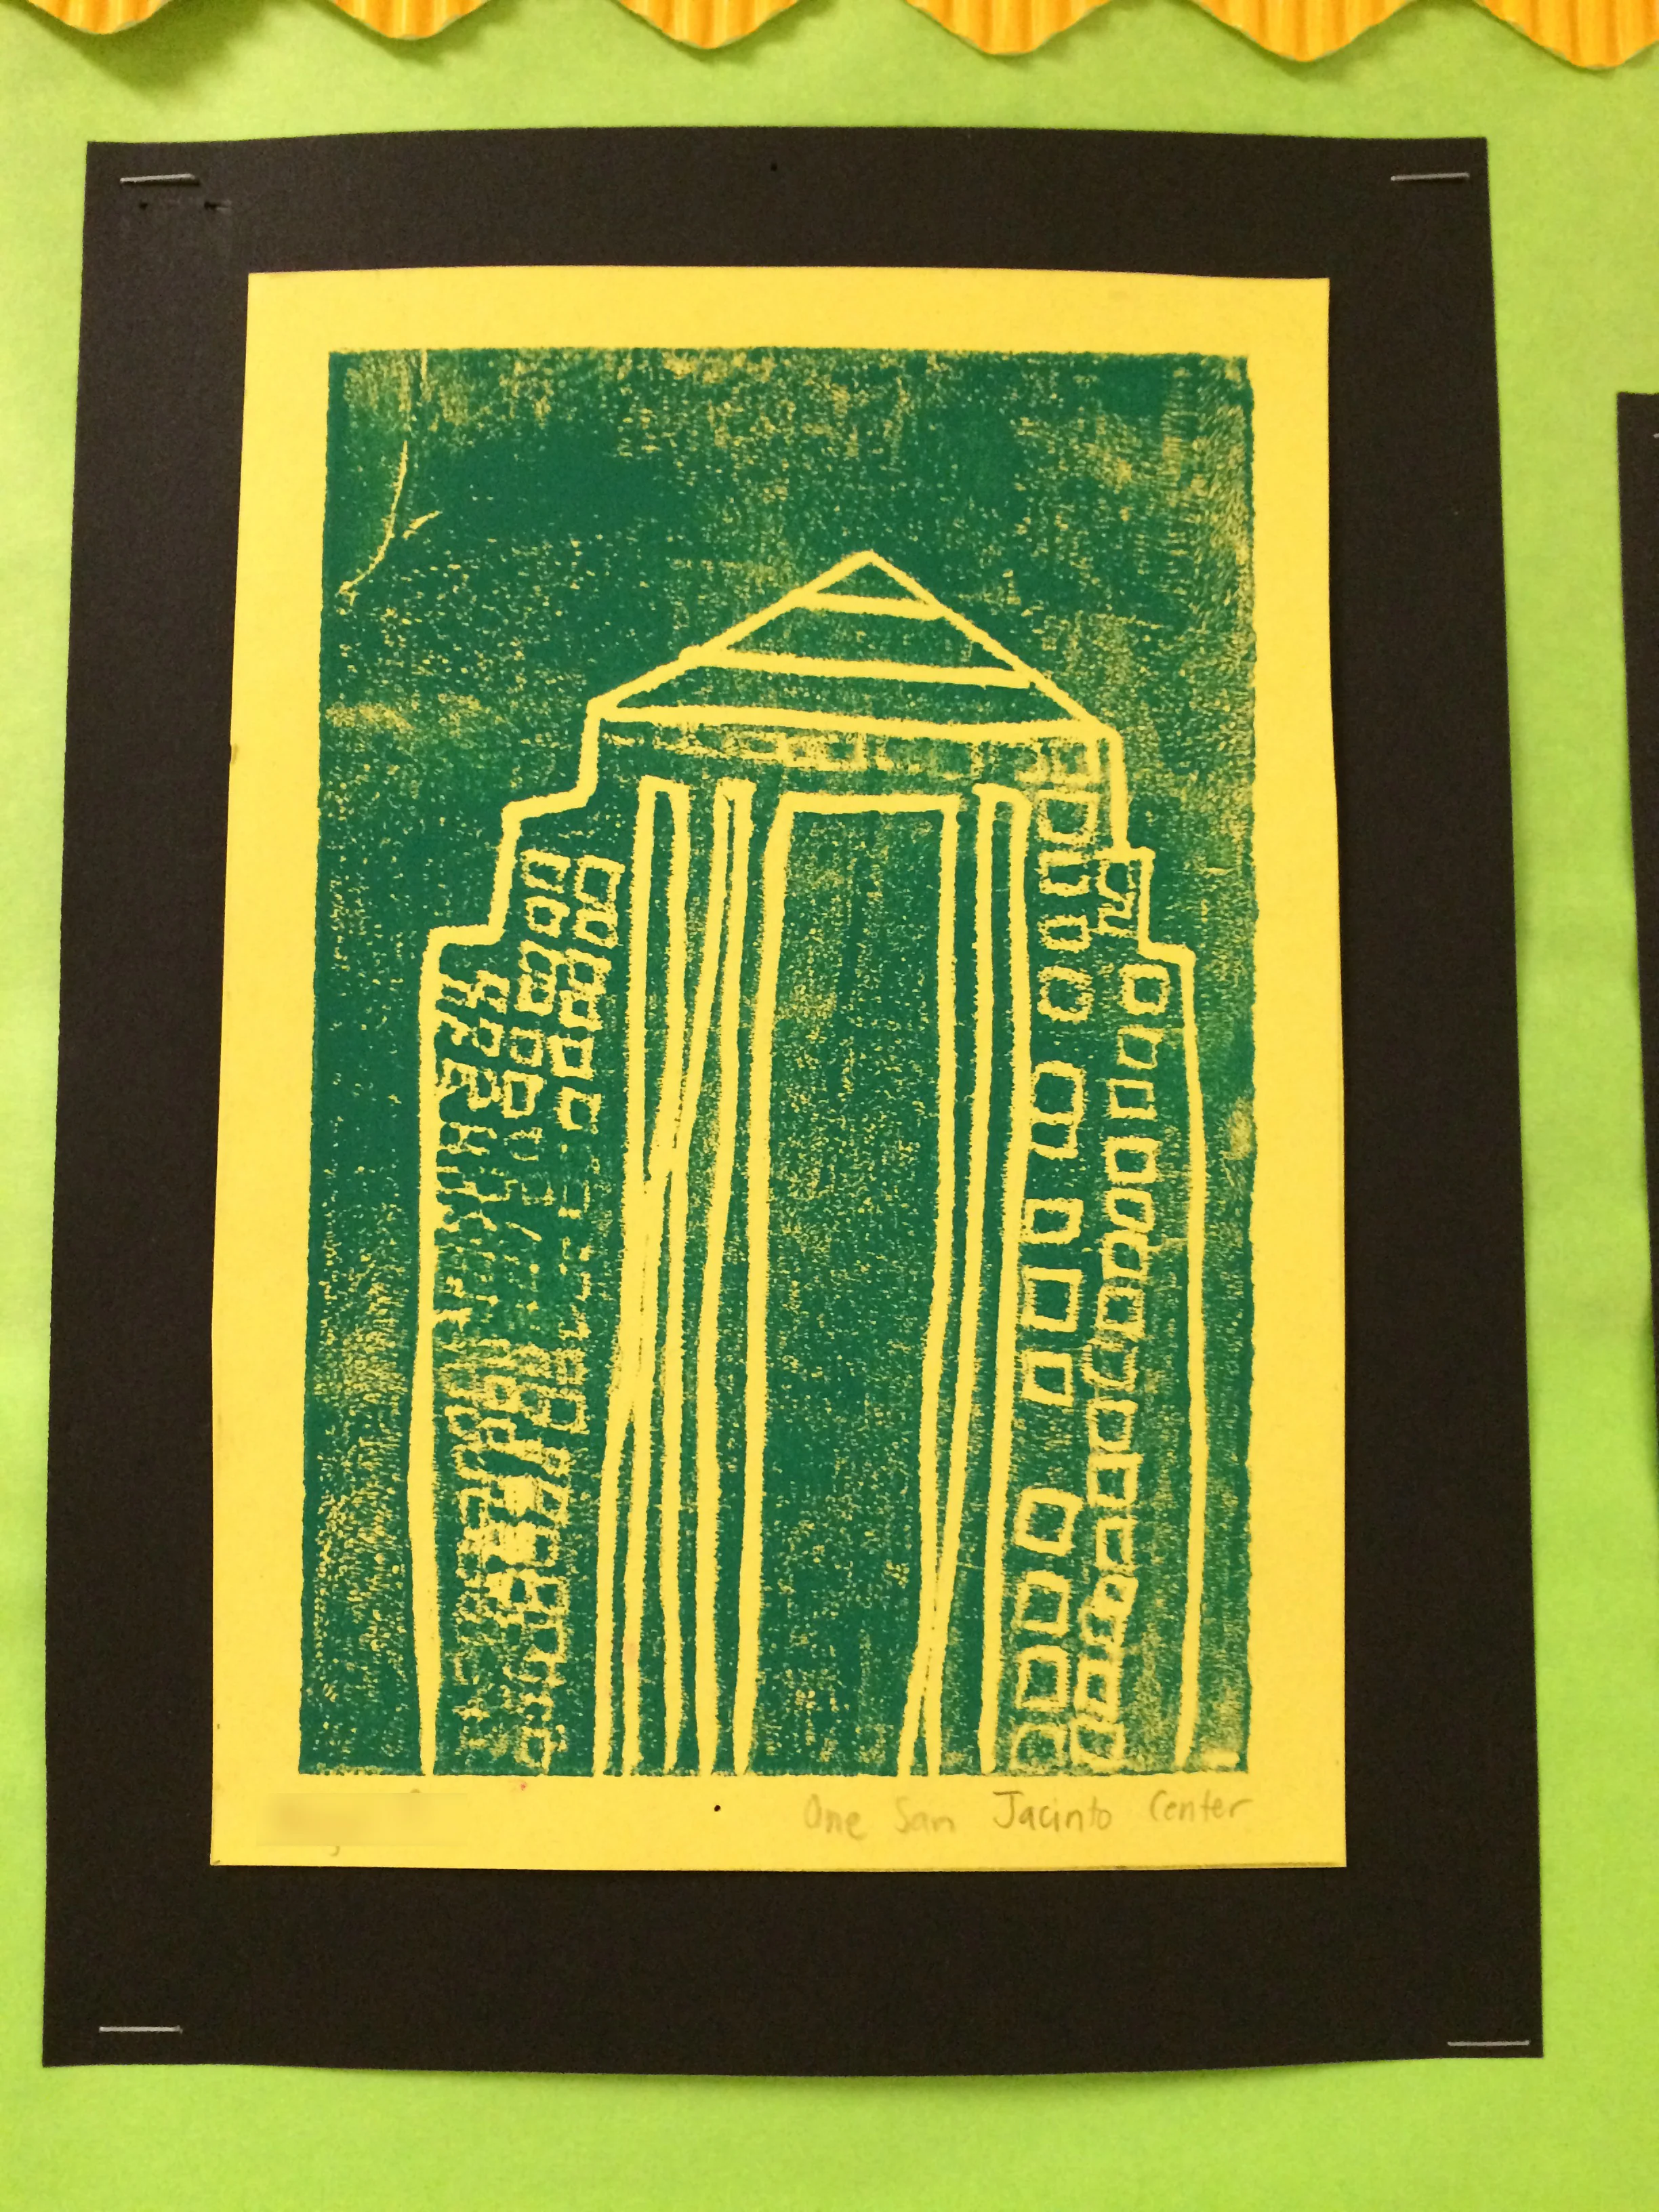
Students used their final drawing to create a relief print. They placed their drawing over a styrofoam place and traced over the lines to incise them into the styrofoam. This entailed taping their drawing onto the styrofoam, and then firmly tracing their lines with a pen. This process took time, and I encouraged breaks because if they traced nonstop it might tire or even cramp their hand. I had some books out on their tables for reading breaks. The video at the bottom of this post, which I showed to my students, demos the tracing as well as the inking and printing process. The video actually shows the process for another “cityscape” project, but applied to this one as well. Check out some of the beautiful, colorful prints my fourth graders made!

Color Detective

An Explorational Unit on Color Theory

Color Detectives.jpg

Can you mix paint to make a color that matches a given swatch?  How closely can you match it?  This activity yields a product that looks simple,  yet the task involves a complex thinking process for color theory learners.  

While I was studying Art Ed at Brooklyn College, I learned how this activity develops deductive skills and how it is most developmentally appropriate for early adolescence.  Deductive thinking tends to be a tween's cognitive strategy of choice.  Yet I've had students from third grade and up work on this task and be completely engaged with it.  They deduce when they start with a conclusion (in this case, the color swatch that their final product should match), and break that conclusion down into premises or parts.  By starting with the outcome, this activity sets up circumstances so that students reach understandings, on their own, about mixing colors.  It also tends to be a soothing task because it asks the artist to stretch cognitive muscles by using both physical and conceptual thinking.  What judgments and choices might students make as they paint?

Students are also building on prior experiences with paint when they work on the color detective project. After learning that paint can be spread, mixed, and thinned, they can gain insight on how actions in paint cause certain effects.  This activity fosters a dialog between idea and material; we learn about paint as we mix it to give shape to the perception of a color. 

For the littles, I provide a similar yet more simple and open-ended prompt: "What new colors will you make?" They mix then paint patches of colors onto their paper in a range of colors.  Dialogue during this activity usually involves just asking the differences between colors, and the most talkative learners really like to get into how much of each color they used to get there.  "It looks like you painted two different shades of orange; how are they different from each other?  What would you call them?"    The kids especially love making up names for colors like "Tiger Orange" and "Takis Fuego Orange" (adorable).  I wish I took pictures of these! The kids usually walk out with these exploration paintings on the same day.  Before this task, I may have a group of students work on a foundational color wheel or likewise activity with the goal of mixing primaries to make secondaries.

Demo Video

This was the very first demo video I ever made!  It was my first year of teaching, and the day before this lesson I kept going over and over logistics in my head, still worrying about how I could get it all done in one class session.  So I chose to take materials home and make a demo video that night.  Since then I use videos all the time -- I have zero minutes in between classes, so videos are a ginormous time-saver for swapping out materials while the kids see the demo. Being so new to teaching at the time, I worried whether it was ok to stay late in my classroom to work on a video like this (HA! Do it all the time now).  So, in my tiny apartment, with some pretty rough lighting, I put something together.  Like usual when I make videos, I felt like I didn't know what I was doing and it turned out way long!

Autumn Colors and Exploring Shades of Brown

One time, I had kindergarteners and first graders mix the complementary colors together to see what different shades of brown they might get. That was a VERY messy day!  At the beginning of class we observed autumn leaves, and they could choose another autumn leaf color instead of brown, if they wanted.

S.T.E.A.M. Robots

Are you familiar with STEM?  US leaders popularized this acronym for the fields of science, technology, engineering and math. When you think about how art fits into this picture you get STEAM.  There are many advantages to integrating the art of design in STEM education. As an advocate of art ed, I think that creation fosters higher-level thinking and helpful habits of mind like no other activity.

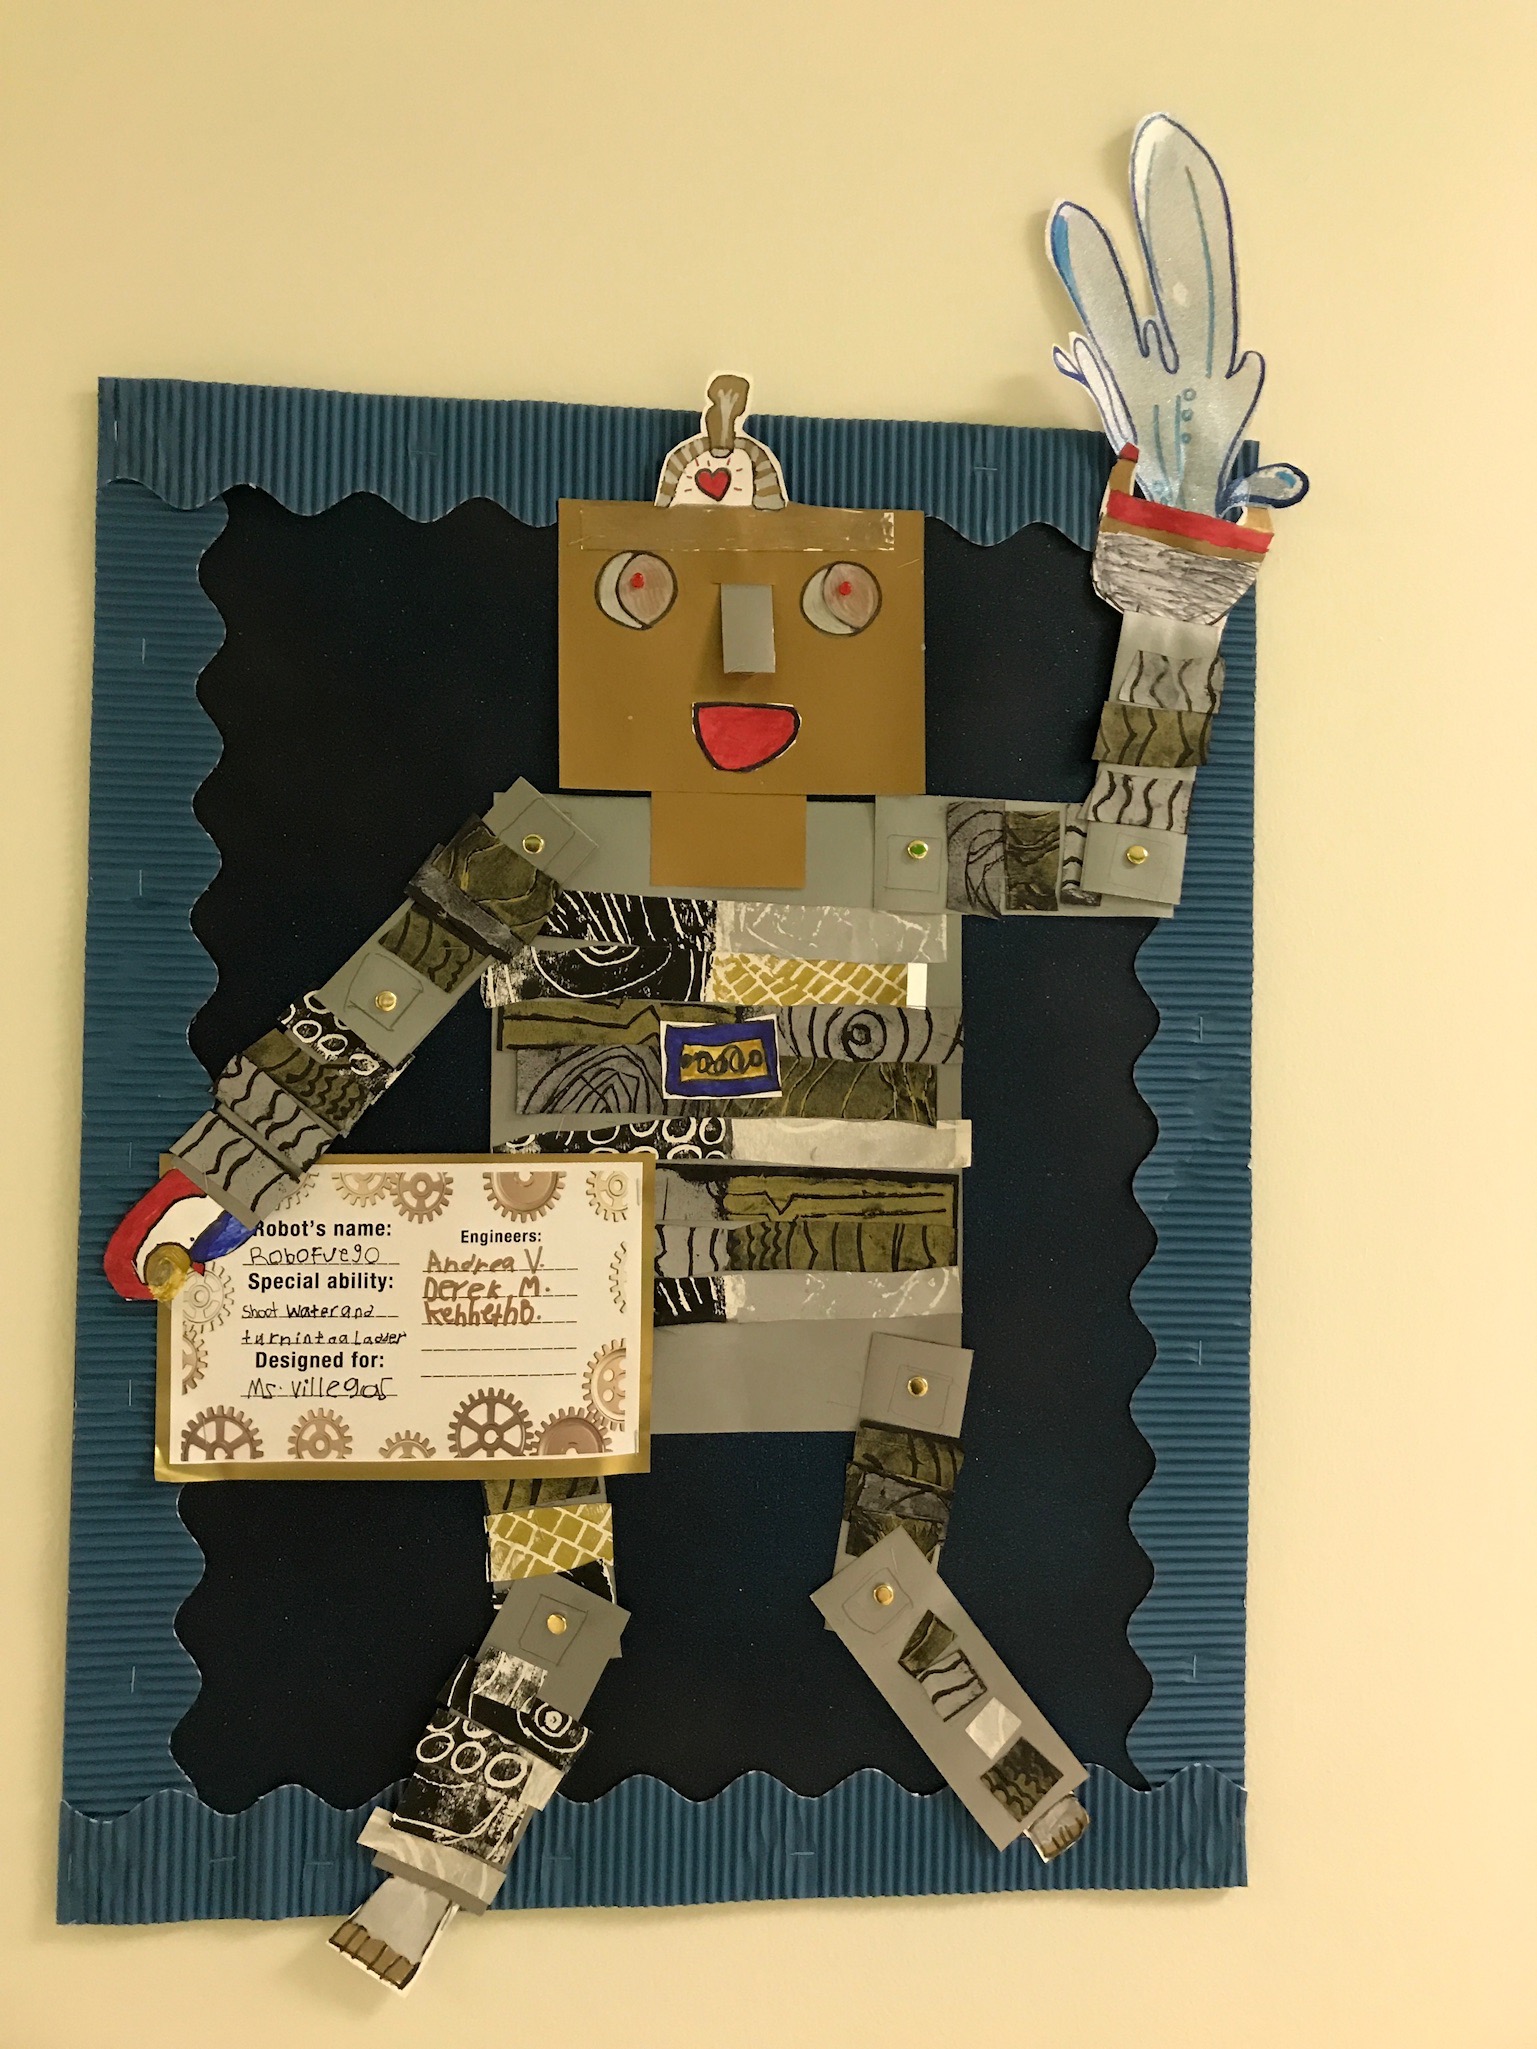
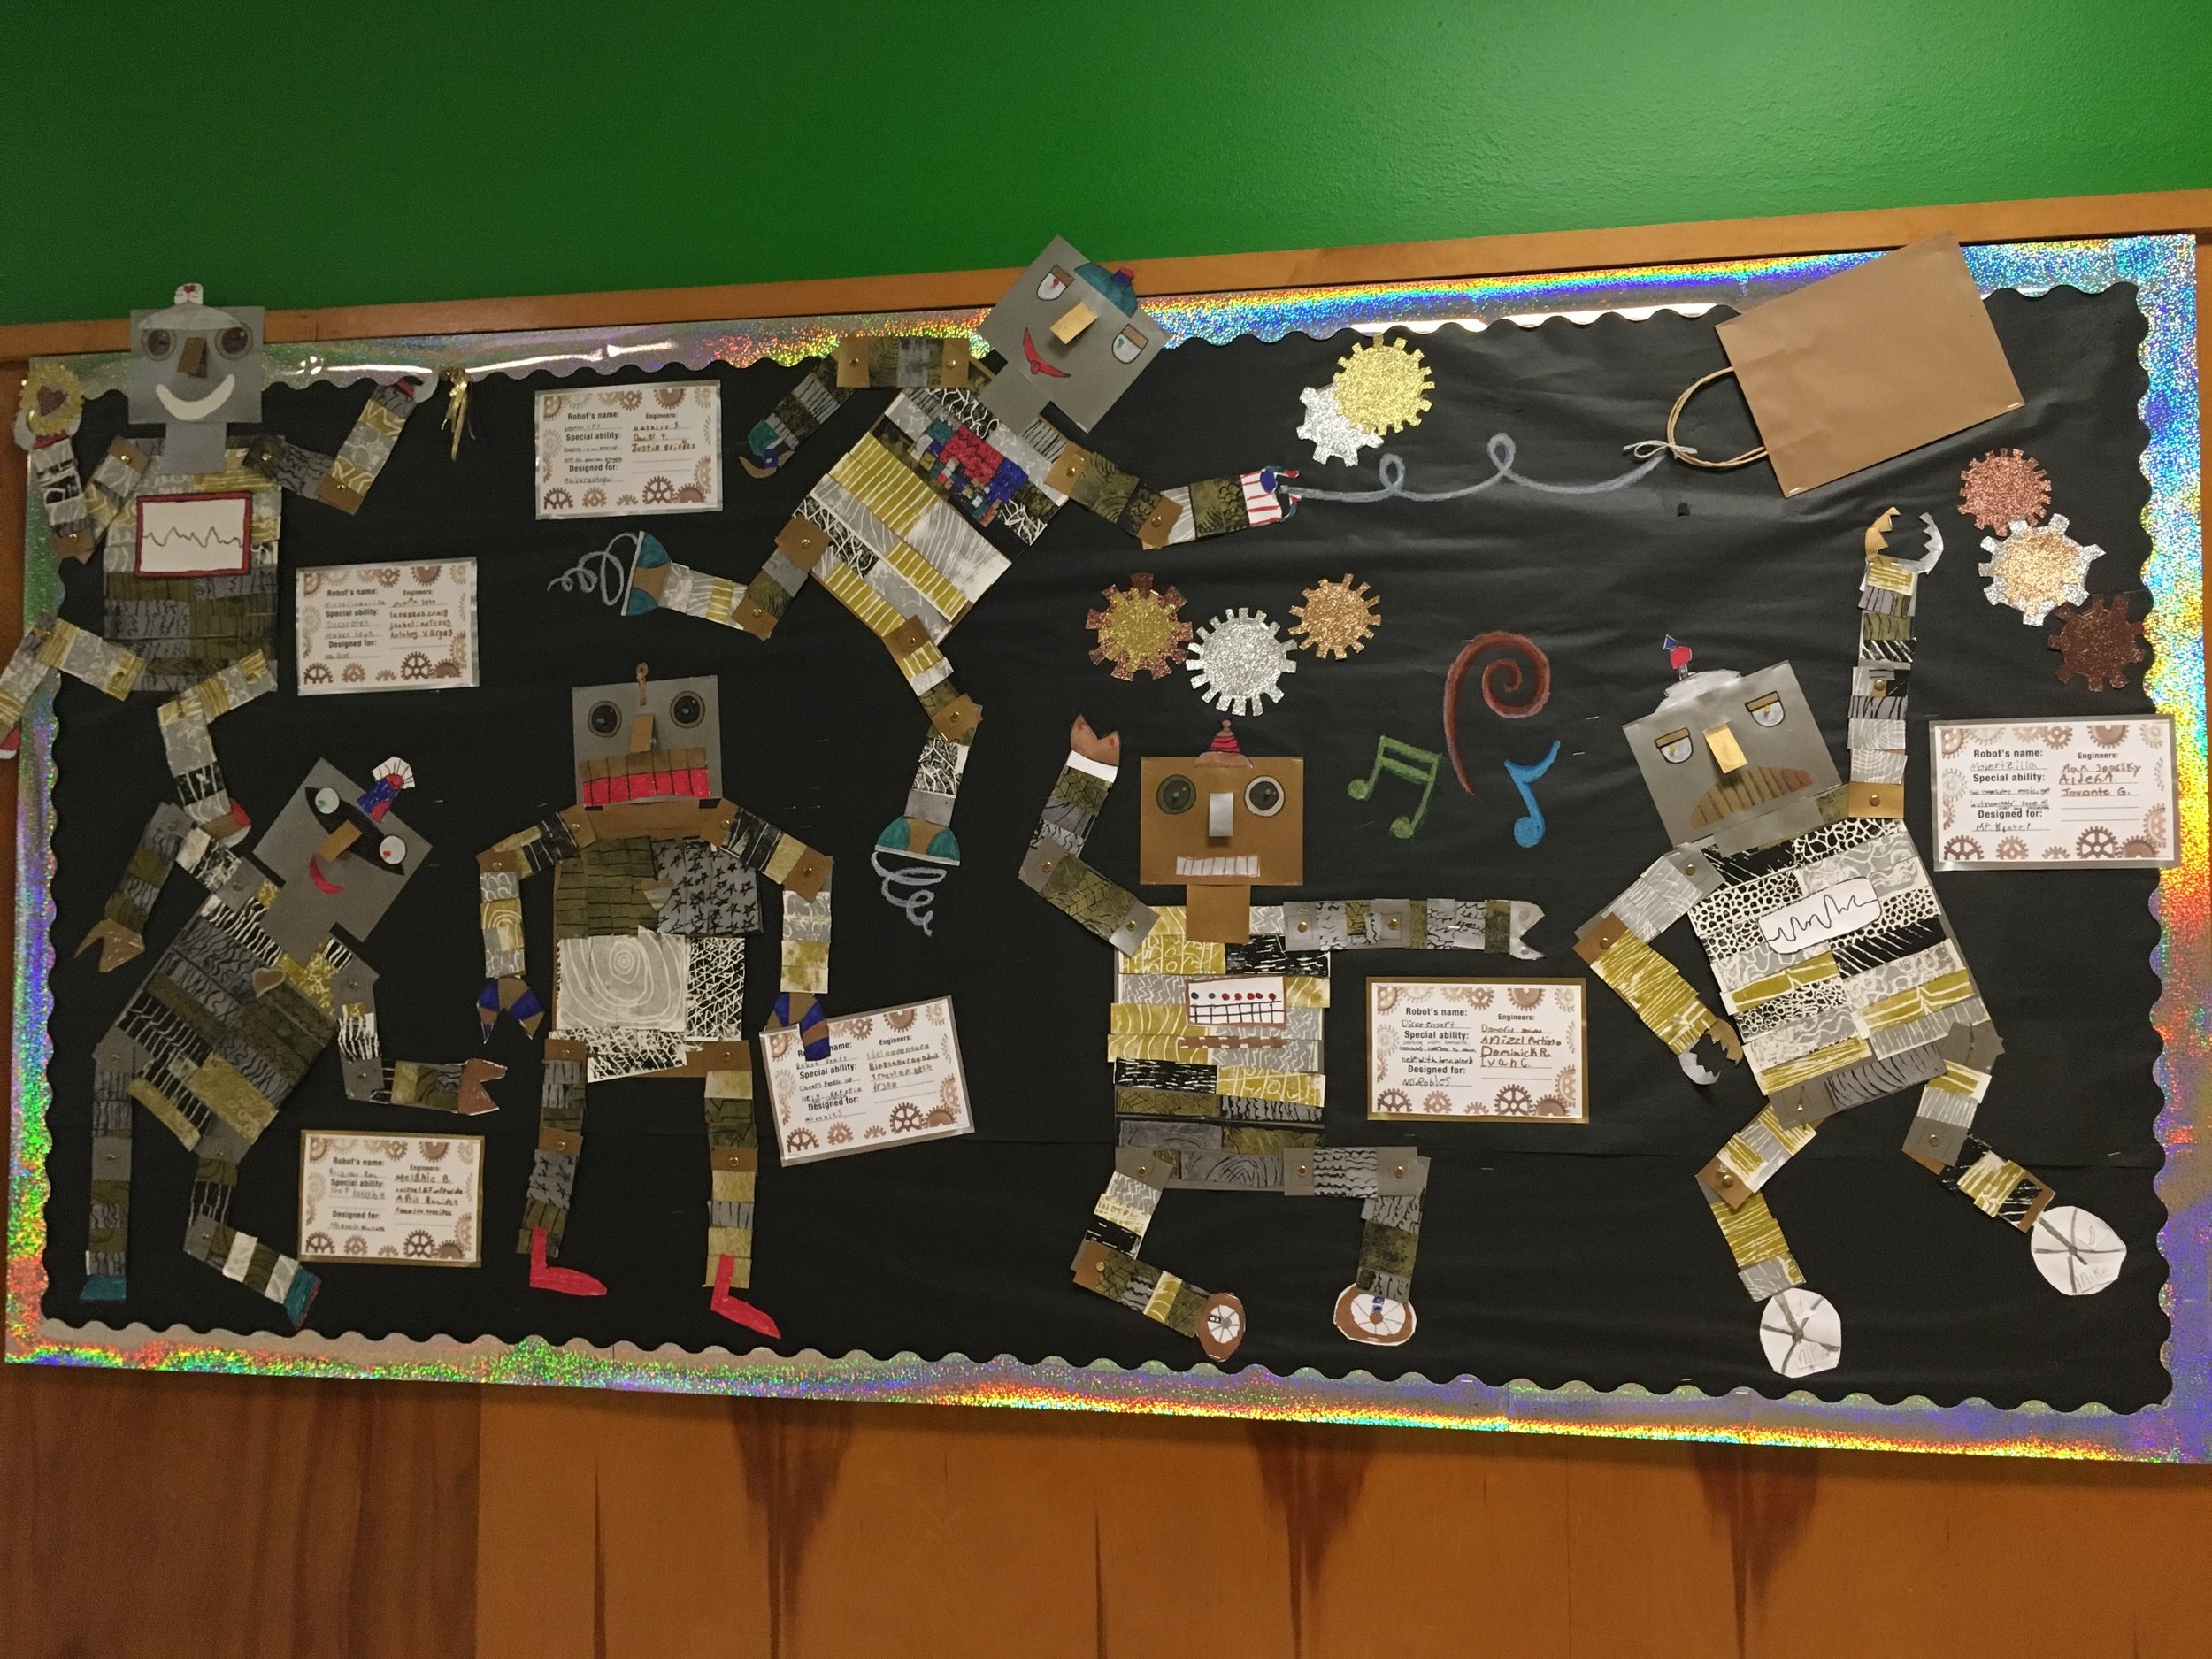
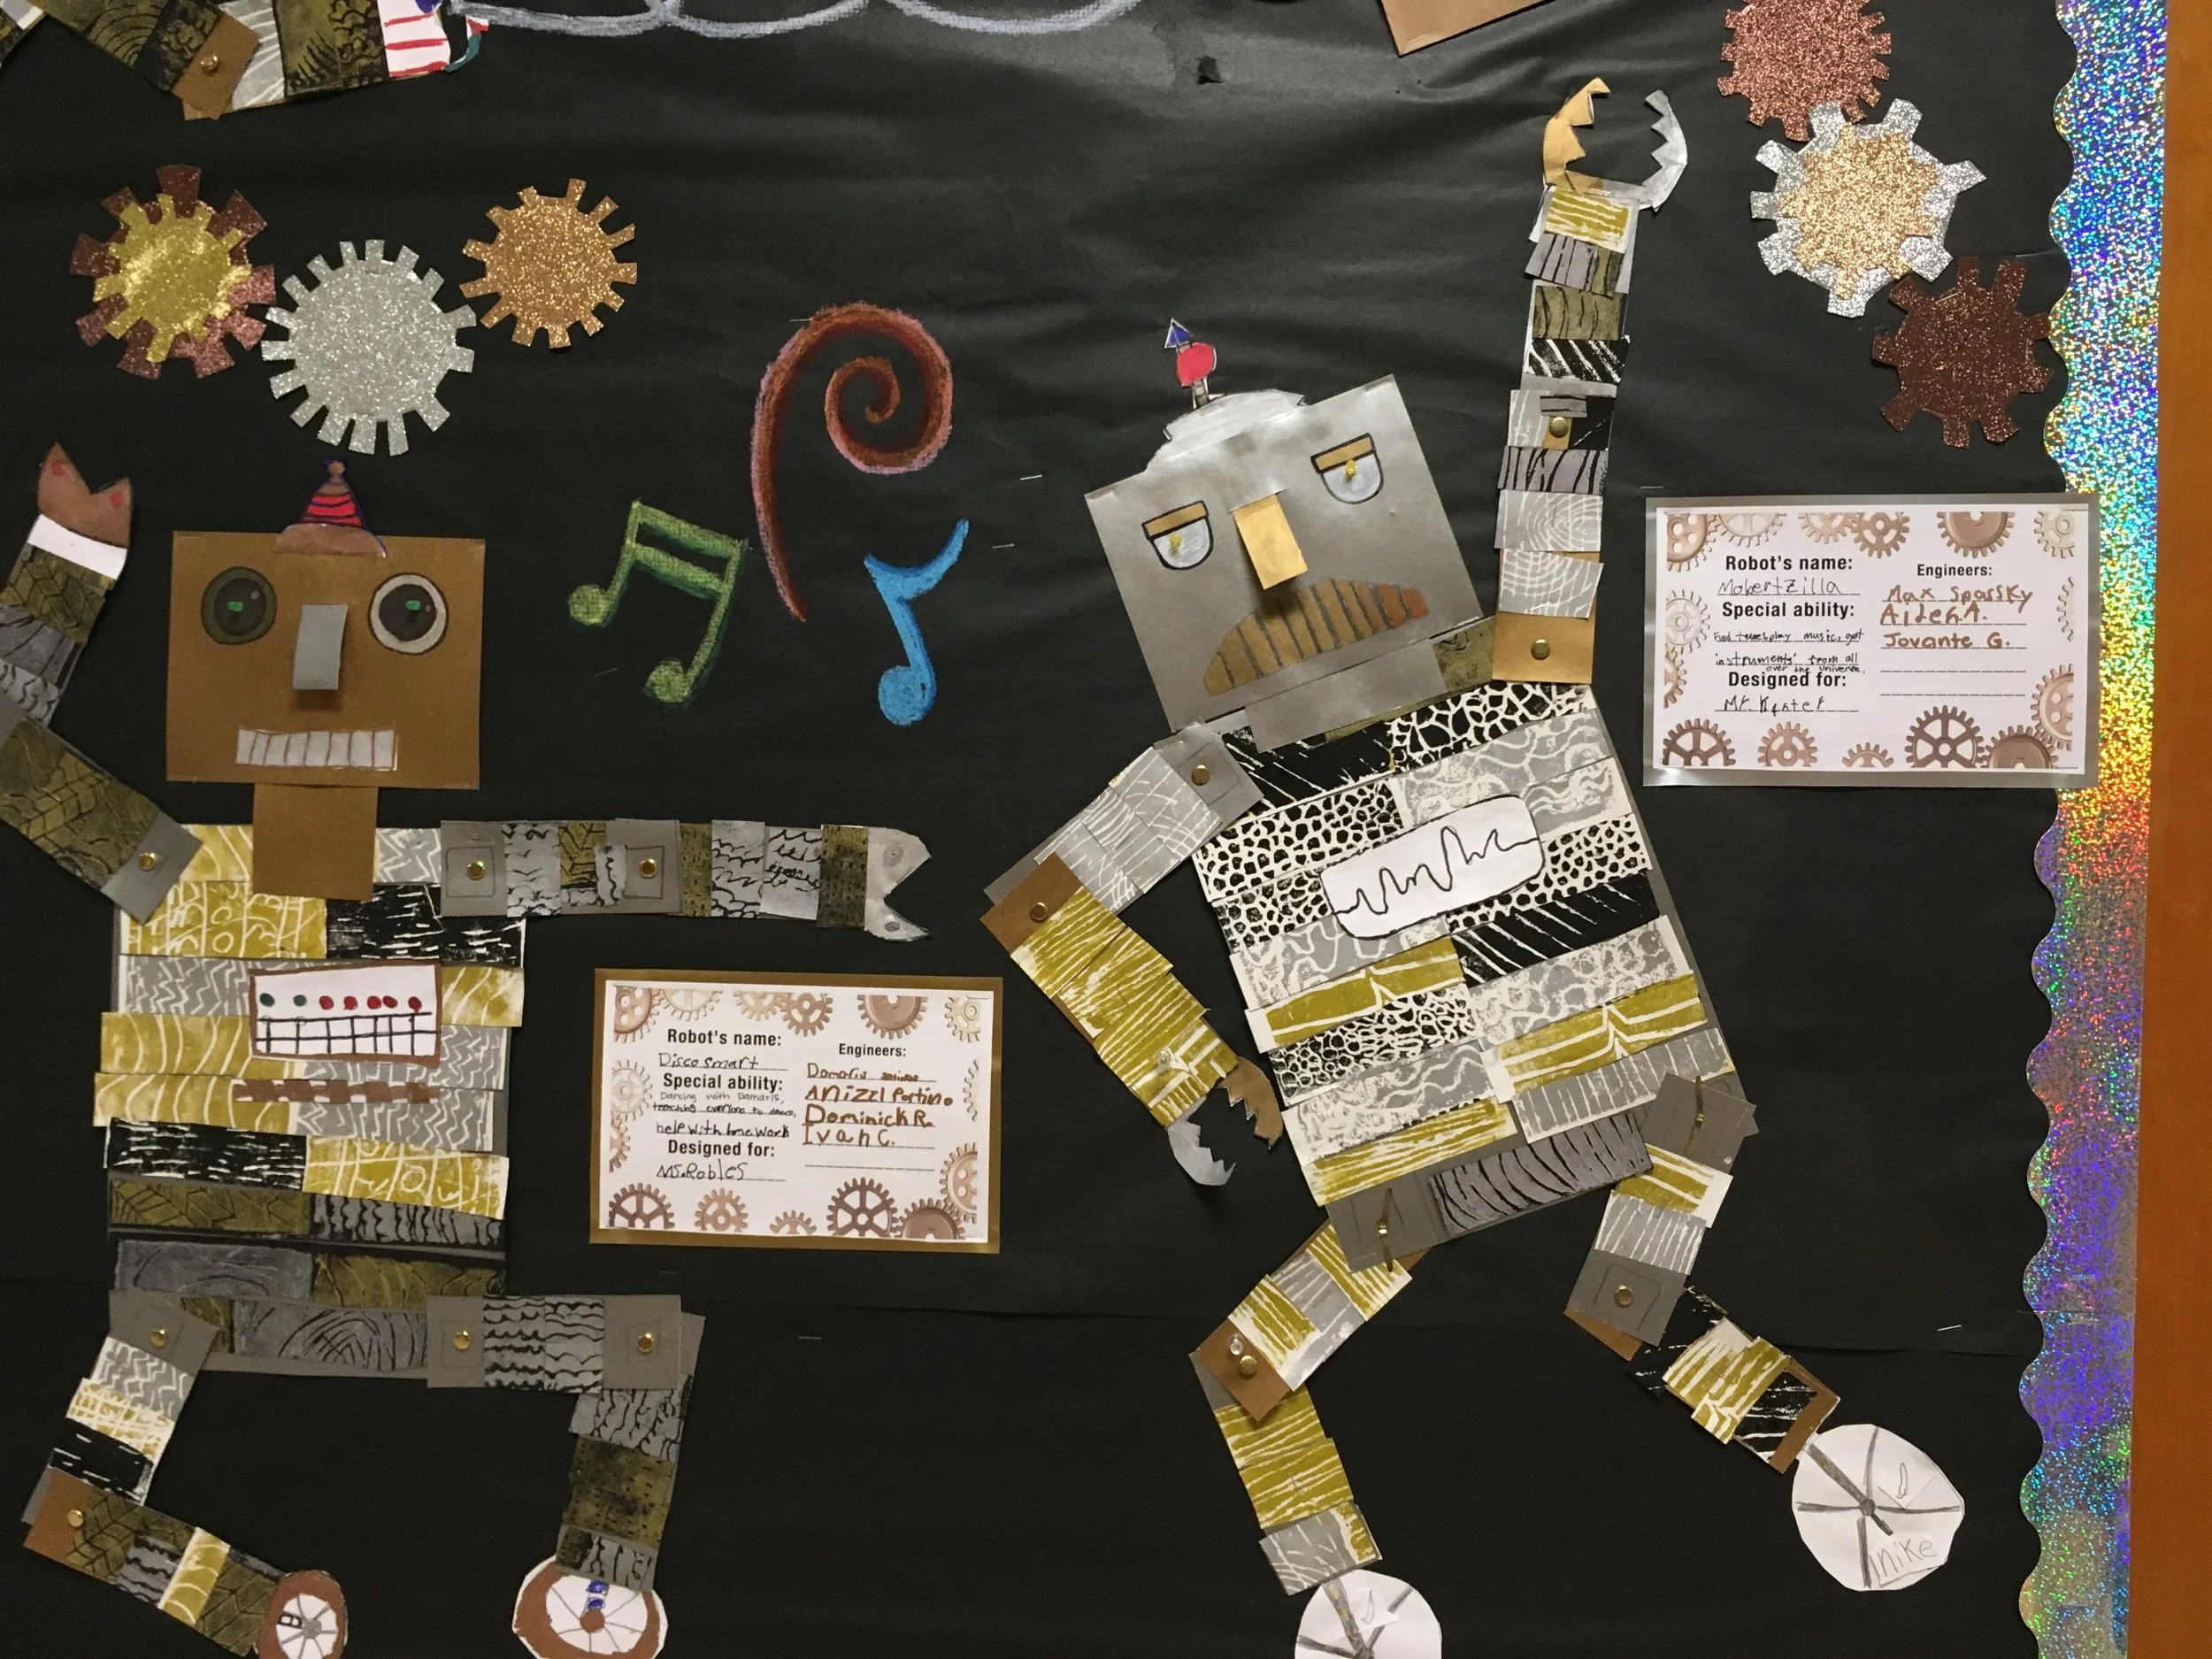
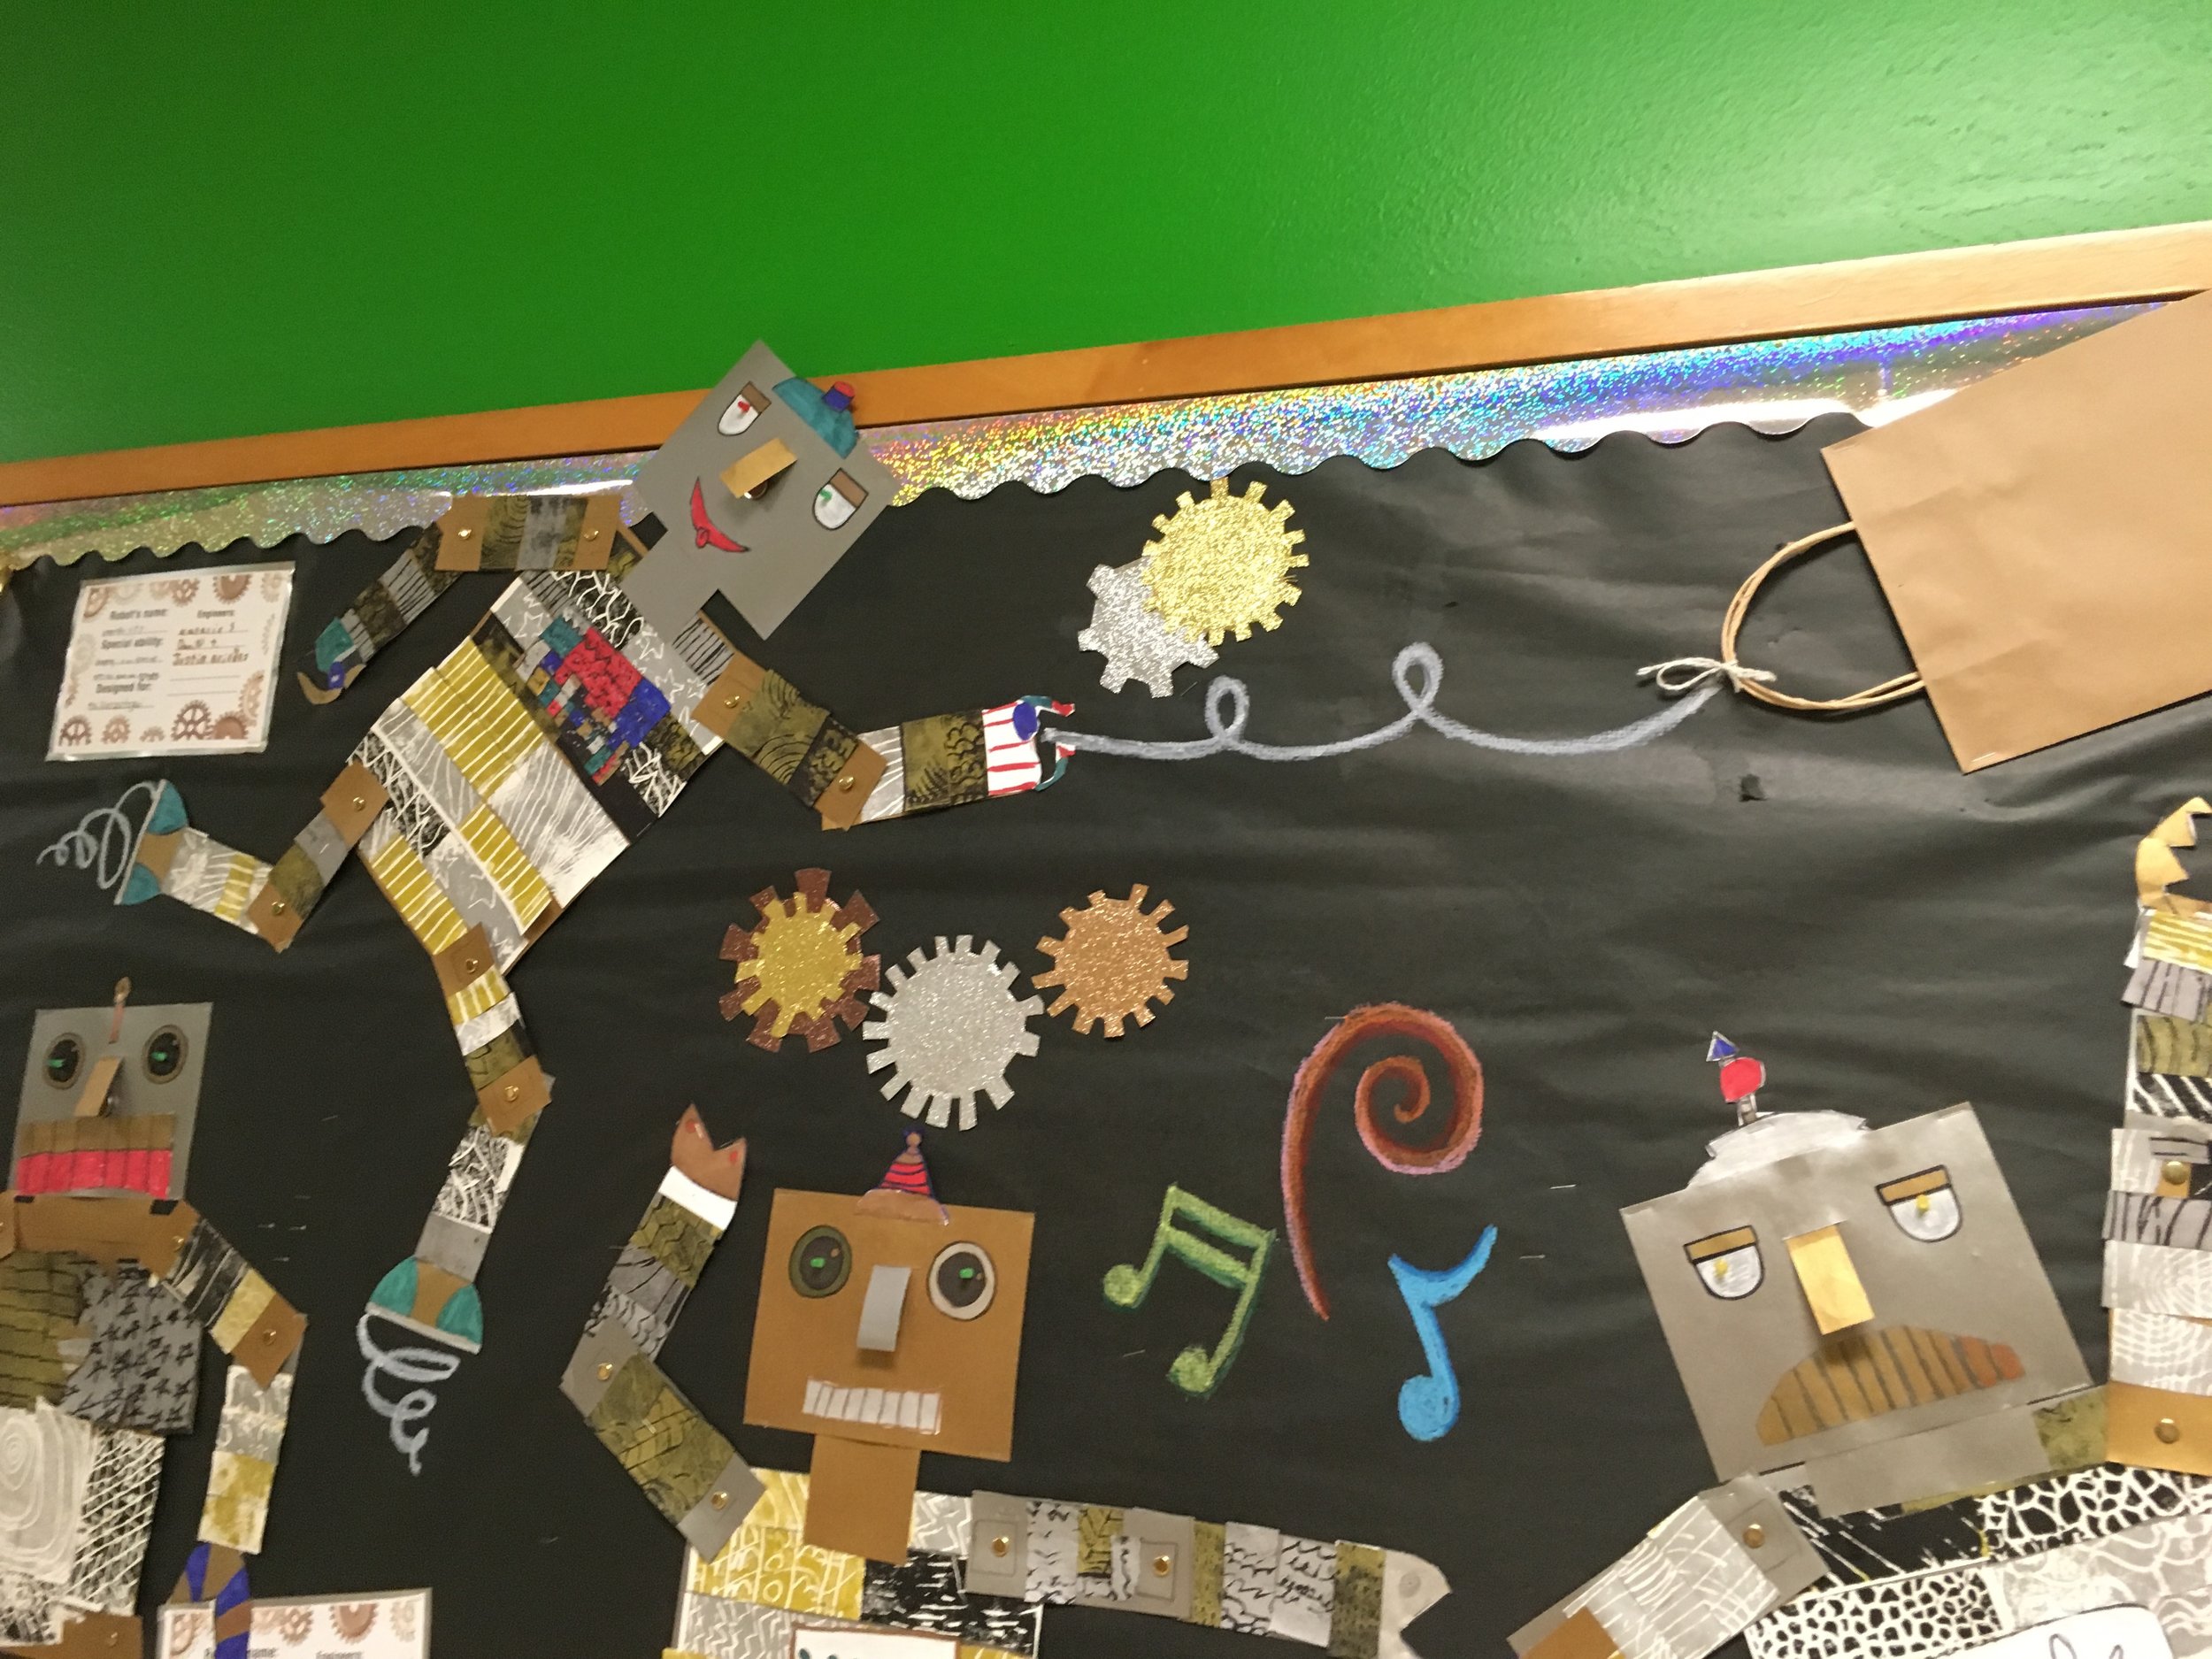
In this unit, my students design a robot by applying elements of art and design (repetition, visual texture, sheen, color, proportion, movement) and artistic techniques including printmaking, collage, and mixed media.  They use math and engineering skills to design a paper circuit and add LED lights to their robot's eyes.  Working as "engineers" and thinking like artists, they design a robot with unique characteristics and functions!

Visual Texture and Exploratory Printmaking

About a week before spring break, my first and second grade classes were done early with the last unit I had planned for the quarter.  So I squeezed in a couple of lessons on visual texture with a printmaking exploration. 

We had previously learned about tactile texture.  We reviewed the concept and then talked about implied texture after watching this quick Texture Desert video.  I am always surprised by which videos my kids love – they kept singing this song while they worked on their prints, haha! I think my older students are “too cool” for this video, but that singing cacti worked great for my littles. I also used a few worksheets and displays as anchors, e.g. Implied Texture Monster and Visual Texture Patterns.

I did a quick demo on how to carve lines into Scratch-foam Styrofoam boards with a pencil, for relief printmaking (oohs and aaahs in tiny voices, every time I peel away the board to reveal a print!). The goal was to draw and carve lines onto a board to create visual texture.  I pre-cut each 9x12” board into quarters, and gave out 4.5 x 6” plates. 

A bunch of metallic inks had been donated to my classroom, so I thought I’d put them to use and talk about sheen and metallic colors.  I prompted my students to approach the act of printmaking in a very exploratory, play-like manner.  2-4 students would share a single construction paper – each of their small boards would take up only a quarter of the paper.  They put their name on their plates, which I would assess and they could keep if they wanted.  The metallic prints, on the other hand, were collaborative and belonged to the whole class.  They kept making boards and taking turns printing on construction paper until we left for break.

Developing the Robot Unit

Over spring break I became curious about how I might be able to re-use the metallic prints in a new unit.  I came across a few blog posts on using copper tape and LEDs to create a light-up robot with a paper circuit, and I got creative with this idea. 

I was worried that paper circuits wouldn’t be the right fit for the first and second graders who made these prints.  While I was planning the unit, I found blogs on paper circuit art projects that featured 6-8 year olds. In these blogs, the students seemed to be working in a small group setting with a higher teacher to student ratio.  So, I gave it a shot by emphasizing the “team” in “STEAM.” I asked my students to work in teams to build a single robot (1 robot per 3-4 students). In hindsight, now I know it will be a great fit for my 5th graders, and that circuits are even in their science curriculum at my school!

The collaborative, step-by-step approach to this project made it feasible for me with first and second grade.  But it was still very challenging for the students.  They didn’t quite get a real understanding of how circuits work, but they were exposed to it and got a few basics out of the lesson (e.g. what an “engineer” is, how batteries have a positive and negative side).  At the end, each team gave their robot a name, wrote about its special abilities, and chose a teacher or staff member on campus who would receive it as a gift.  After all, engineers design things to solve problems and help others!

The Robot Body: Puppet-Making and Collage

I used 11x14” Royal Brites Two-Cool Poster board (silver/gold) for this project (they sell this size at Office Depot; online I can only find it starting at 14x22”). For my littles, I pre-cut the shapes for each team robot.  Fifth graders will measure and cut on their own.  They will make a robot individually instead of working in teams.  Here is the template I used for the 11 x 14” boards:

I made a demonstration video to motivate students and walk them through steps for the robot body. With single-hole punchers and fasteners at the joints, this activity is like making a puppet. Students learn to represent figural movement and gesture by exploring different positions with the torso, joints, and limbs.  My first and second graders collaged their metallic prints onto the template, in a very straightforward manner. They reviewed implied texture and talked about visual qualities of a scrap metal.  With fifth grade, I will prompt them to explore different ways of cutting and attaching the prints.  I will also encourage them to explore mixed media and come up with materials that can express a unique personality or special robot functions. 

Paper Circuit Robot Head

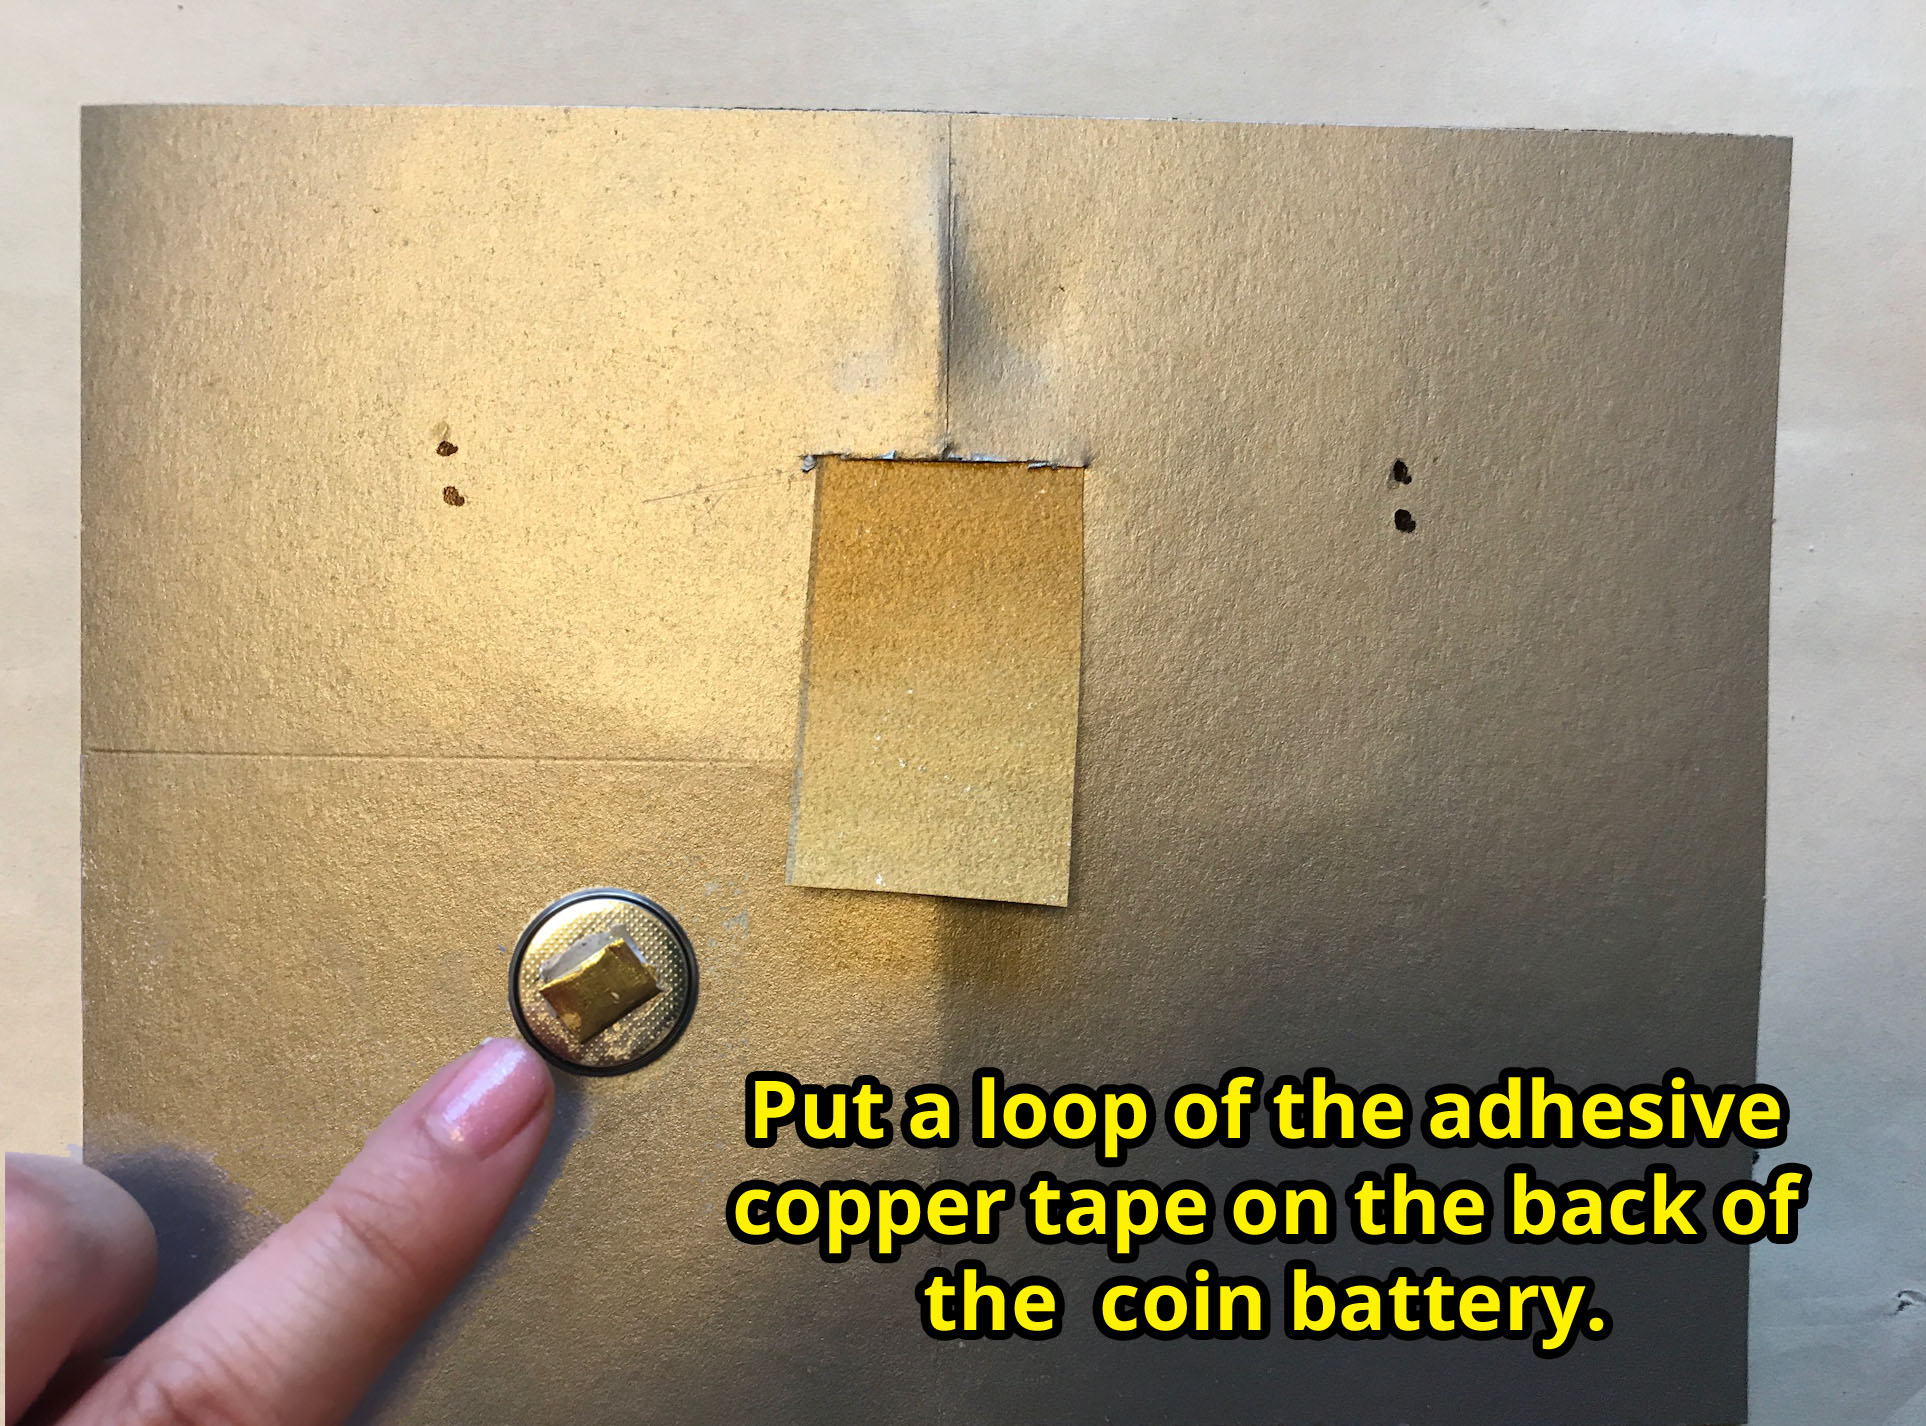
Adhesive copper tape is the conductor and key to laying out the paper circuit on the head.  If you click through the images below that show each step, you’ll start to see what I mean. Since my 1st-2nd grade students were making one robot per team, we didn't need many robot heads in total and I could just prep the first few tricky steps for them.  The trickiest part is looping the copper tape in the spot where it will connect both to the coin battery (at the front of the head) and the wires (in the back) of the LED lights.  For my fifth grade students, I think I will pre-cut the slits where the copper tape needs to loop around (so they won’t need to use the X-Acto tool), and leave the rest of the steps in their hands.

Robot Eyes, Mouth, Hands, Feet, Controls, Etc…

I prompted students to work on details like the feet, hands, controls, and antennas at the same time as I introduced the paper circuit for the head.  This gave students something to focus on if they felt like they got stuck on the head and needed to wait for a turn with the teacher.  Expressive Monkey offers some great robot-themed anchors (shown in my demonstration video), and in dialogue with the students I motivated them to get creative and come up with unique details.  Using index cards, students were prompted to apply proportion as they added details in relation to the existing size of their robot.  We used liquid metallic markers and sharpies for these details.

Completing the Paper Circuit with LED lights (starts at ~4:21 in the video)

My students defined “circuit” and how it all has to connect like a “circle.”  We talked about positive and negative charges; how each light has a positive and negative wire, and that the battery has a positive and negative side that must connect to each.  “How Batteries Work” is a great video, especially for older students, that briefly explains how electricity is produced by the oxidation of metal. I’m really excited to try this unit with fifth grade, who will be learning about this outside the art classroom!

Art Evaluation & Cultural Relevance

This unit is a great opportunity to show artists who use light and technology in their work. There are some great educational resources on Dan Flavin by the NGA, on Tatsuo Miyajima by the MCA, and on Glen Ligon by Art21.  In another blog post, I write about how I used the Creative Initiative/MindPOP “Look and Link” evaluation activity to explore artwork by Yayoi Kusama, another artist who has used light in her work.

Students can explore artworks like these with questions that prompt evaluative thinking.  “Why do you think the artist used light to make this?”  One of my 7 year old students said, “If you put light in your art then your art reaches the whole room.” Many students said that light makes it different and more fun than most art you see, and we talked about what they think is “most art.”  “What do you think happens if the light stops working?”  For that question, students started to think about their own robots, and talked about replacing the battery or fixing the tape.  The discussion touched on museum jobs and how people and artists work on art even after it’s “done.”  A handful of kids talked about what they liked about their art even without the lights.

Site-specific installation by Dan Flavin, 1996, Menil Collection

Site-specific installation by Dan Flavin, 1996, Menil Collection

Glenn Ligon, “Untitled (If I Can’t Have Love, I’ll Take Sunshine),” 2006, Neon and paint, Luhring Augustine.

Glenn Ligon, “Untitled (If I Can’t Have Love, I’ll Take Sunshine),” 2006, Neon and paint, Luhring Augustine.

Tatsuo Miyajima, Arrow of Time (Unfinished Life), 2016, LED, IC, electric wire, iron, Image by the artist, The Metropolitan Museum of Art and Lisson Gallery © the artist Photograph: Thomas B. Ling

Tatsuo Miyajima, Arrow of Time (Unfinished Life), 2016, LED, IC, electric wire, iron, Image by the artist, The Metropolitan Museum of Art and Lisson Gallery © the artist Photograph: Thomas B. Ling

Optional Extensions

The personalization for this project mostly came in at the details we added at the end.  Many students really began to visualize and describe their robot once they explored the essential question, “How can props and accessories show character?”

We also talked about engineer jobs (for videos, check out “Jessi Has a Problem!” and “Crash Course for Kids: What’s an Engineer?”).  Since each team was gifting their robot to someone, they approached their art like engineers and brainstormed how the robot could help that person.  They had their ideas ready when I came to their table with this worksheet, and we filled it out together.

Check out "Robo Nick the Helper," who helps people get Mona Lisa Ready! The engineers gifted it to a fellow art teacher, tee hee:

Student Art Gallery

We put these up for our End of Year Student Art Exhibition, so I got lots of great photos.  One of my favorites shows the engineers dabbing with "Ultimate Pinching Dab Super Cleaning Bot" -- gotta love the dab!  Enjoy!

Pumpkins, Pumpkins, Pumpkins.

And Yayoi Kusama

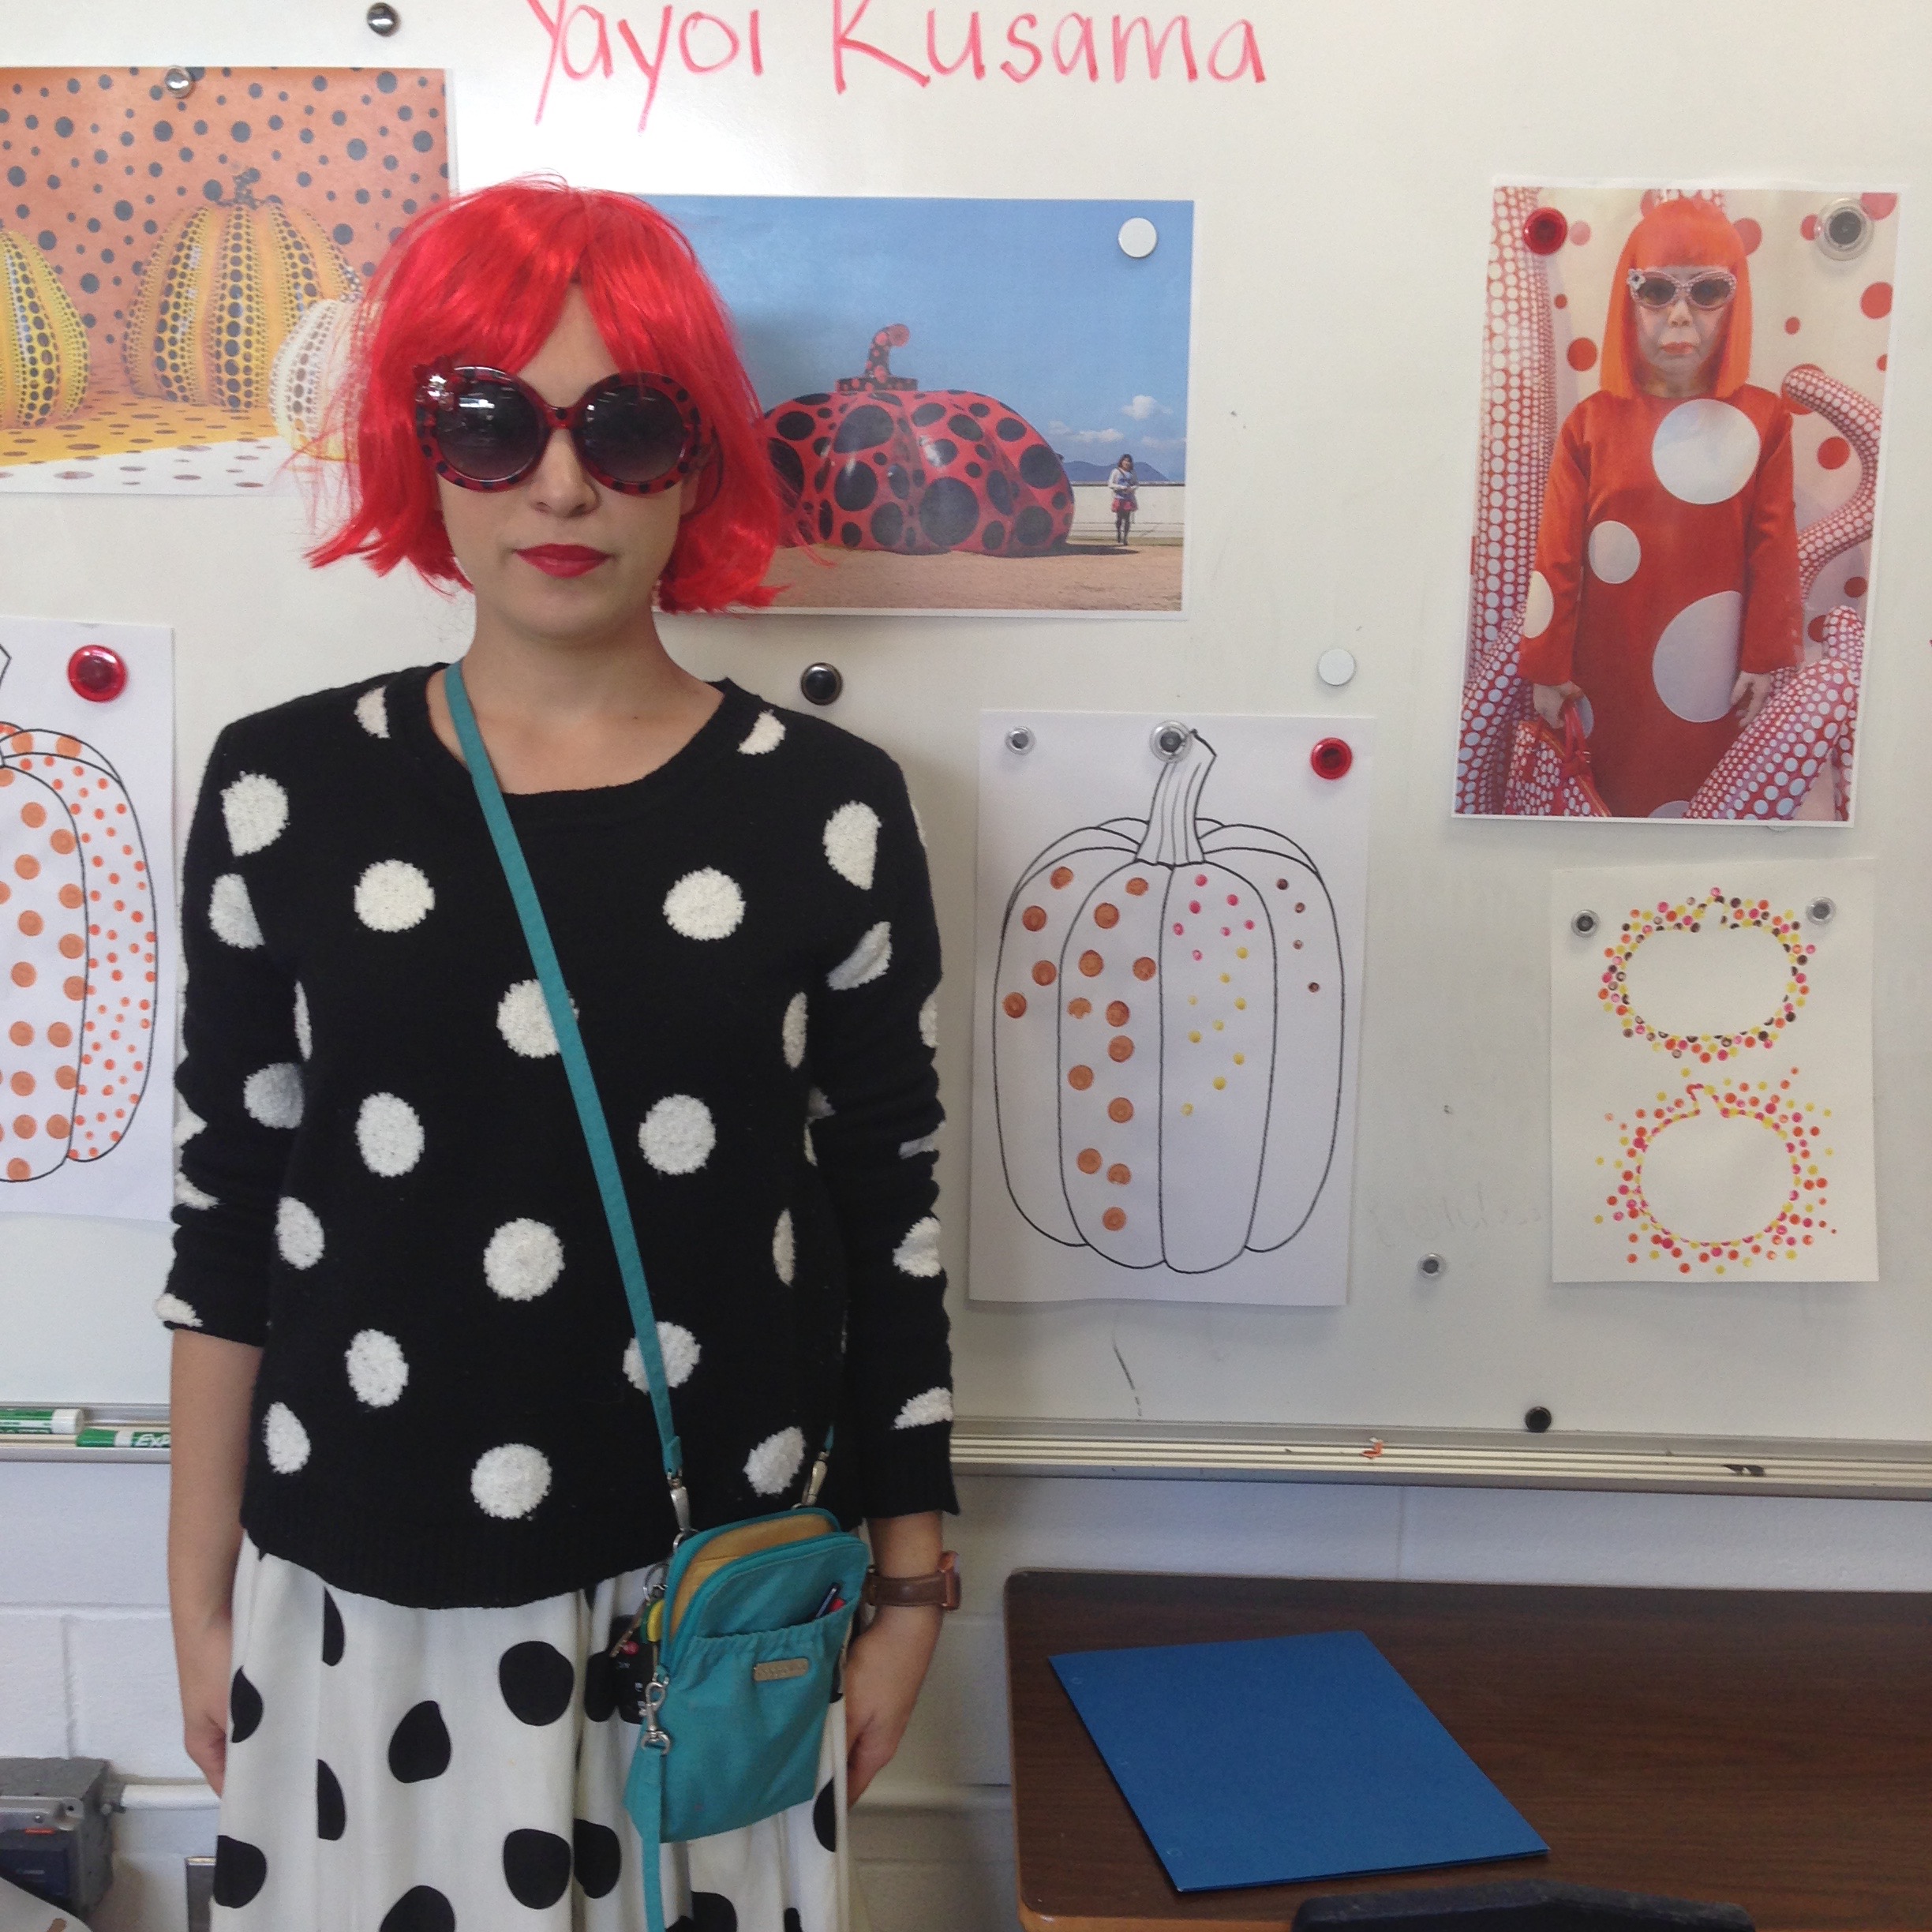
I have found that unplanned bits of time in the school year can bring about some awesome lessons.  In Fall 2015 I had a gap between my last quarterly unit and the new grading period. It was my first year of teaching, the last week of October, and I was figuring out pacing and grading all in all.  Halloween was around the corner, and our school was celebrating Red Ribbon Week with days like: “Wear Red,” “Crazy Hat & Wig Day,” and “Dress Up Like a Hero.”  This inspired me to dress up like the powerhouse artist, Yayoi Kusama, in a polka-dotted, red-wigged getup that fit the bill for our dress-up days.

Pumpkins2015 - 5.jpg

Two years before, I saw Kusama’s work for the first time at David Zwirner Gallery; I walked into her Mirrored Room and it was sensational!  I thought that Kusama’s art would be perfect to present my students with a fun, polka-dotted, extraordinary class.  While looking online and putting together images of her artwork to show, I discovered her polka-dot pumpkins! Could this be any more perfect for the season?  Lots of fun pieces fell into place for what turned out to be an extremely memorable lesson.

At the time, Yayoi Kusama was a little more obscure than today  (most of my school's staff had not heard of her), and I remember texting my principal to let her know about my dress-up/lesson plans.  I introduced myself to my students as “Ms. Kusama,” their special guest substitute teacher, and I stayed in character for three days so that each class during the ABC rotation could meet their sub.  I remember that we had a FIRE DRILL and I did not break character.  I kept the kiddos safe and we followed procedures, sunglasses on and all.  Yet I worried in my head as our AP checked on us, “Is this okay? Staying 'Ms. Kusama' during a fire drill, is okay right? I hope this is okay!"  It’s been three years, and my students still bring up our famous substitute teacher, “Do you remember when you dressed up as Ms. Kusama?!?”

We used Do-A-Dot markers, q-tips, and unsharpened pencils (the eraser ends) to stamp polka dots (using tempera paint) onto paper and make quick, 2D pumpkin art.  The task was similar but varied for each grade level.  Some classes cut out their pumpkins and attached them to wrapping paper to make “polka dot pumpkin banners.”  We put them up in our cafeteria to add decoration for our Fall Festival (see photos above).  The “making” part of this lesson was quick, about 20 minutes, and we spent the rest of class looking and responding to Kusama’s art (through varied activities, depending on the grade level).

Haiku Paper Pumpkins

Haiku Example.jpg

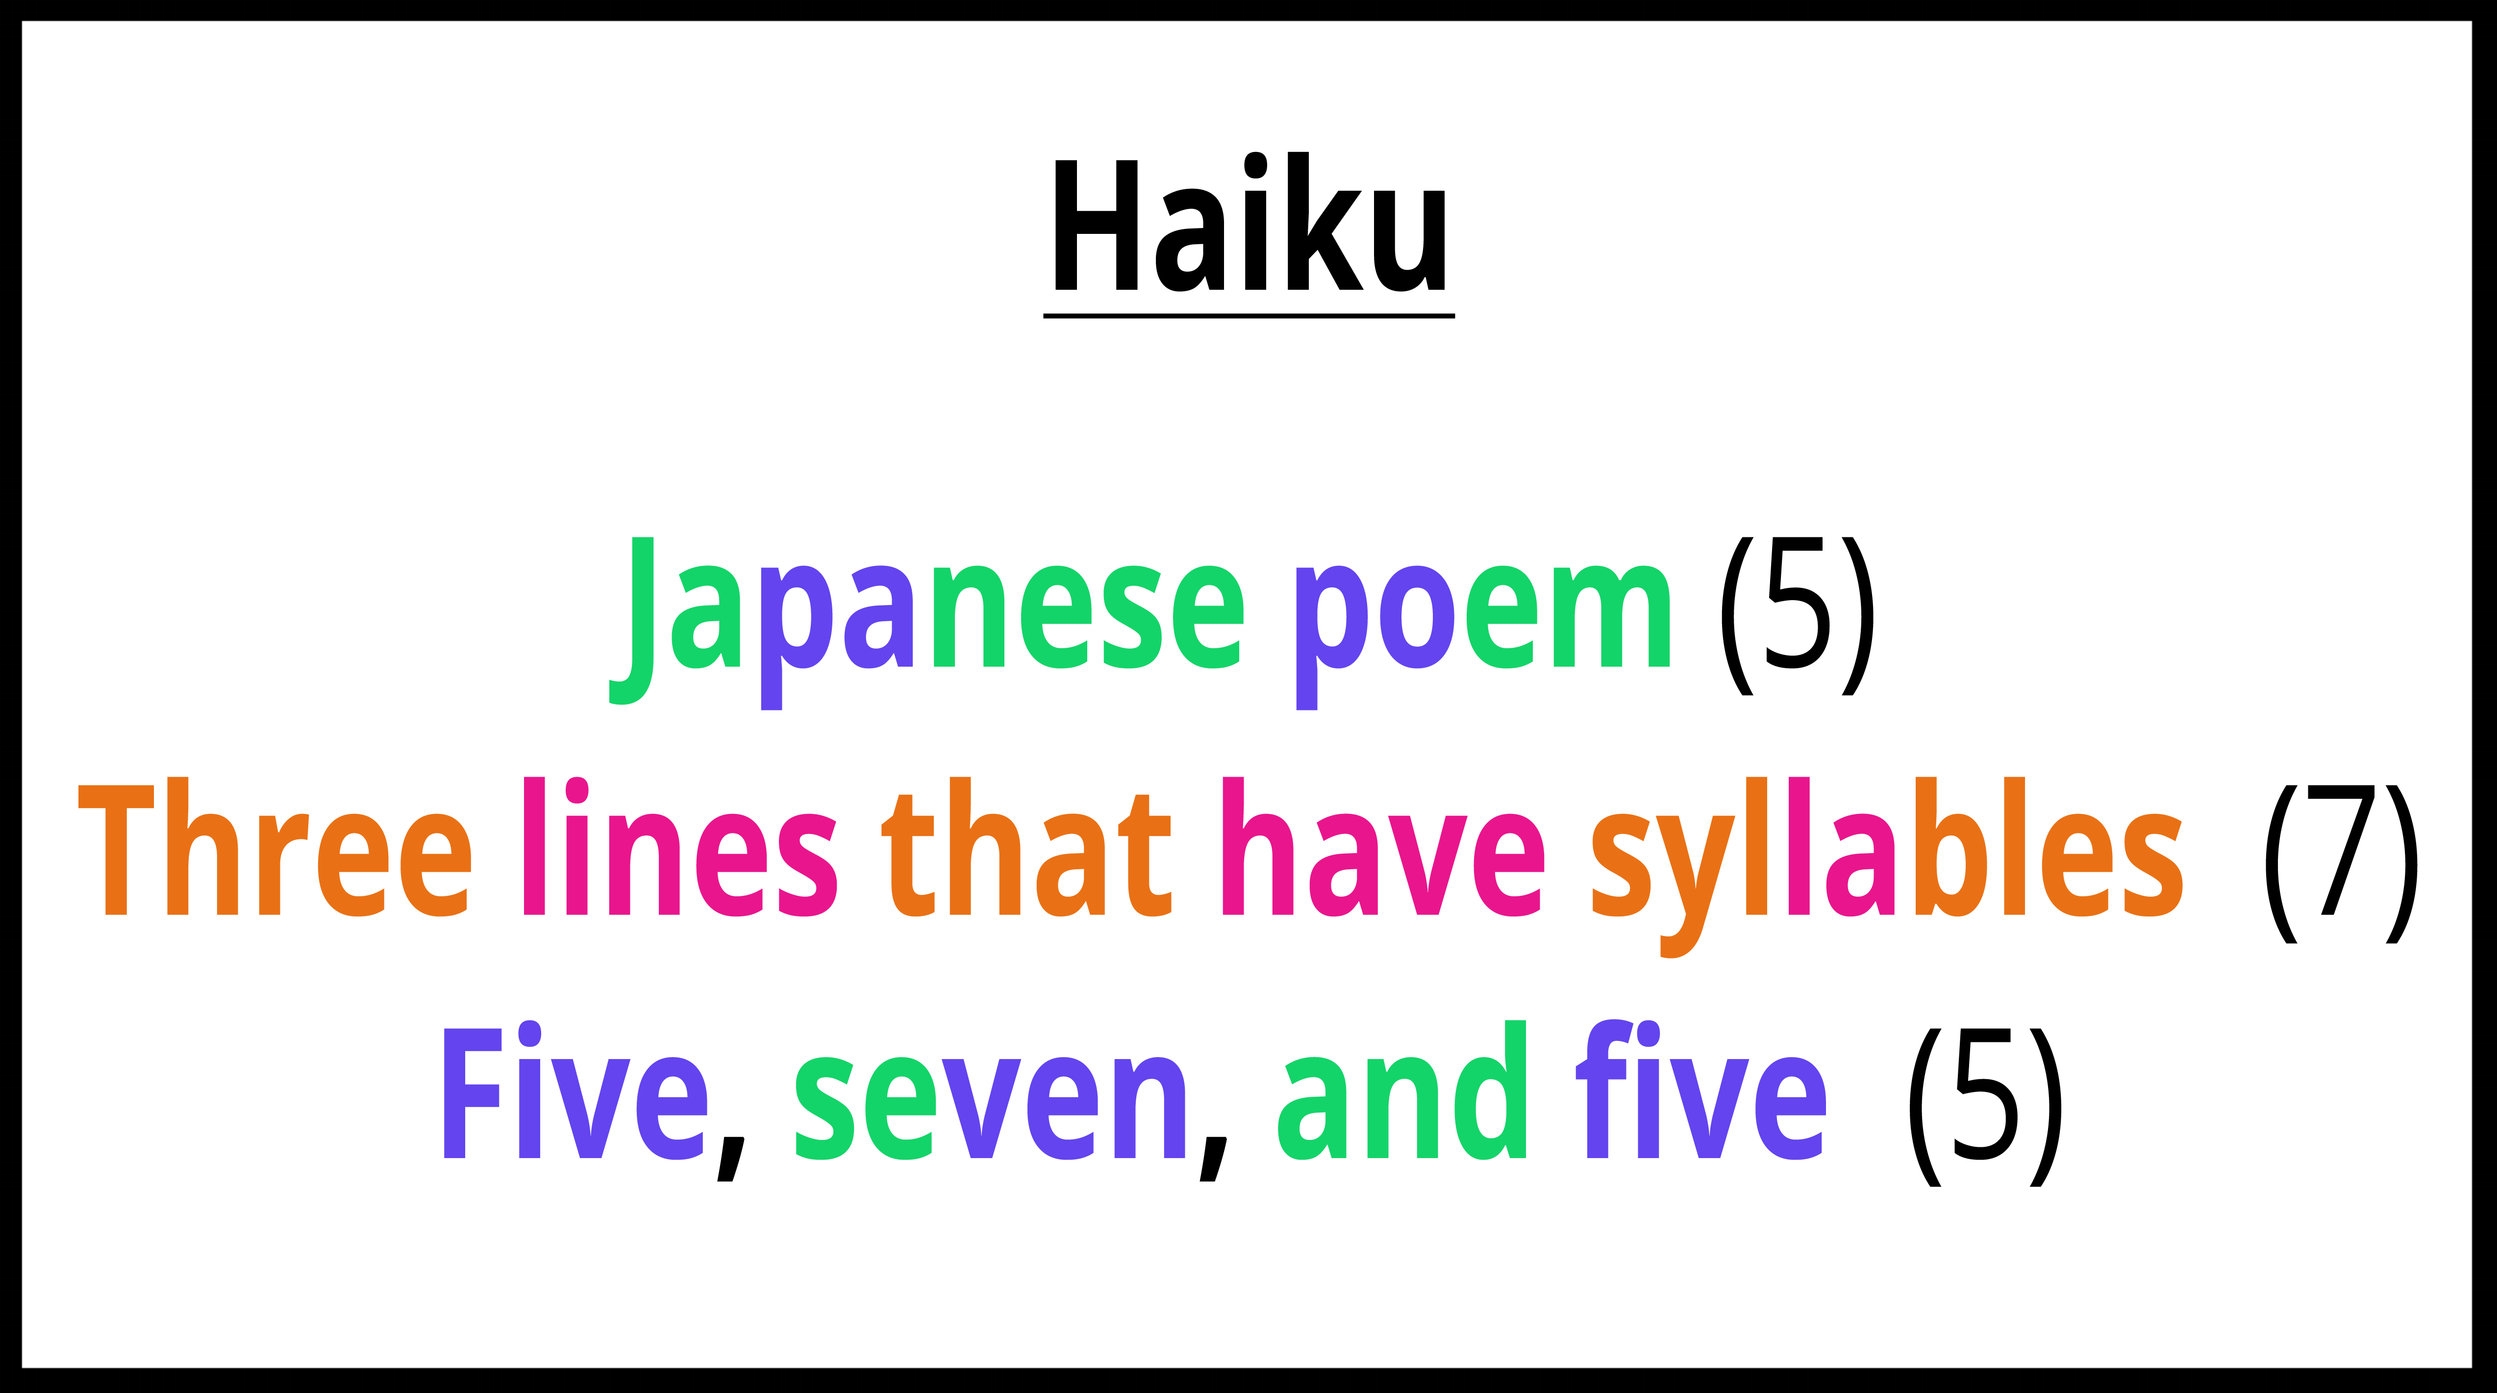
The following year I tried a different Pumpkin/Kusama unit, only with fourth grade this time.  To start, I did a mini-lesson on the Japanese tradition of haiku, and I prompted my students to write a haiku to describe what they think about pumpkins.  Students did a couple of brainstorming activities to gather their ideas. “Do you have any special memories about a pumpkin?”  By responding to questions within class dialogue, students shared memories about carving pumpkins, eating pumpkin pie with family, cooking with pumpkins, and going to pumpkin patches (our first grade has been taking a field trip to Elgin Tree Farm for years).  They did a quick drawing to show their special memory of a pumpkin.  After, they used a worksheet to choose or write adjectives about a pumpkin. They had real pumpkins at their table to touch and observe, and I even brought in potpourri to bring pumpkin scent to the room (yum!) . They wrote their haiku after the brainstorming activities.

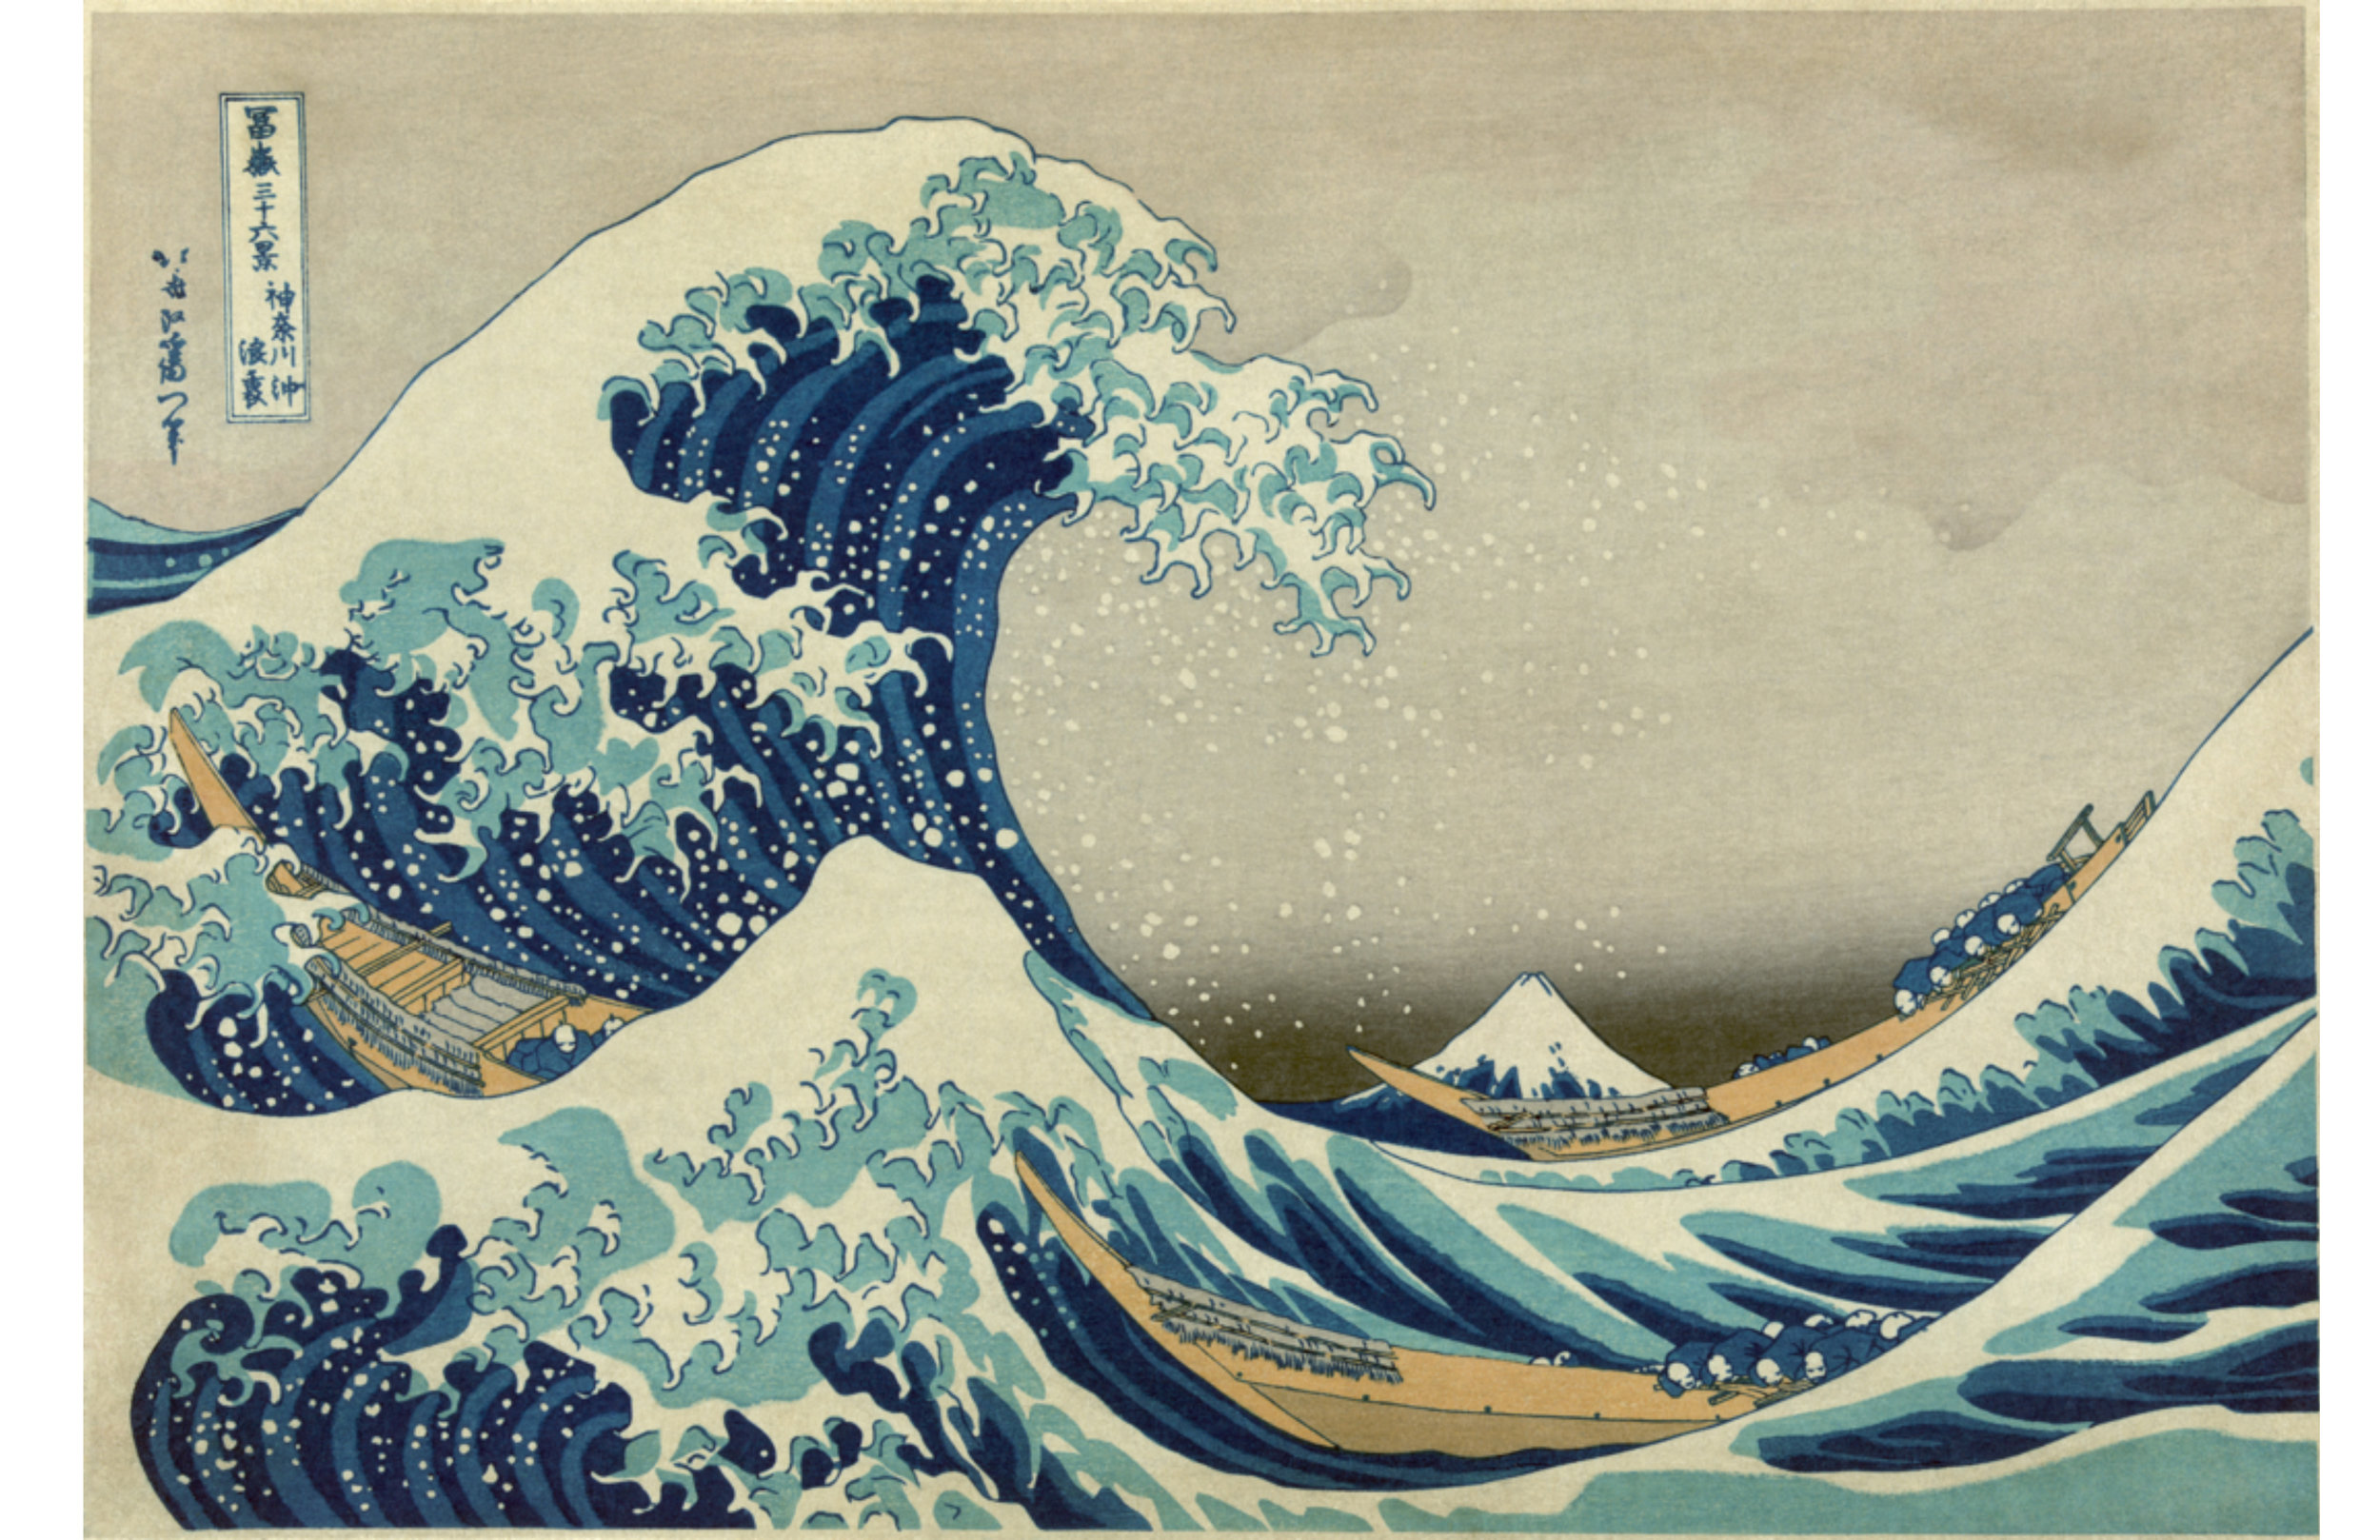
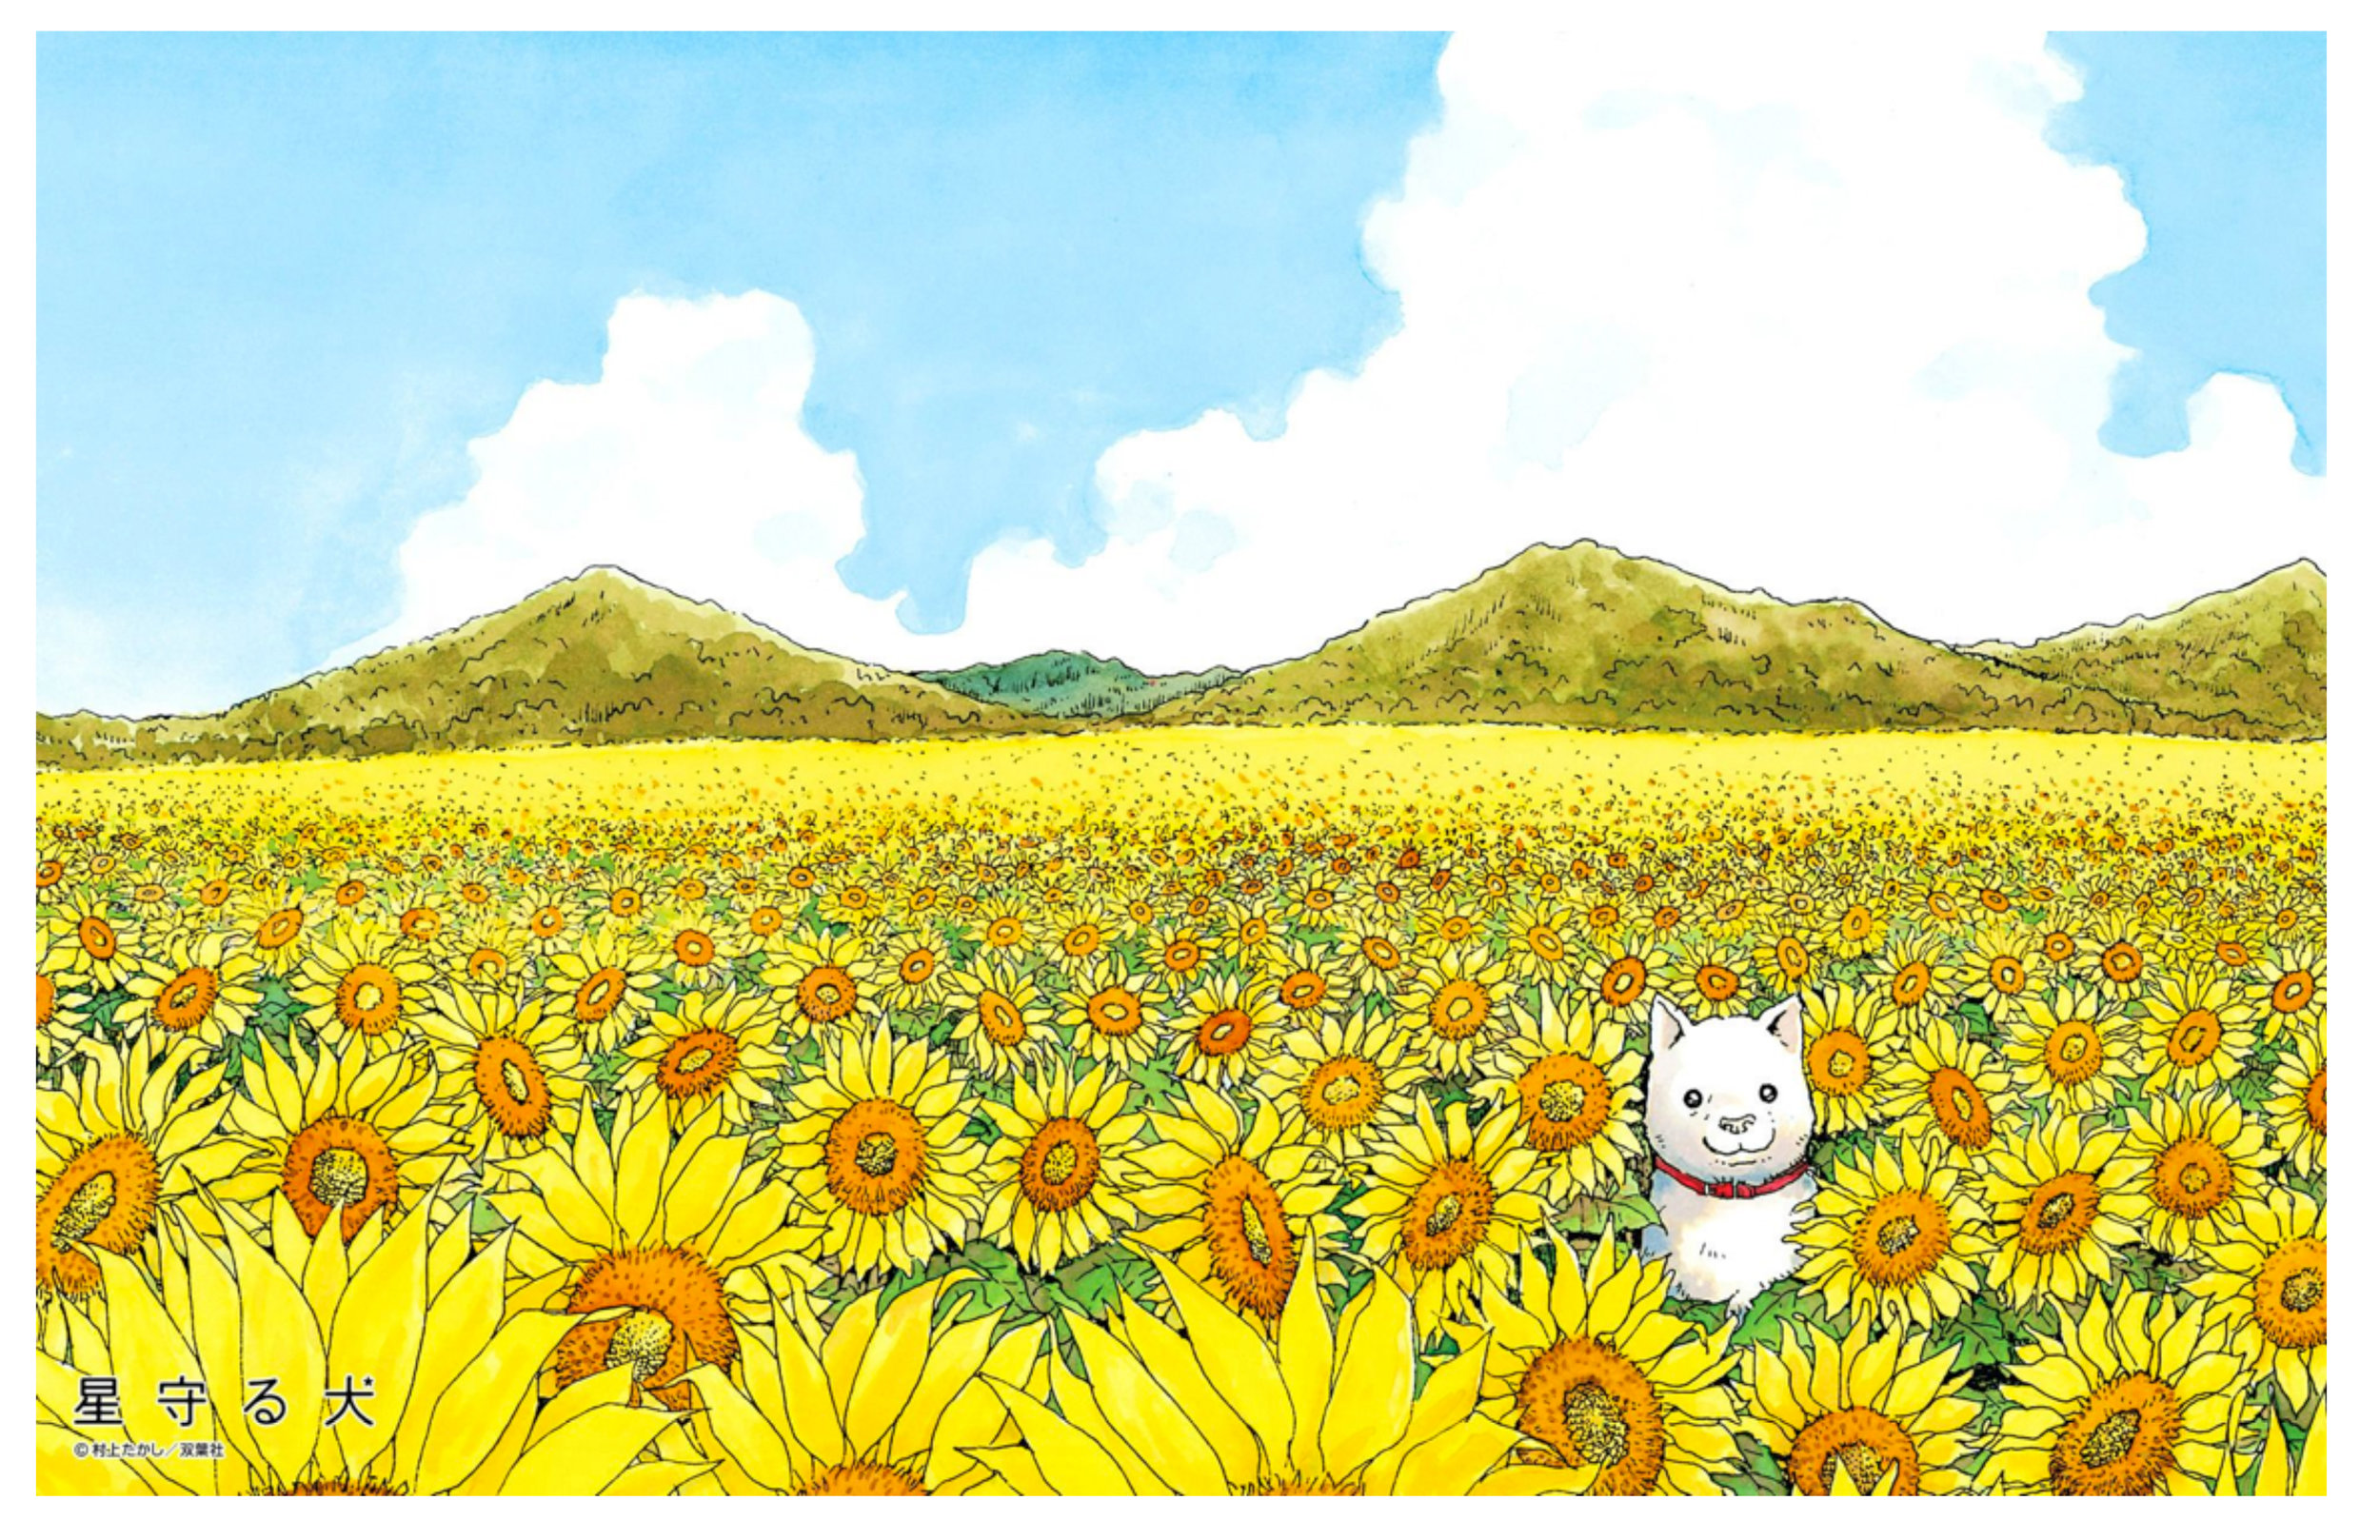
For the next lesson, I prompted students to explore Yayoi Kusama in connection to her Japanese heritage.  Before showing them Kusama's work, we did an activity largely based on the Creative Learning Initiative’s “Look and Link" strategy. To start, my students reviewed what they had learned about haiku in class dialogue.  After they reviewed from memory, I put an anchor (pictured above) on display.  Then I asked students to go to their team tables, where they would find four, turned-over papers.  I asked them to wait for my cue to flip over the papers, and then discuss (in their small groups) how the pieces relate to one another.  What do they all have in common?  They had five minutes to work together.

My students were extremely motivated to make connections within the collection.  They were like tiny detectives working on a mystery. We regrouped as a class to discuss what they found.  Using questioning techniques, my goal was to use whatever they brought to the discussion, extend their thinking, and help them build on their own findings to reach interpretations and a big idea. 

As an example, here's a course of dialogue that I remember.  As I expected, most students started off by pointing out that the Basho piece was a haiku.  Surprisingly, my students consistently-- in three different class sections-- looked closely at the Japanese writing on each piece.  I had no clue when I picked these pieces that they each had writing on them.  

Student: They all have letters on them (while pointing). Me: Awesome, you found letters. How could you tell that they are letters?  S: Because I've seen them before and it's not our letters but it's all Chinese letters.  Me:  Do you think all the letters are from the same language? S: Yea I looked real close and there is an exact same letter in each one.  Me: So we've seen letters that look like this before.  Chinese language looks like this.  What are some other languages that might look like this?  (Silence for ten seconds).  We said that this one is a haiku (pointing to Bashu piece).  Where are haikus from?  Ss: Japan!  Me: So what language are these letters?  Ss: Japanese! 

I love moments like these, when students can connect what they are currently learning about to their prior knowledge.  Eventually, students got to the word "nature" in each discussion. I brought focus to the similarities they found in the subject matter of each piece, and we discussed our big idea:  Nature is a common theme in Japanese art. We then moved on to a video featuring Yayoi Kusama's art and her poem, "On Pumpkins."   I modified a video I found online, to provide a read-aloud English translation for my students, alongside images of her artwork (the original video is by Victoria Miro, Courtesy KUSAMA Enterprise, Ota Fine Arts, Tokyo / Singapore and Victoria Miro, London © Yayoi Kusama).

My students were pretty quick to say, "It's Ms. Kusama!" or "Are you going to dress up like her again?!?" Haha.  We moved on to discuss "How does Yayoi Kusama feel about pumpkins?" and "What do we see in her art that might show us how she feels?" For their studio project, they made 3D paper pumpkins and incorporated their own pumpkin poetry by writing their haikus on their artwork.

Pattern Pumpkins & Risk-Taking

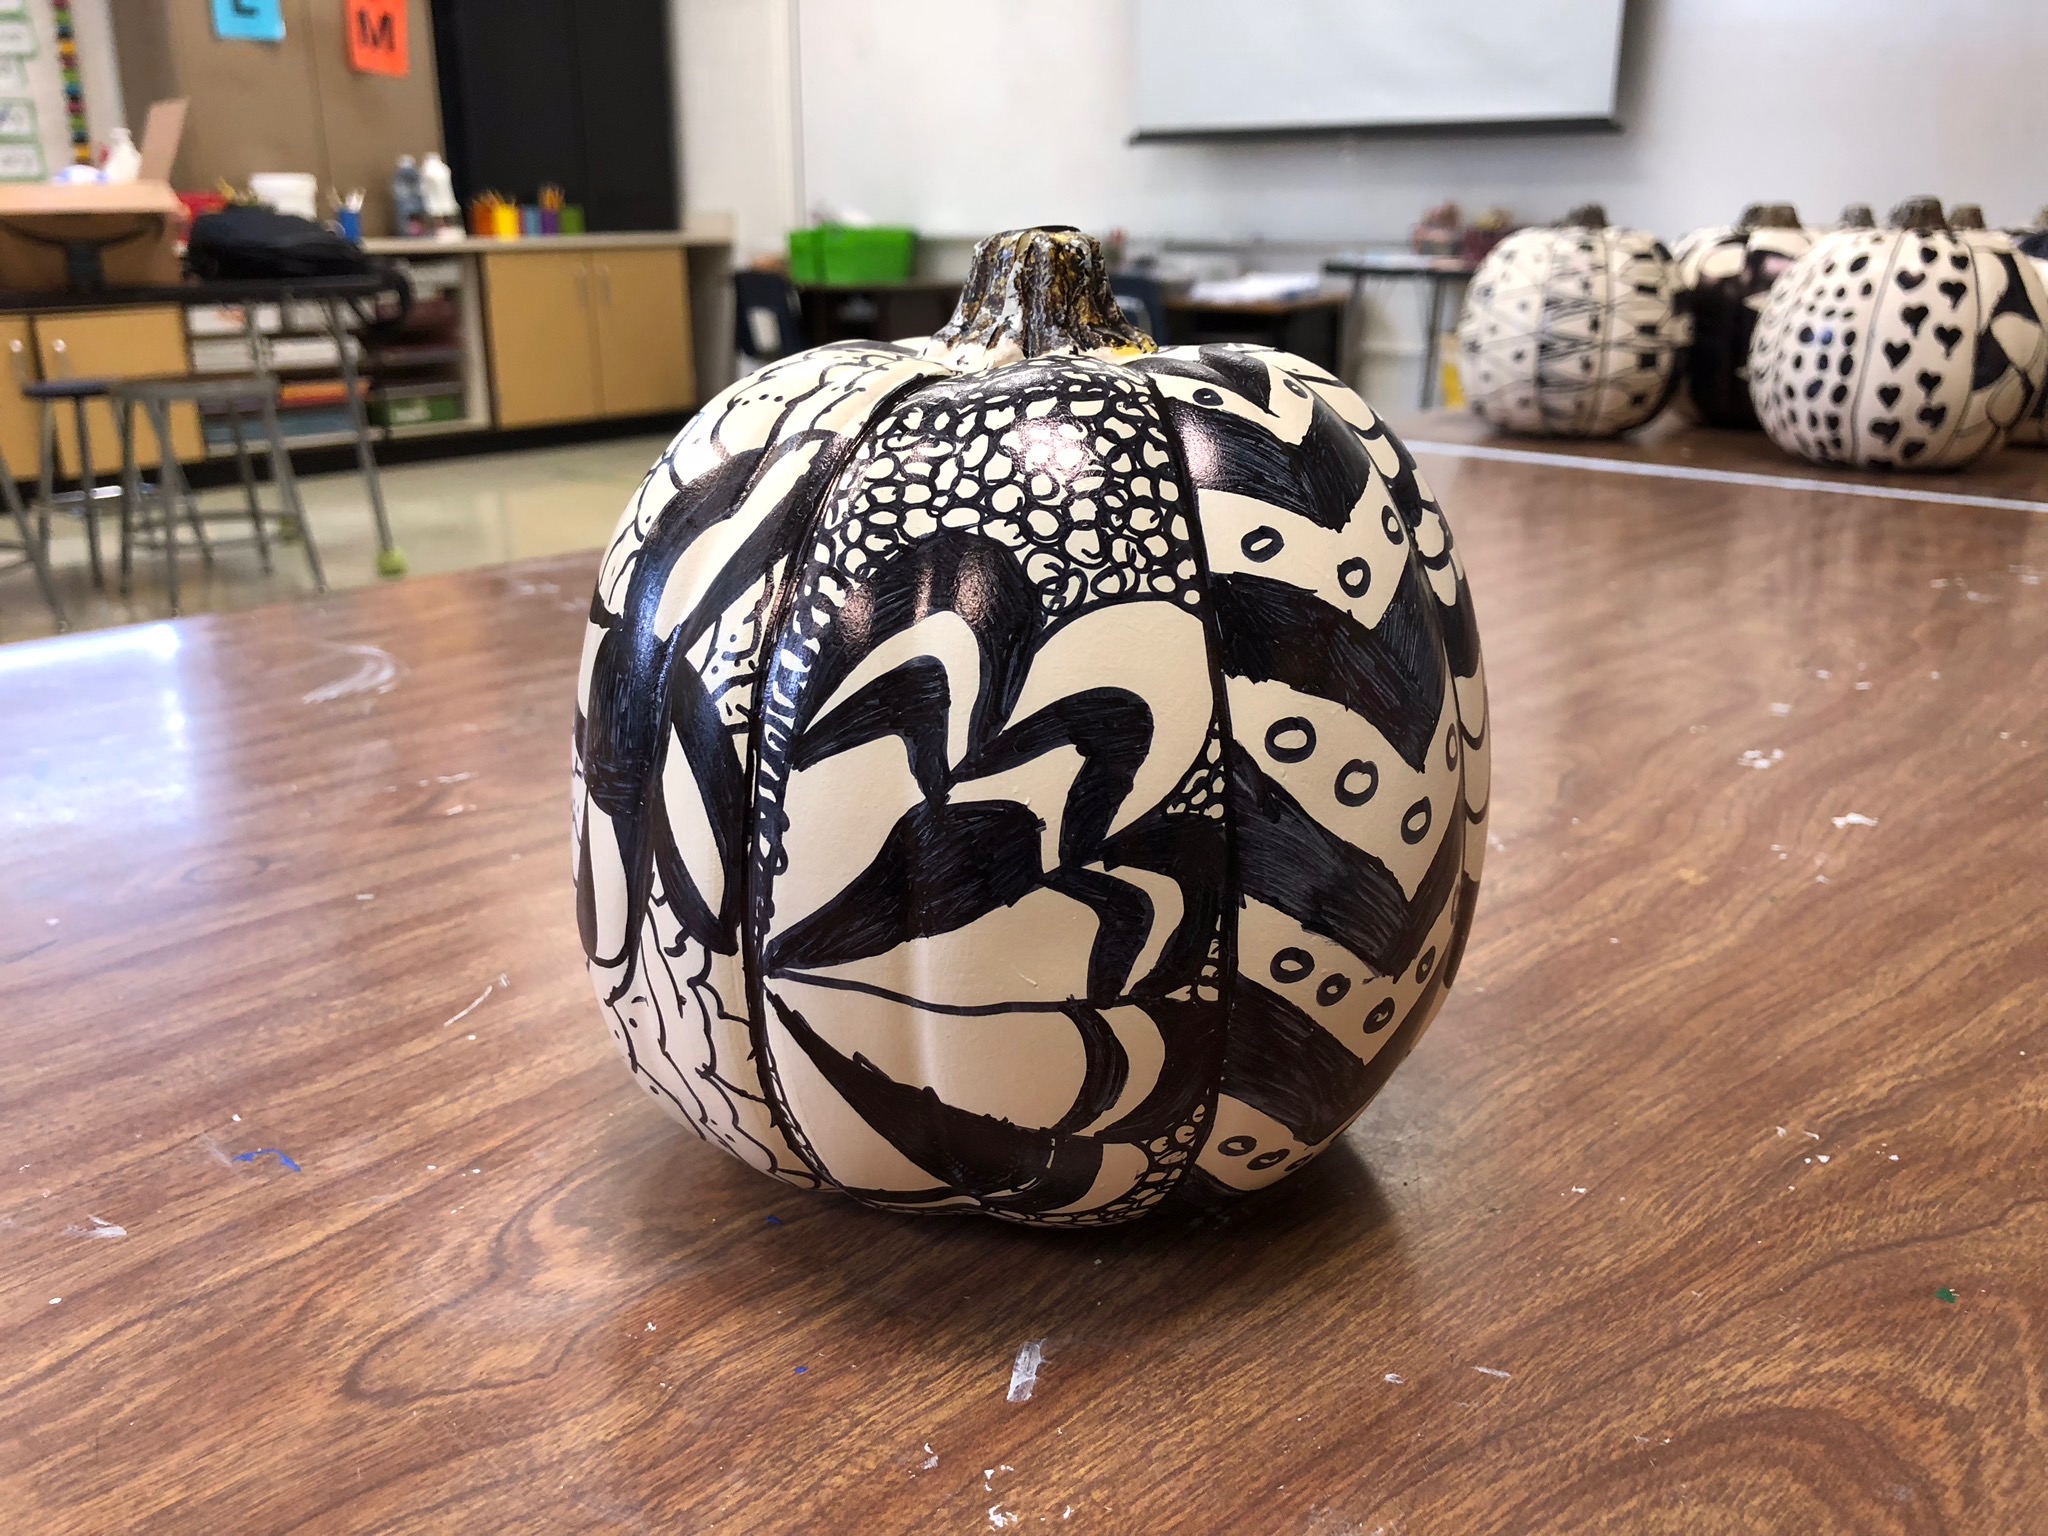
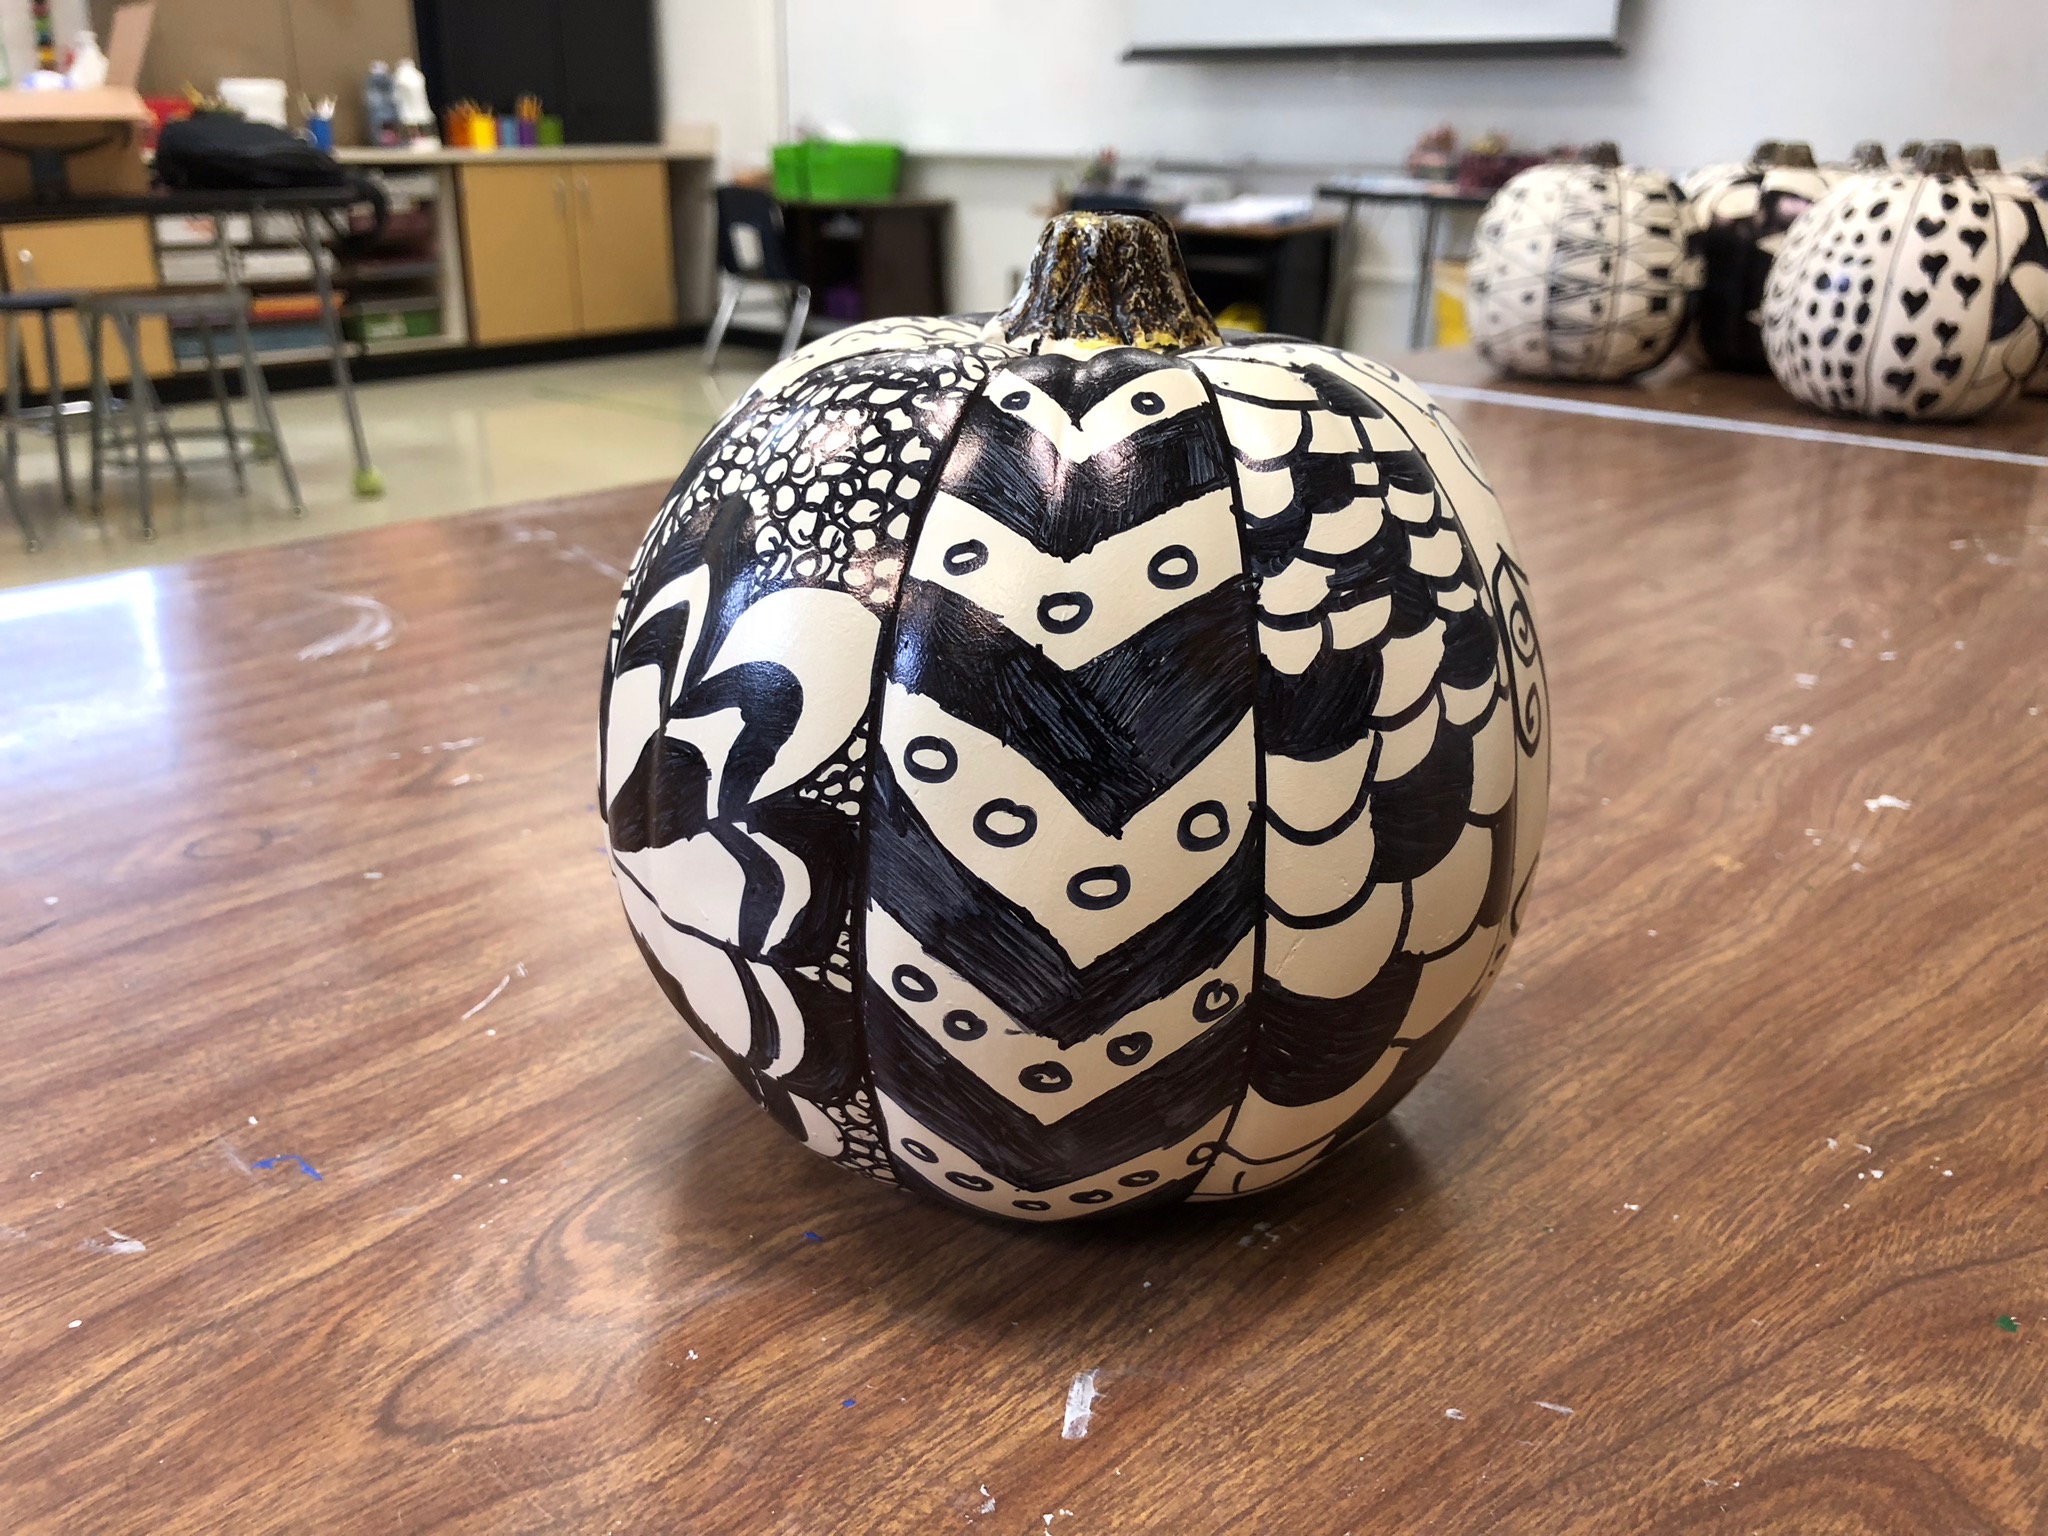
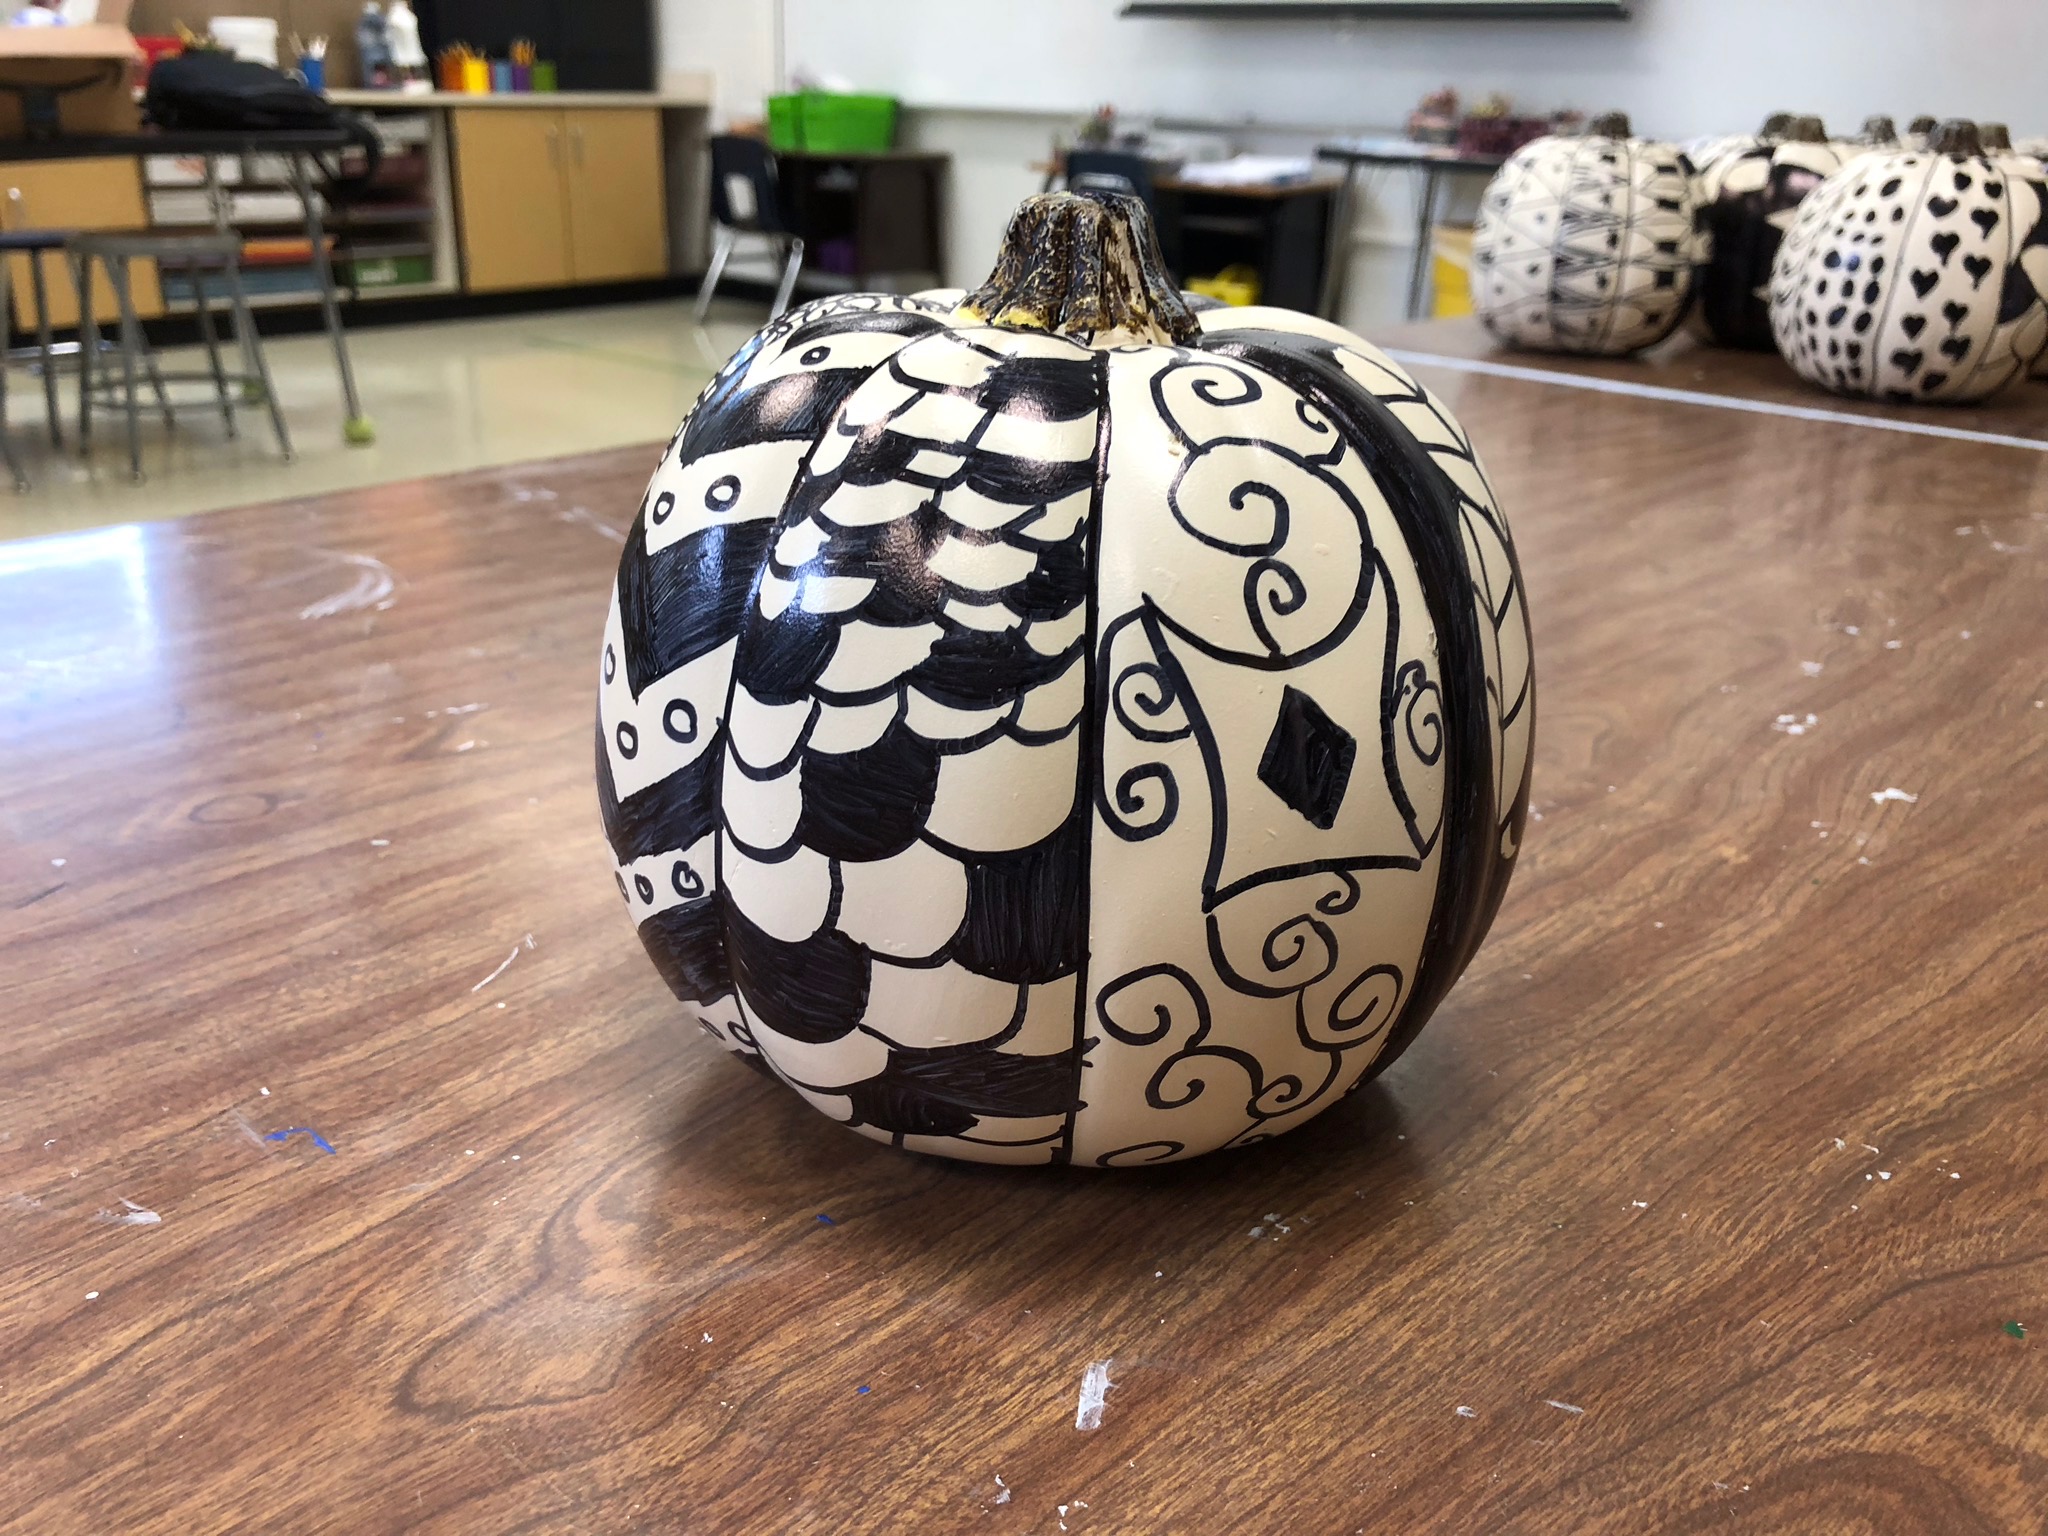
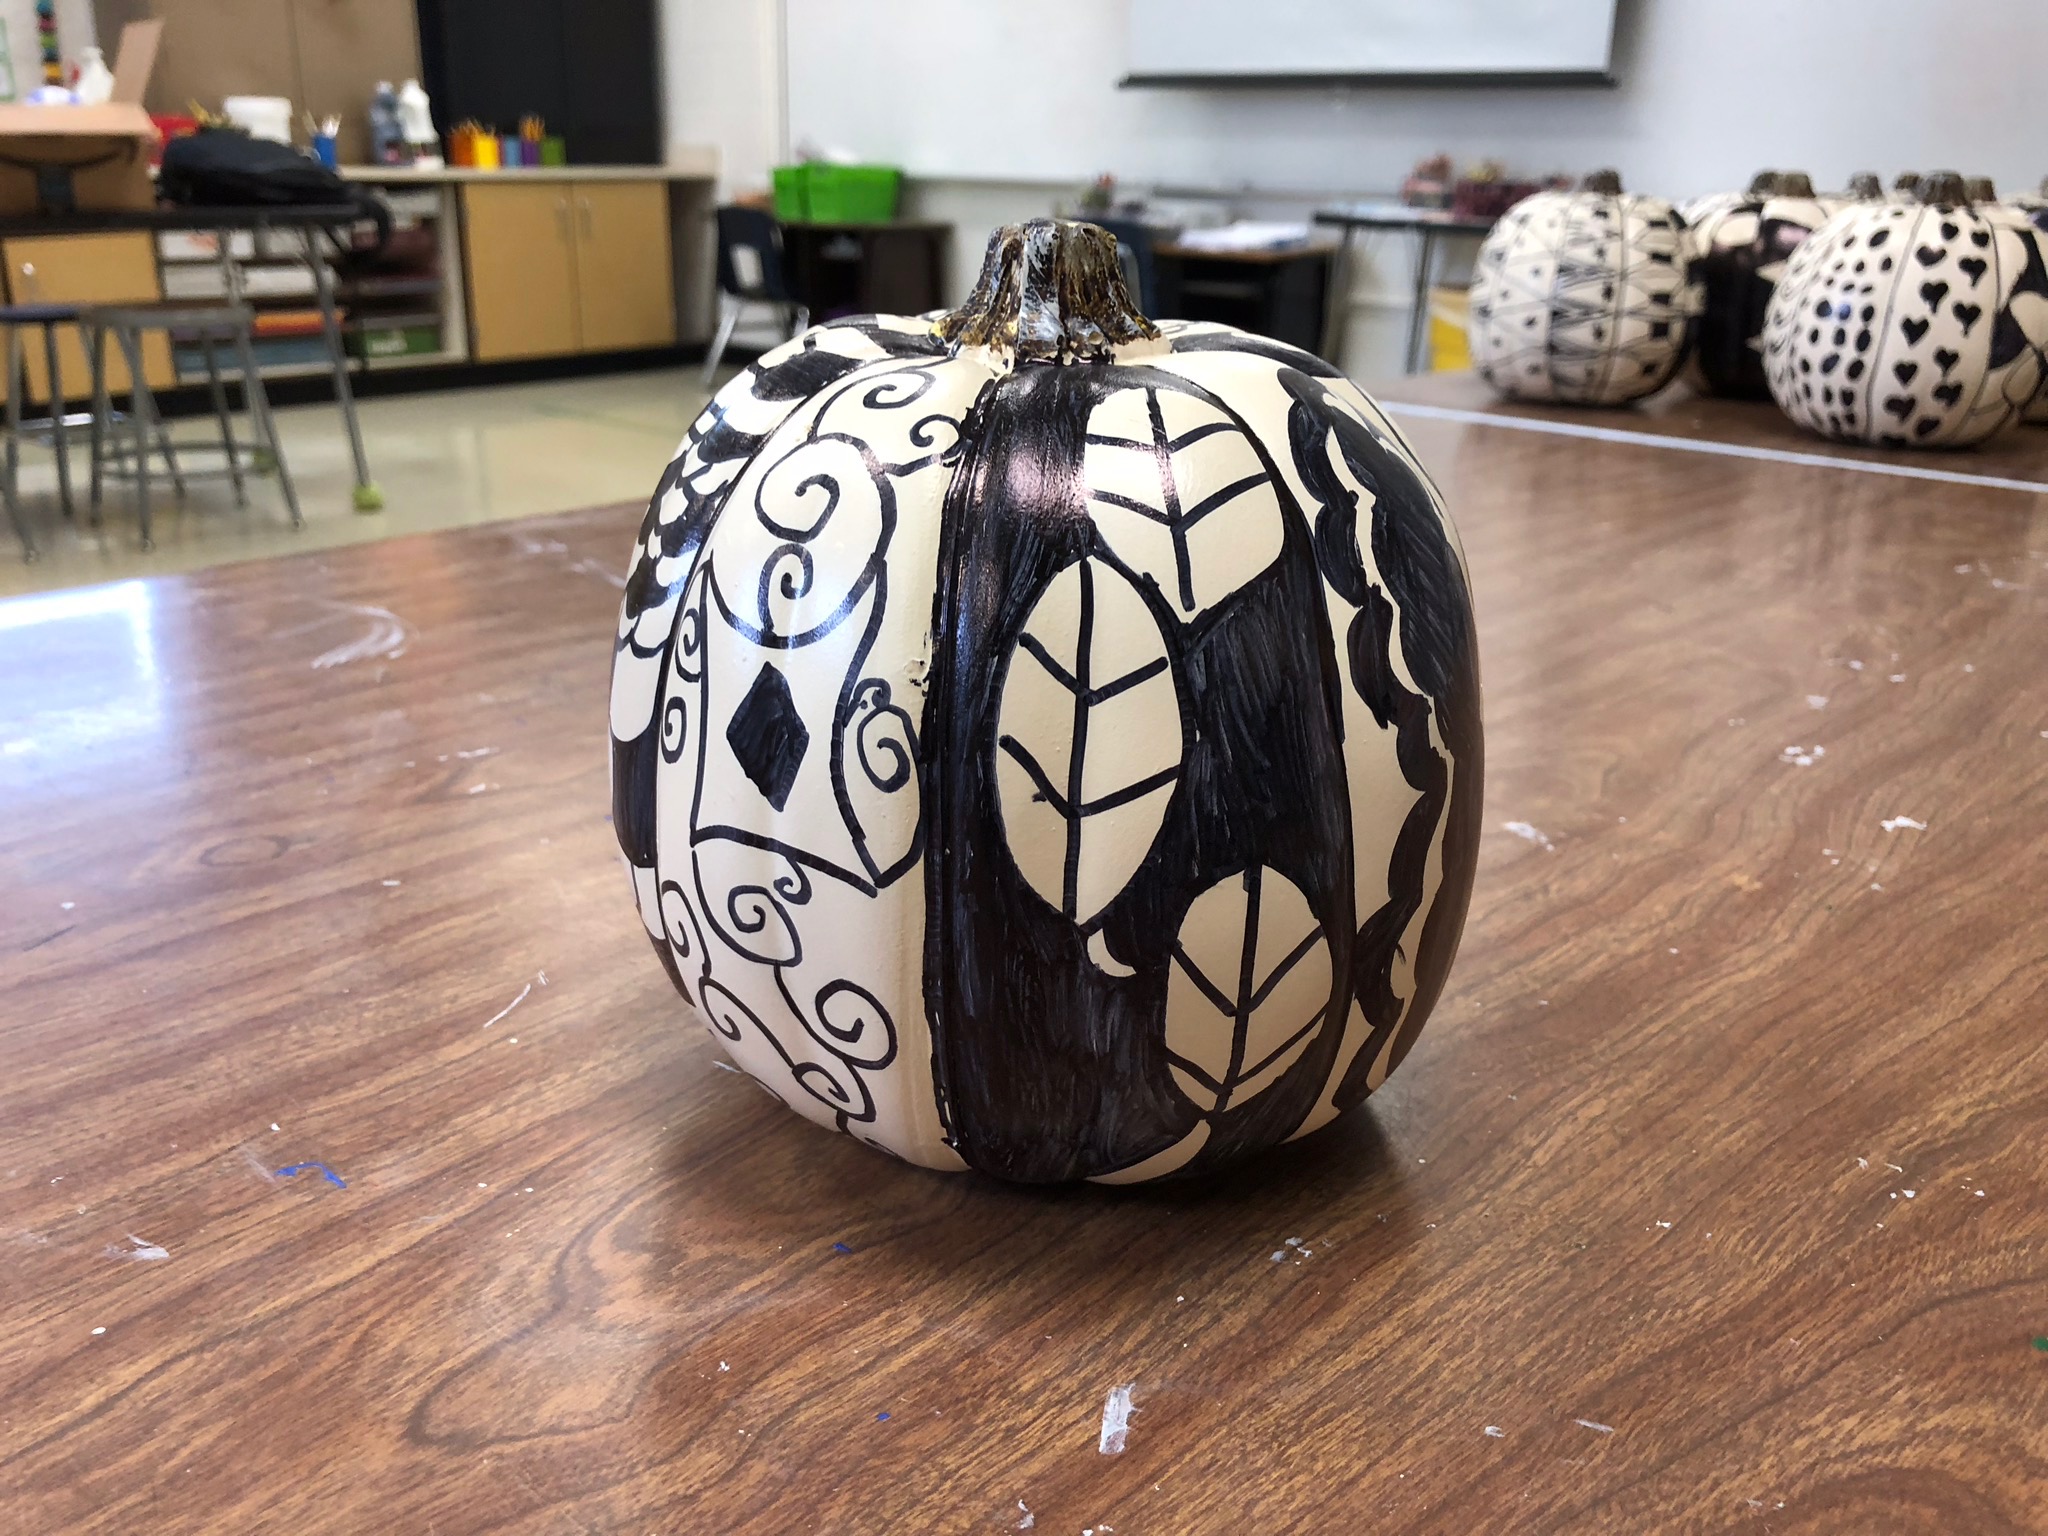
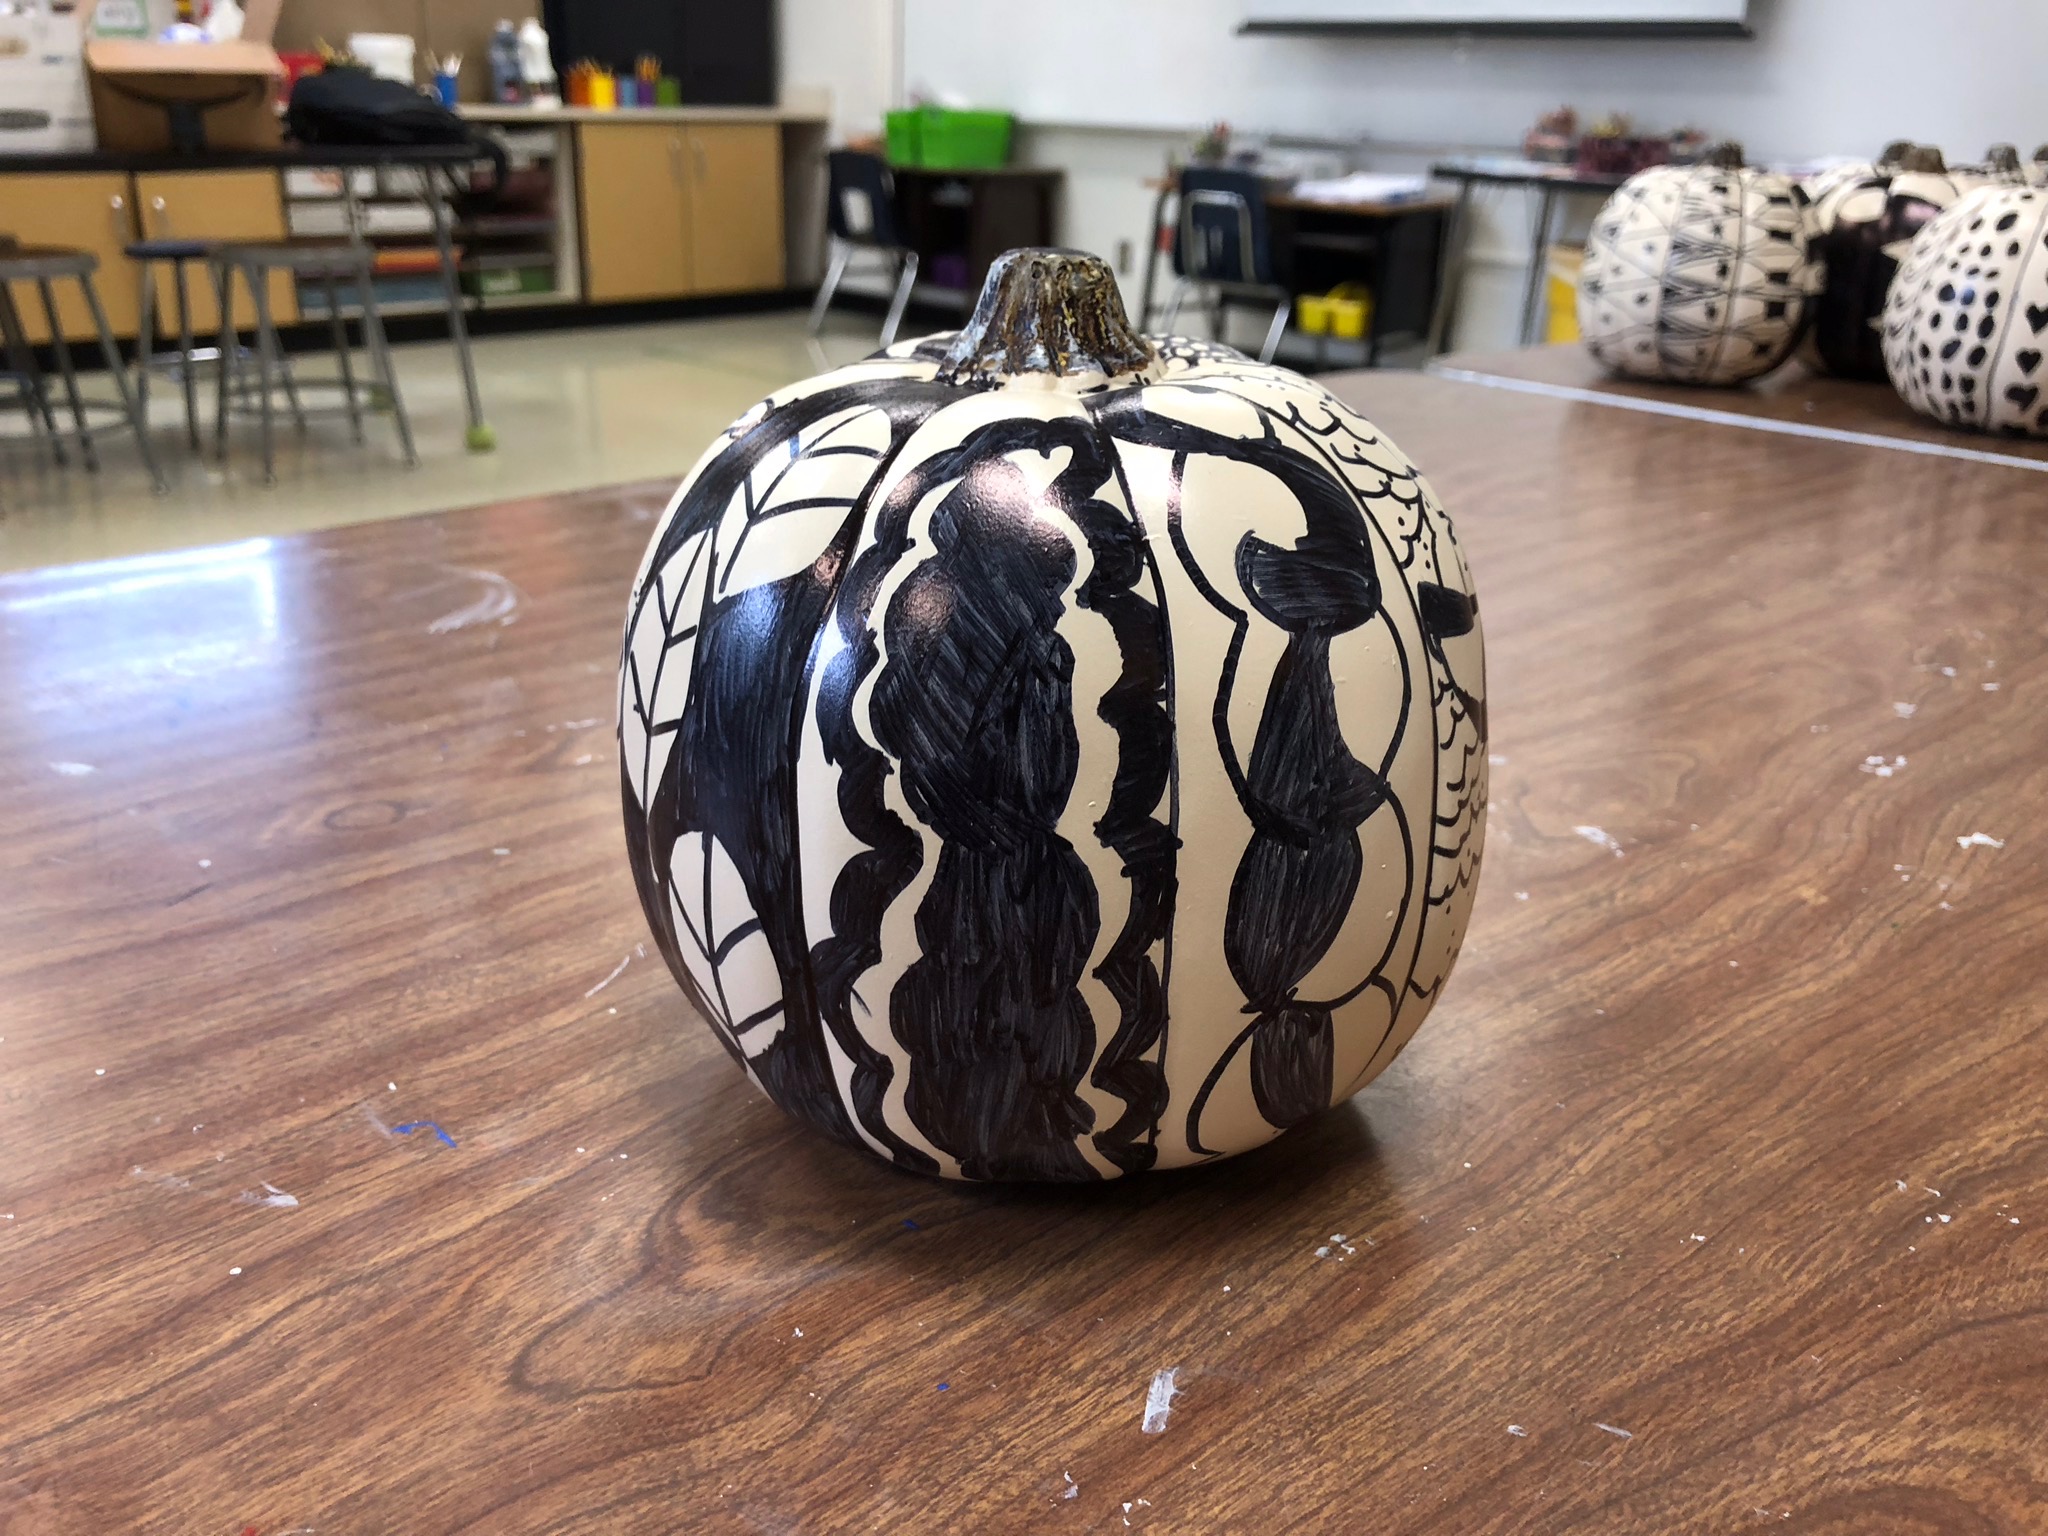
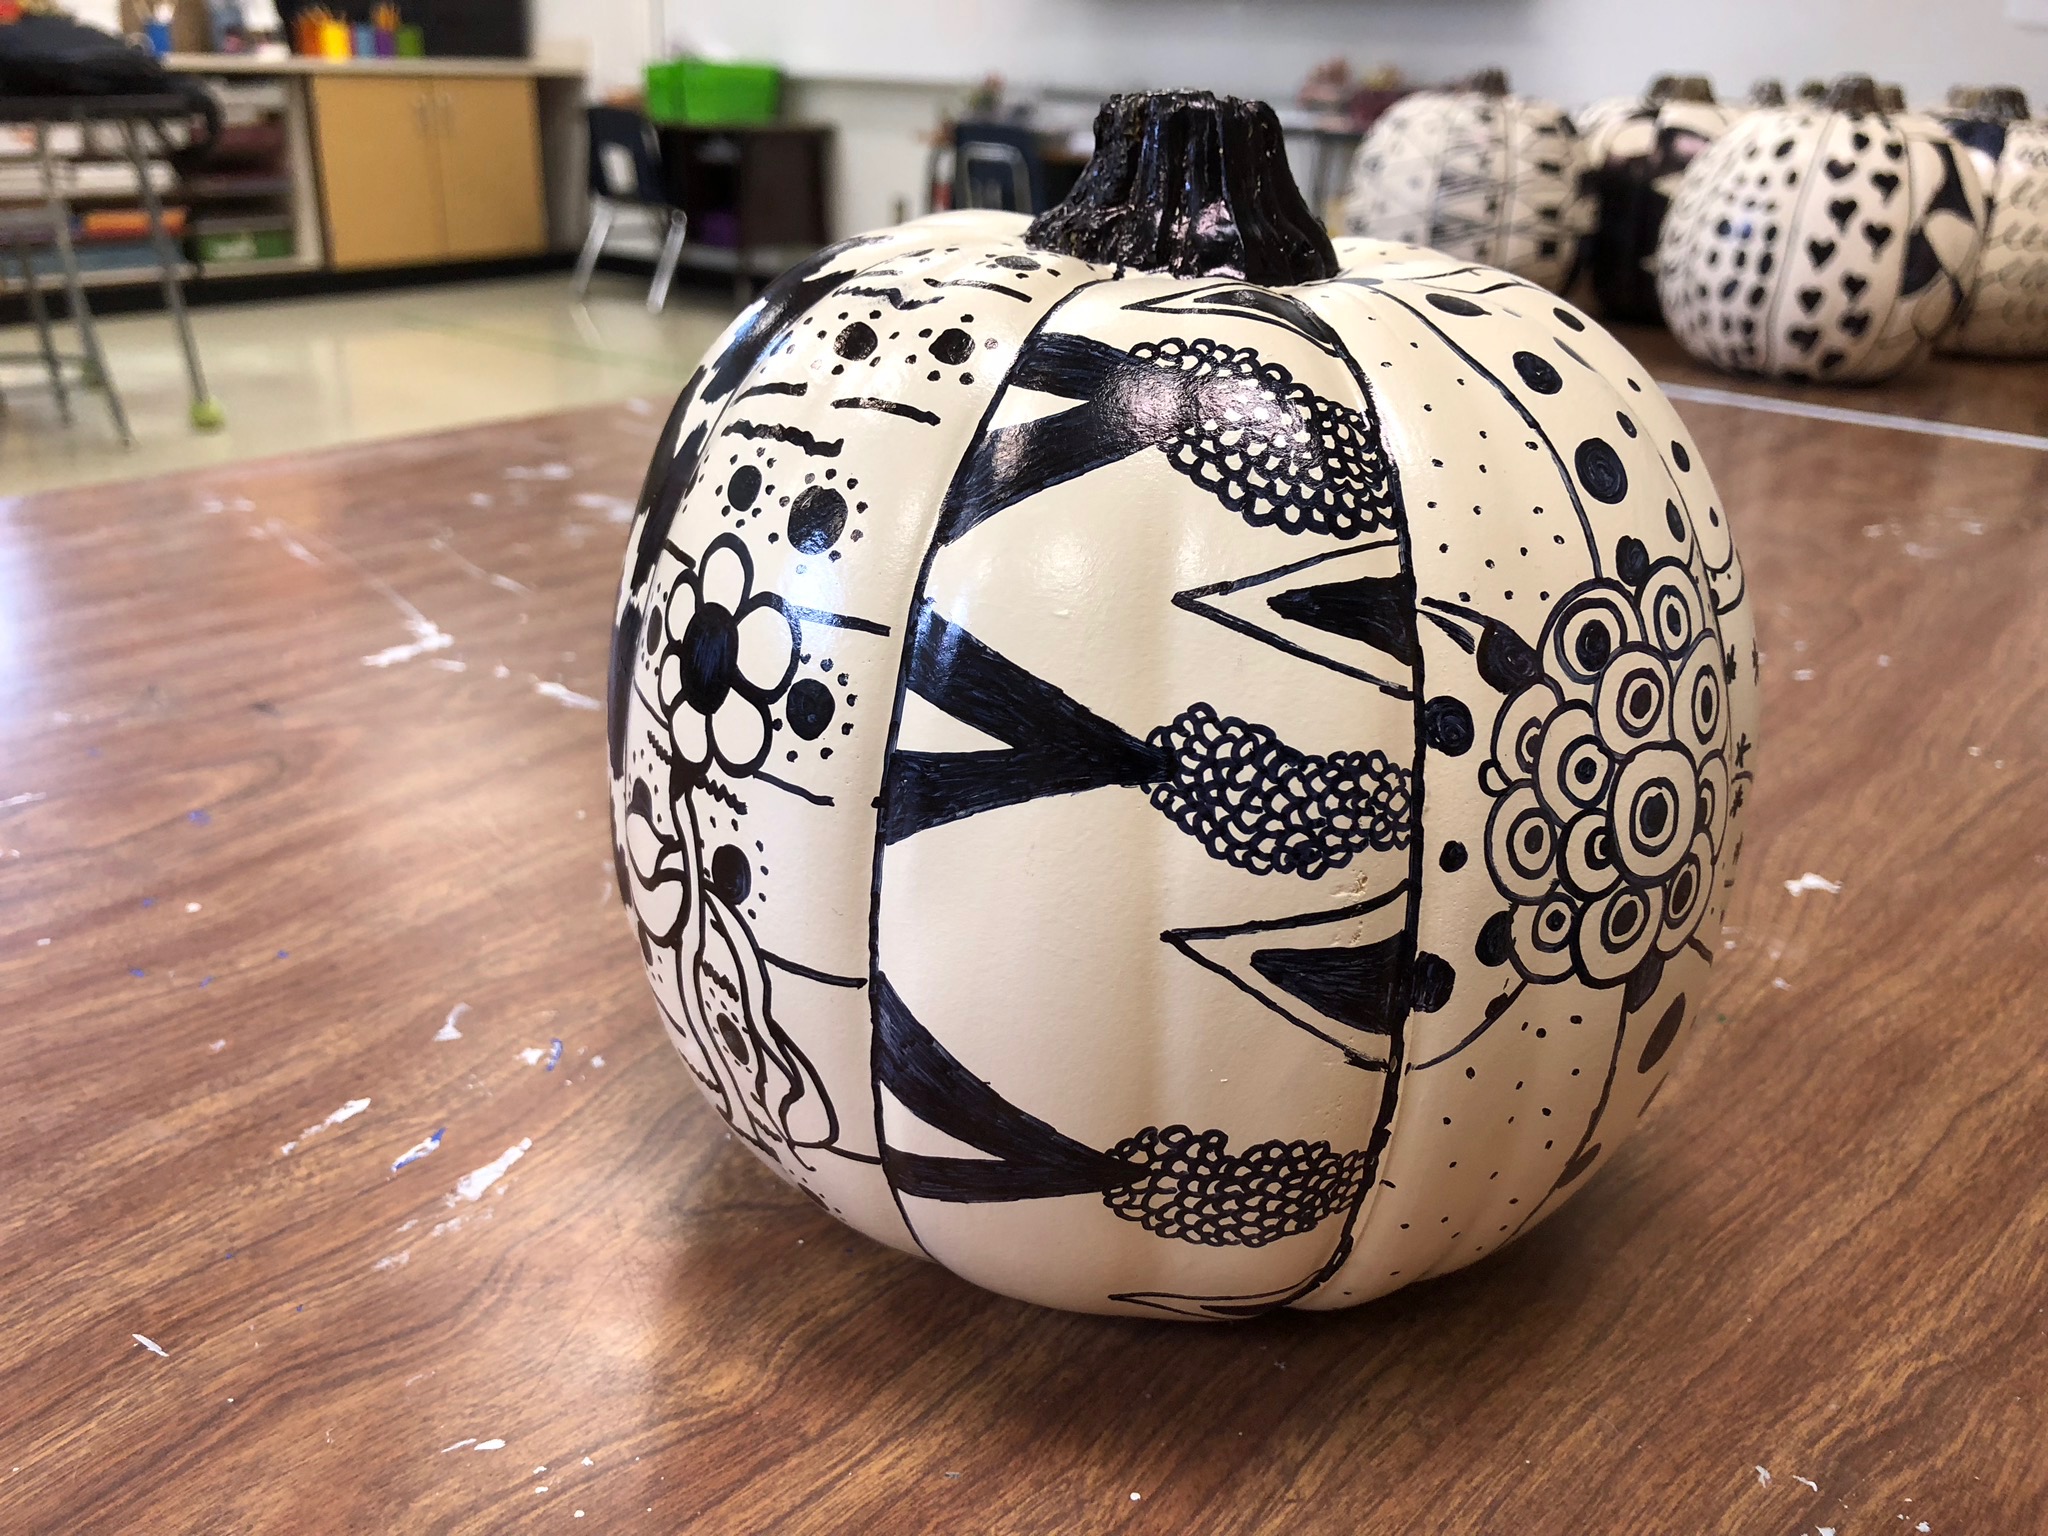
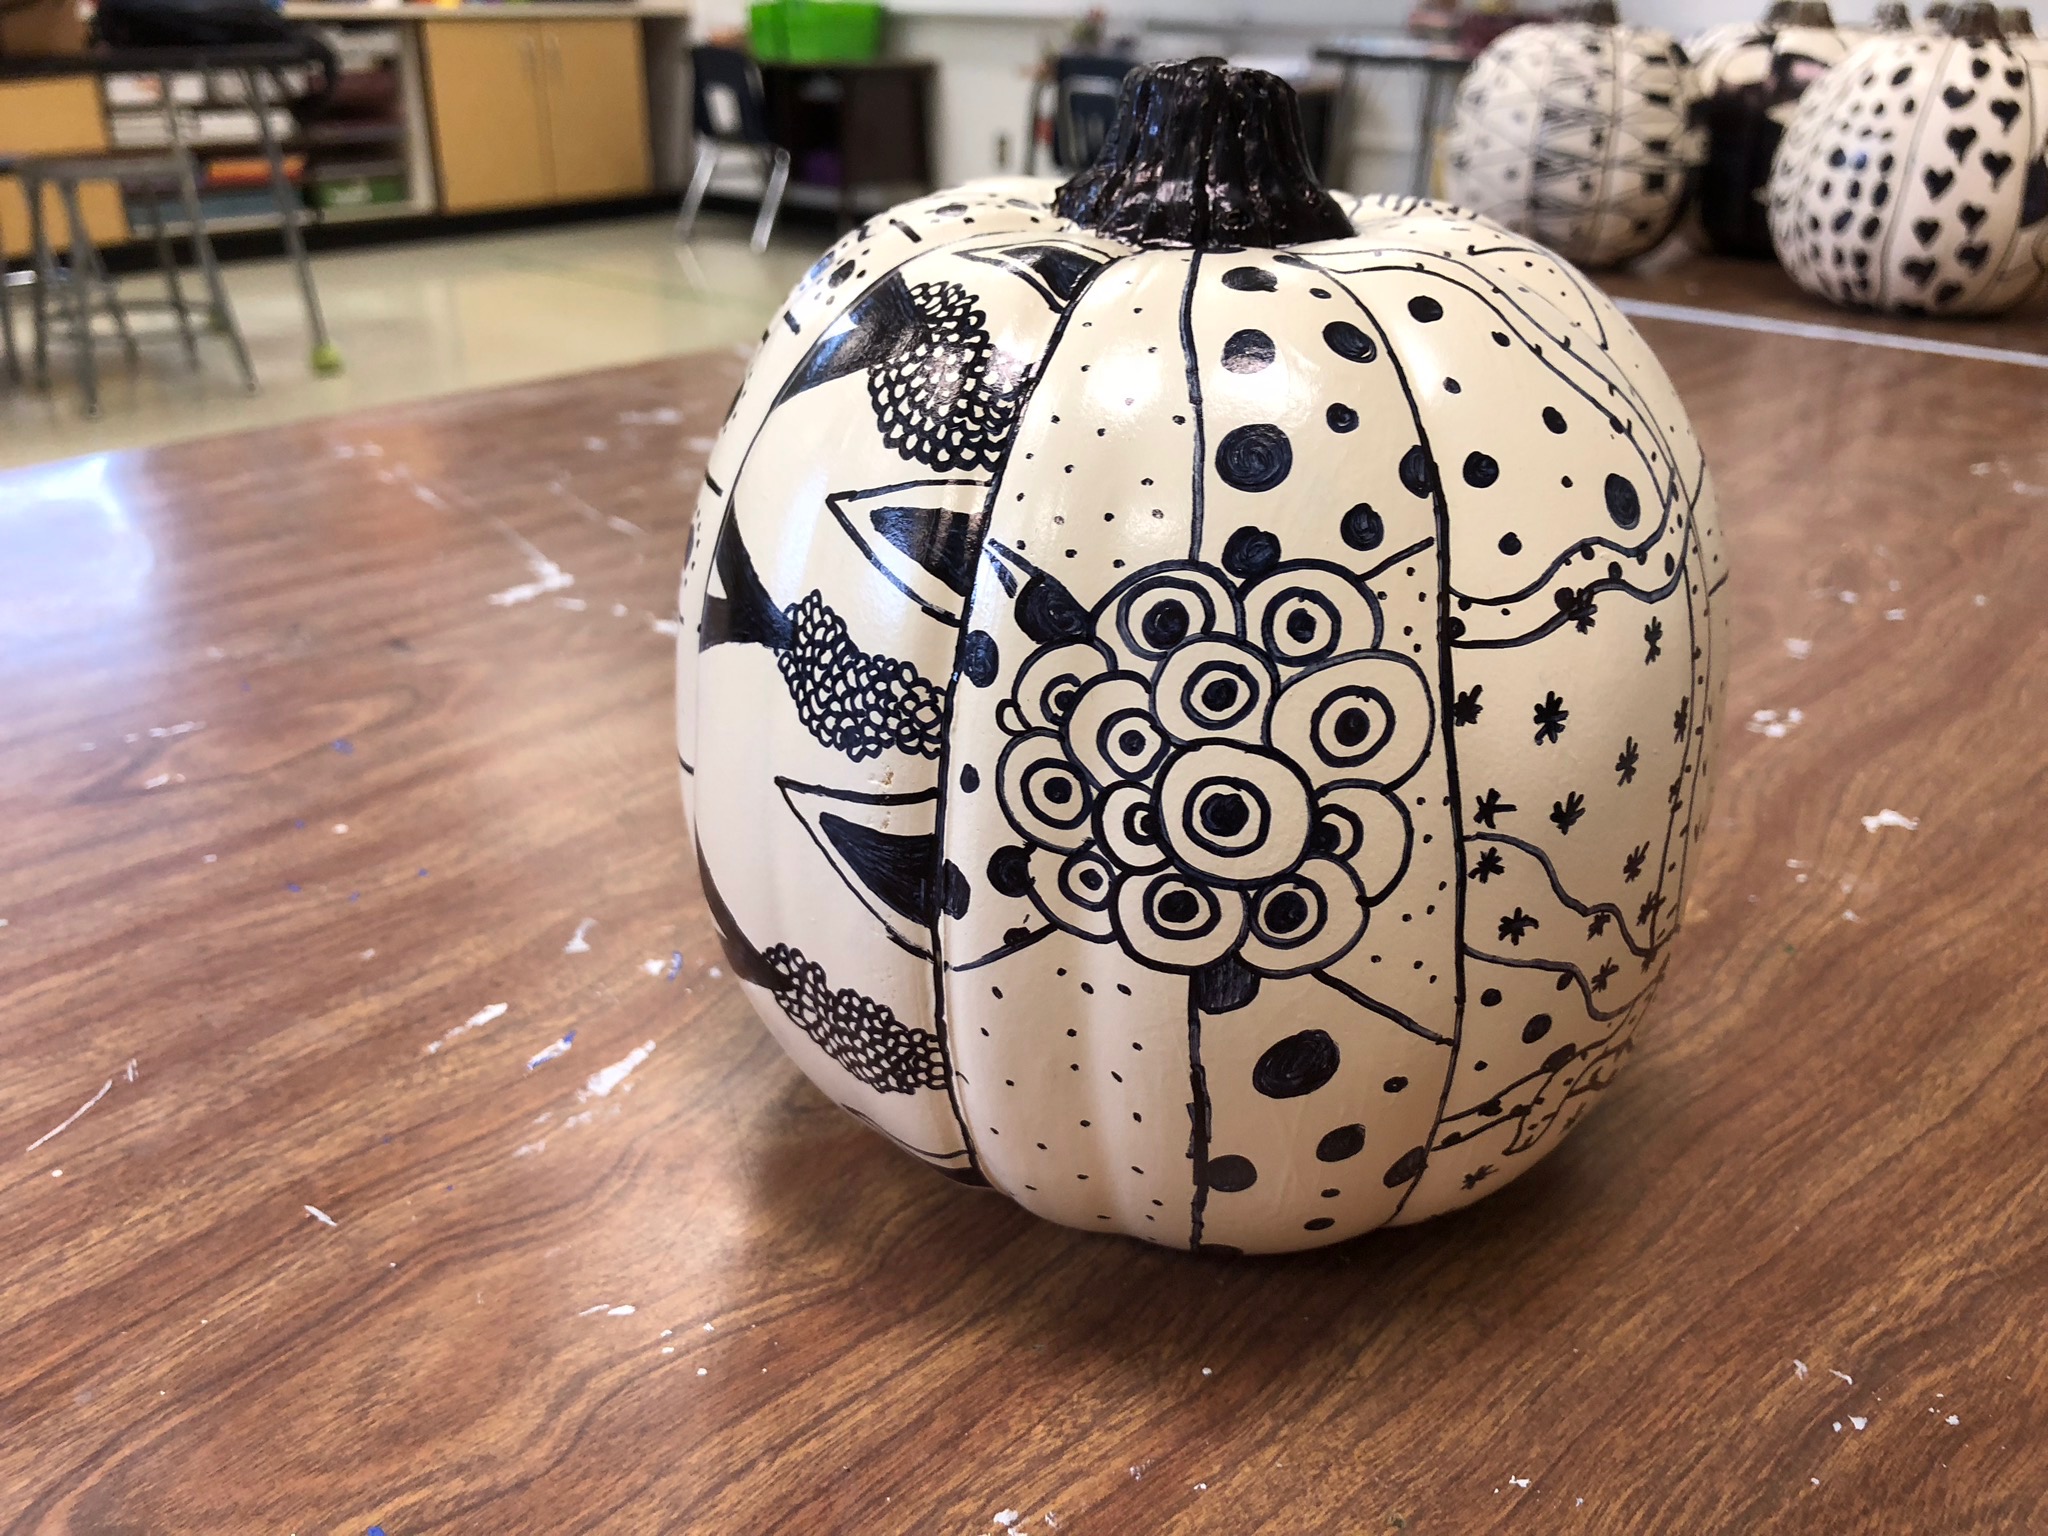
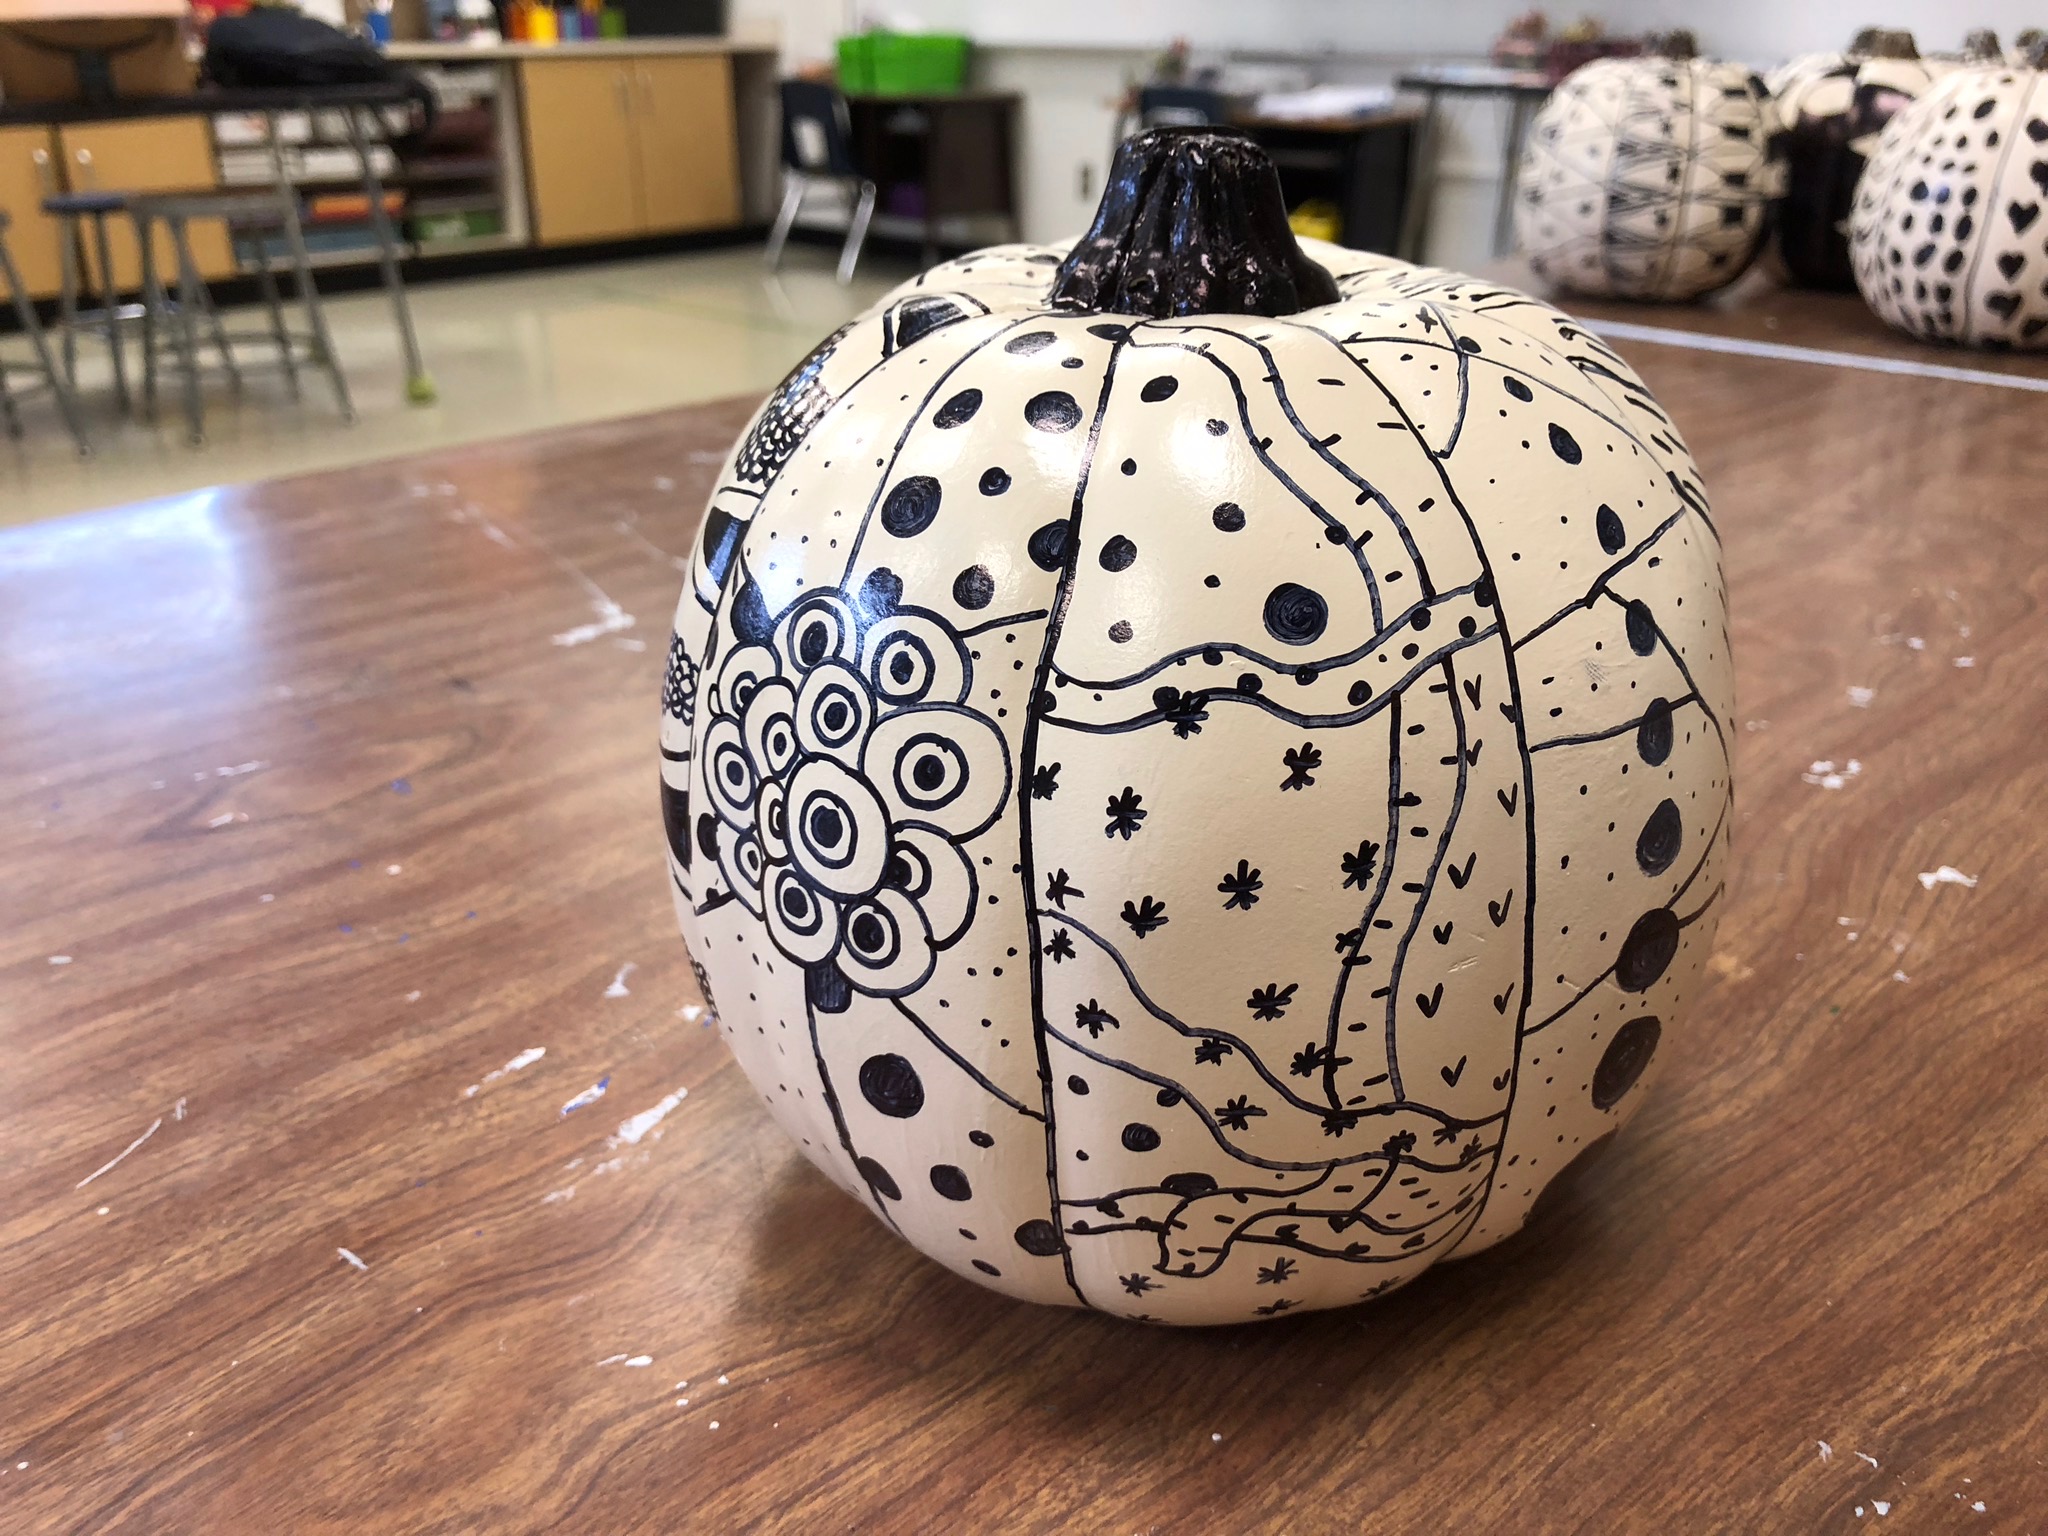
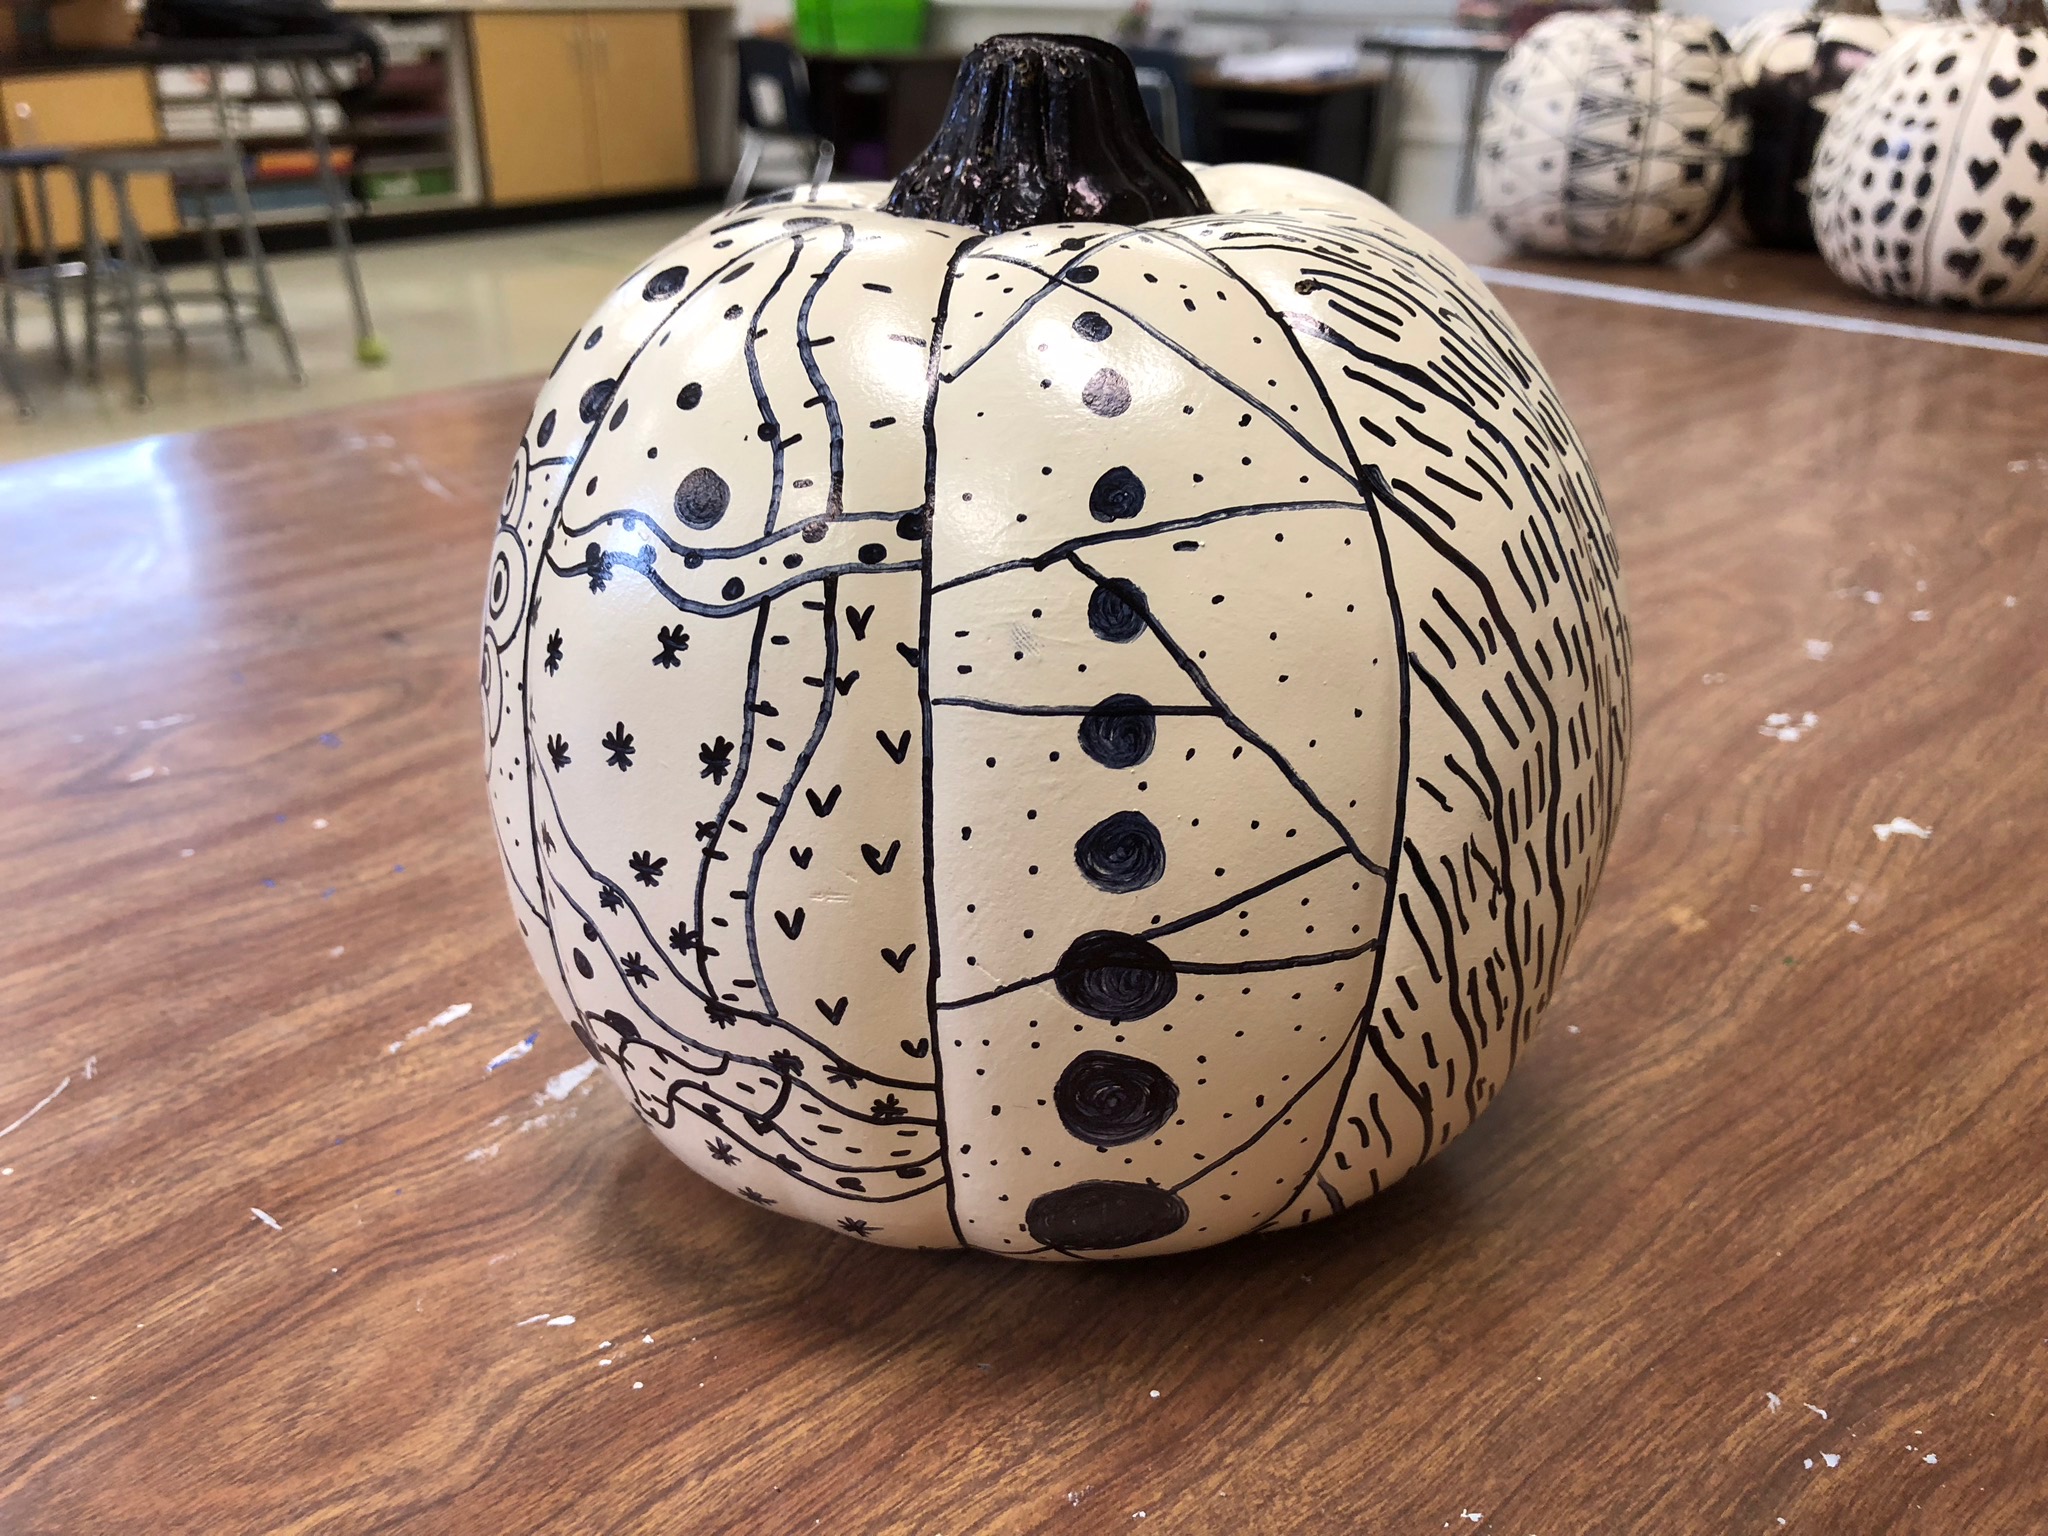
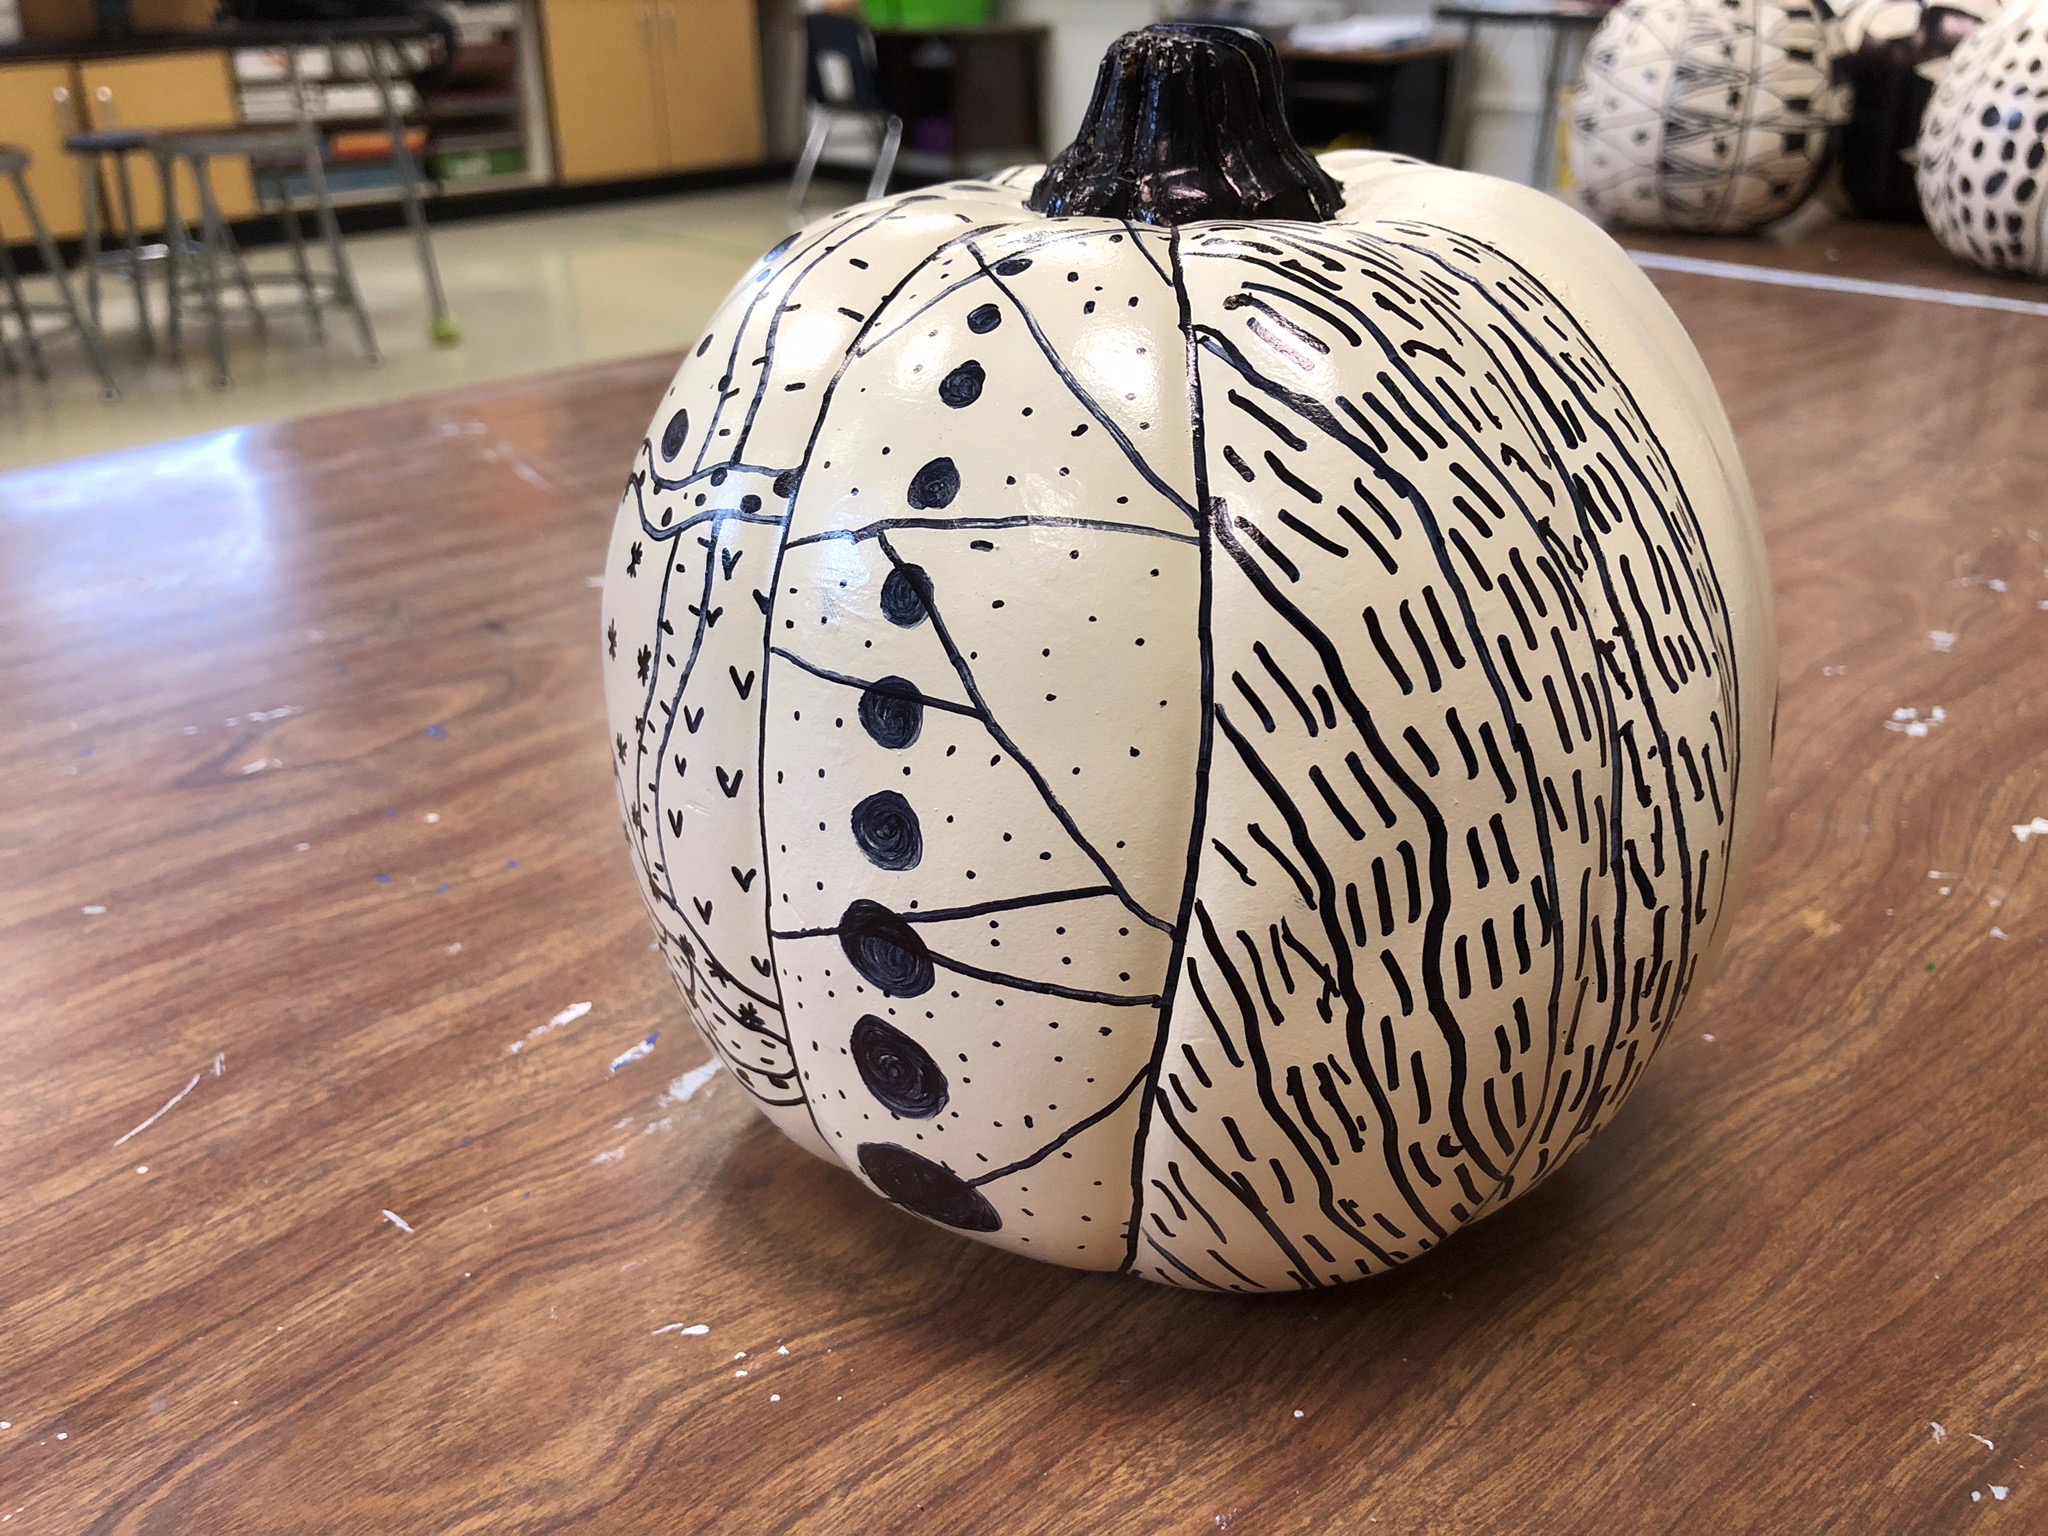
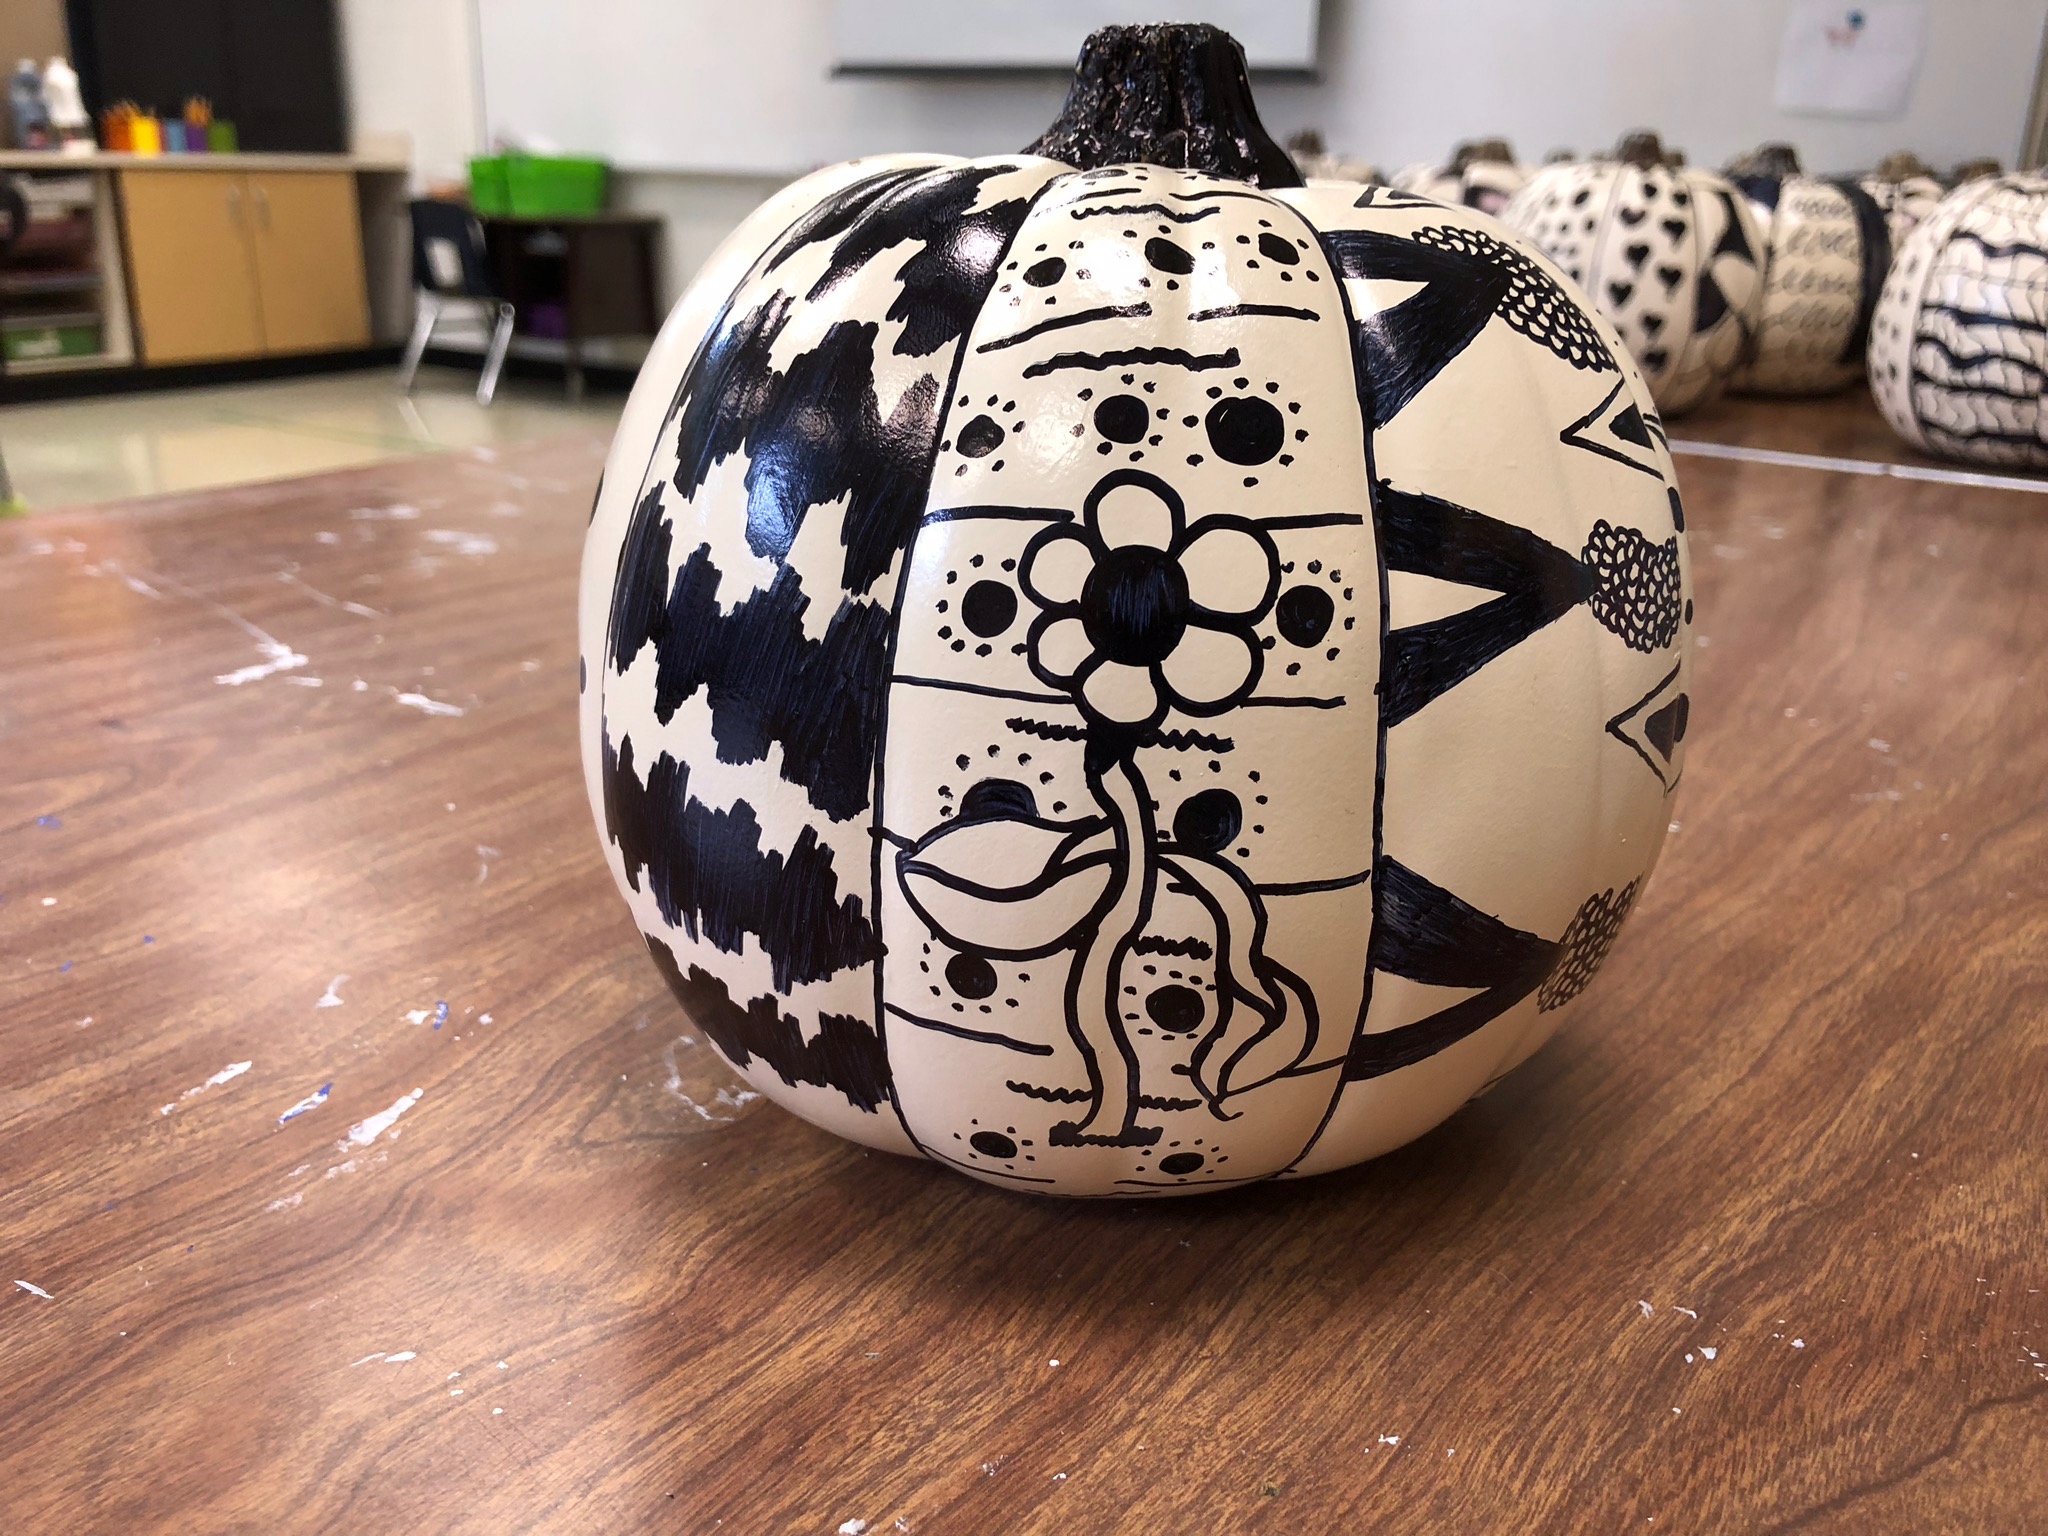
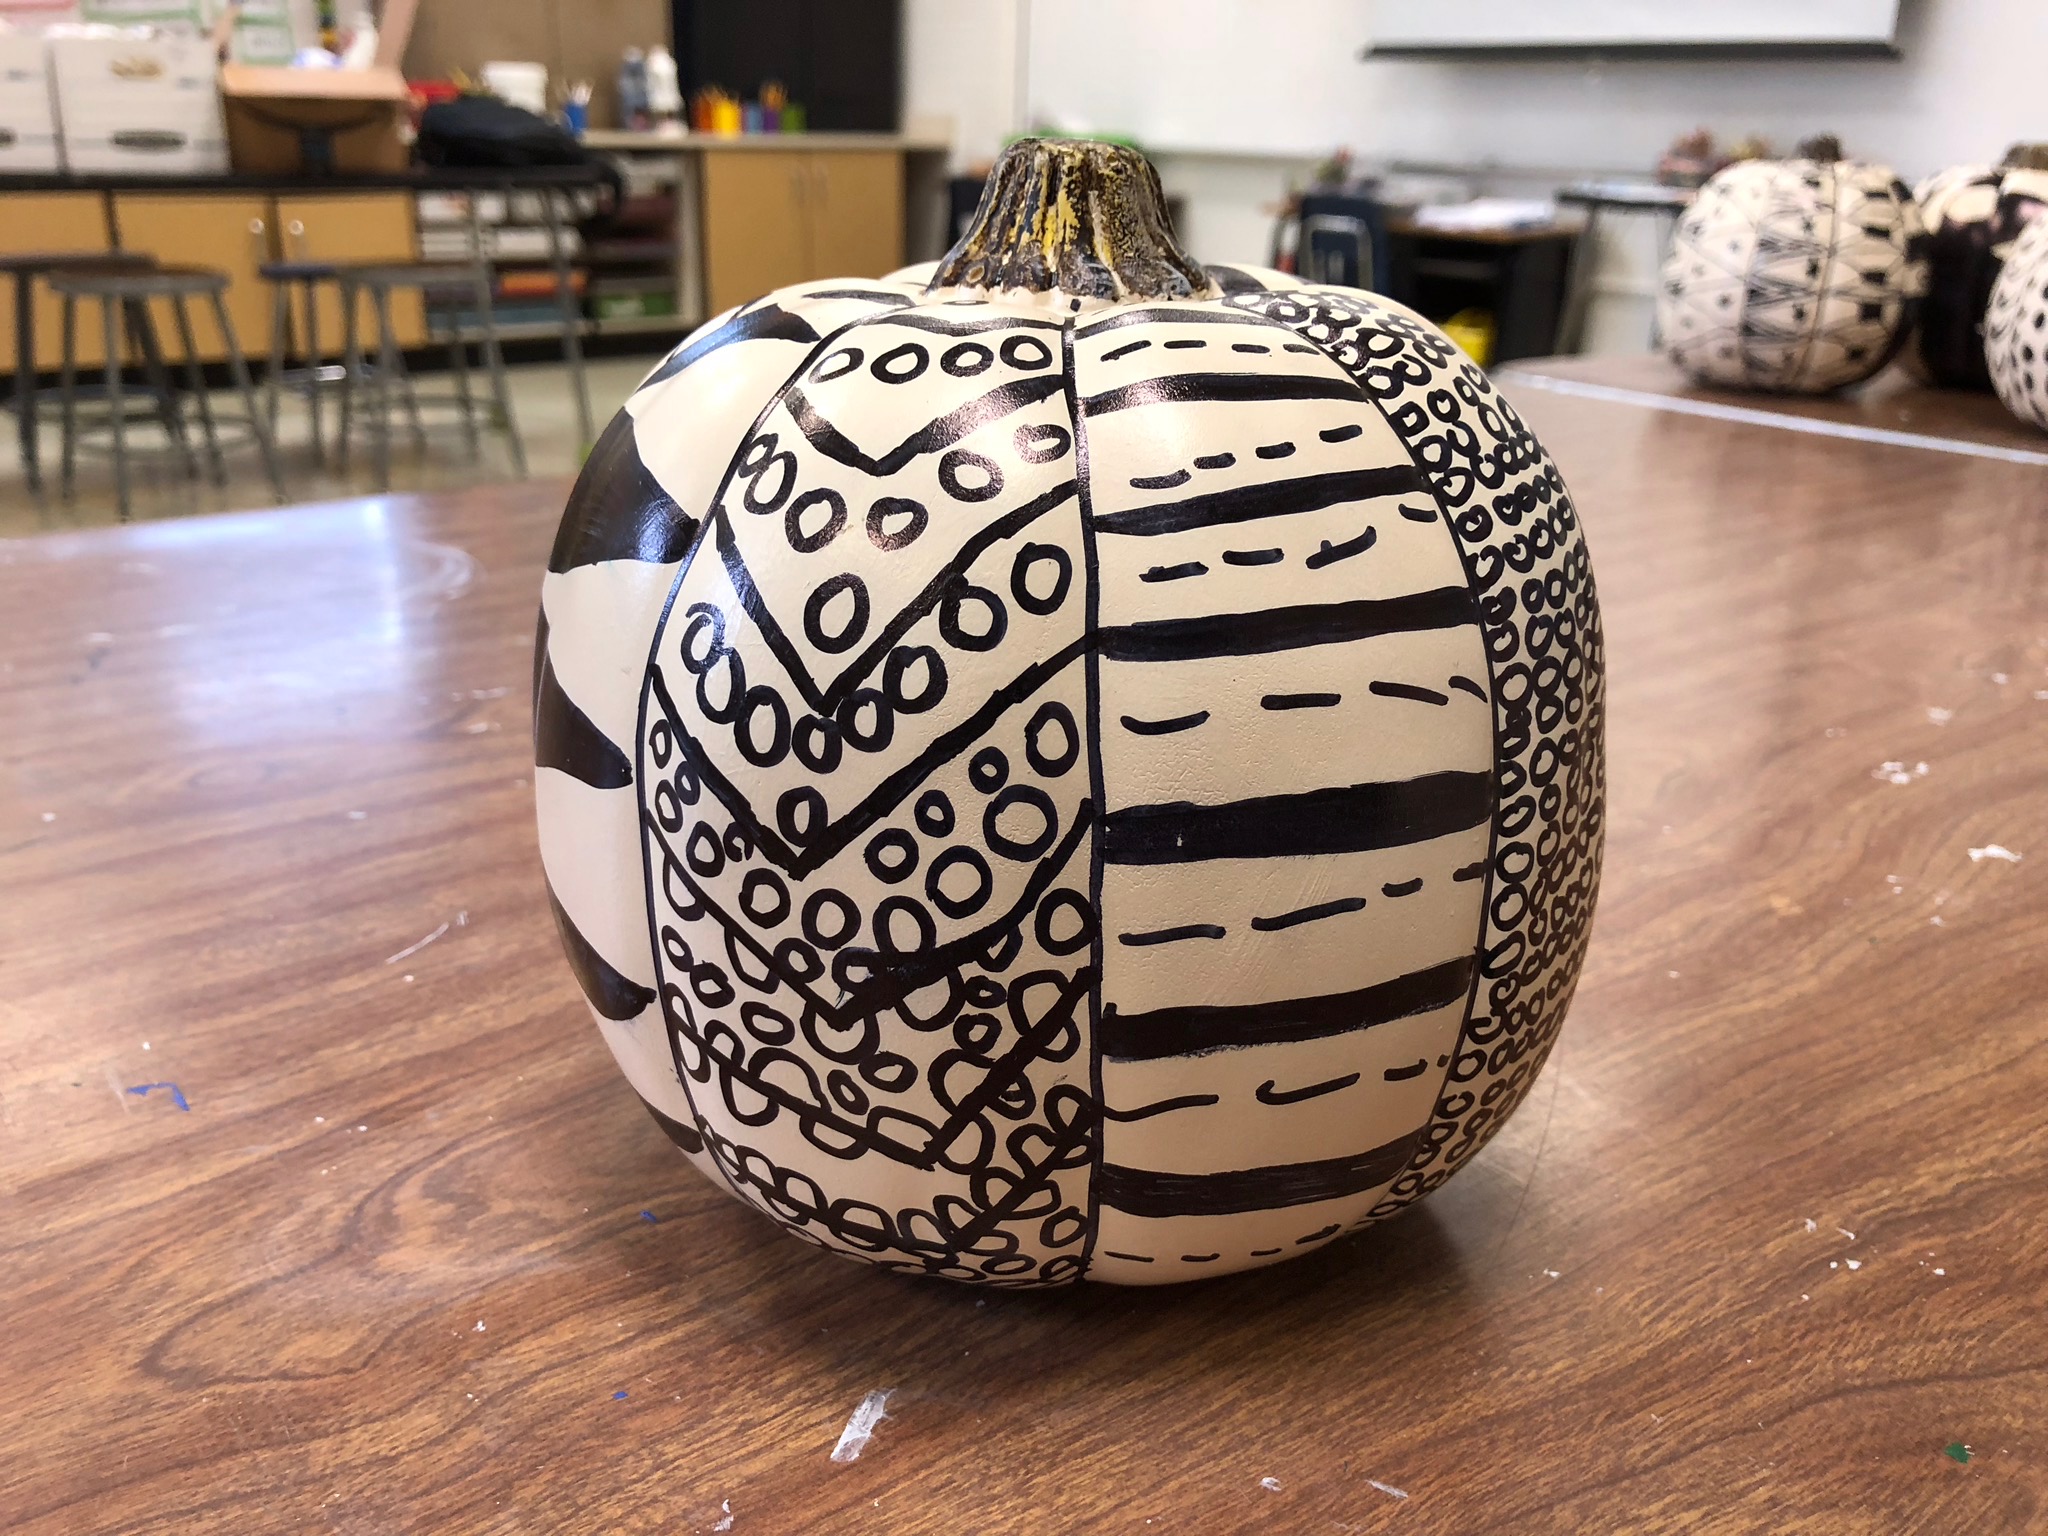
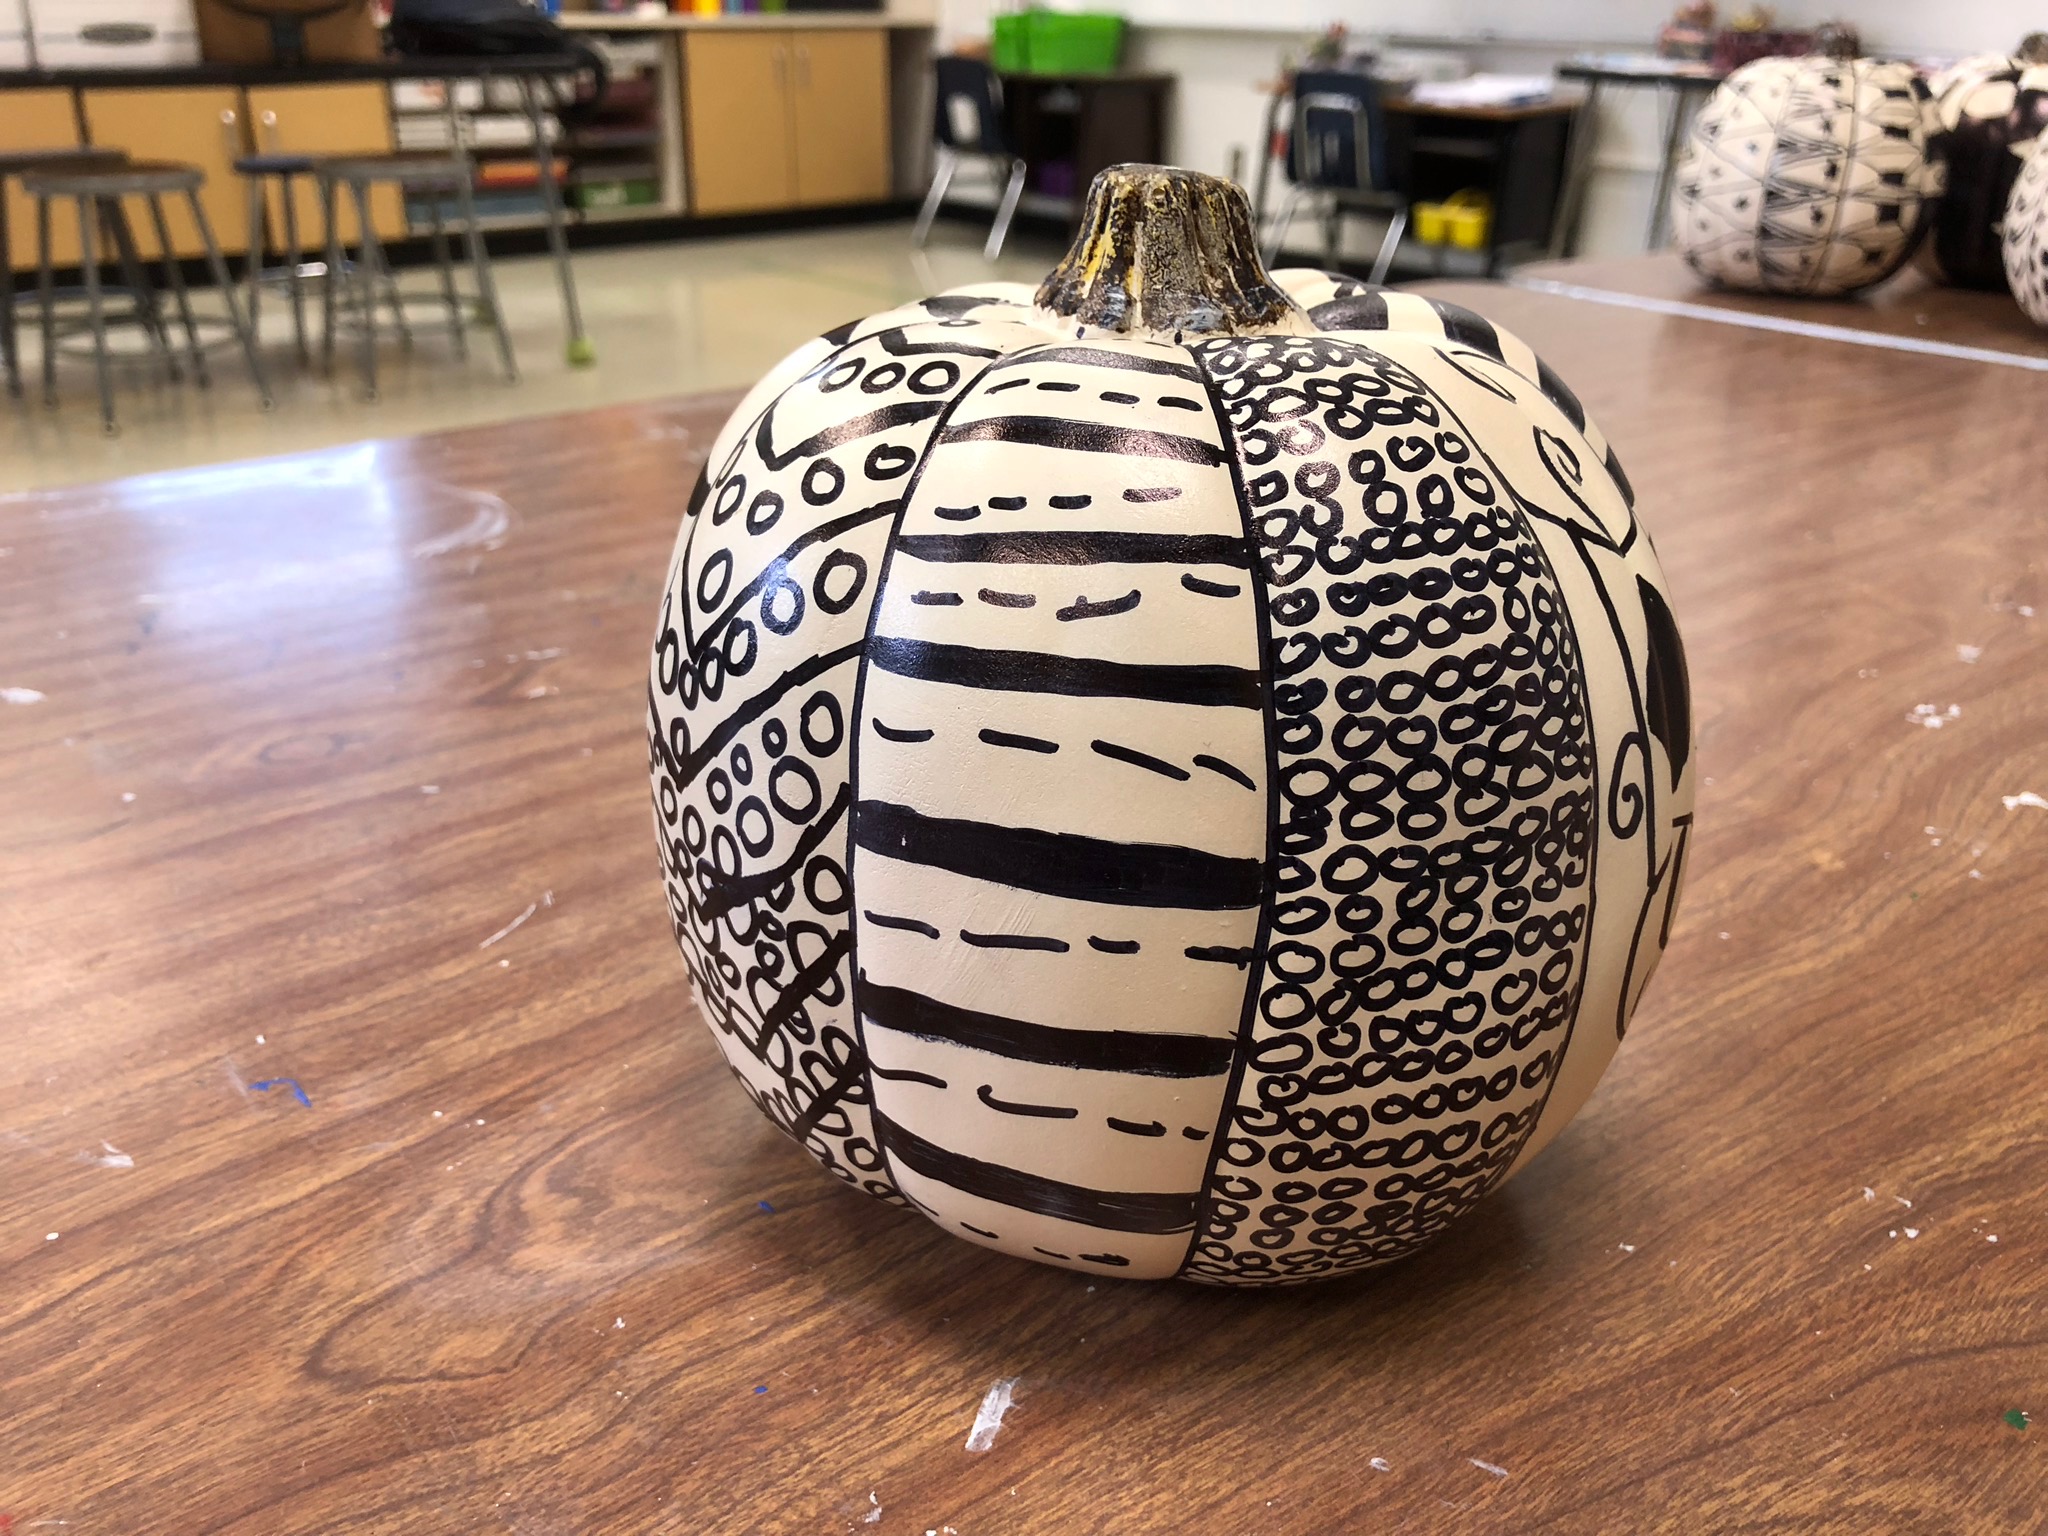
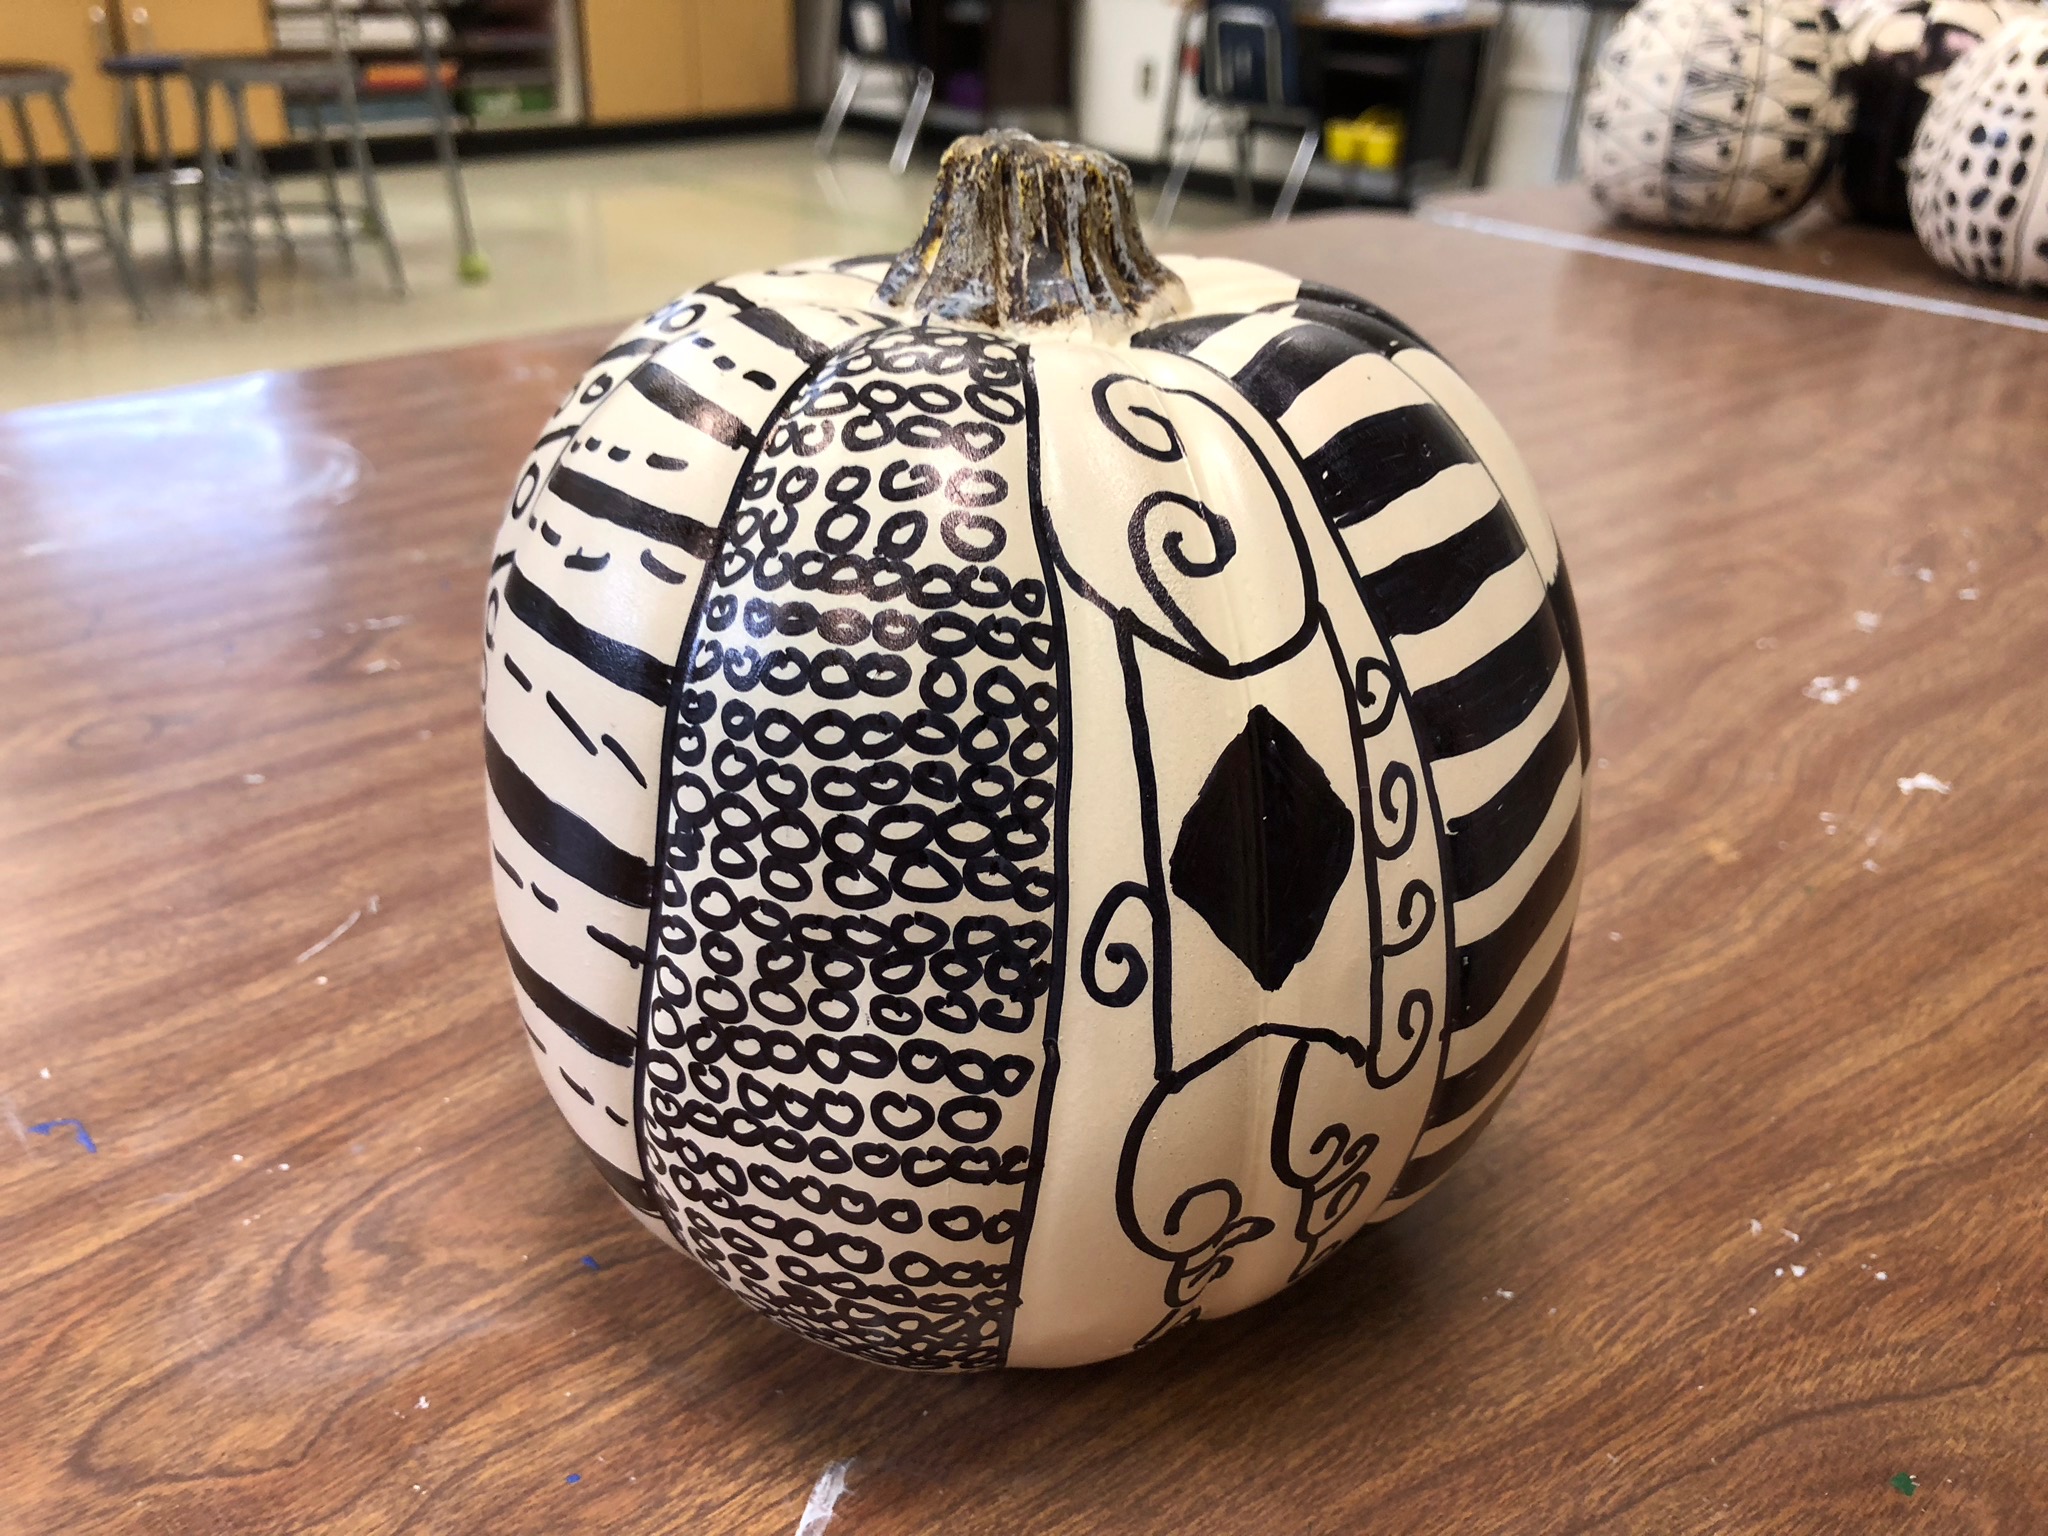
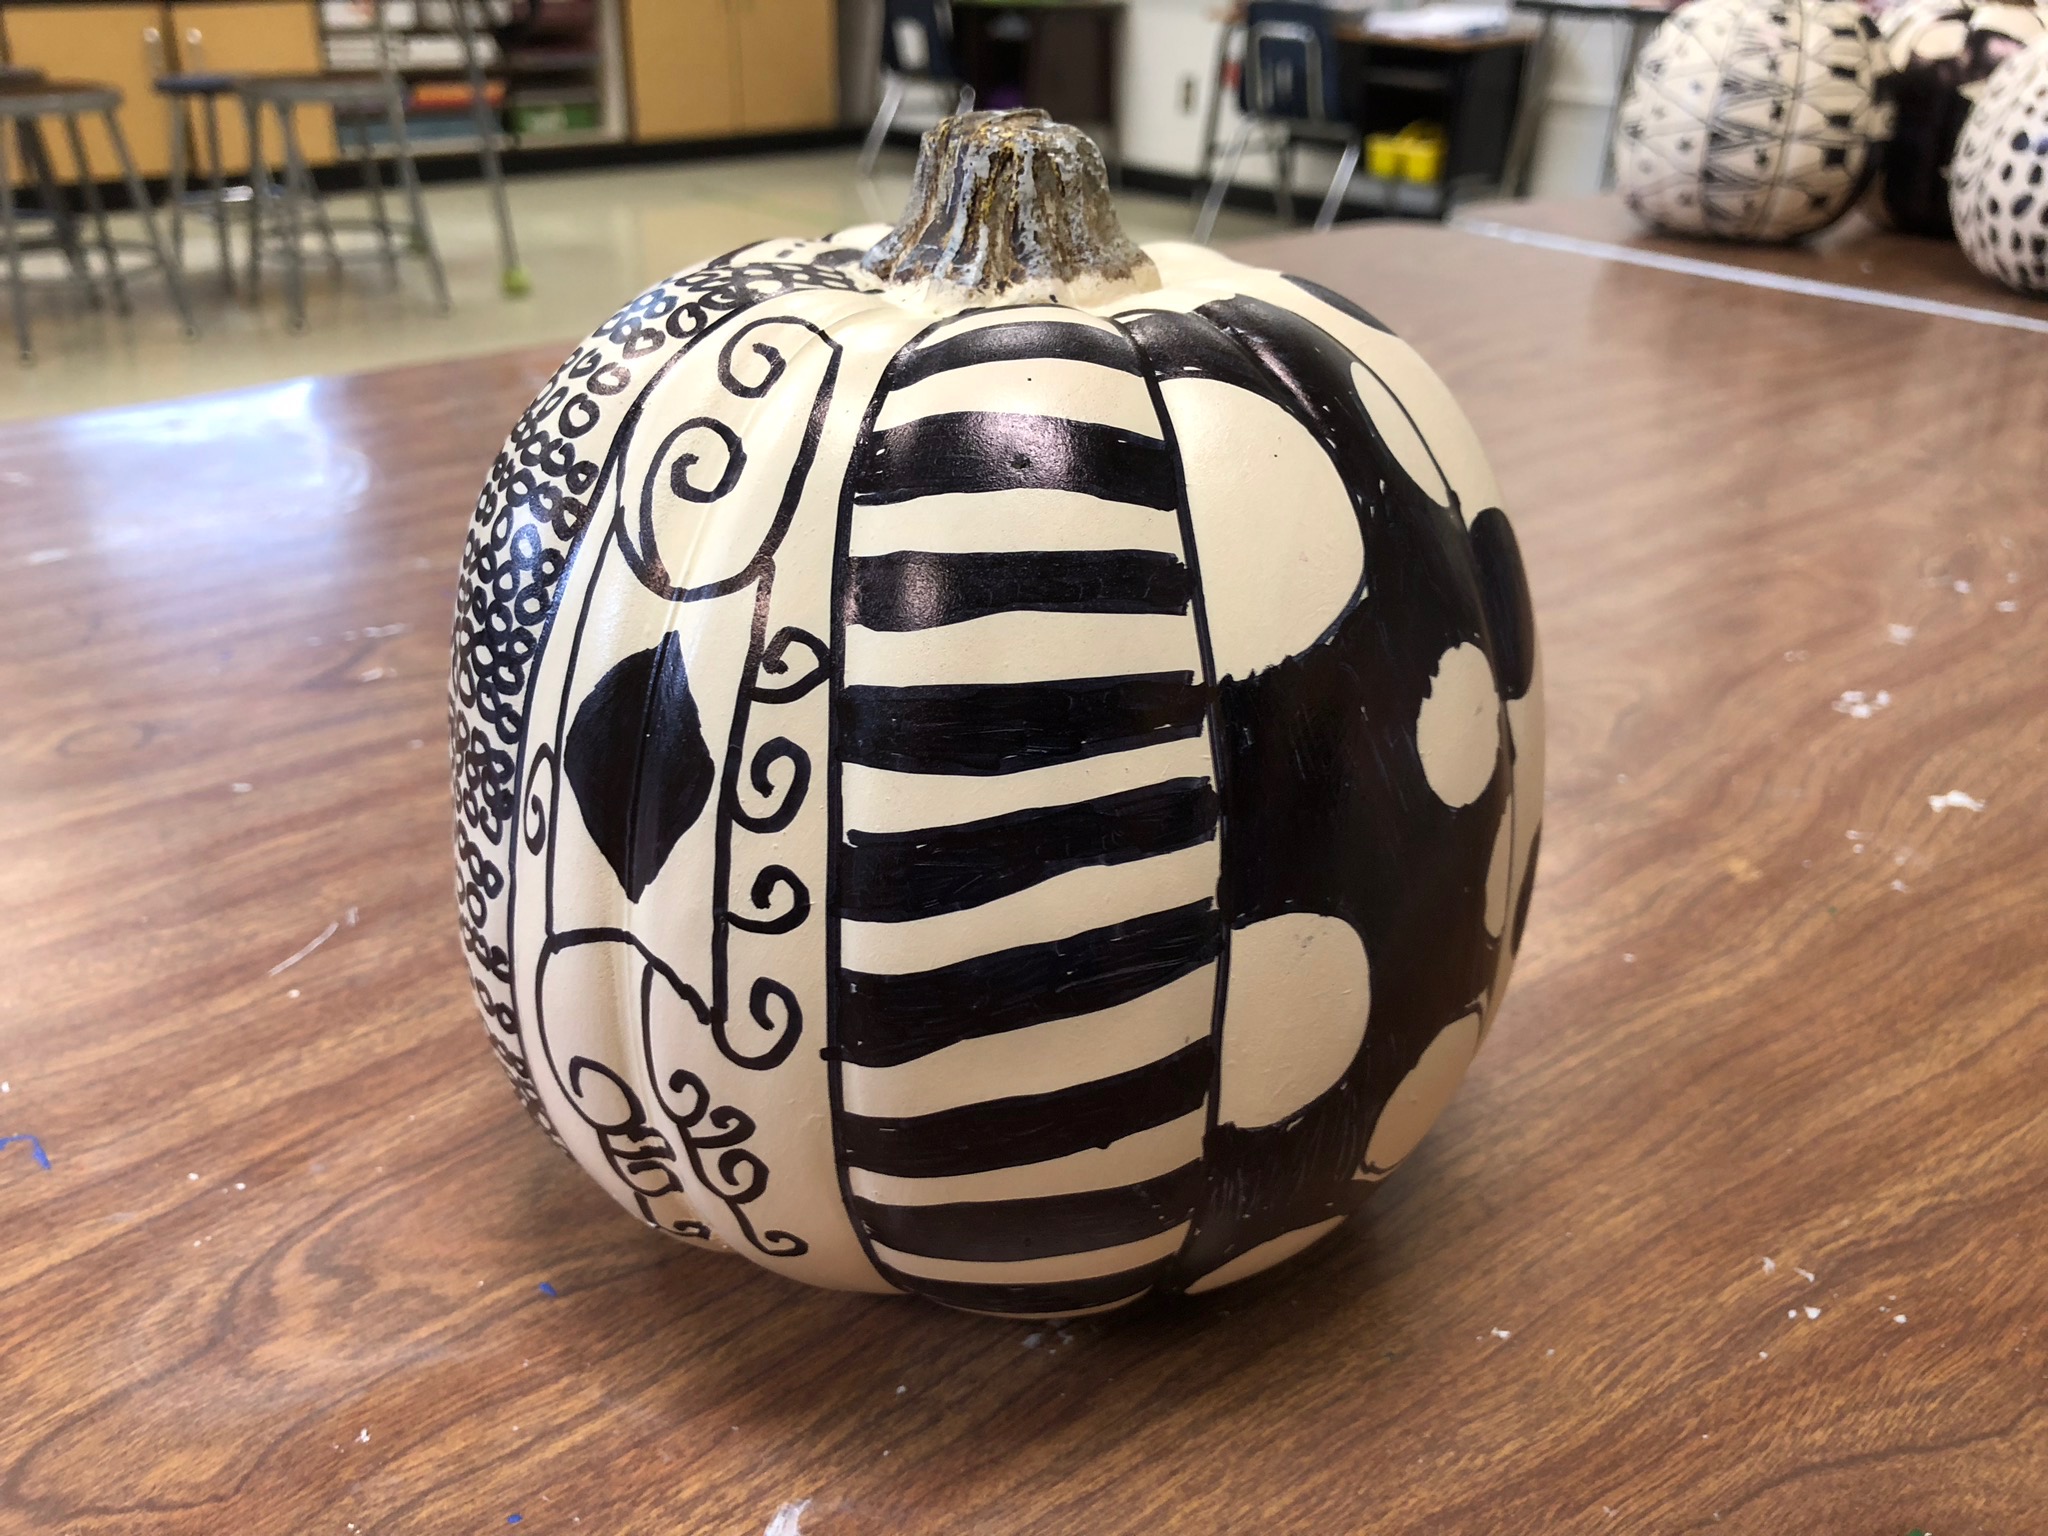
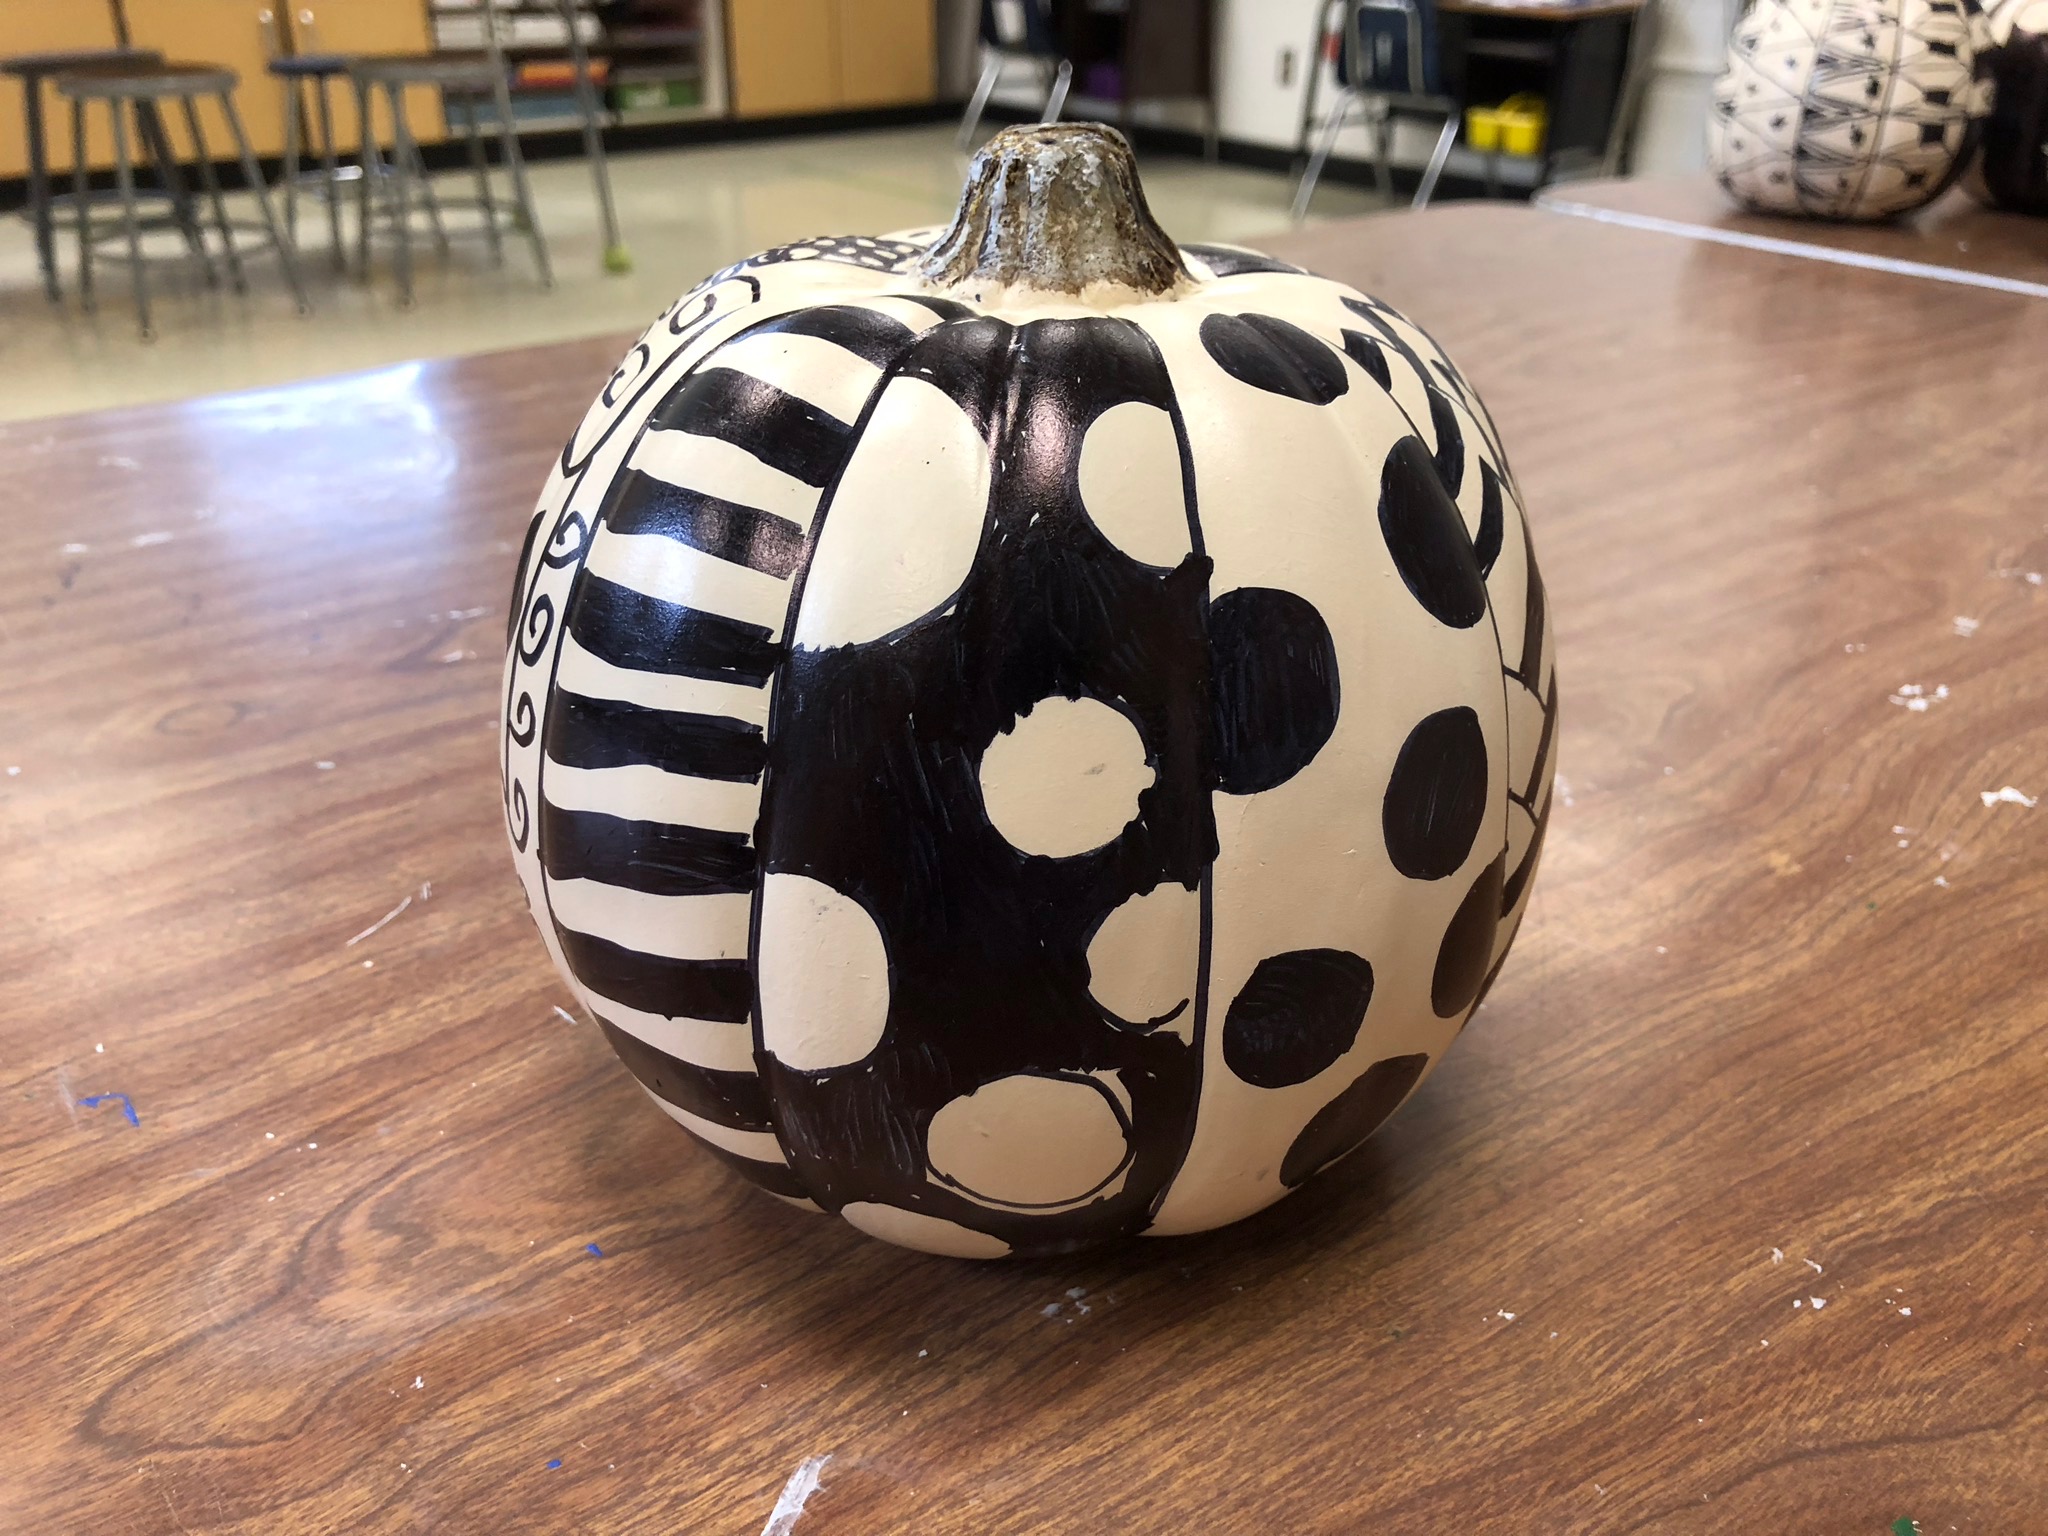
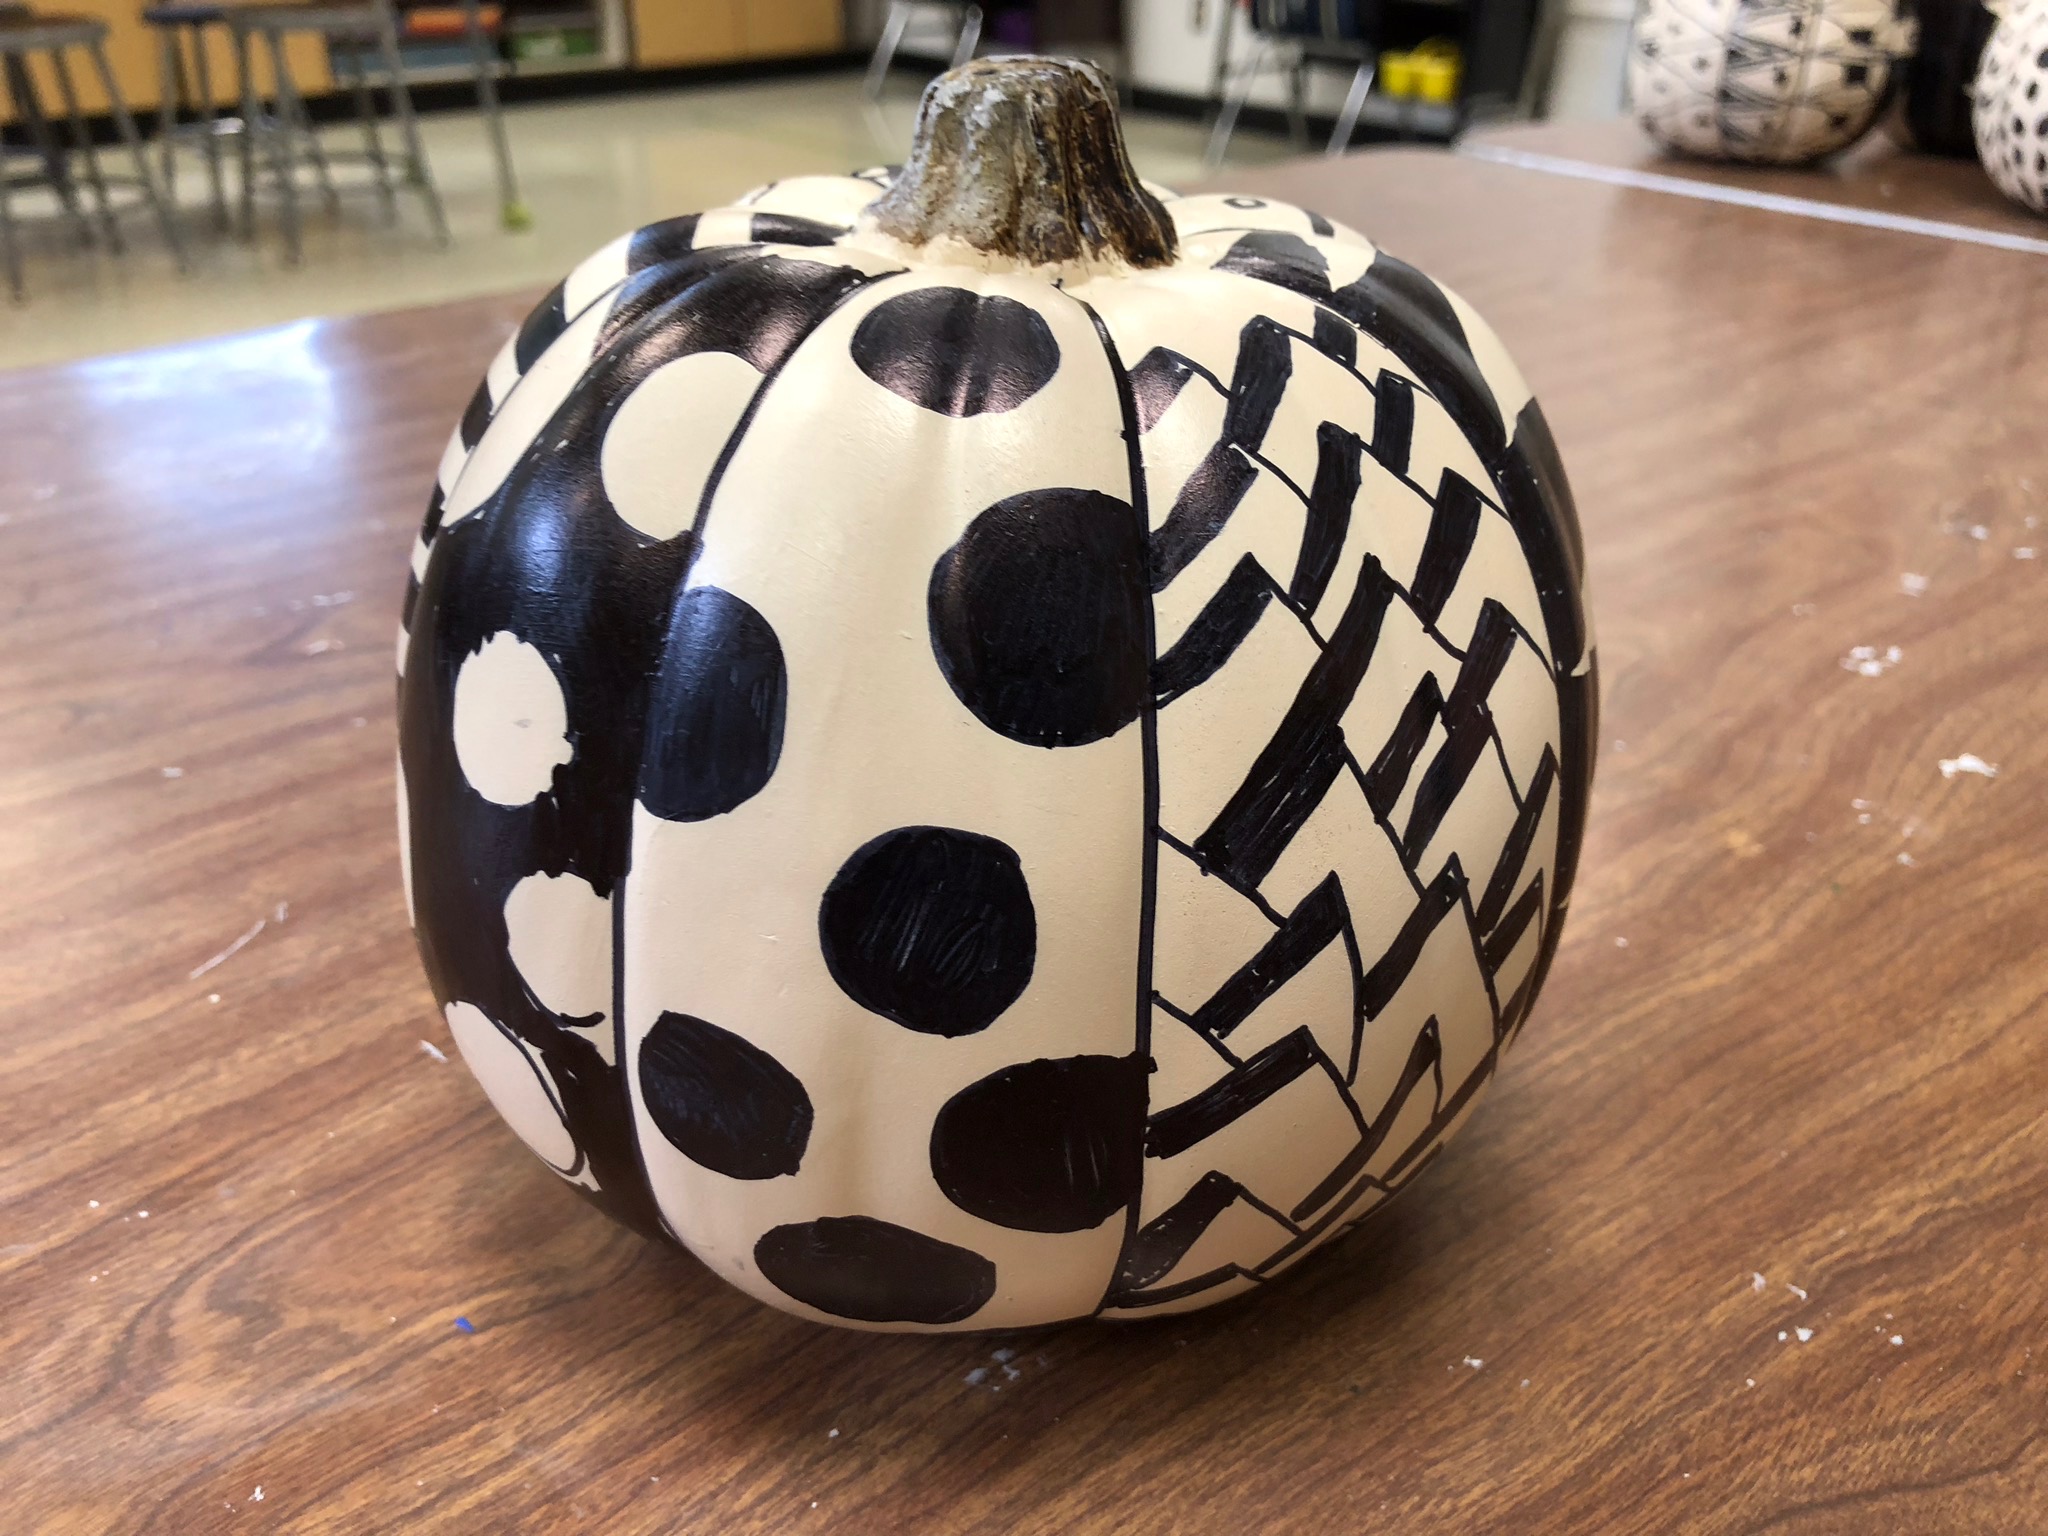
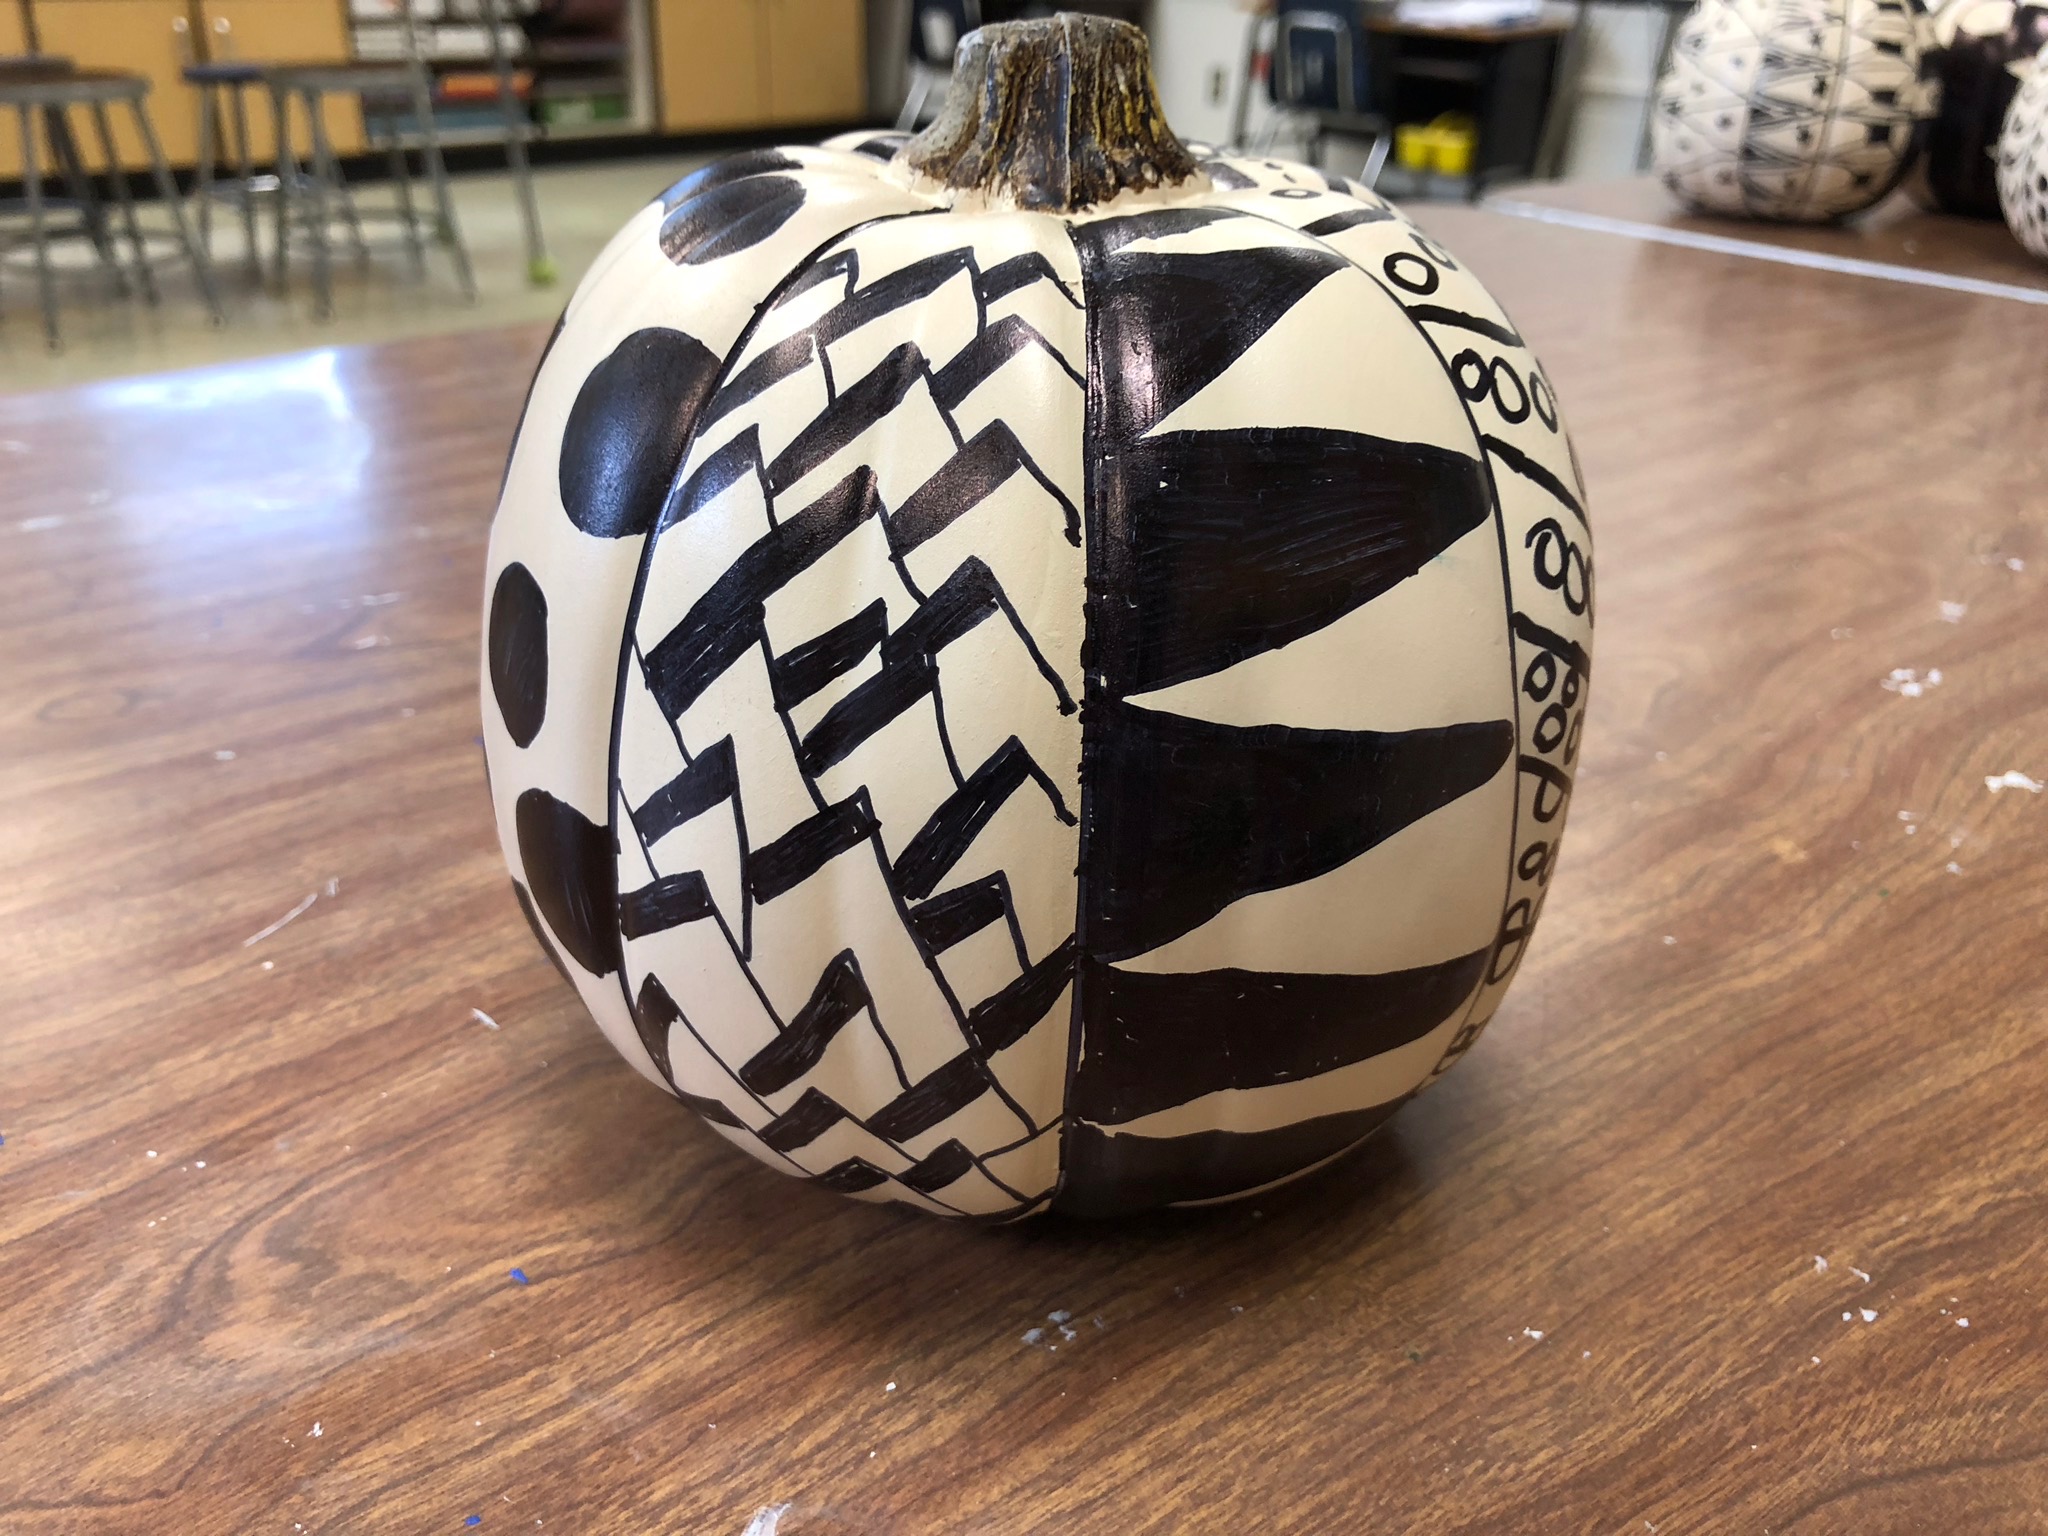
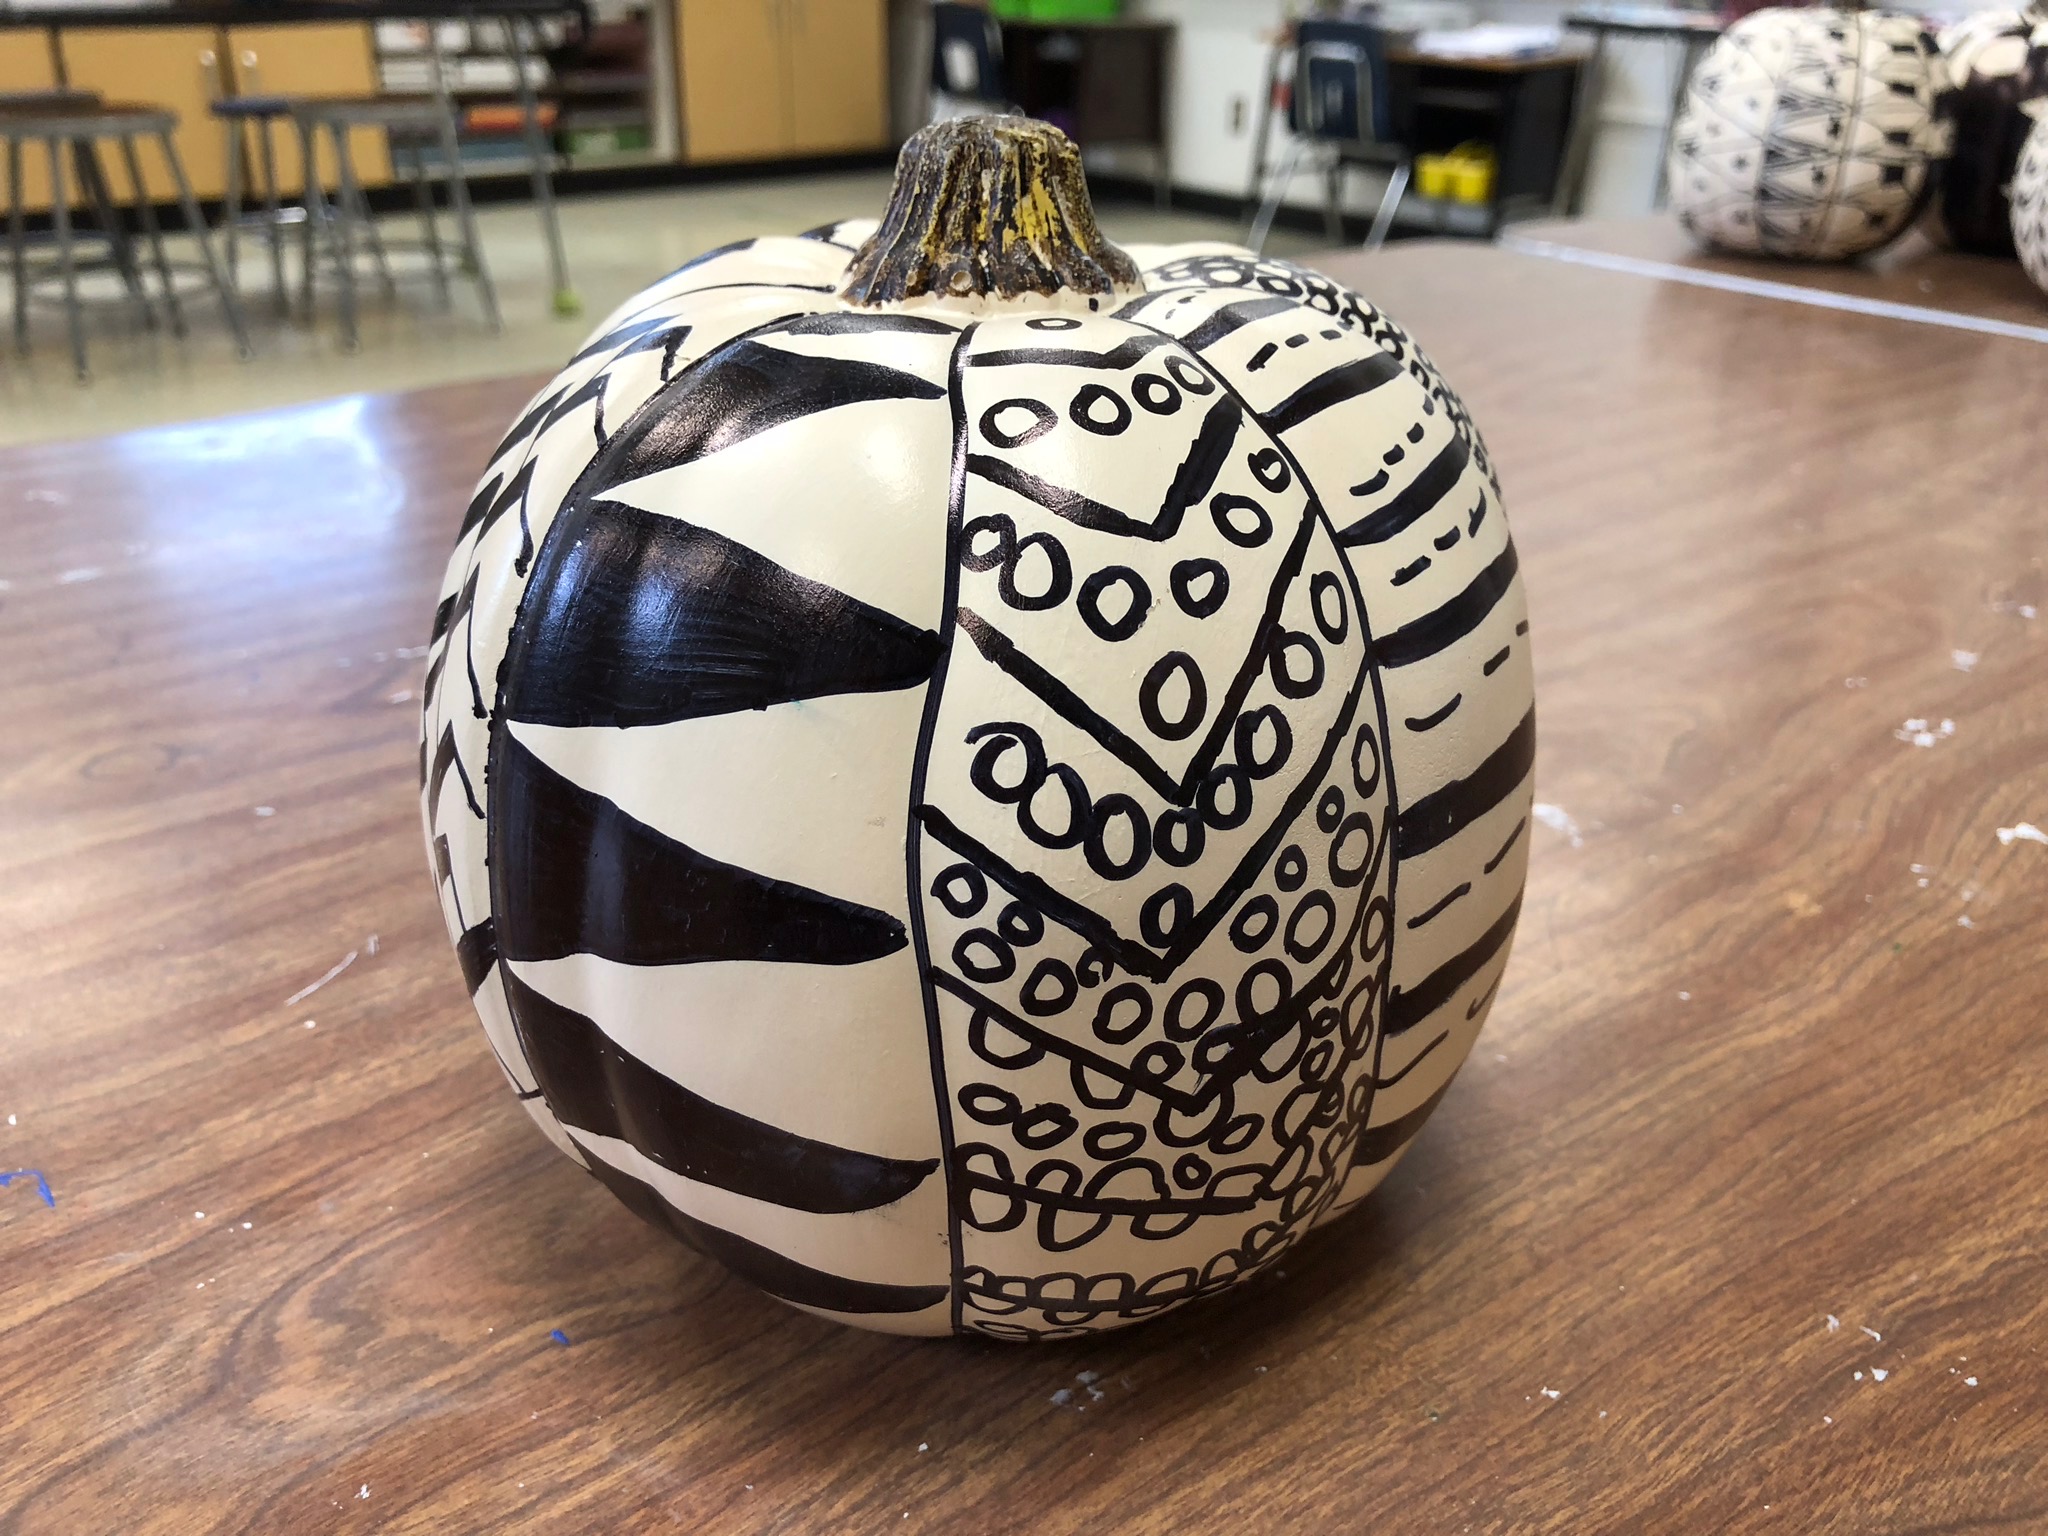
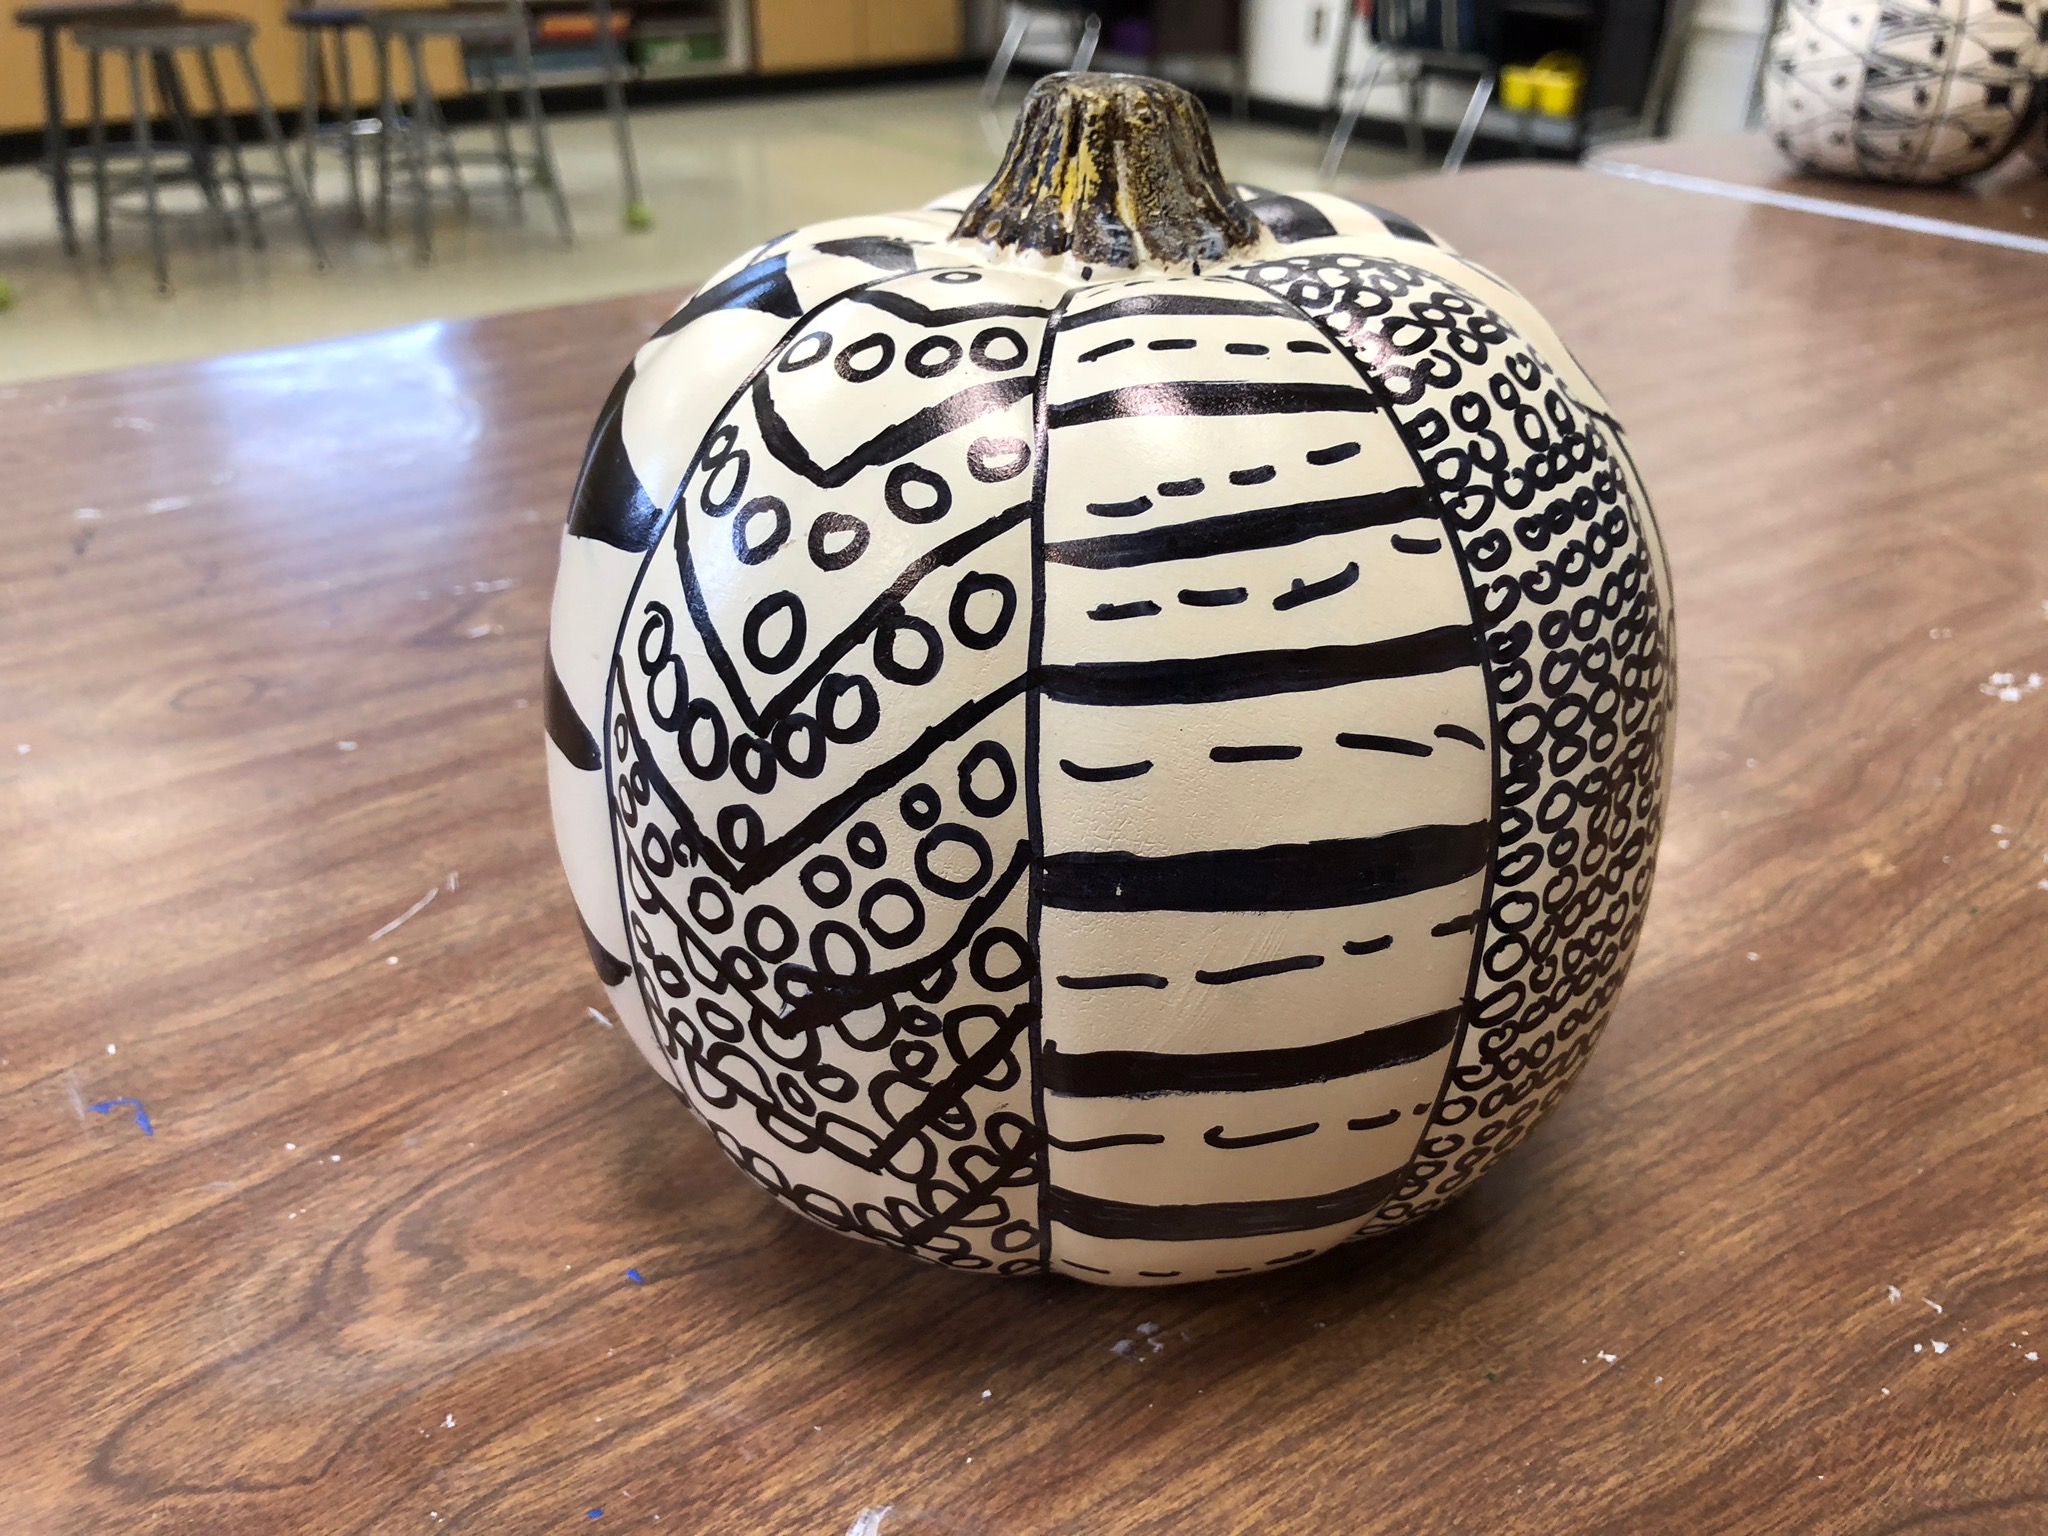
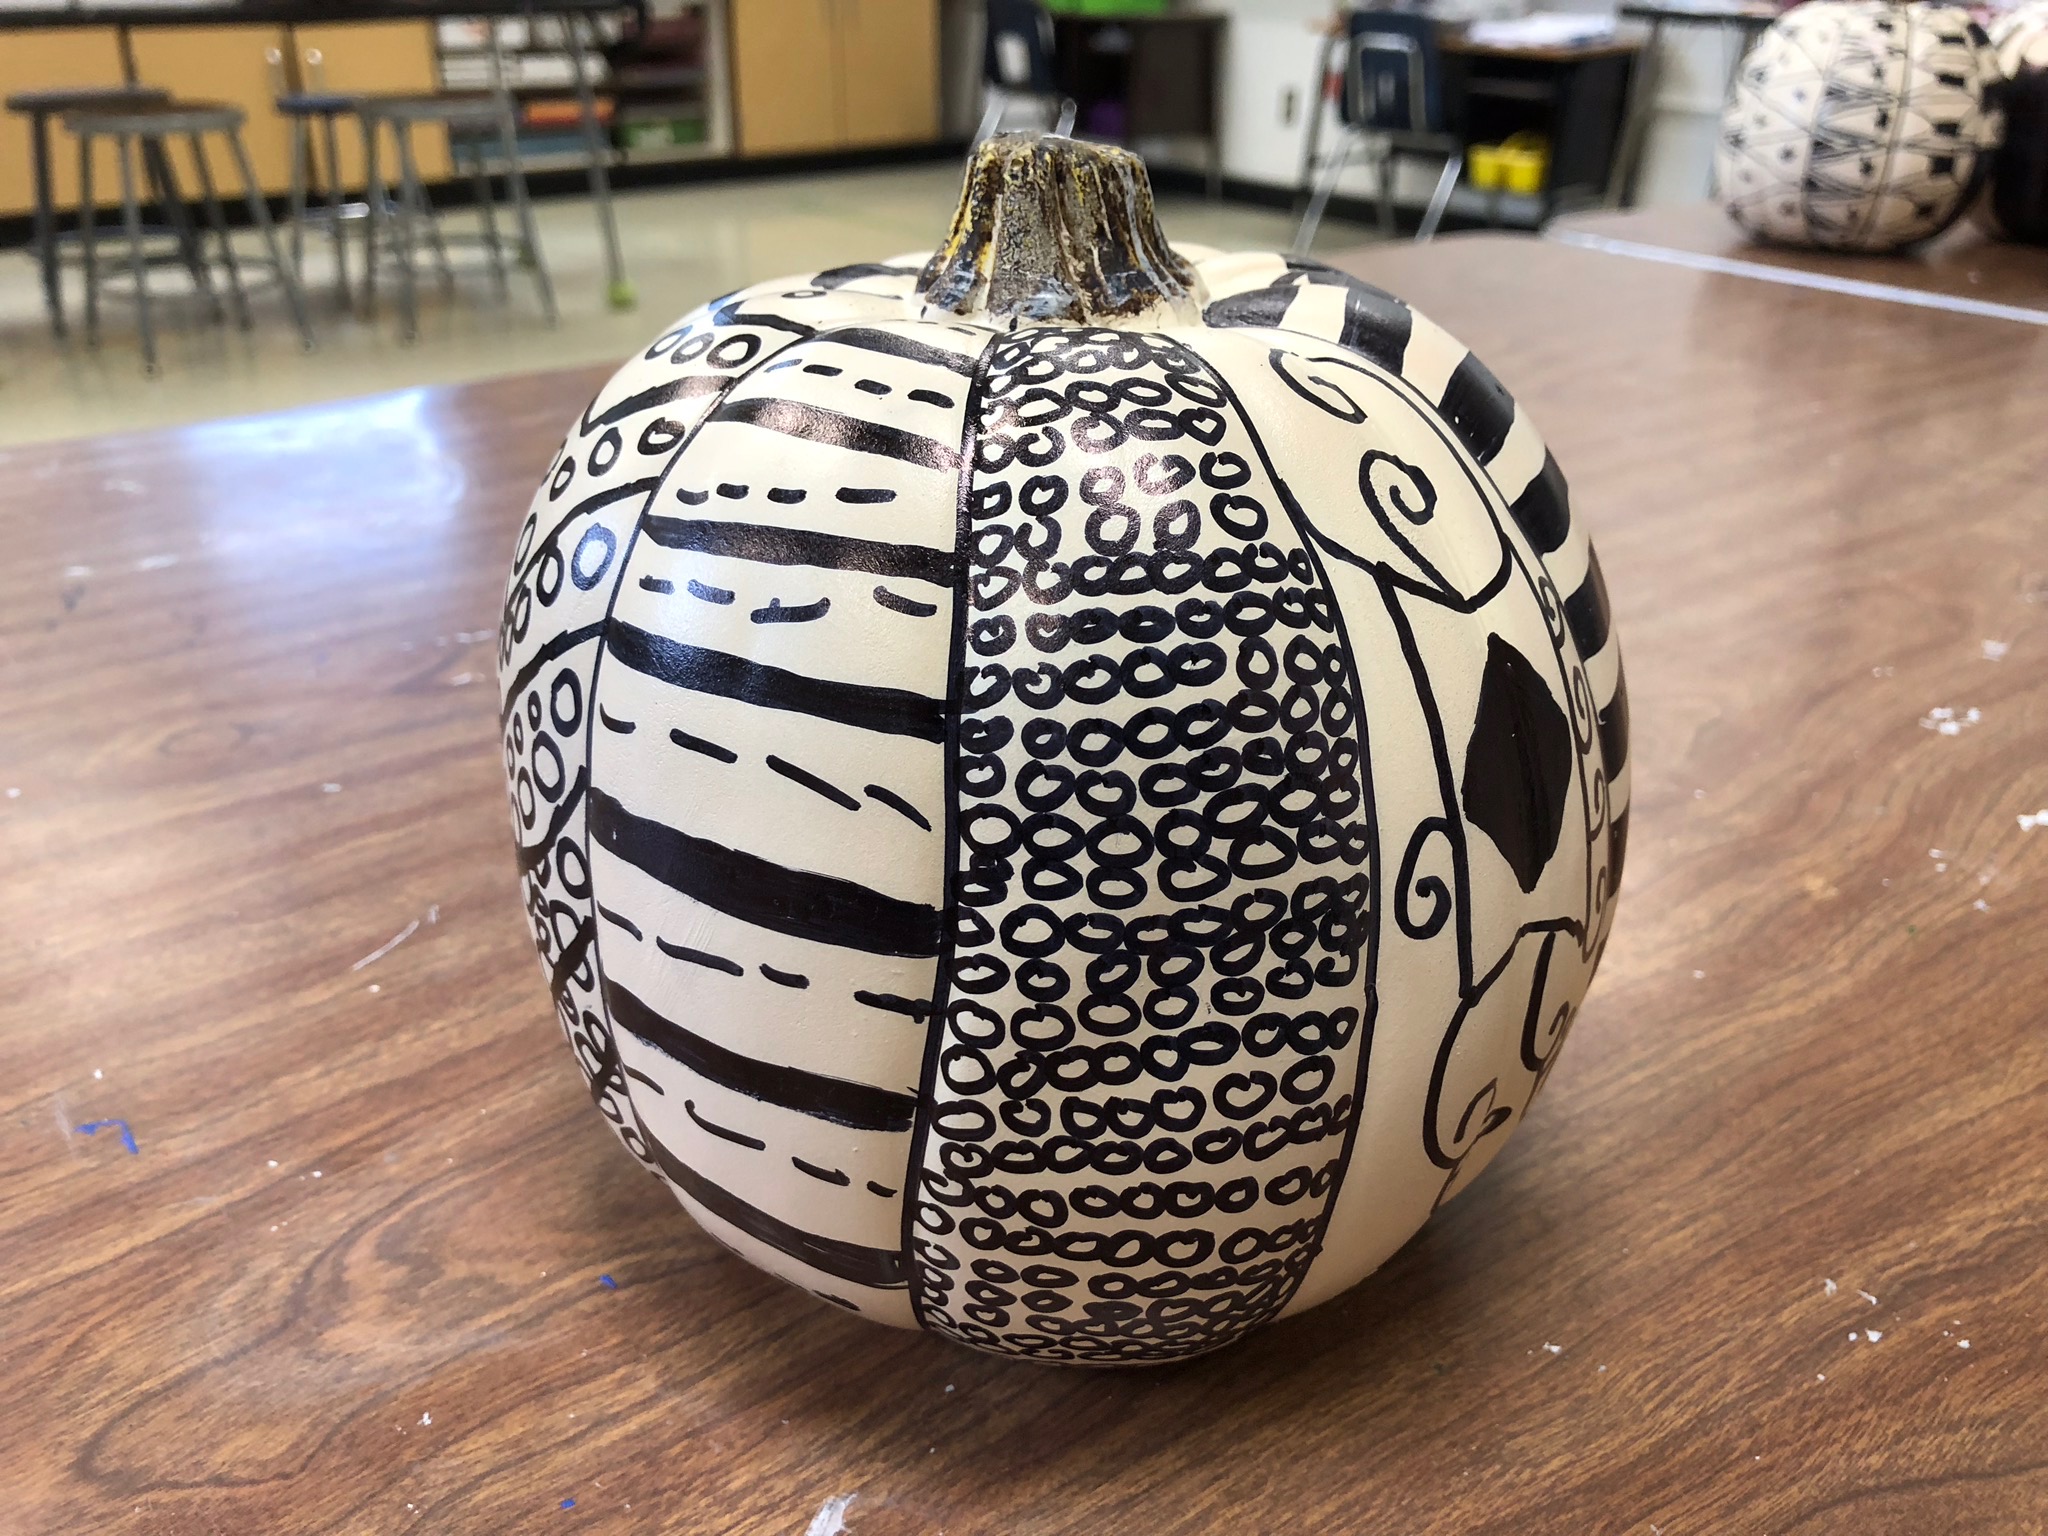
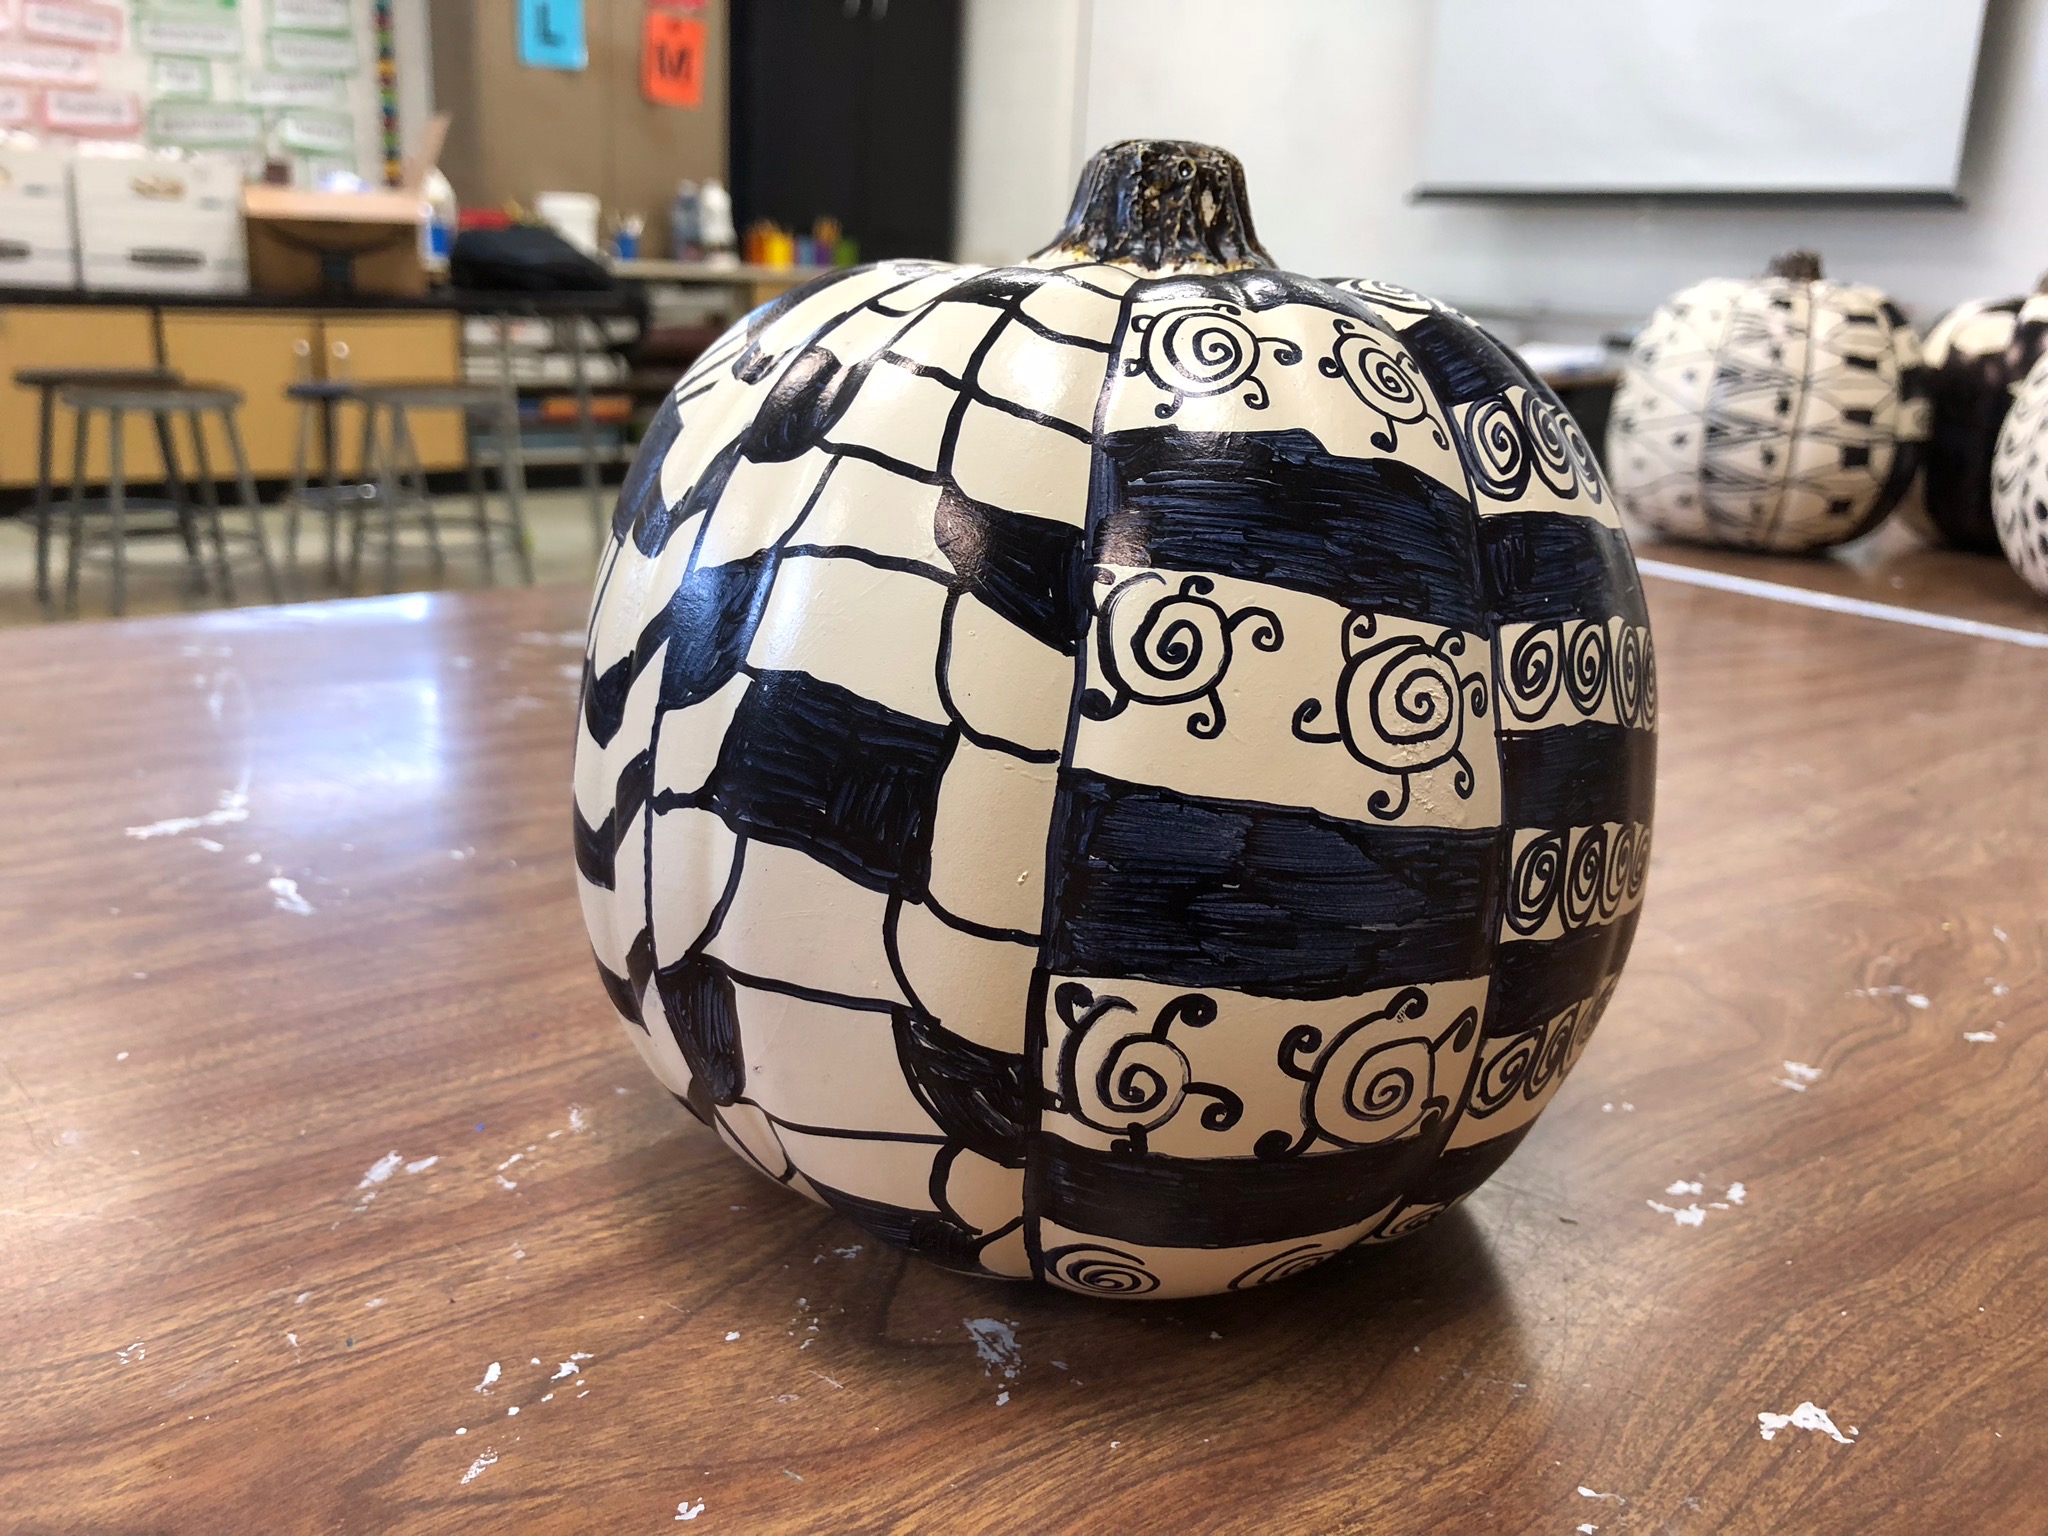
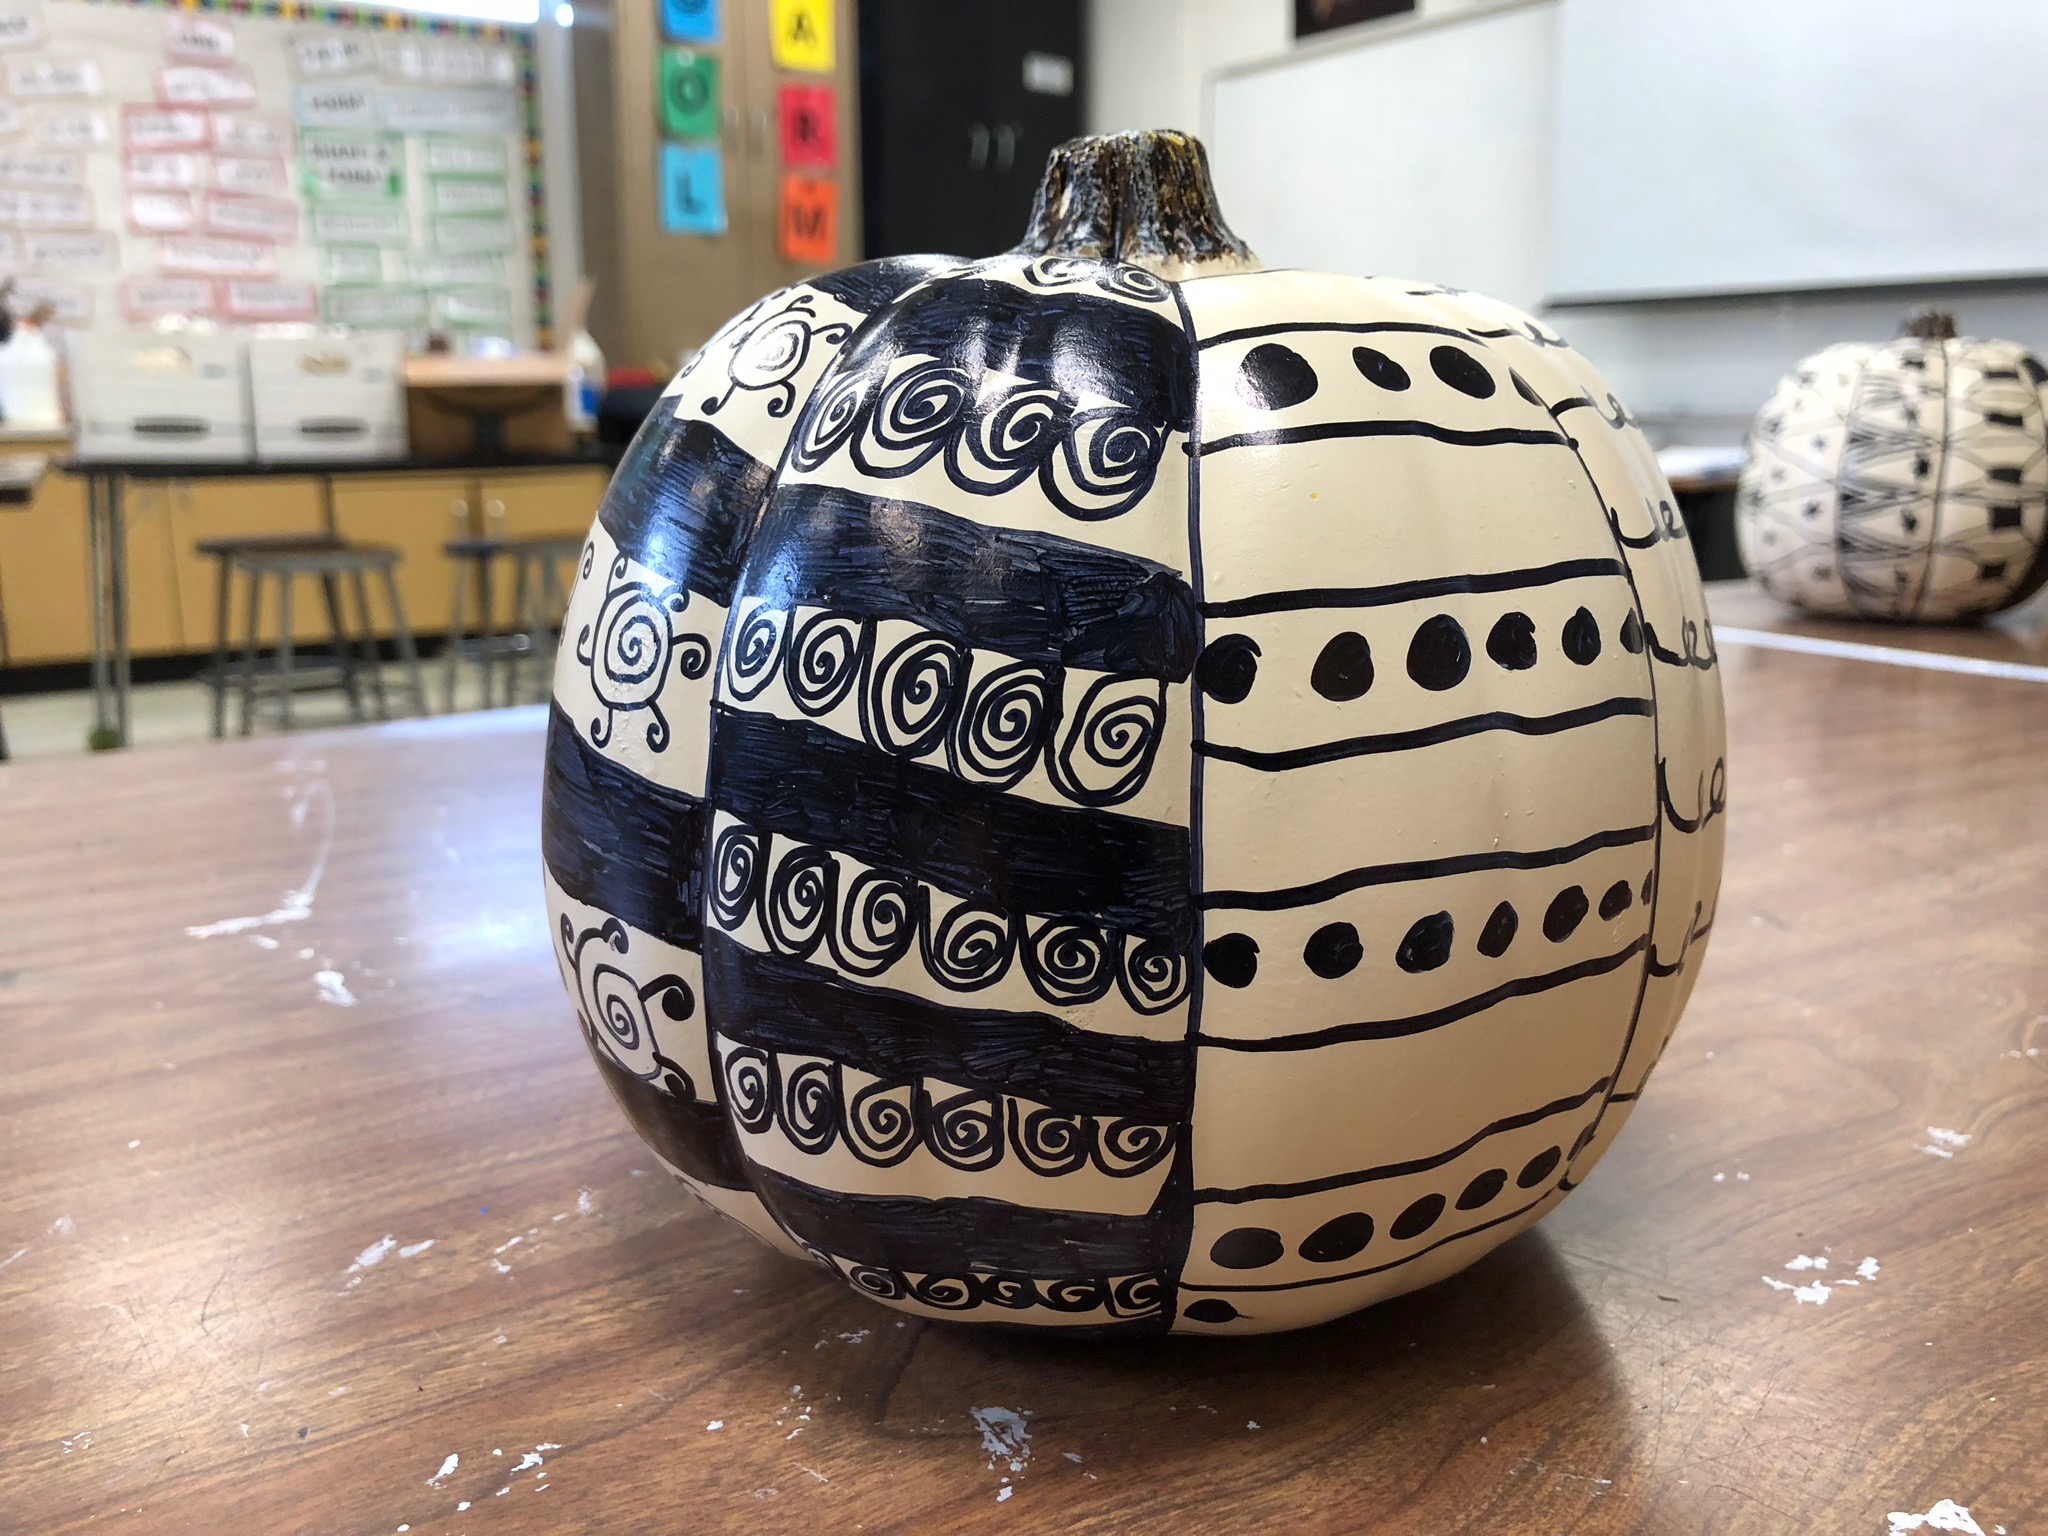
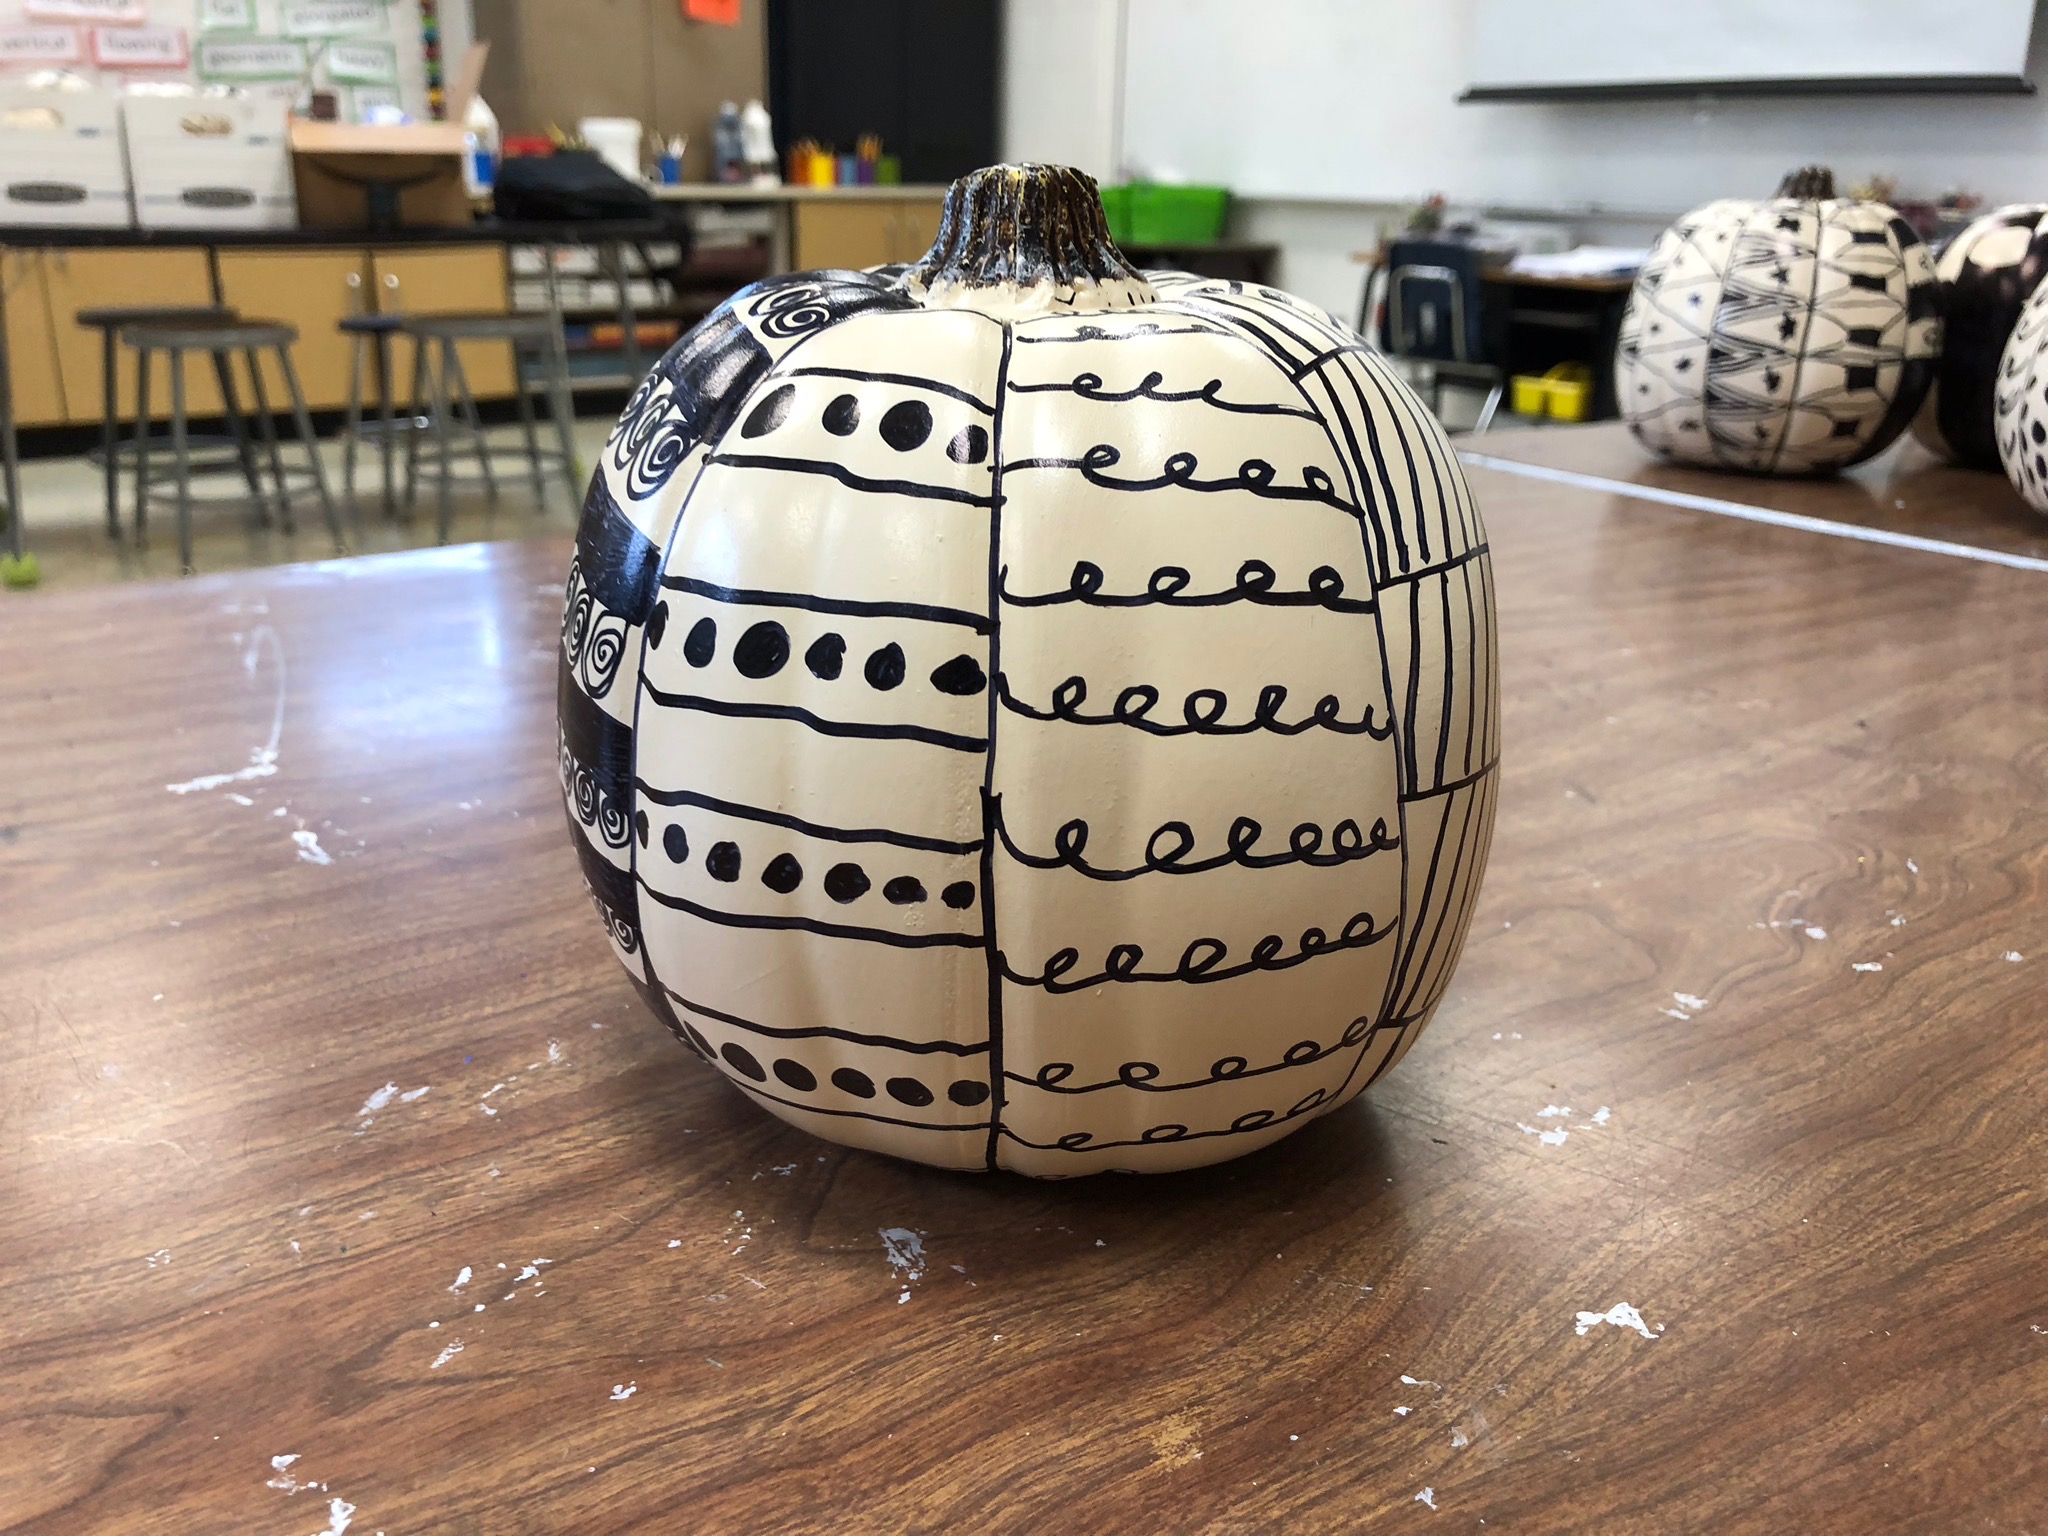
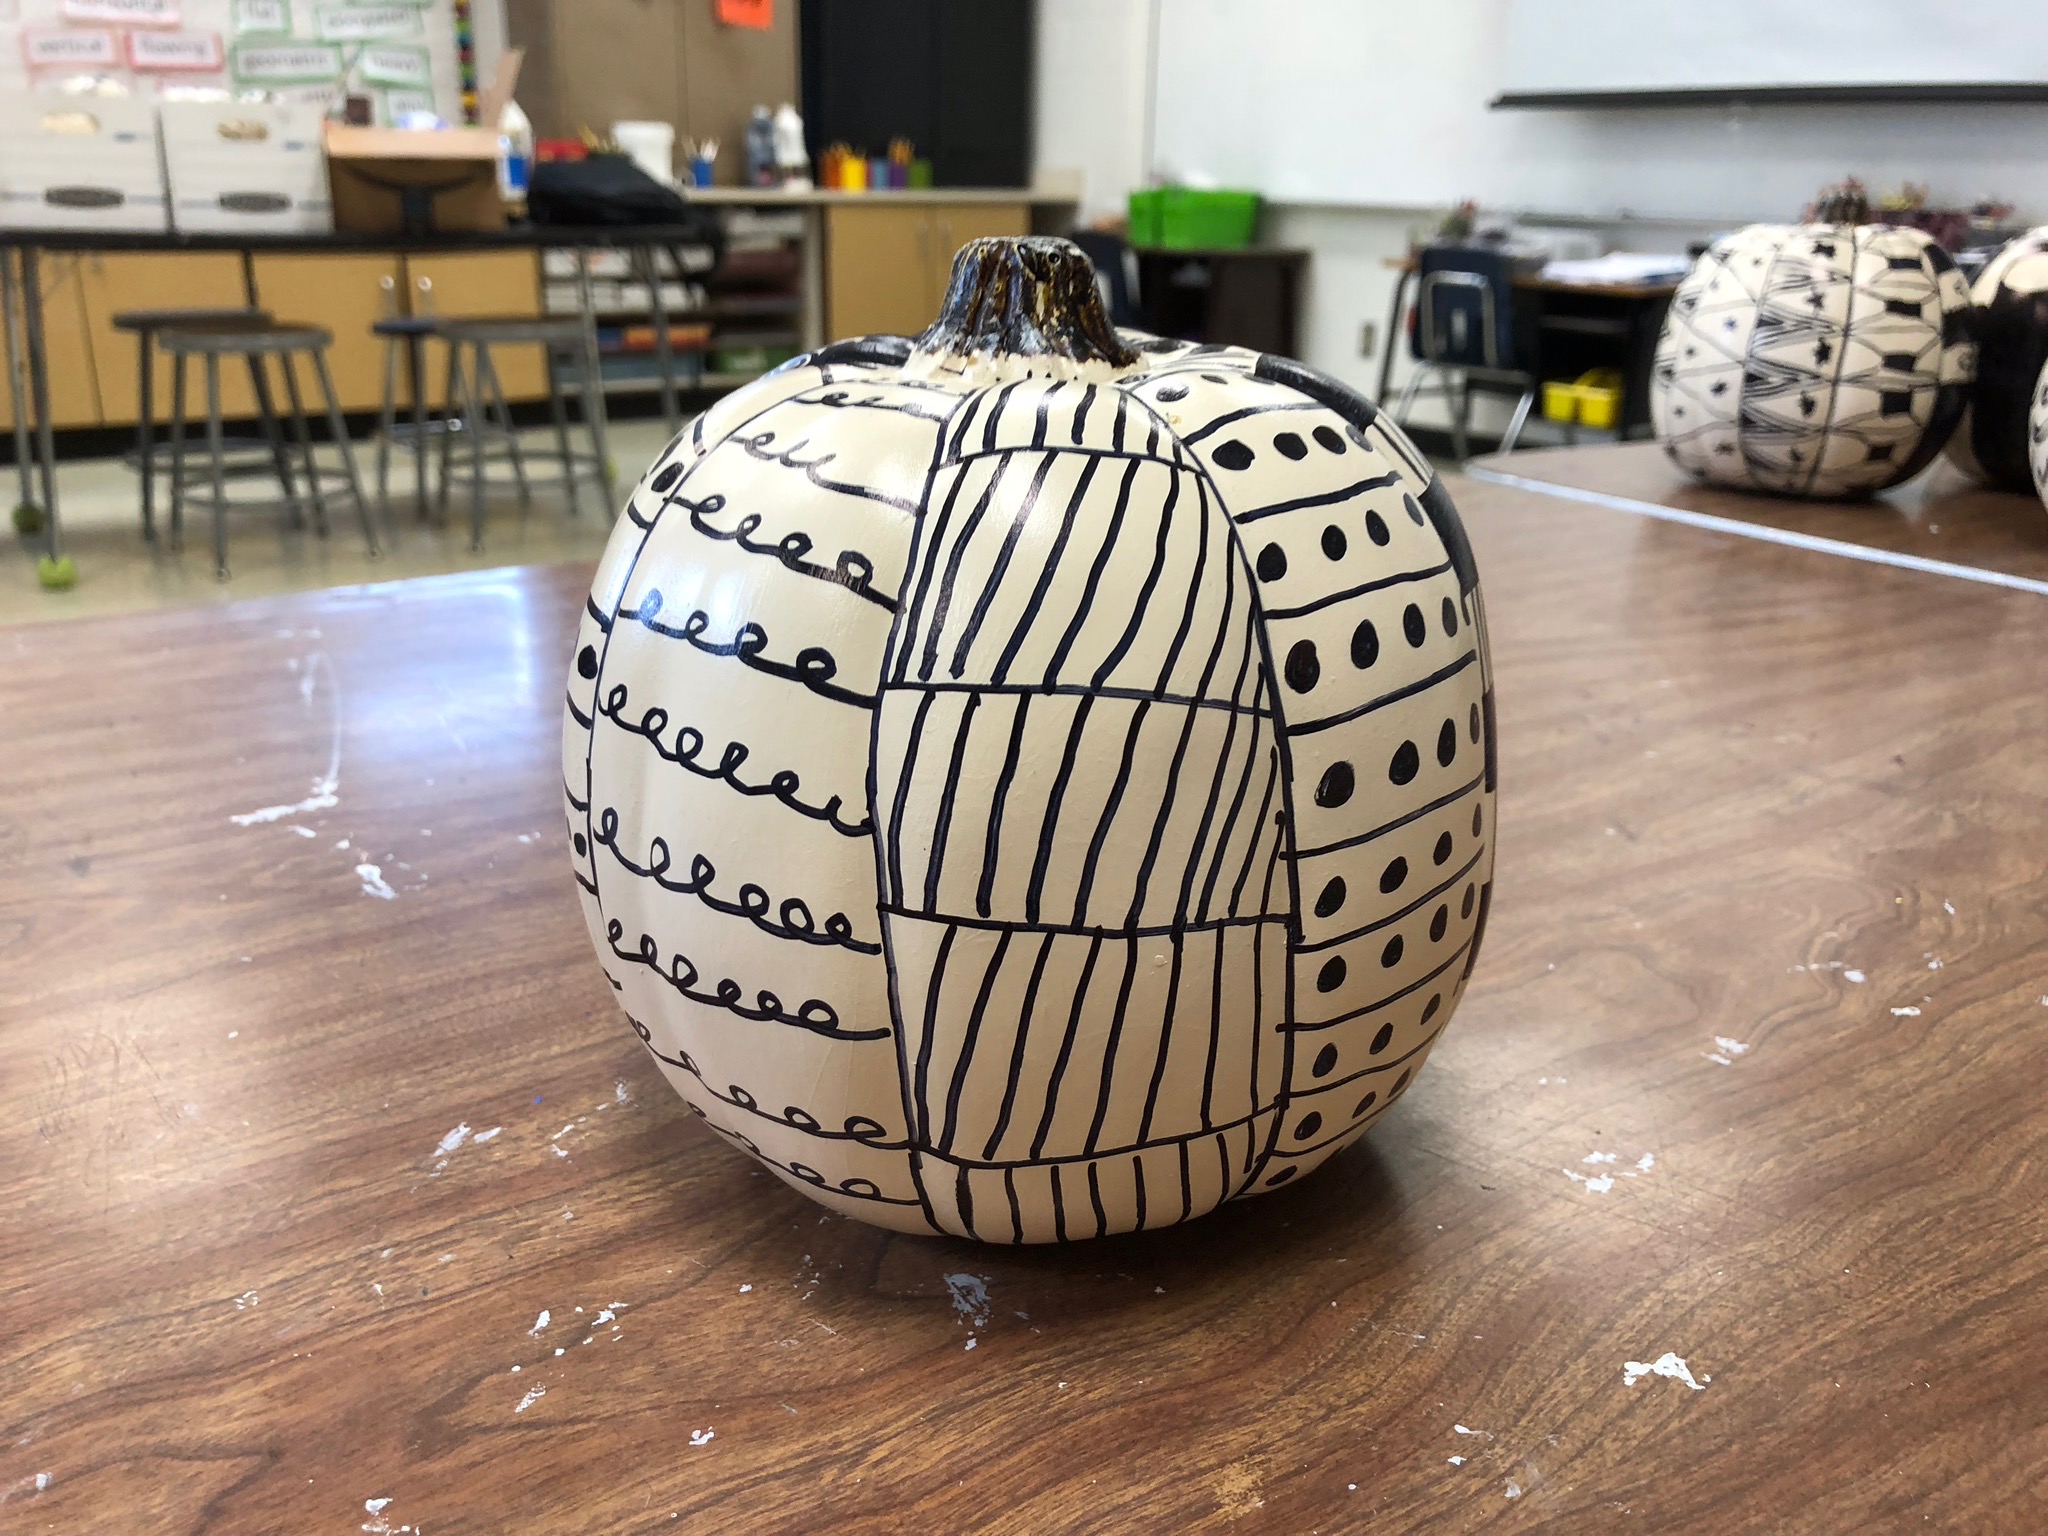
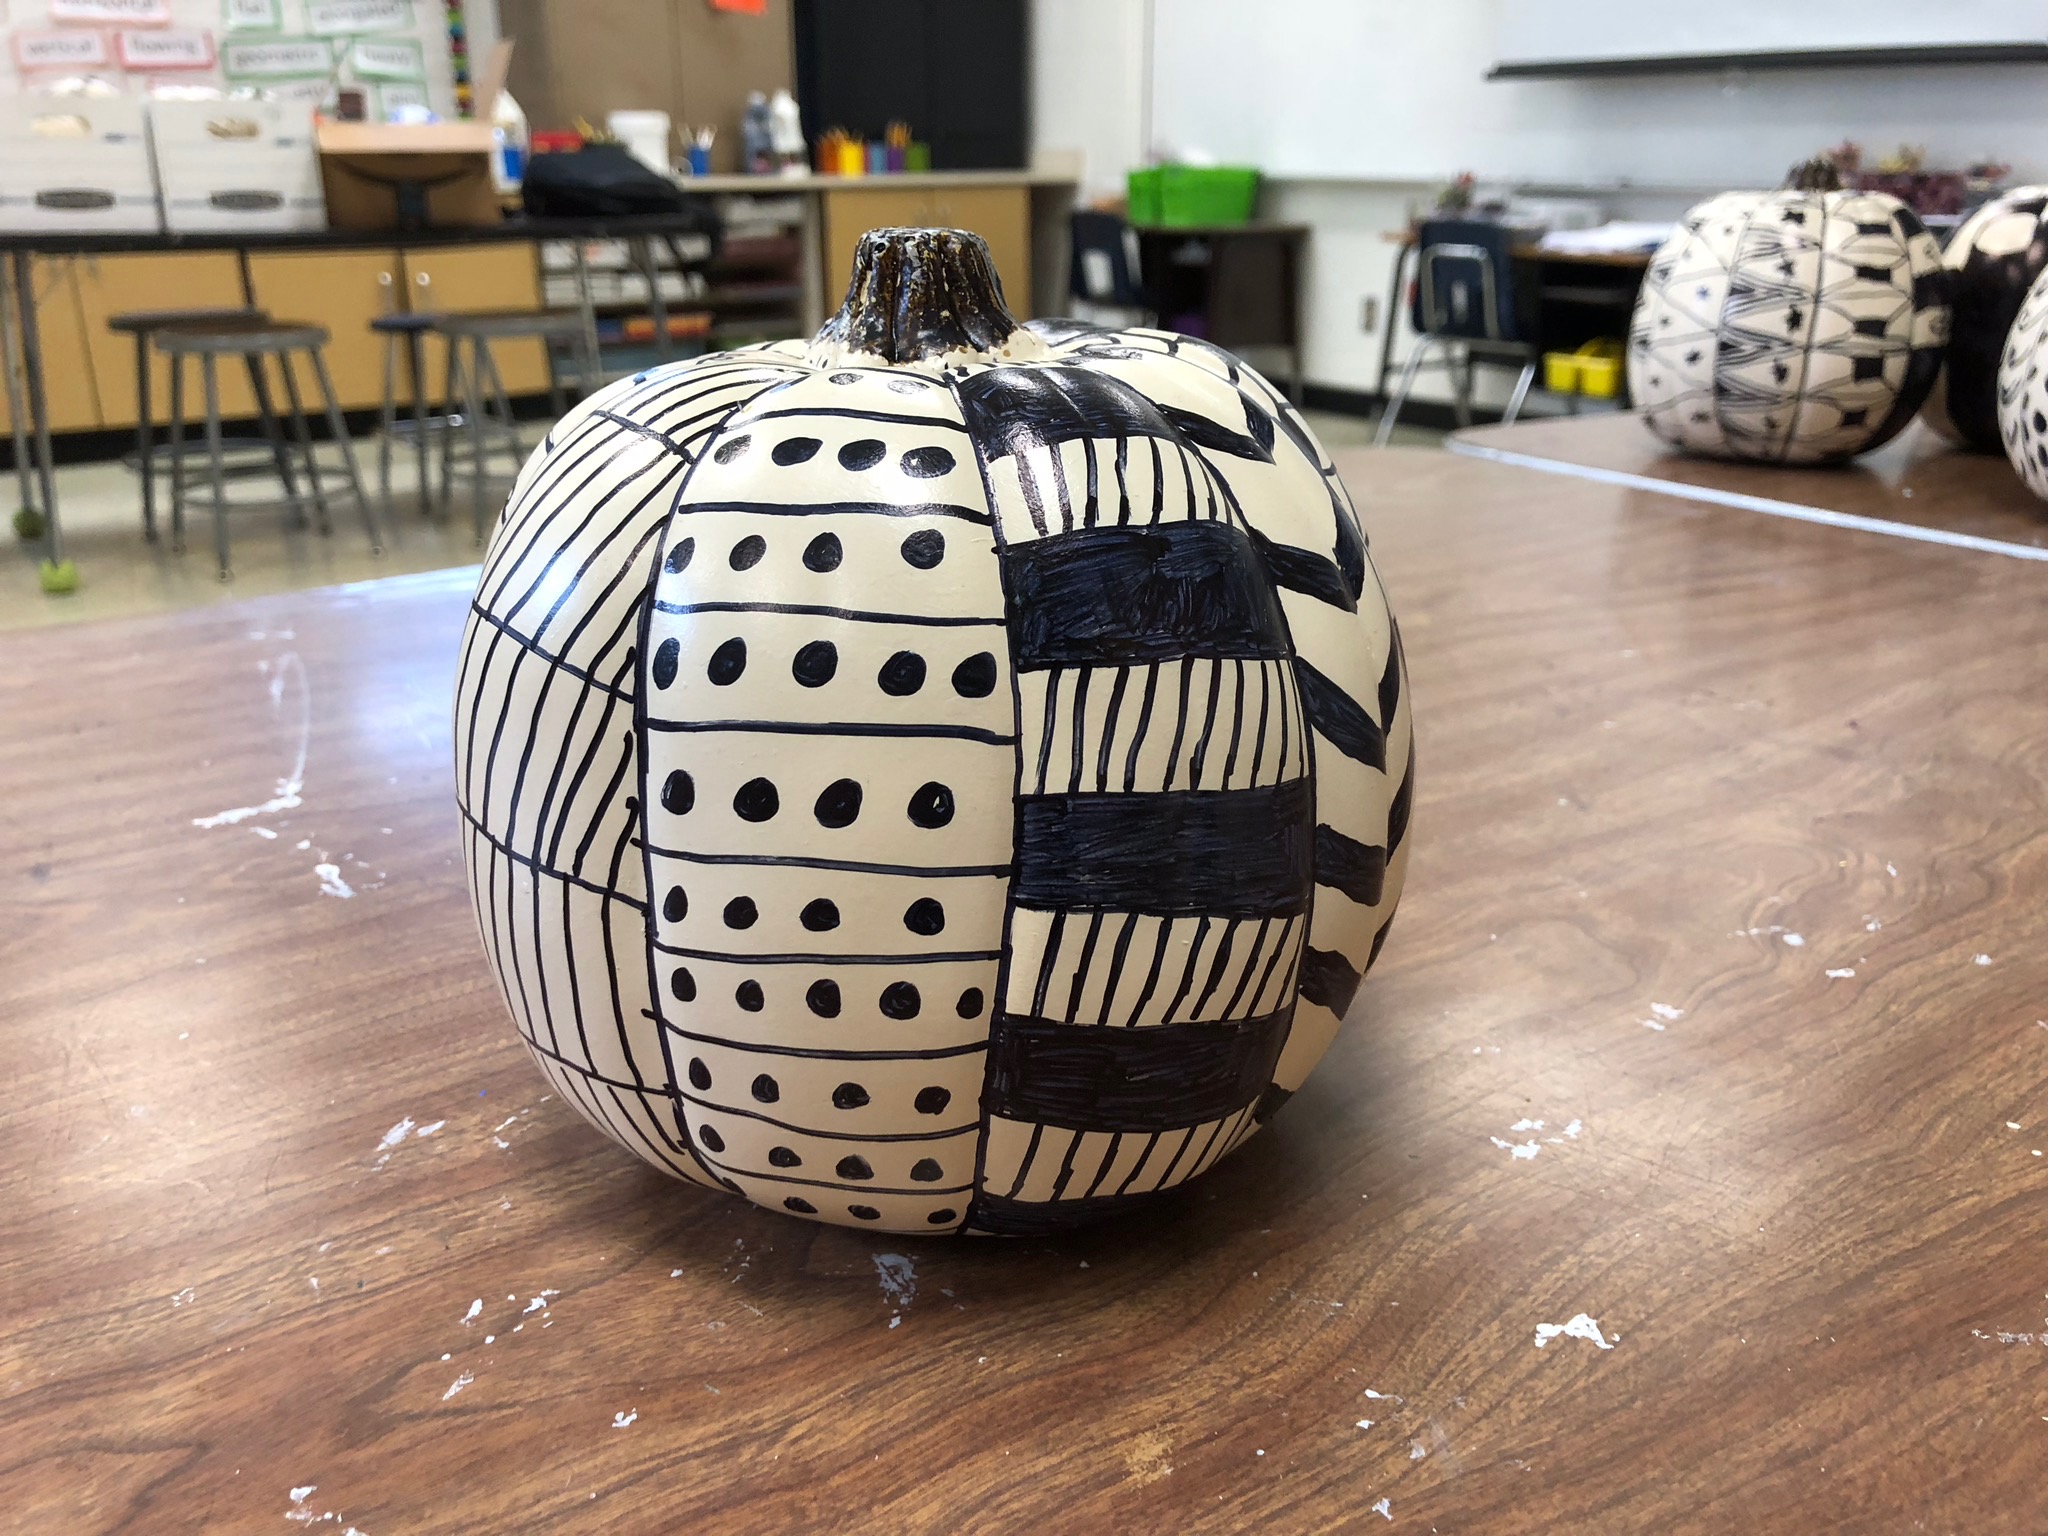
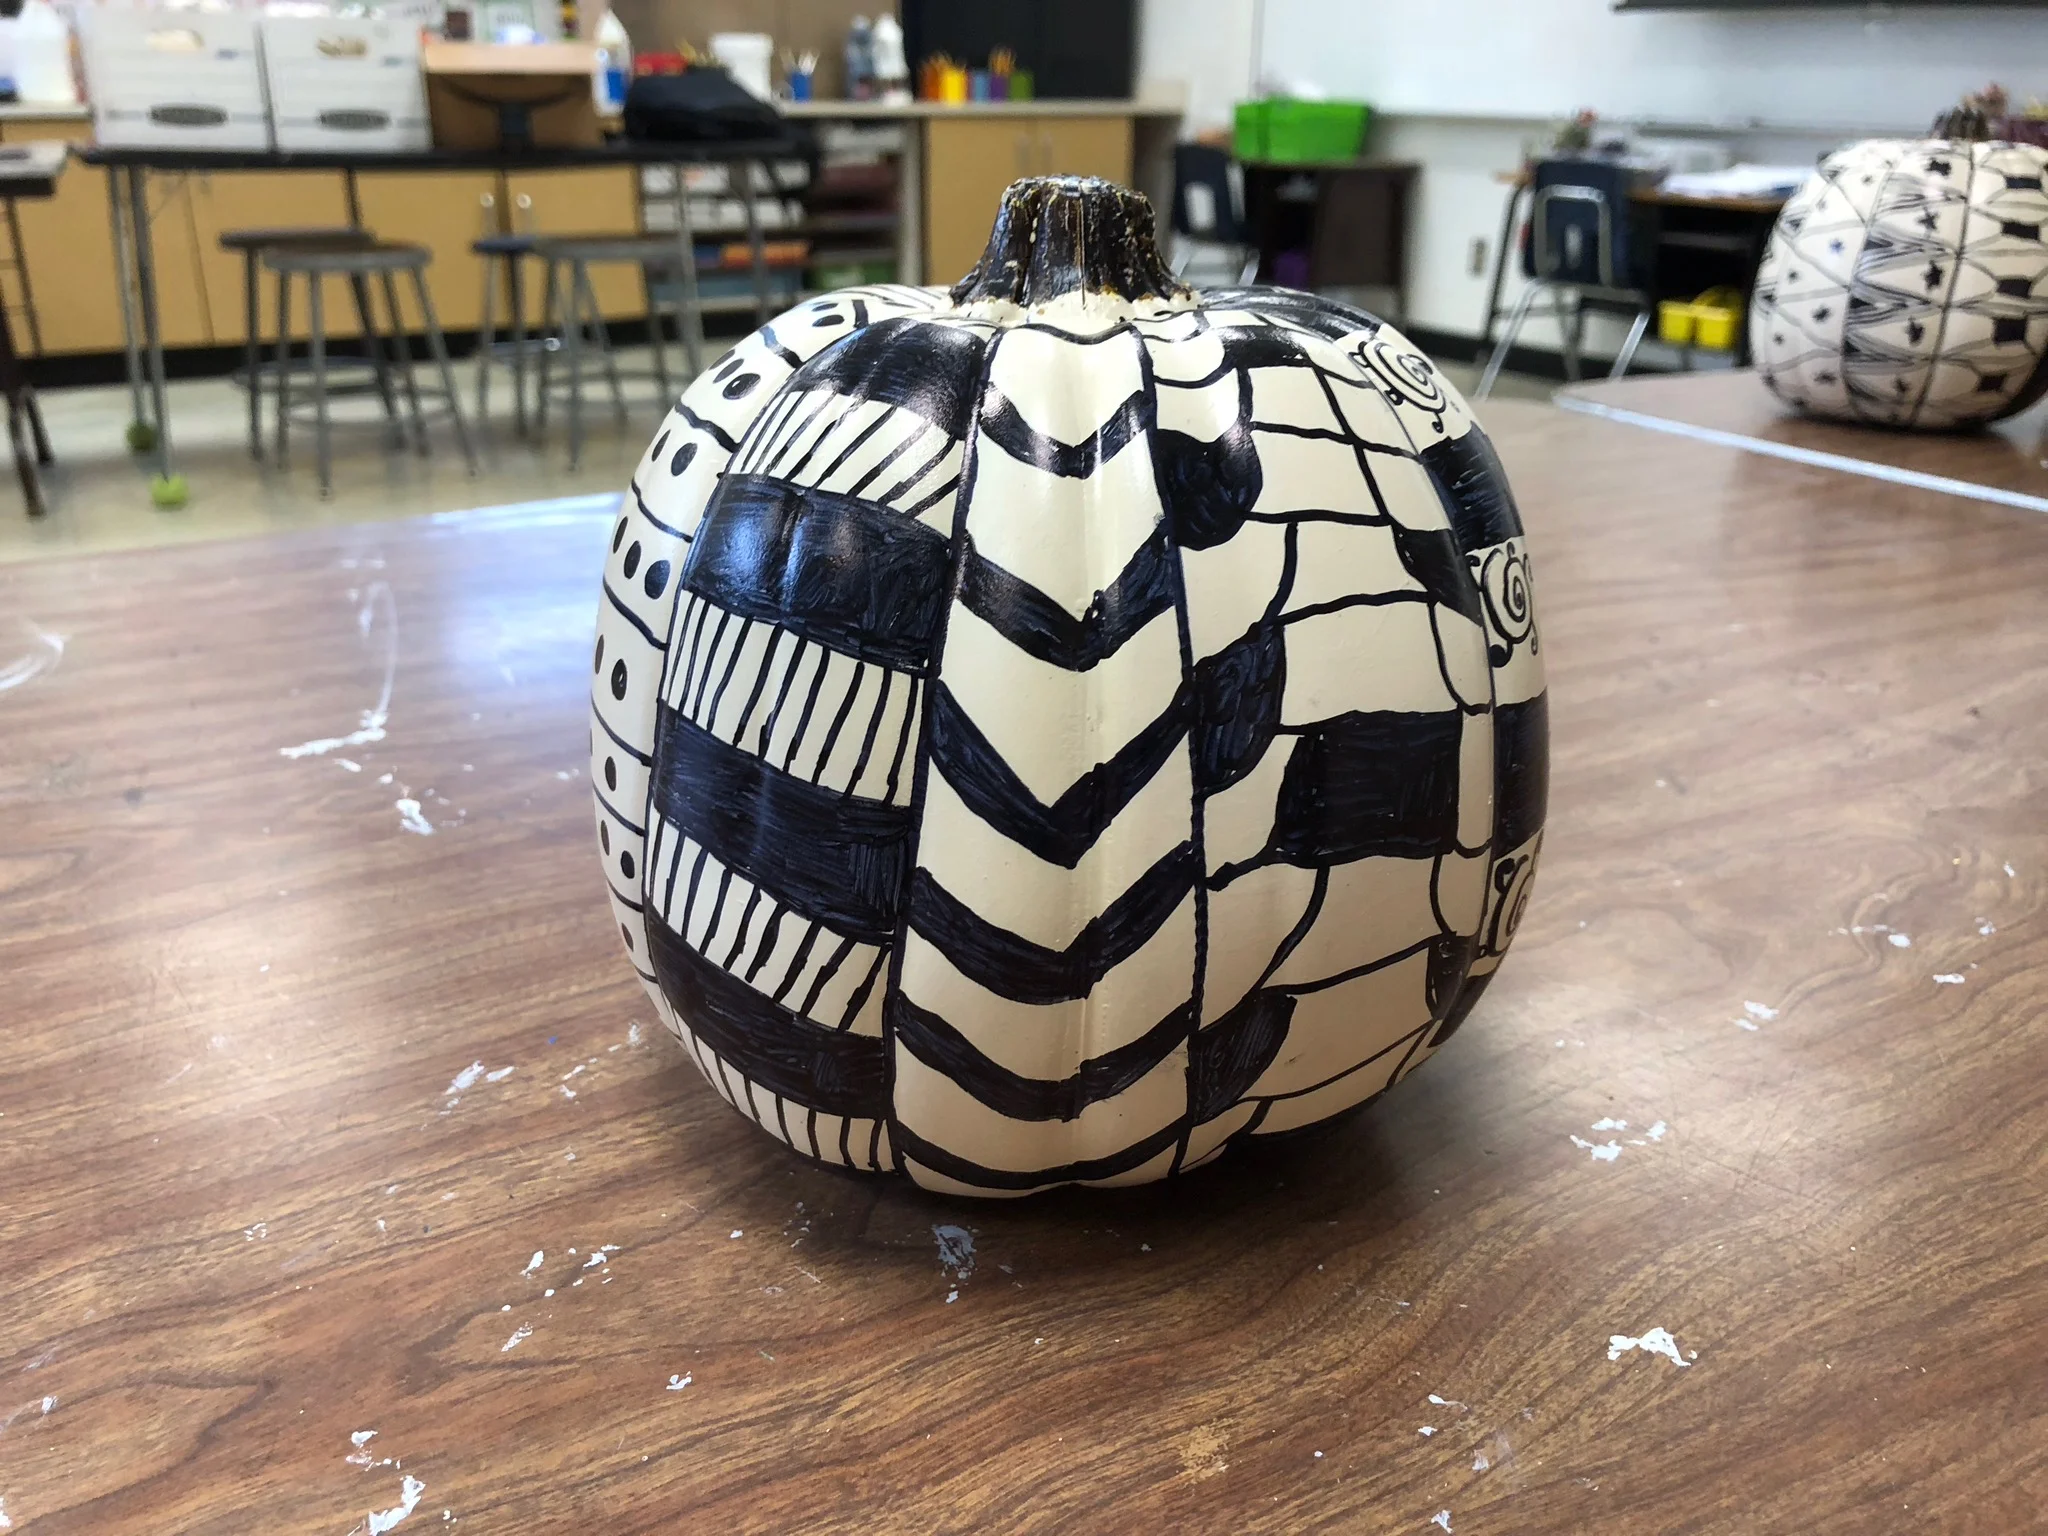
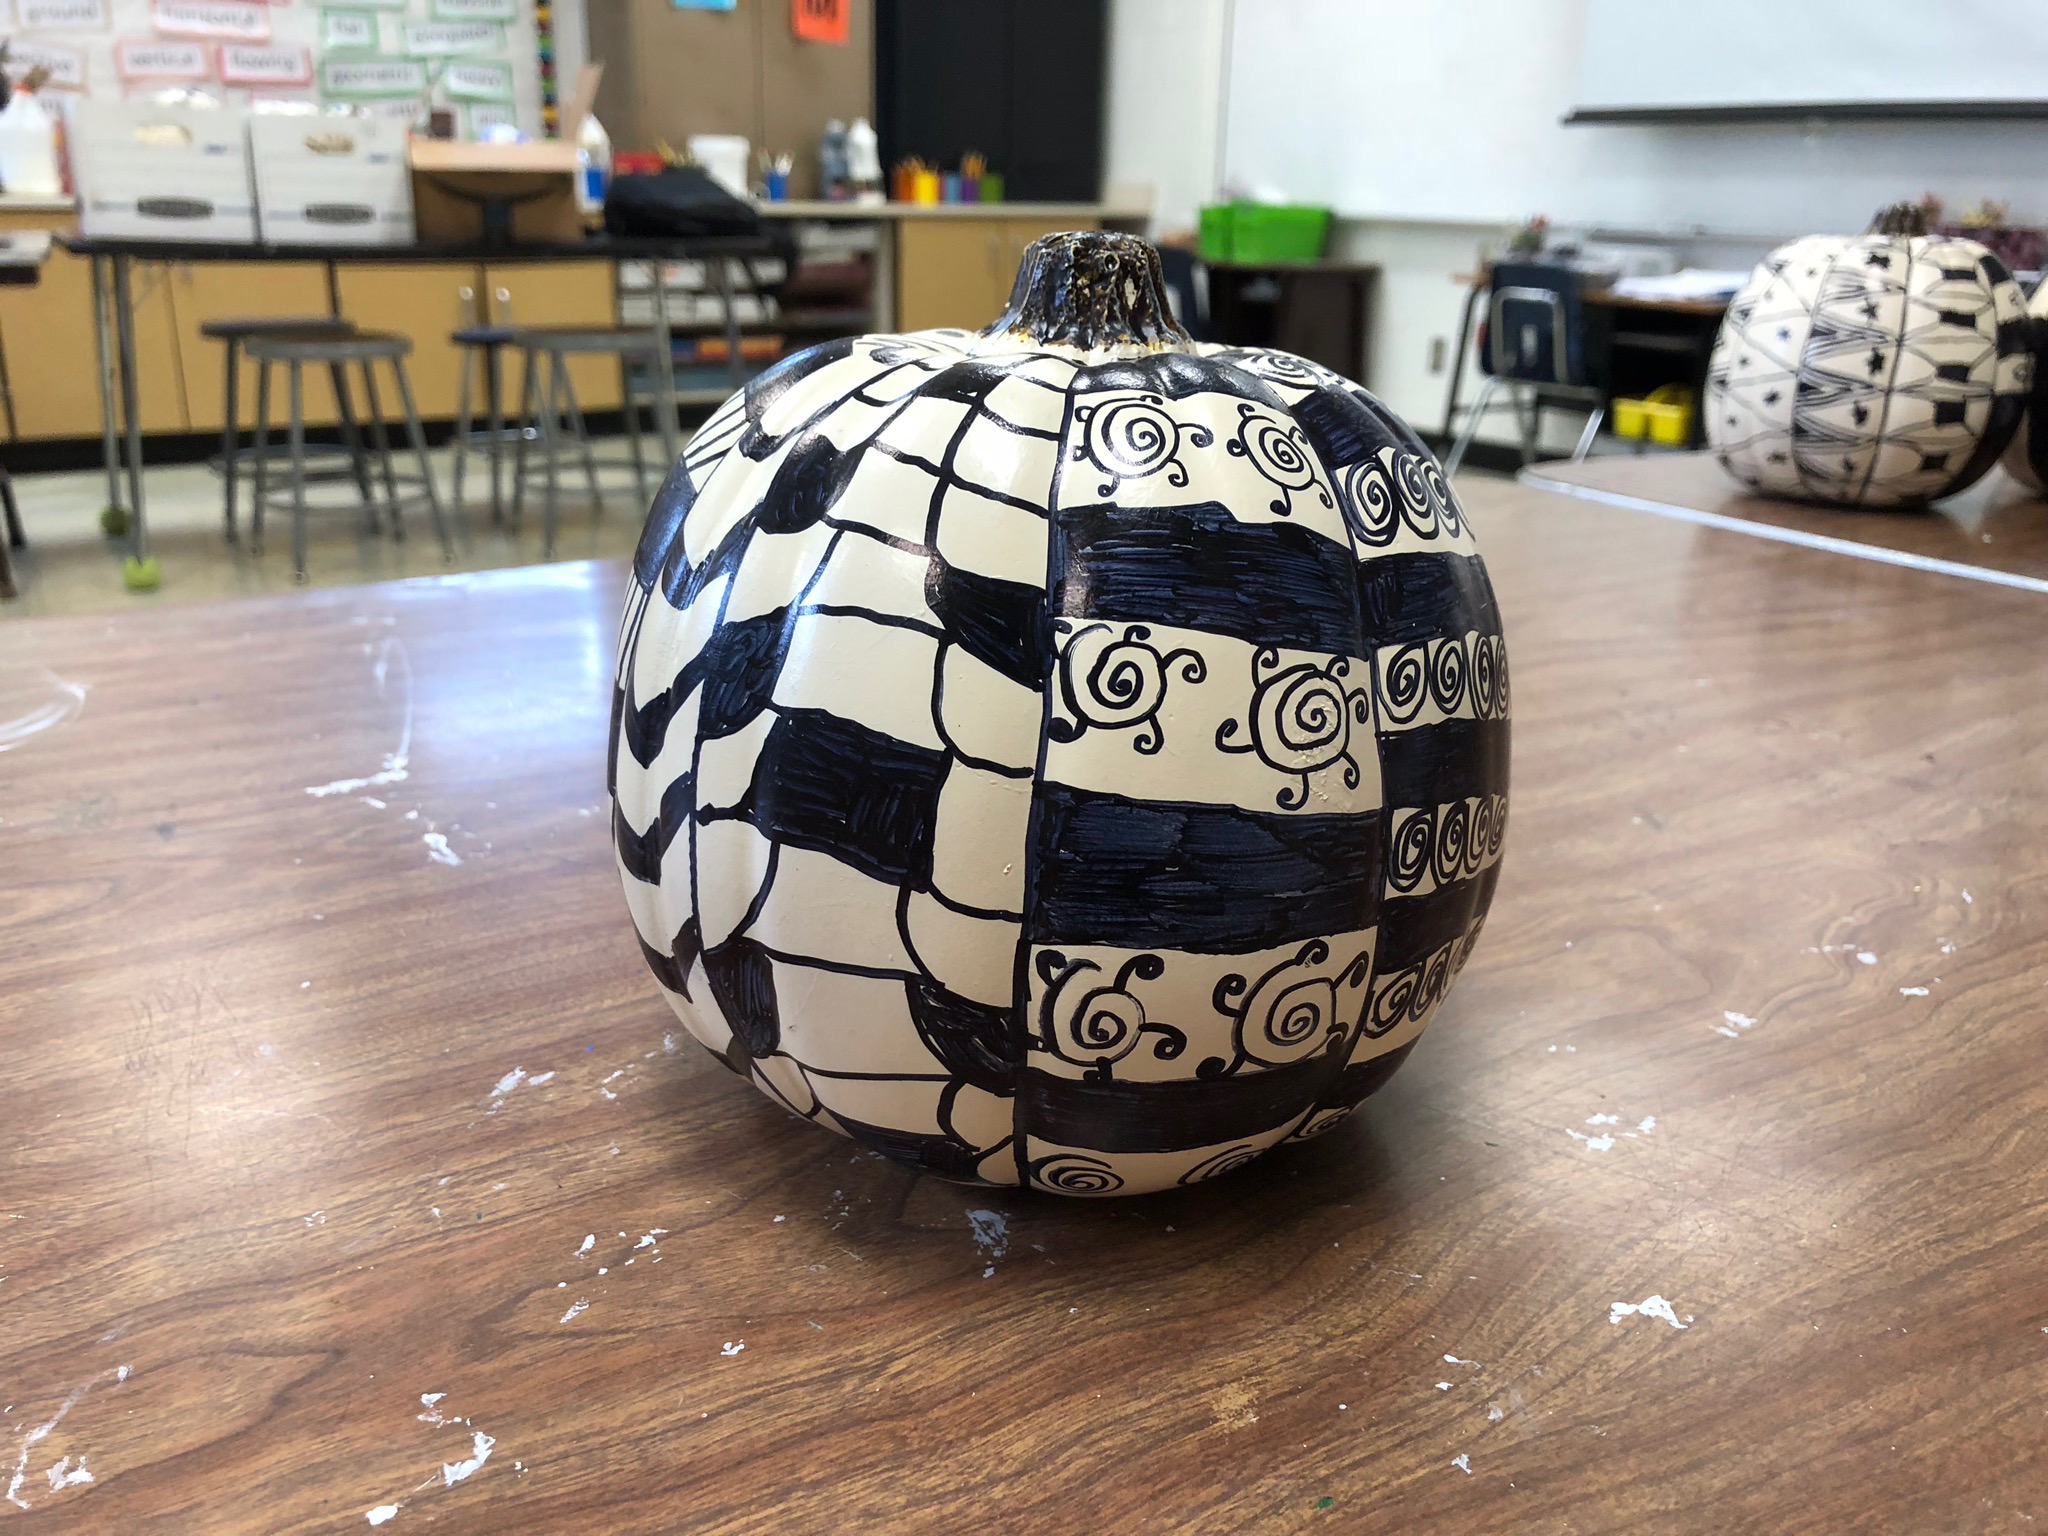
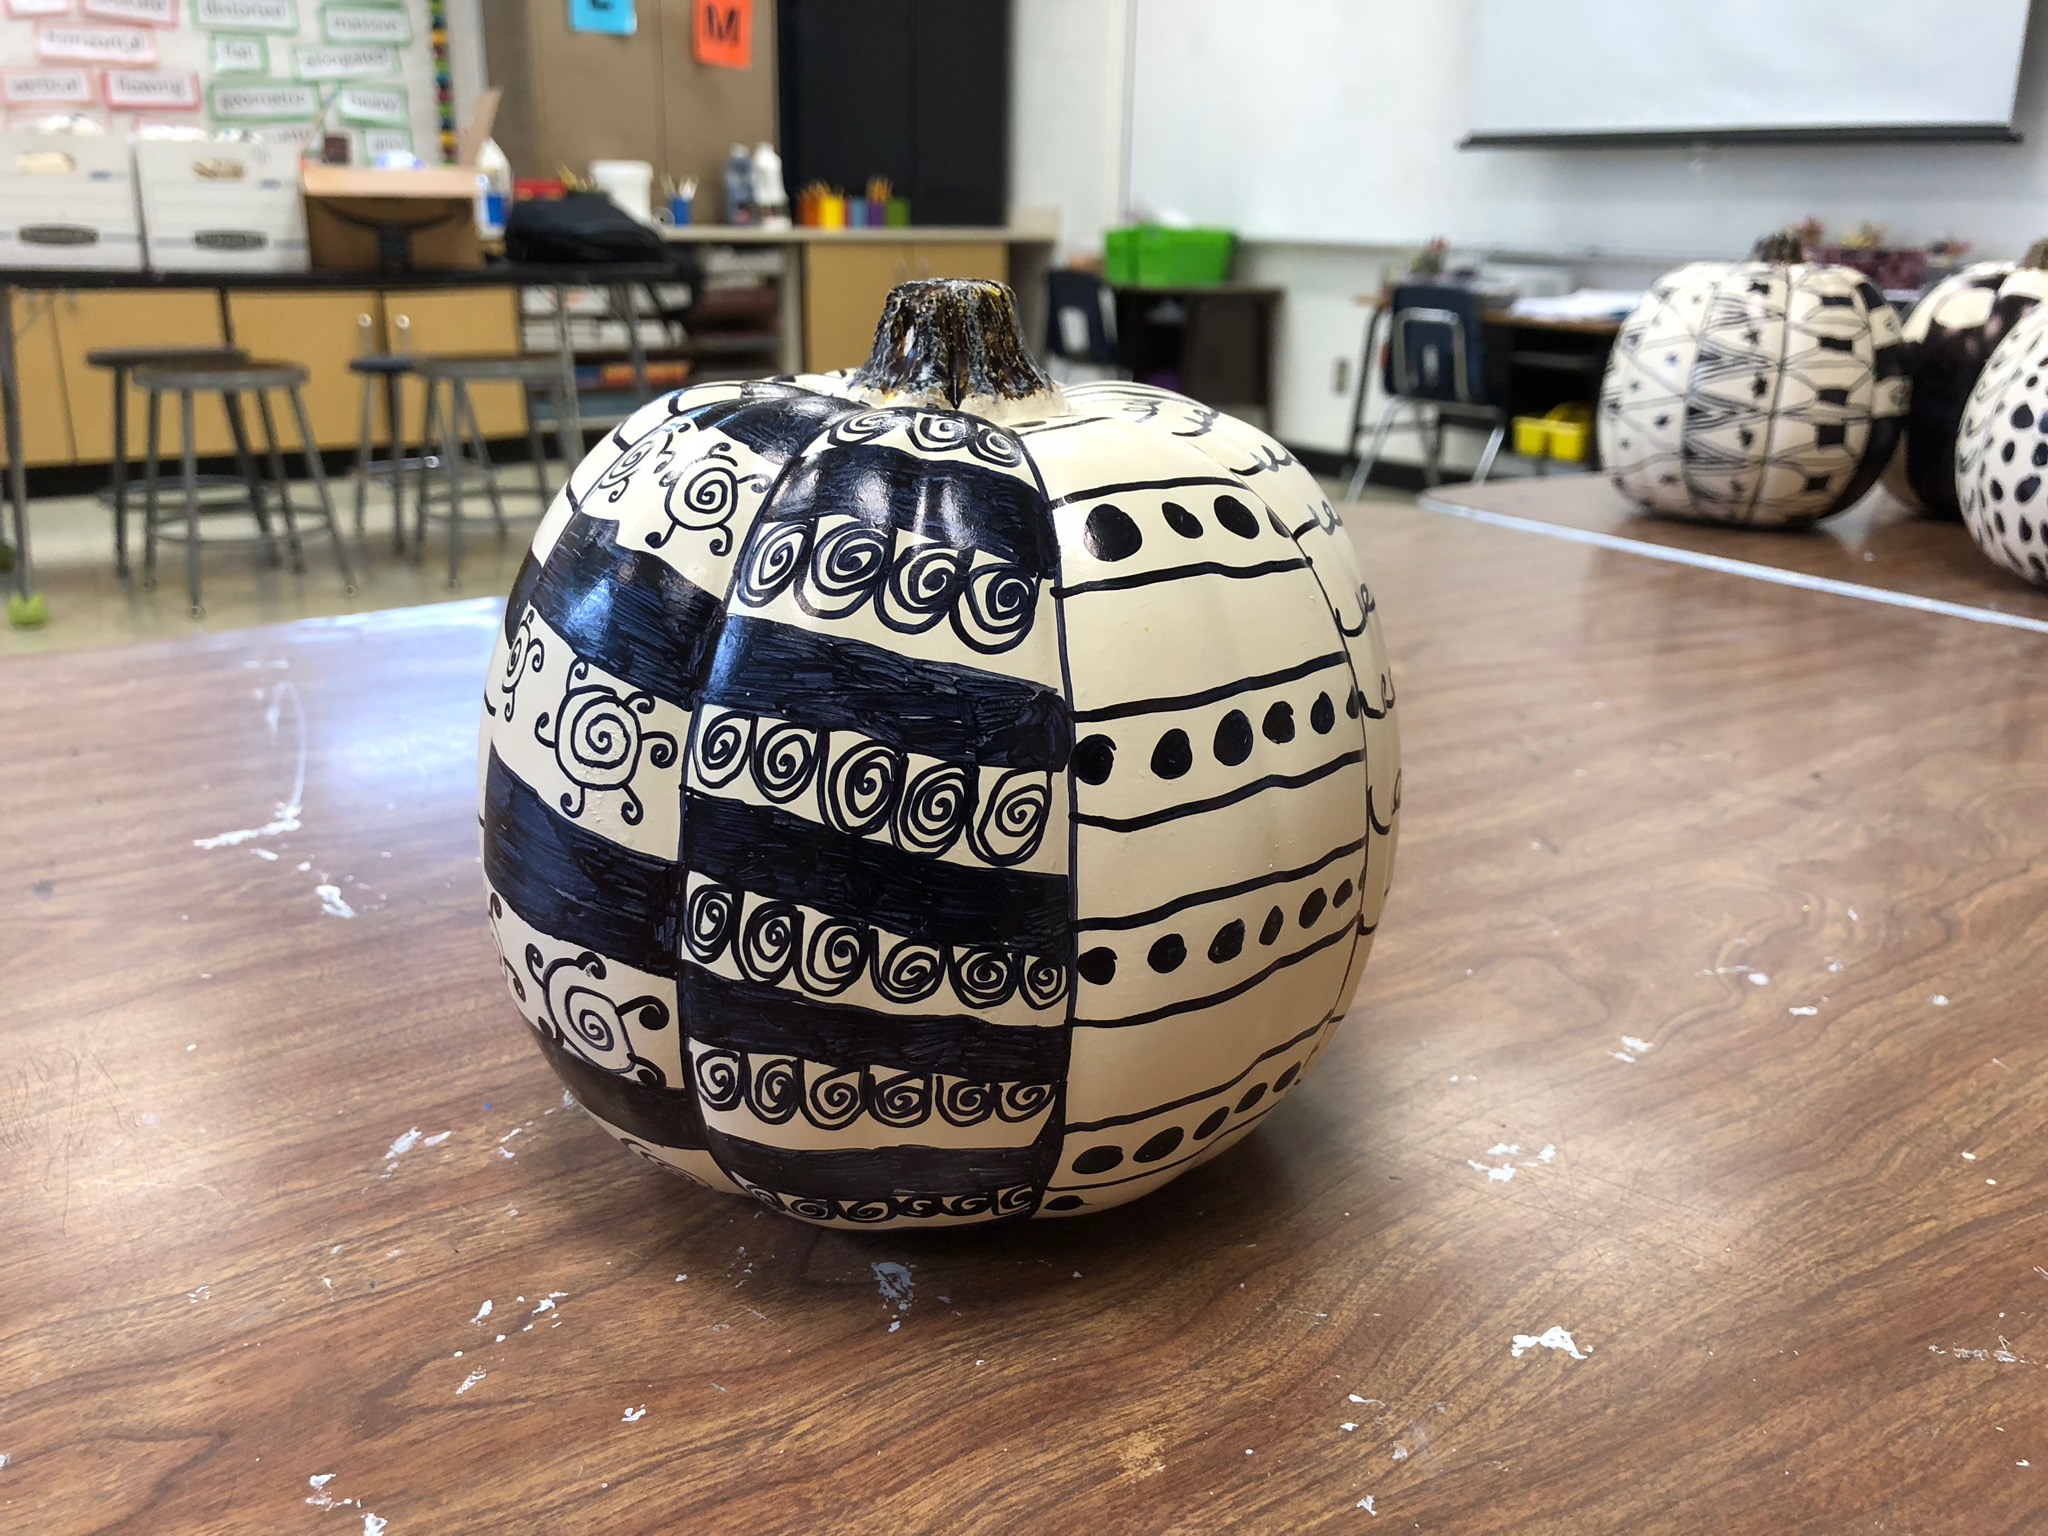
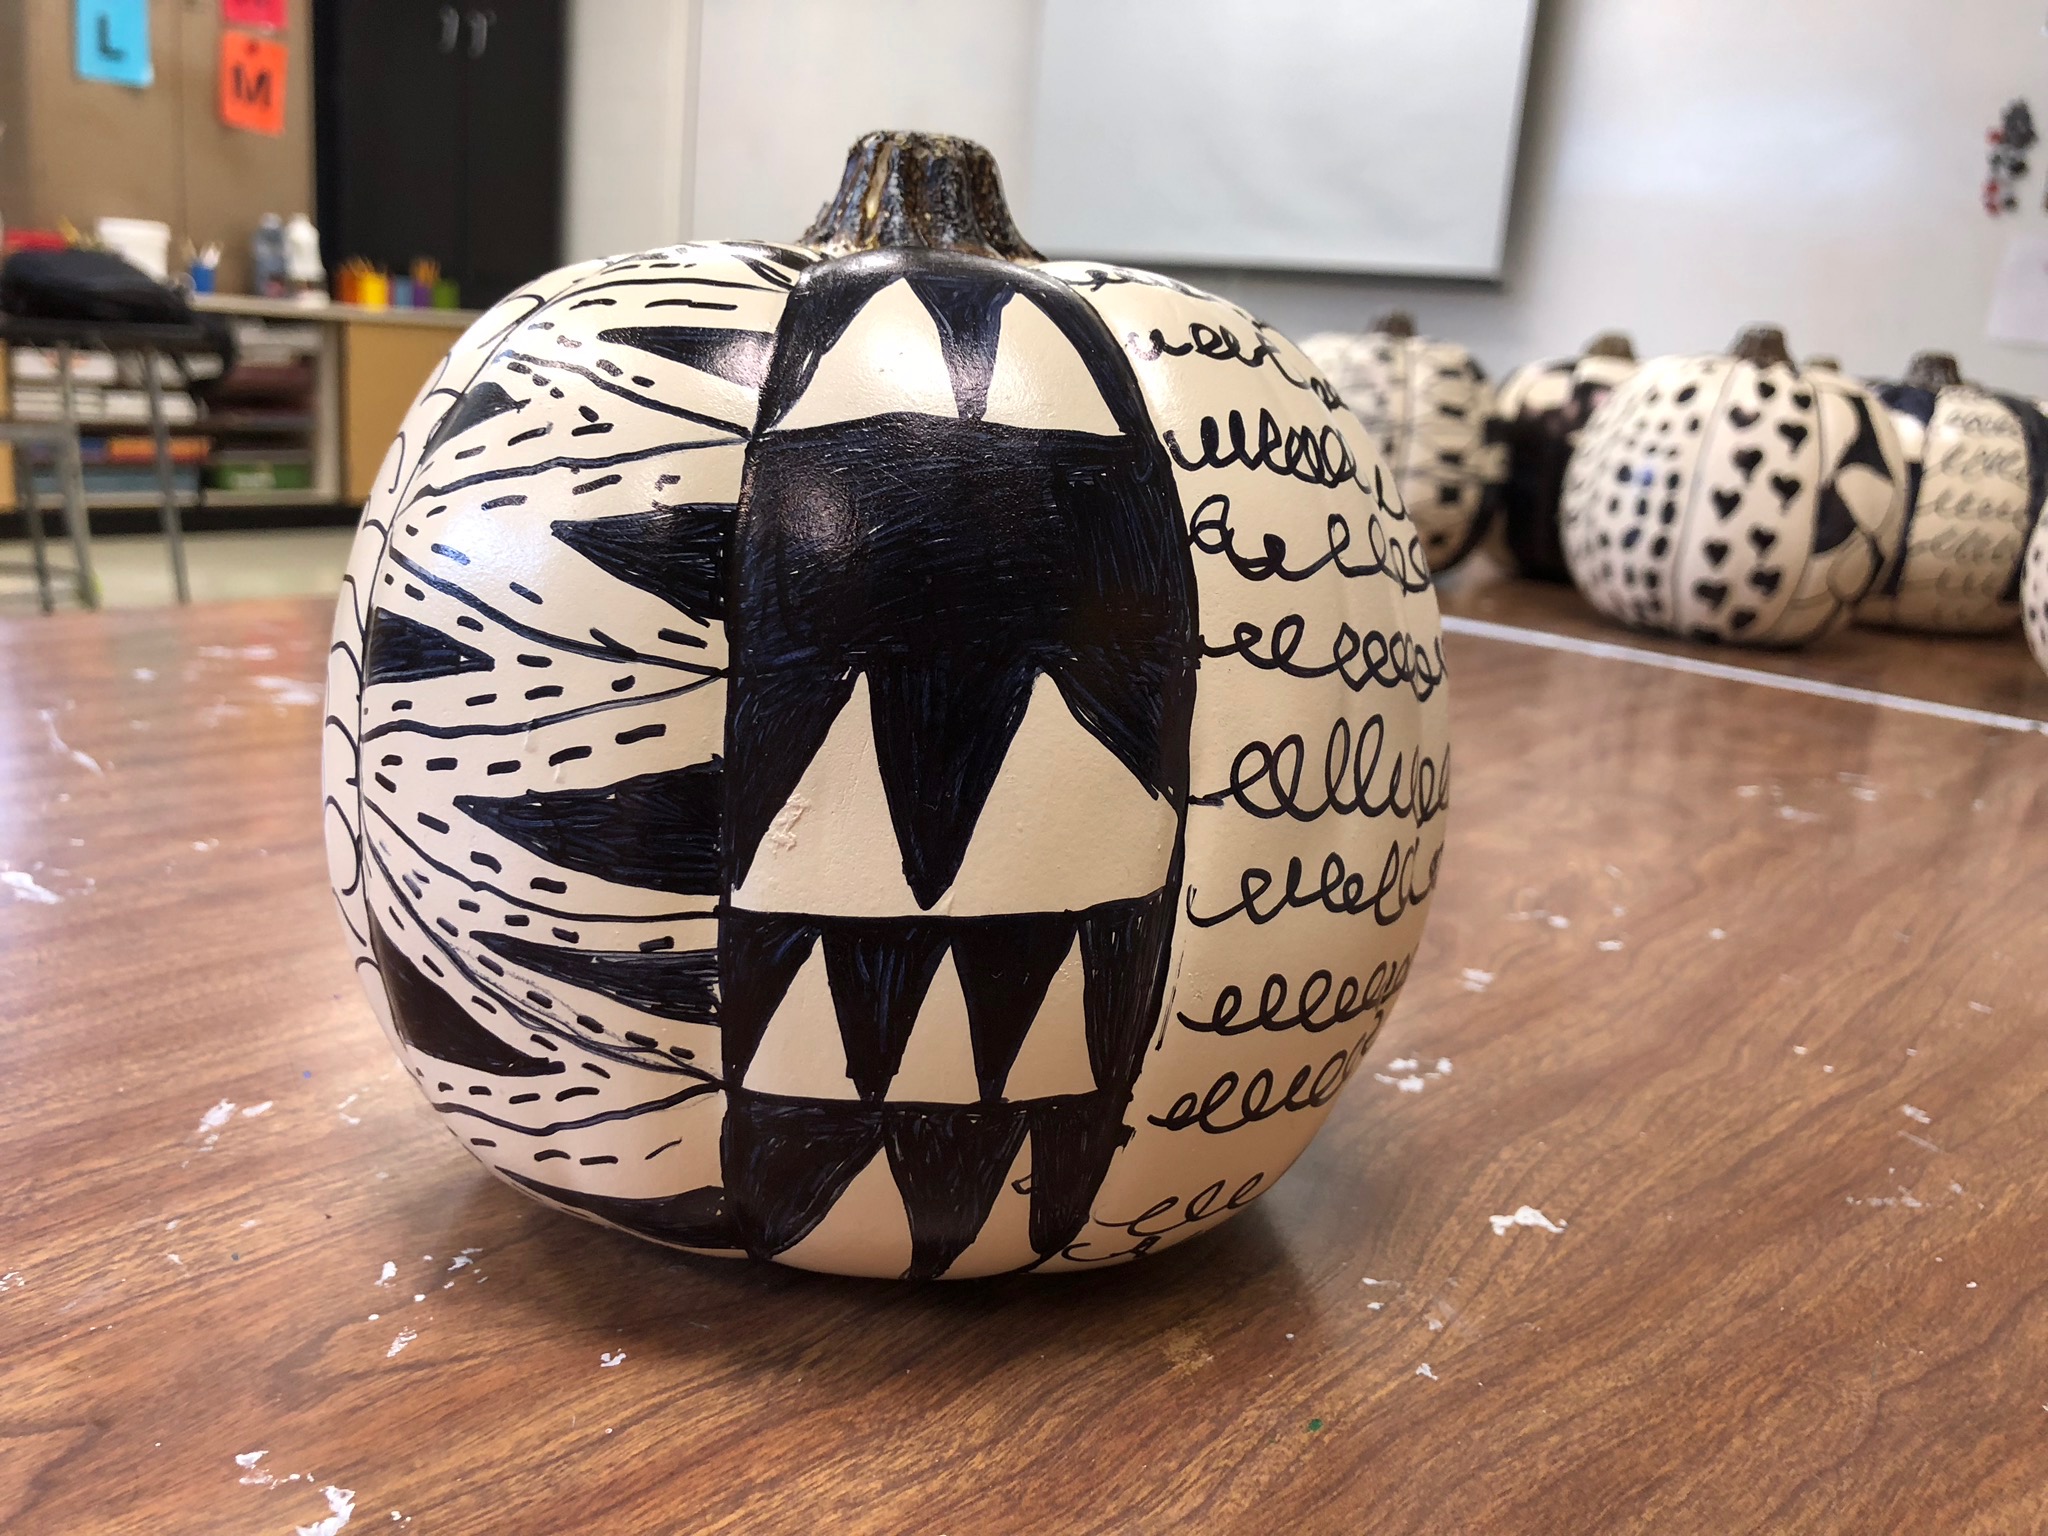
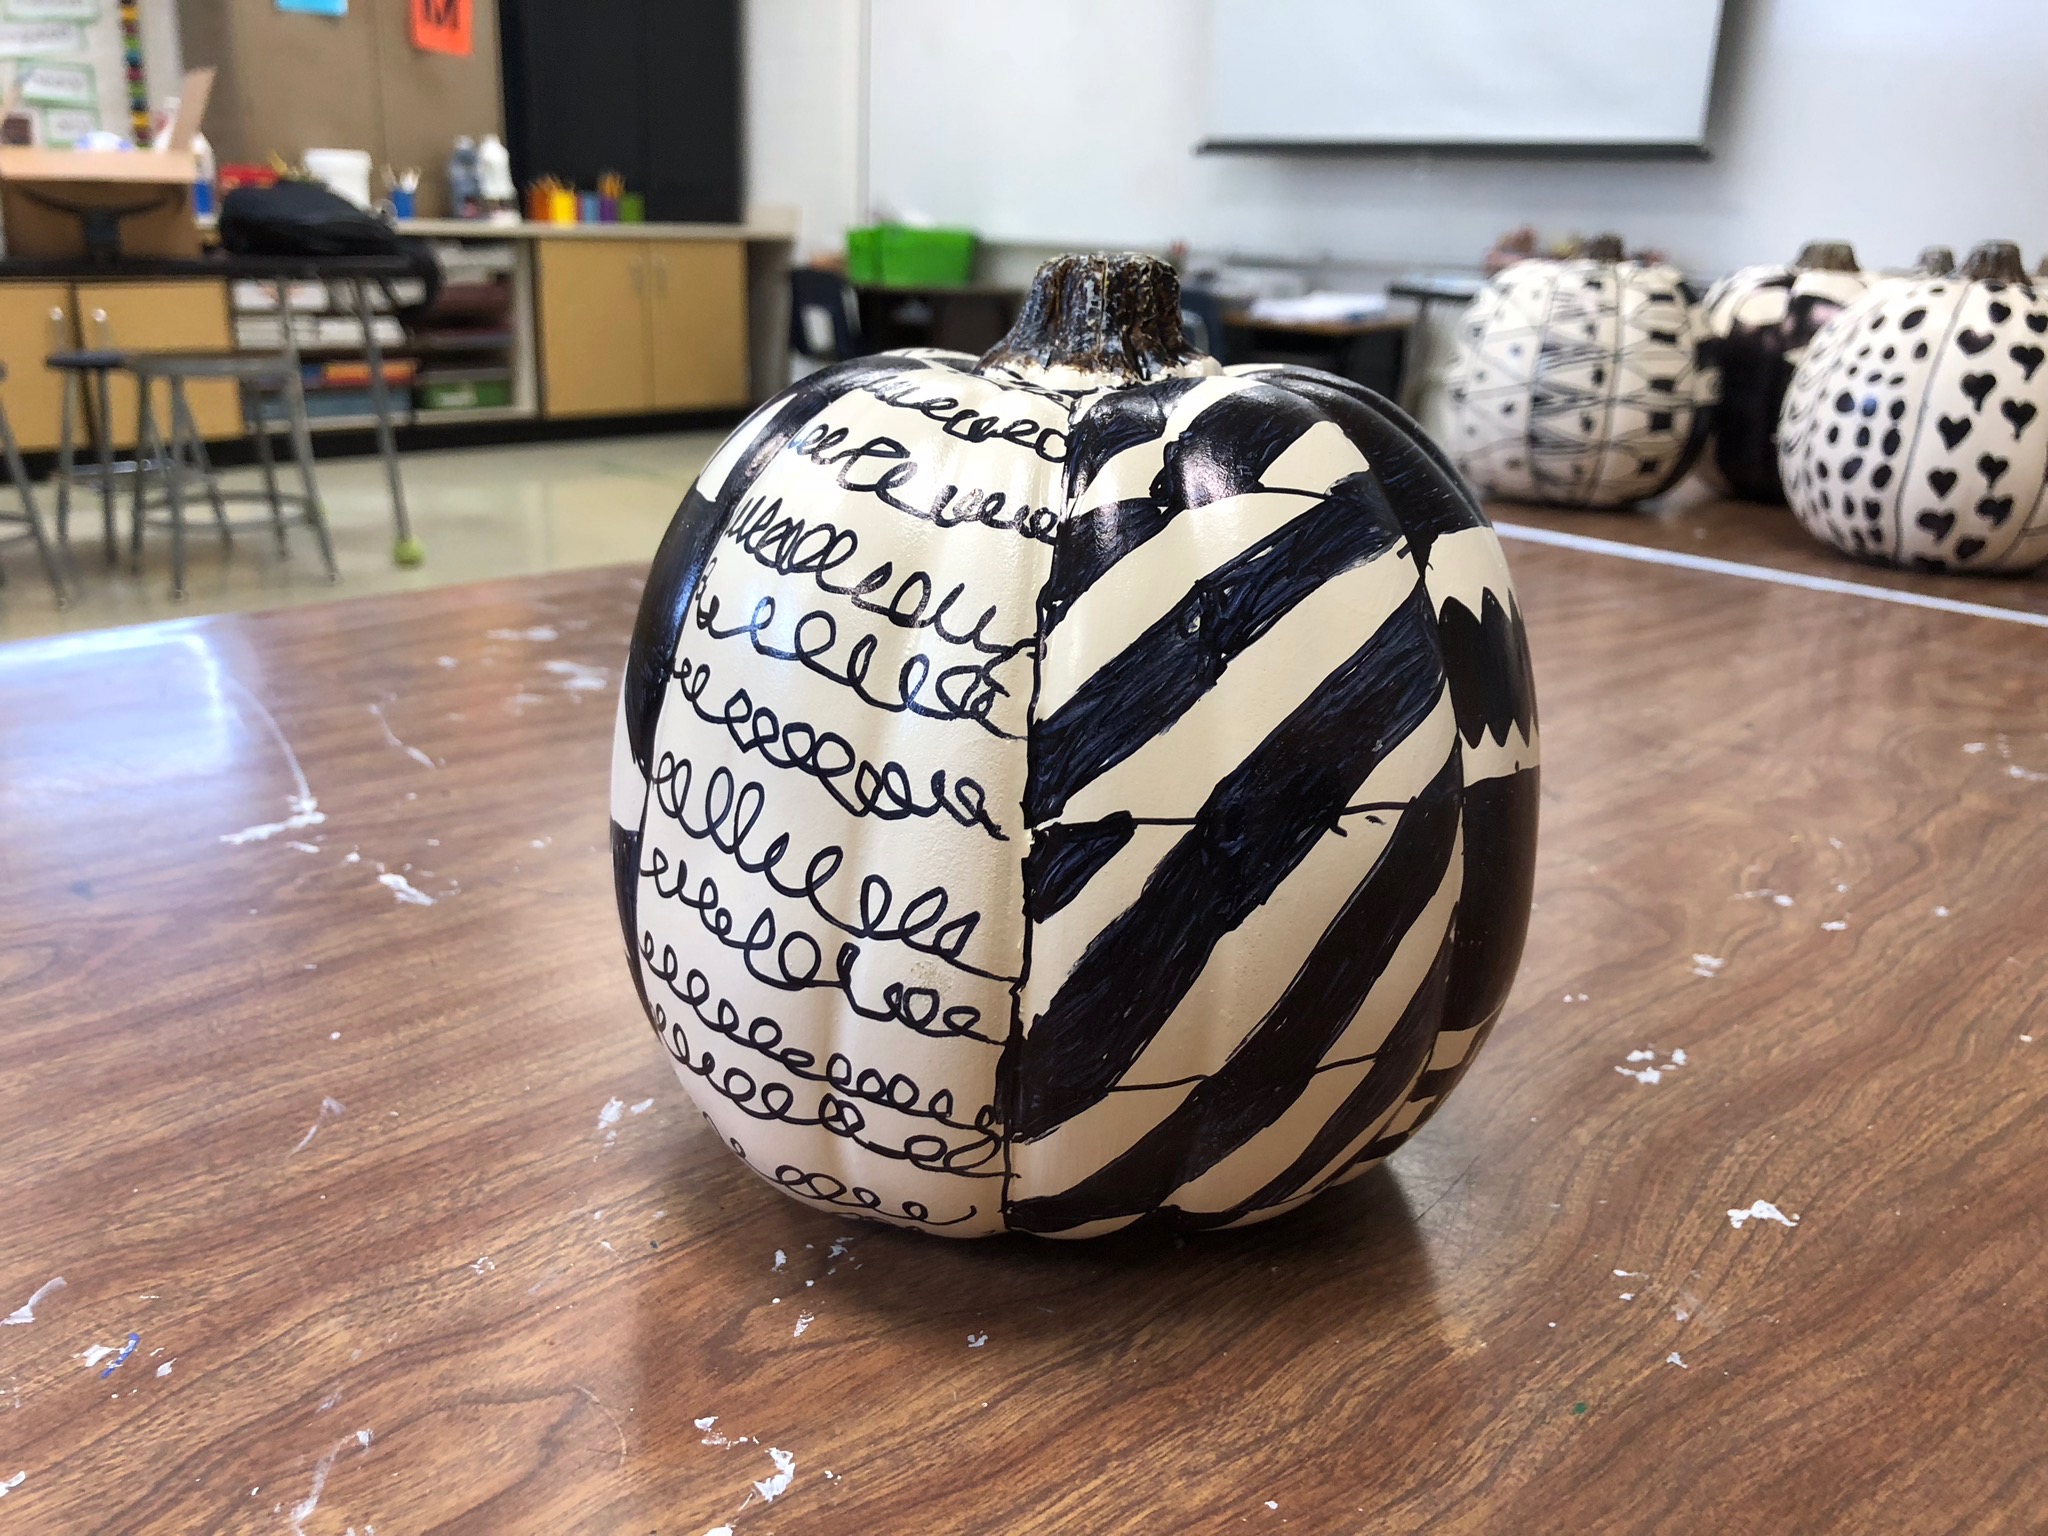
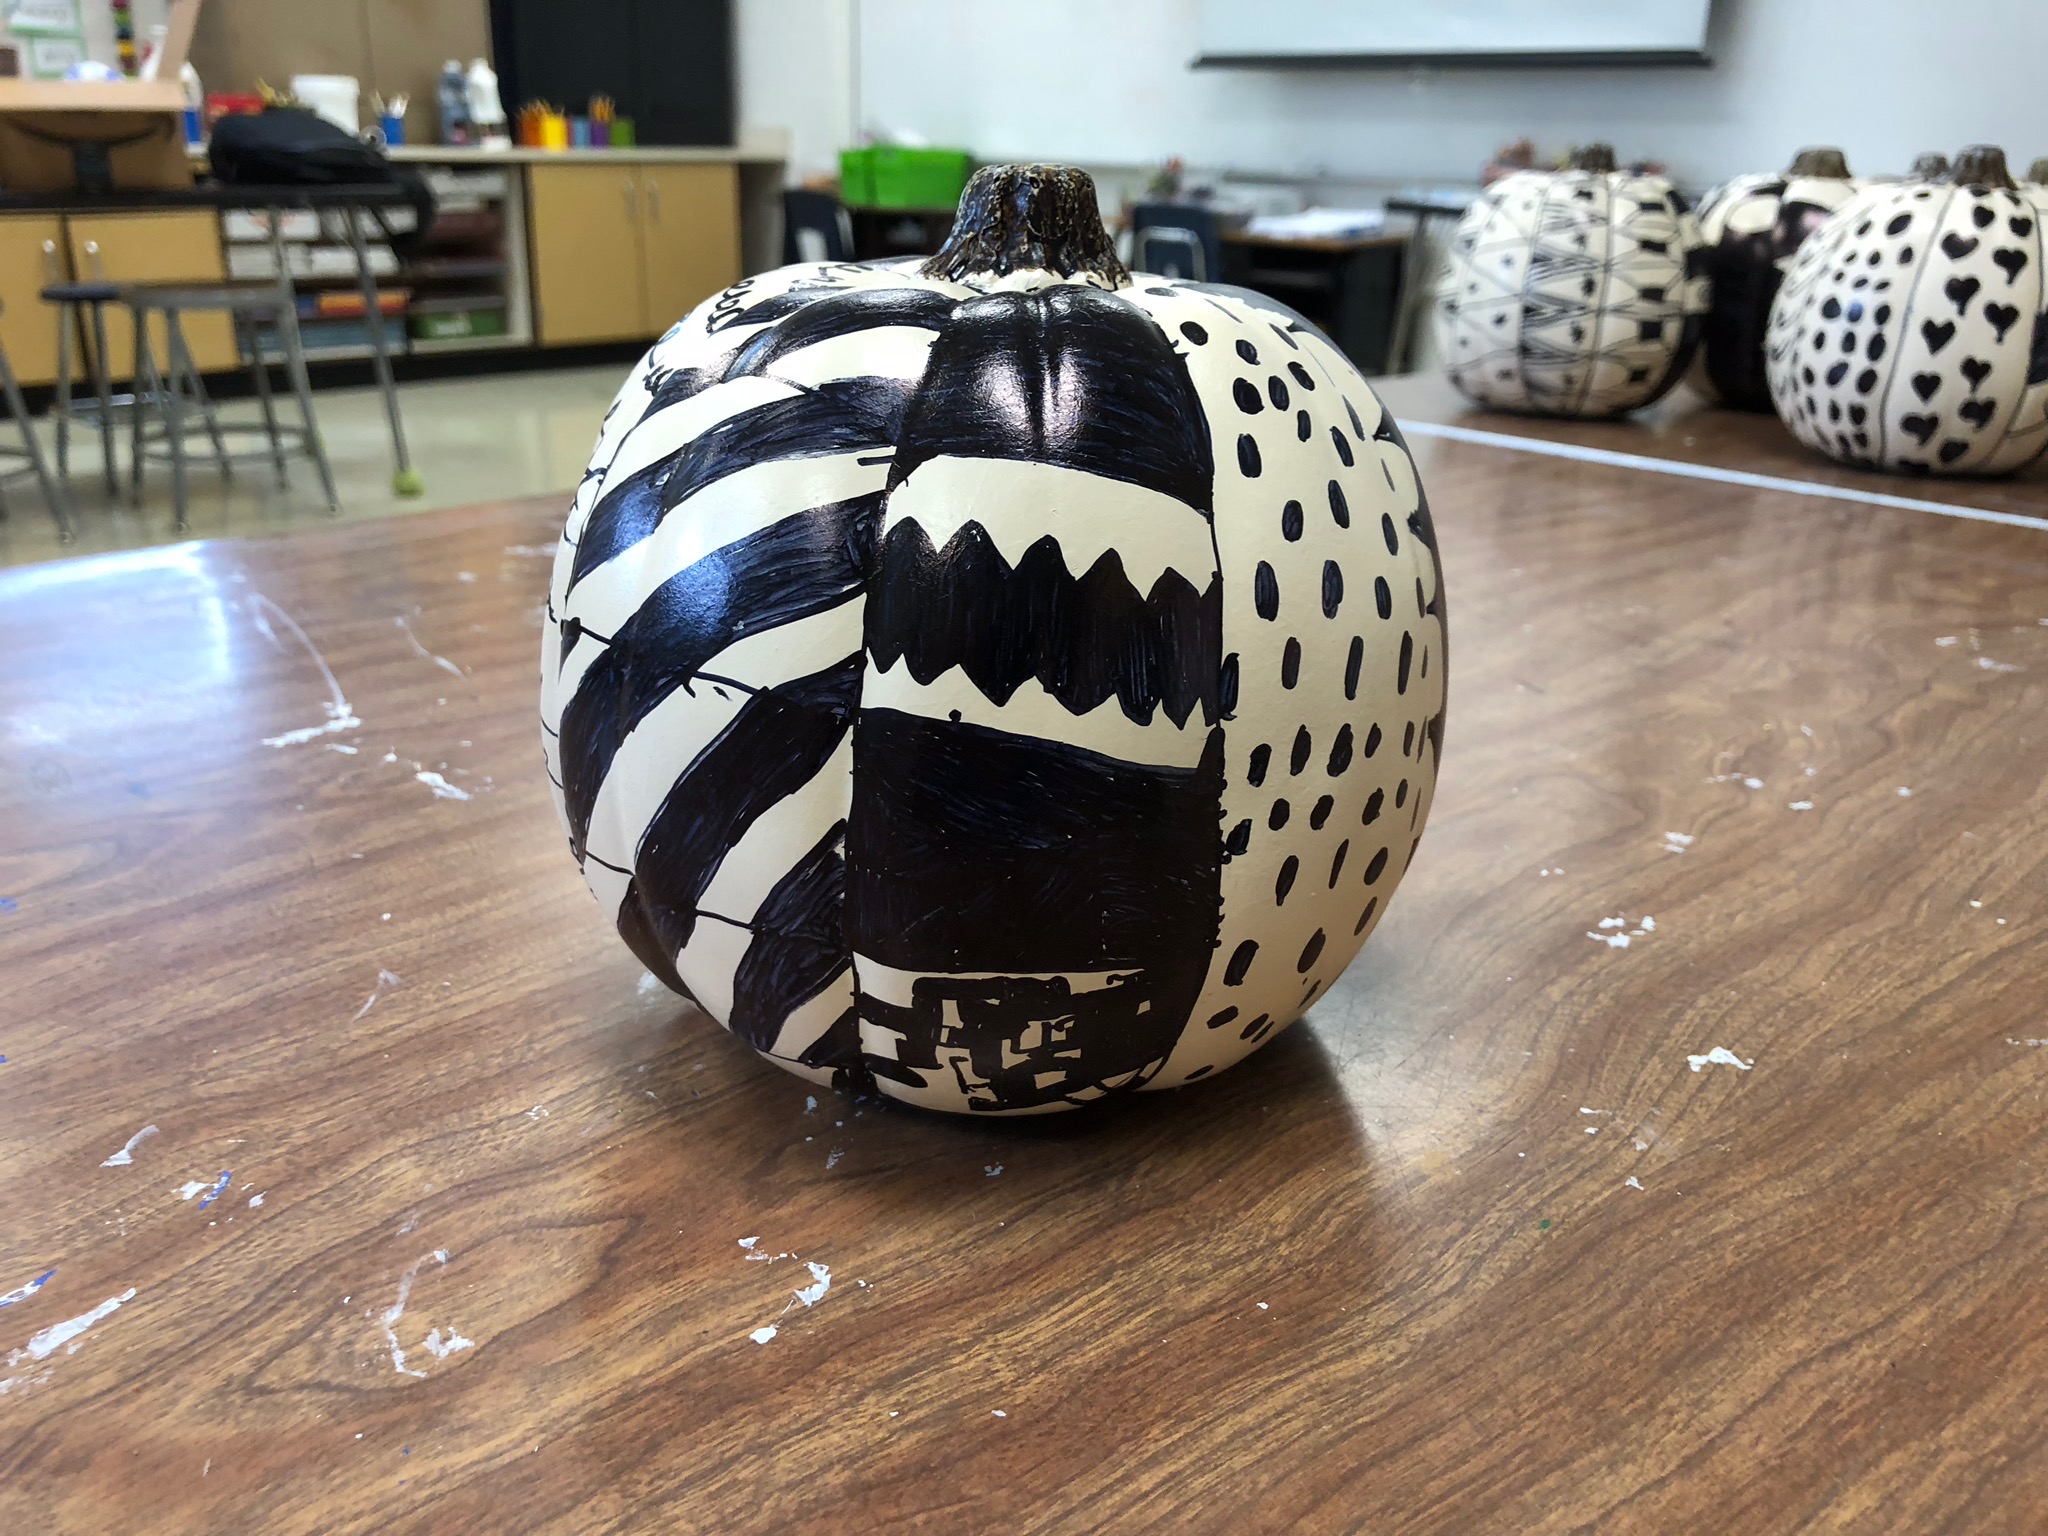
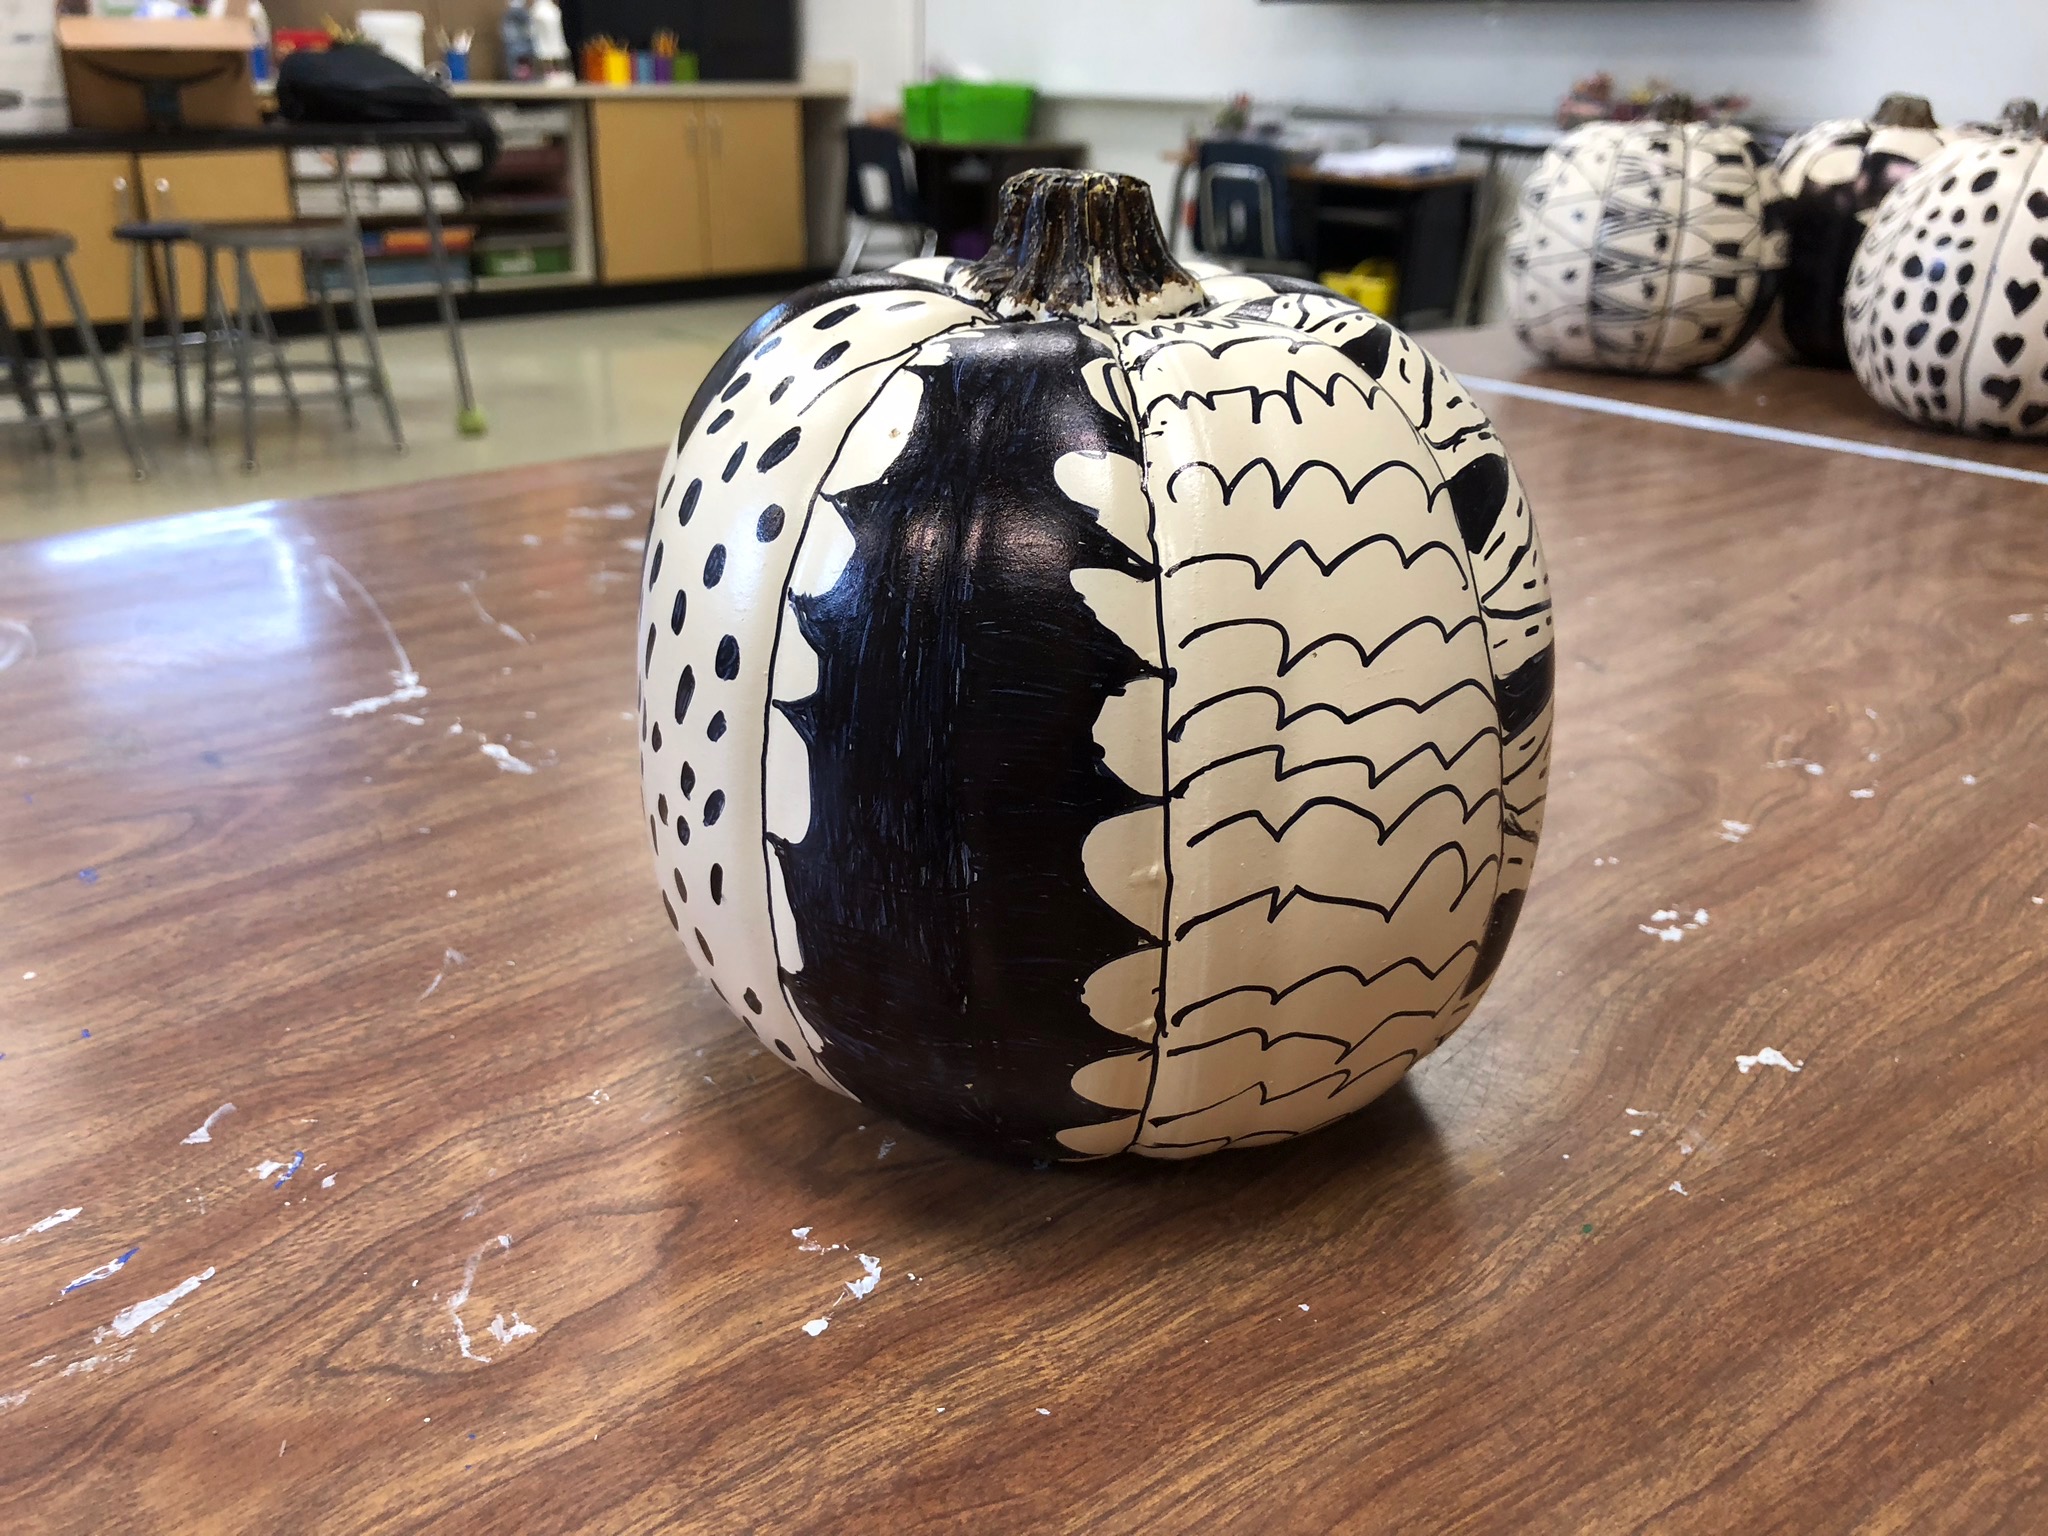
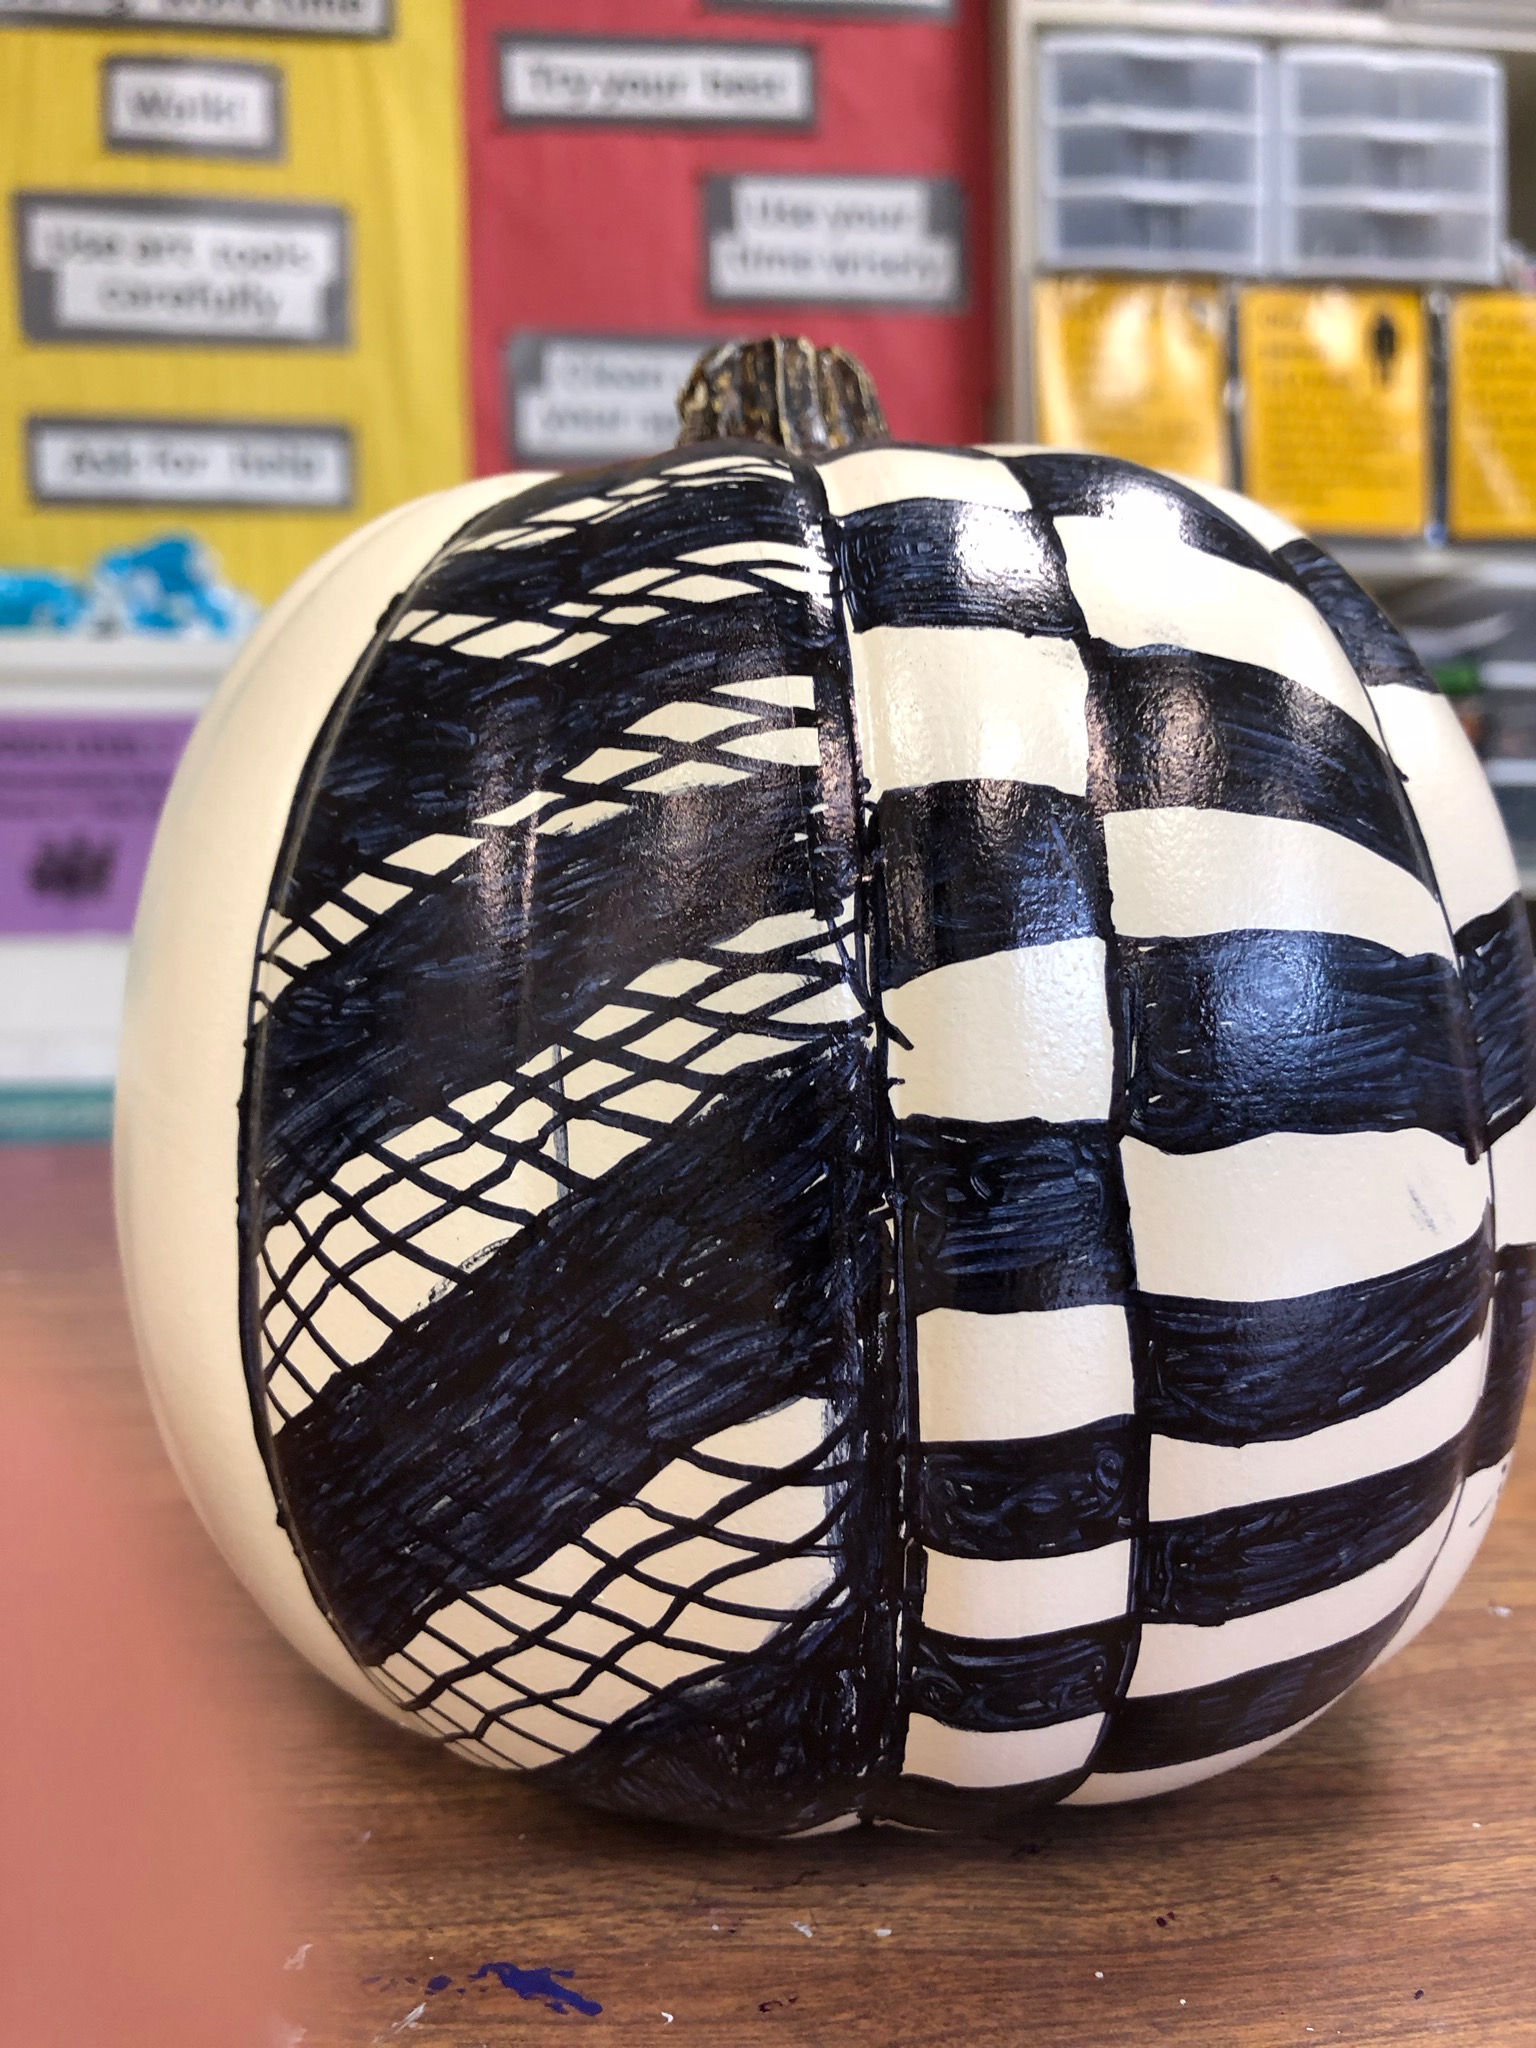
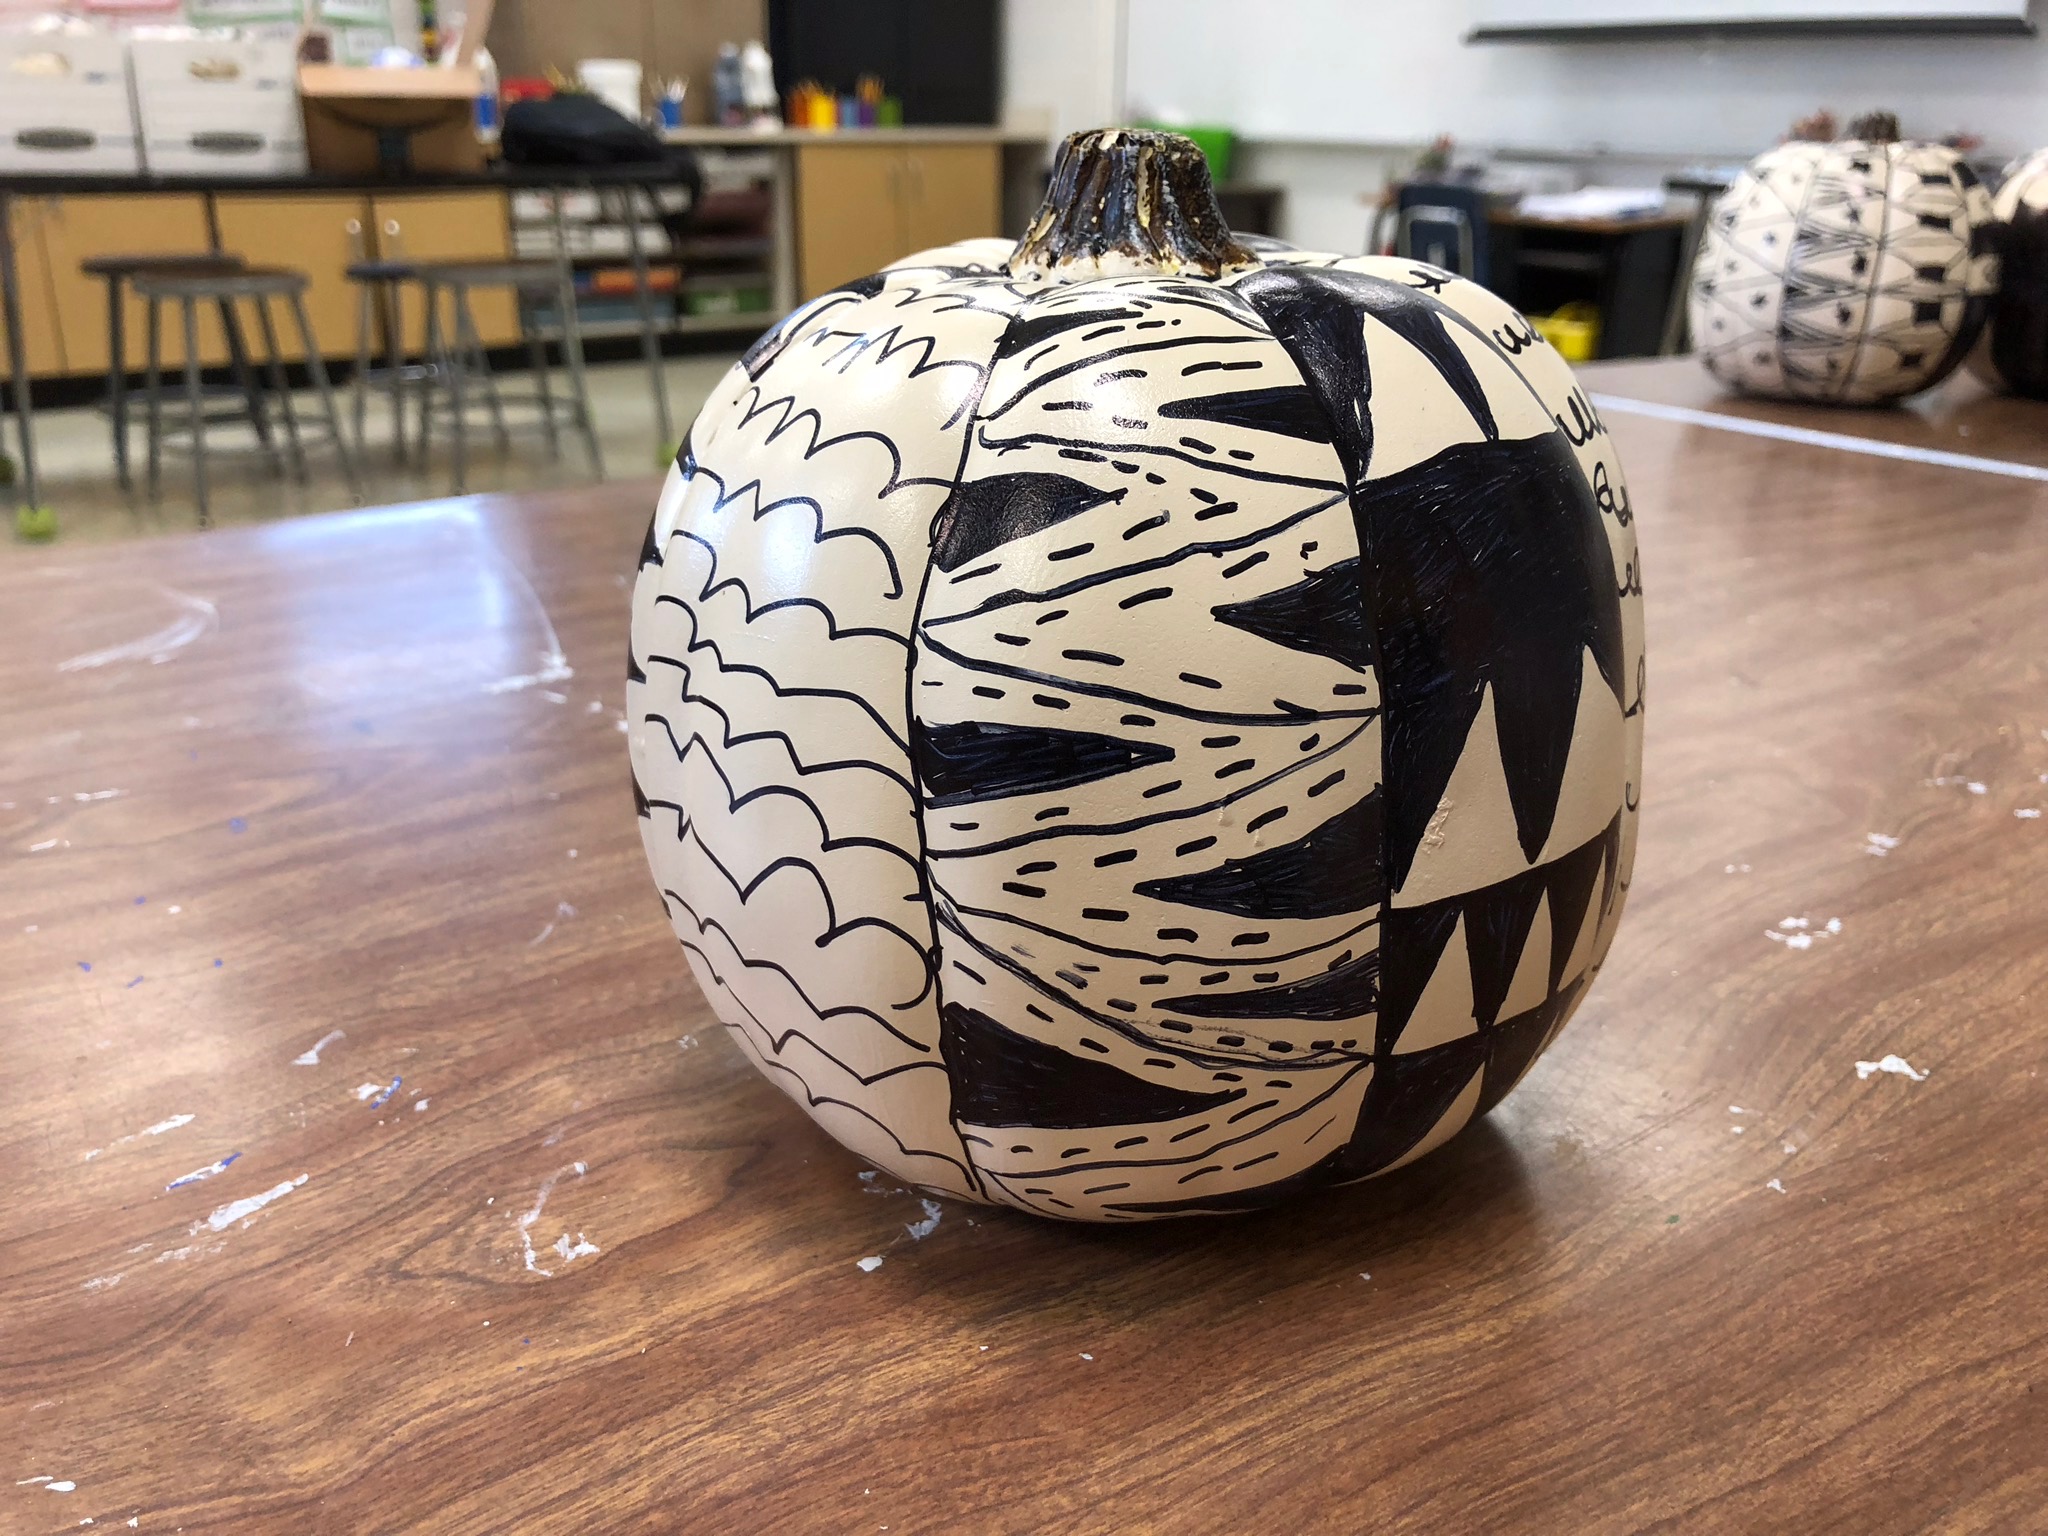
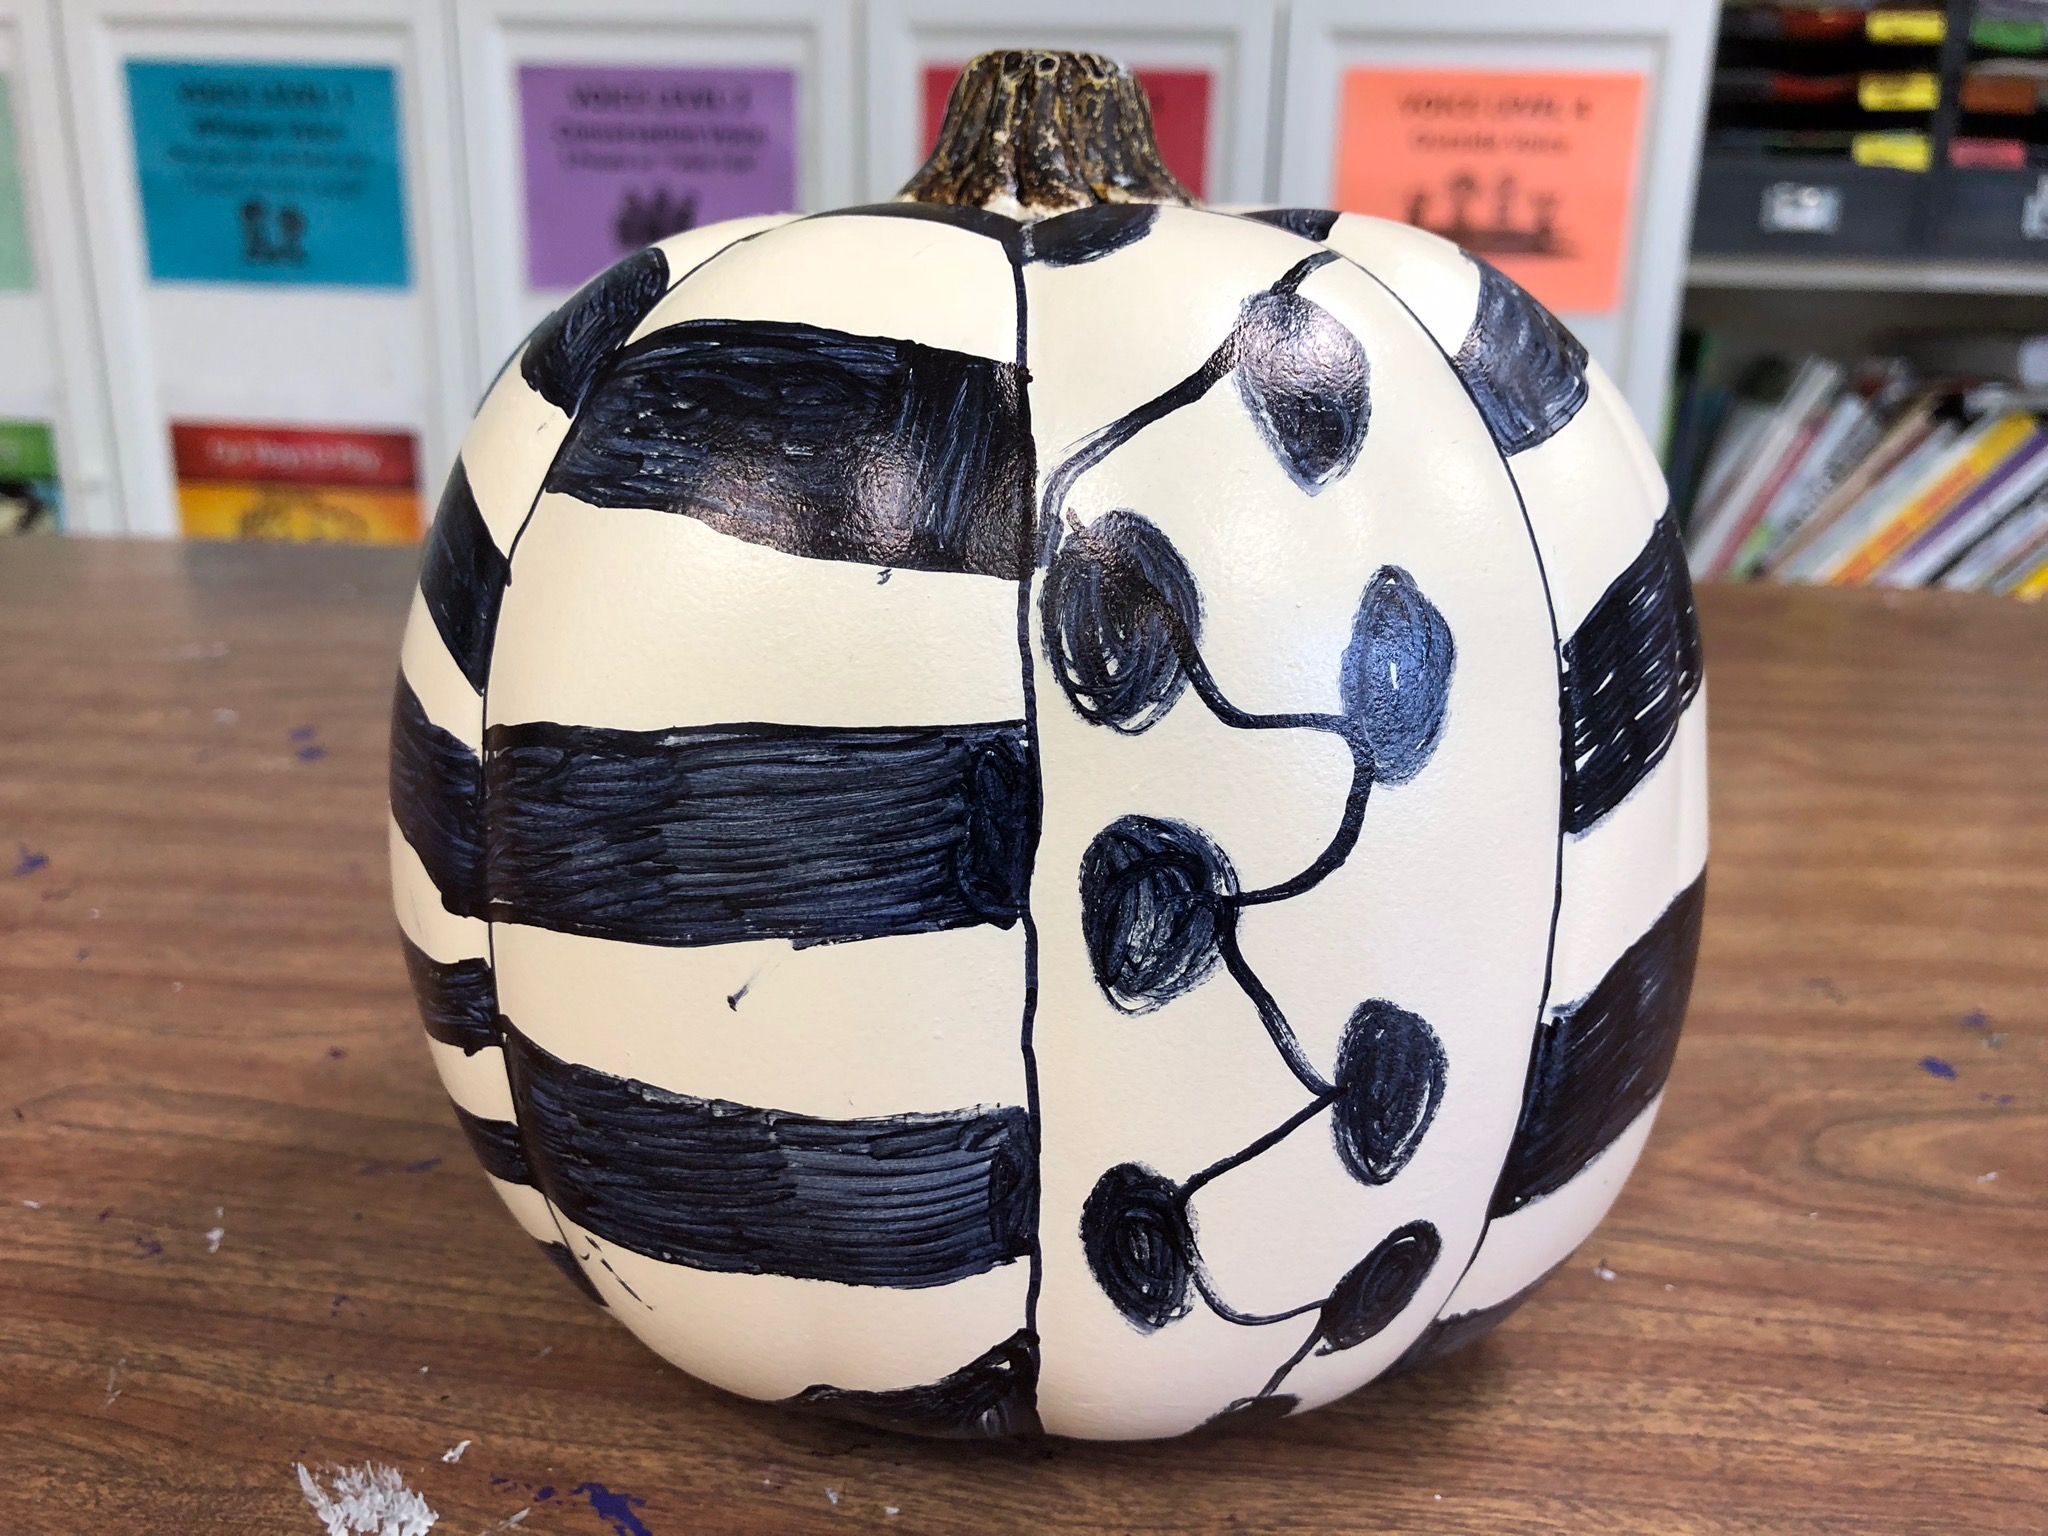
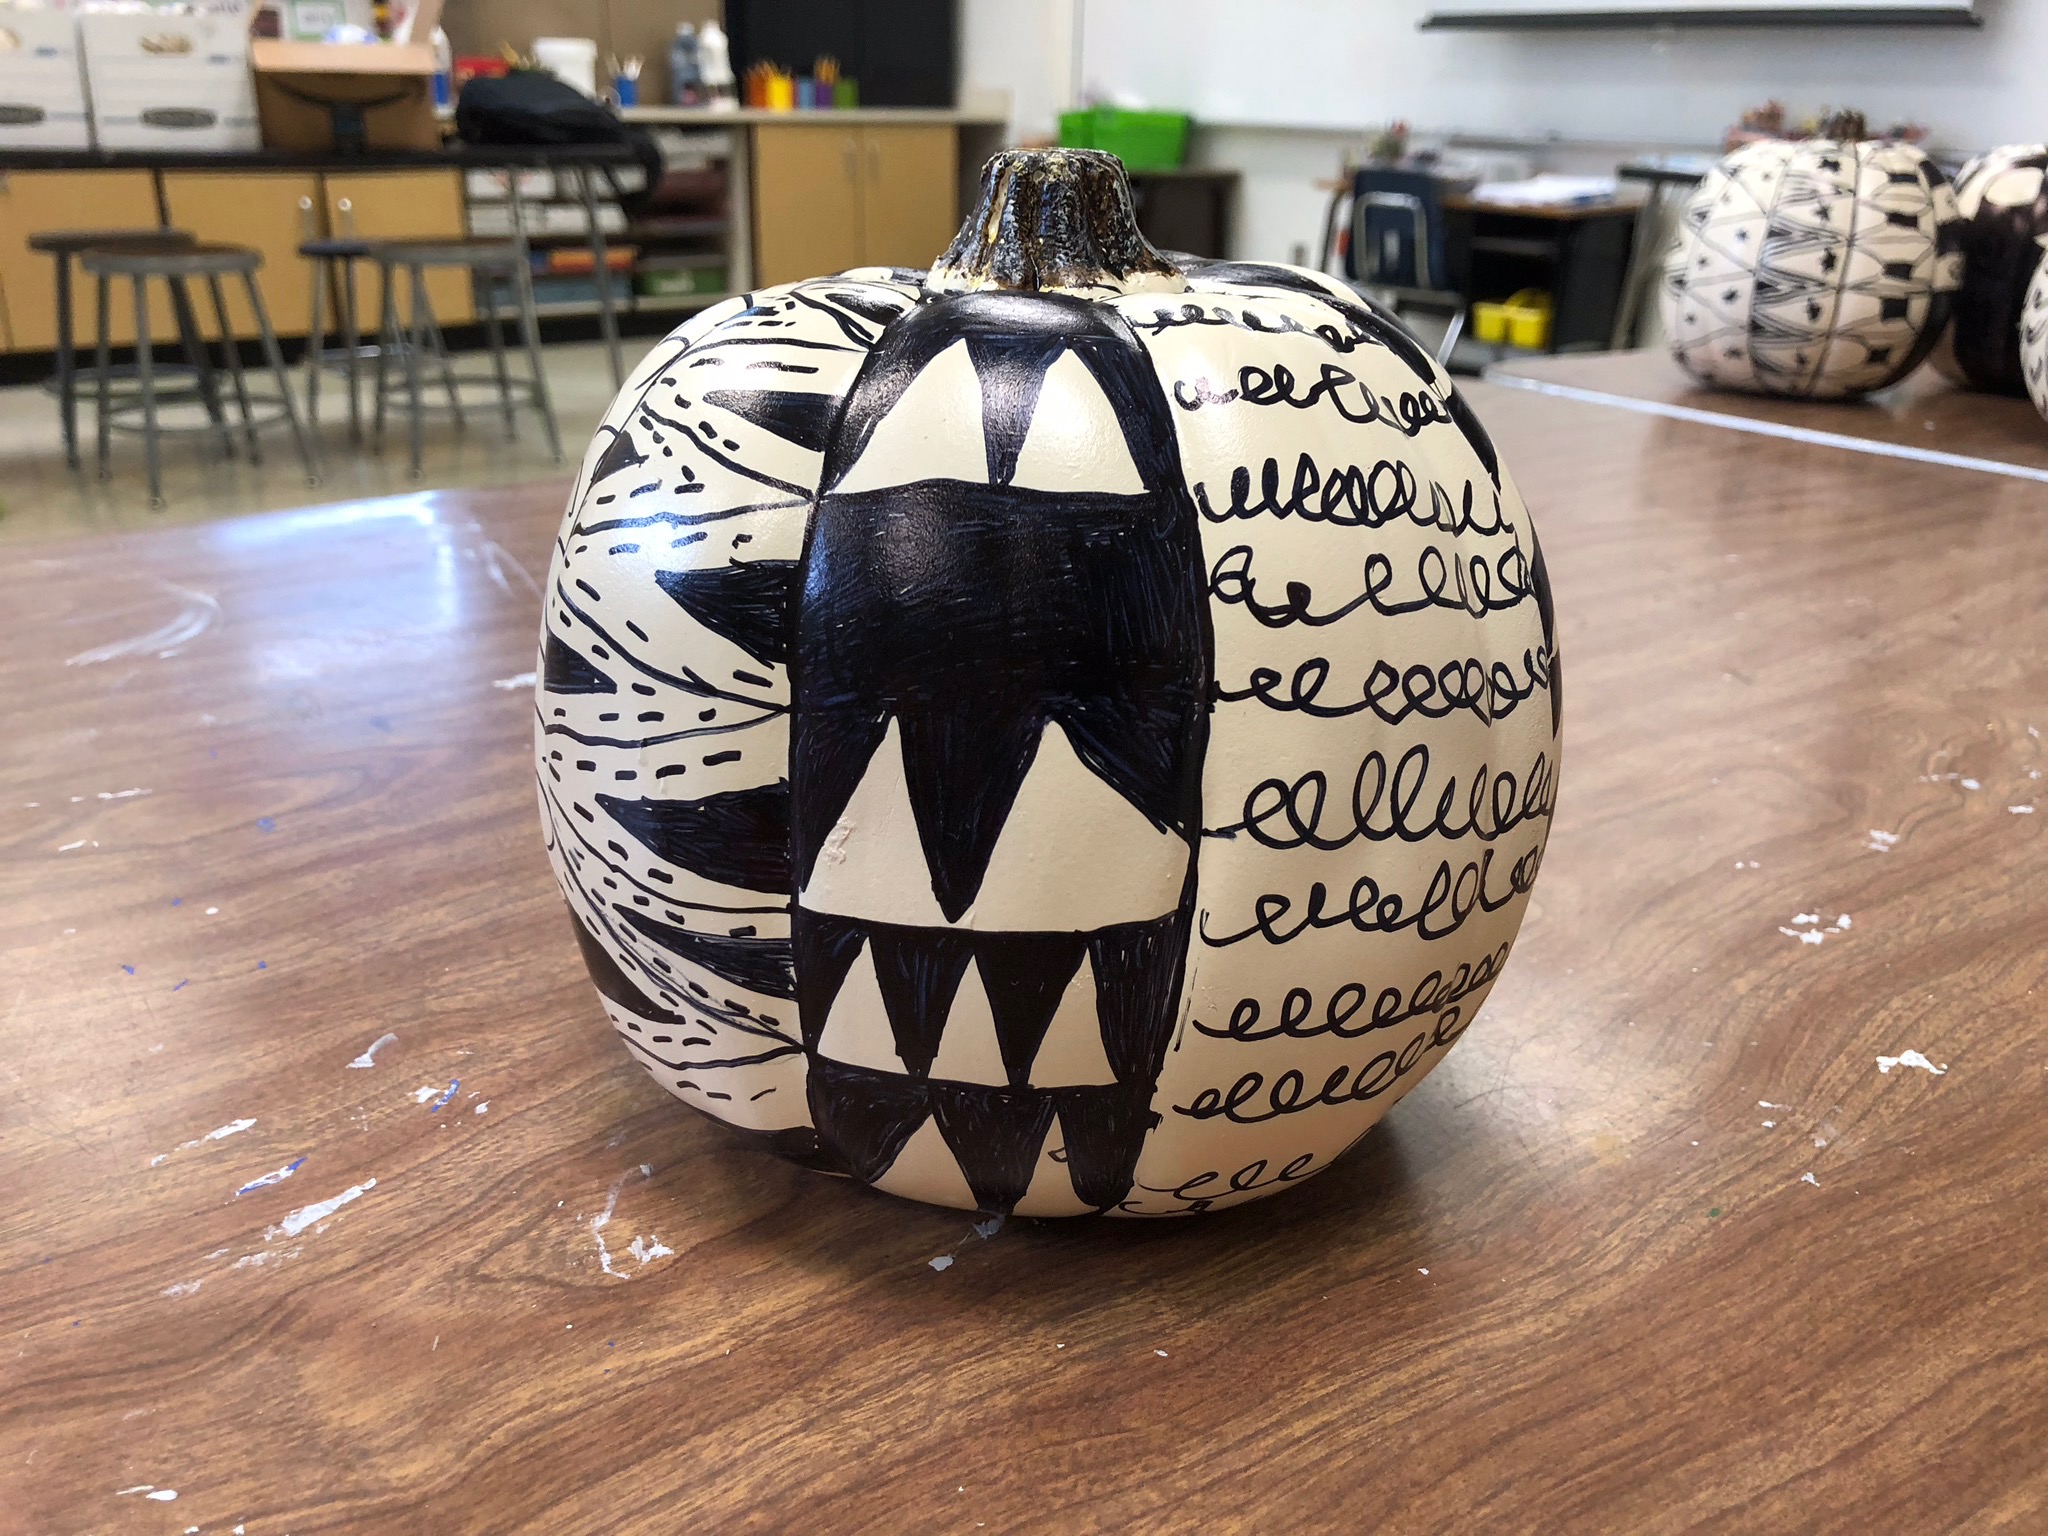
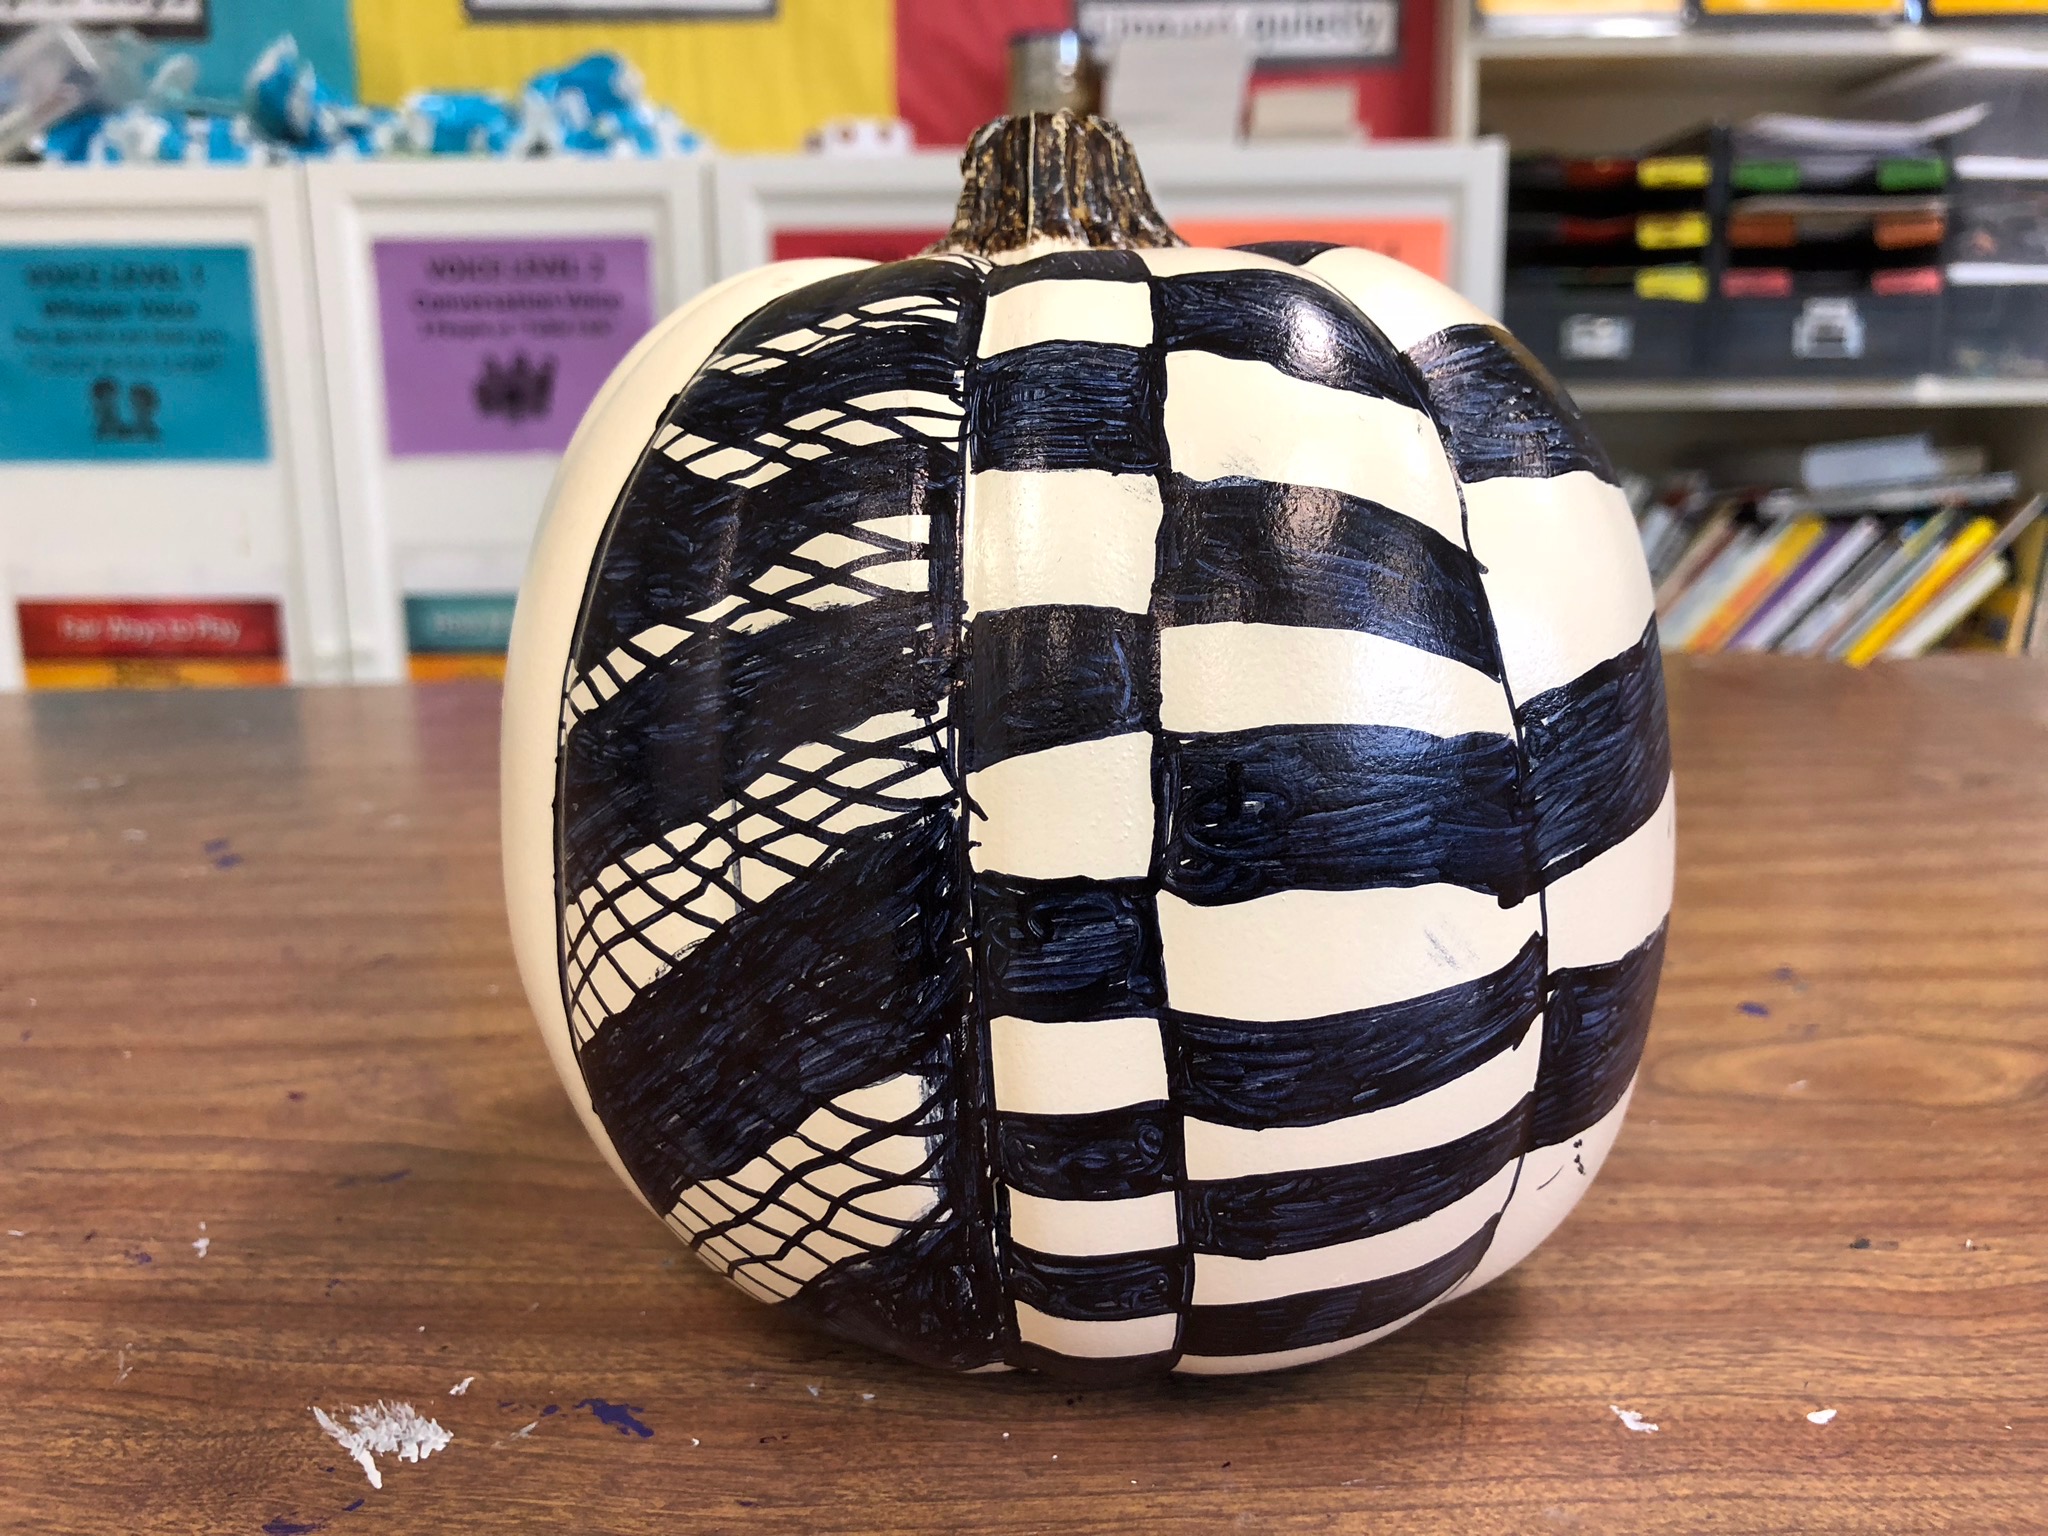
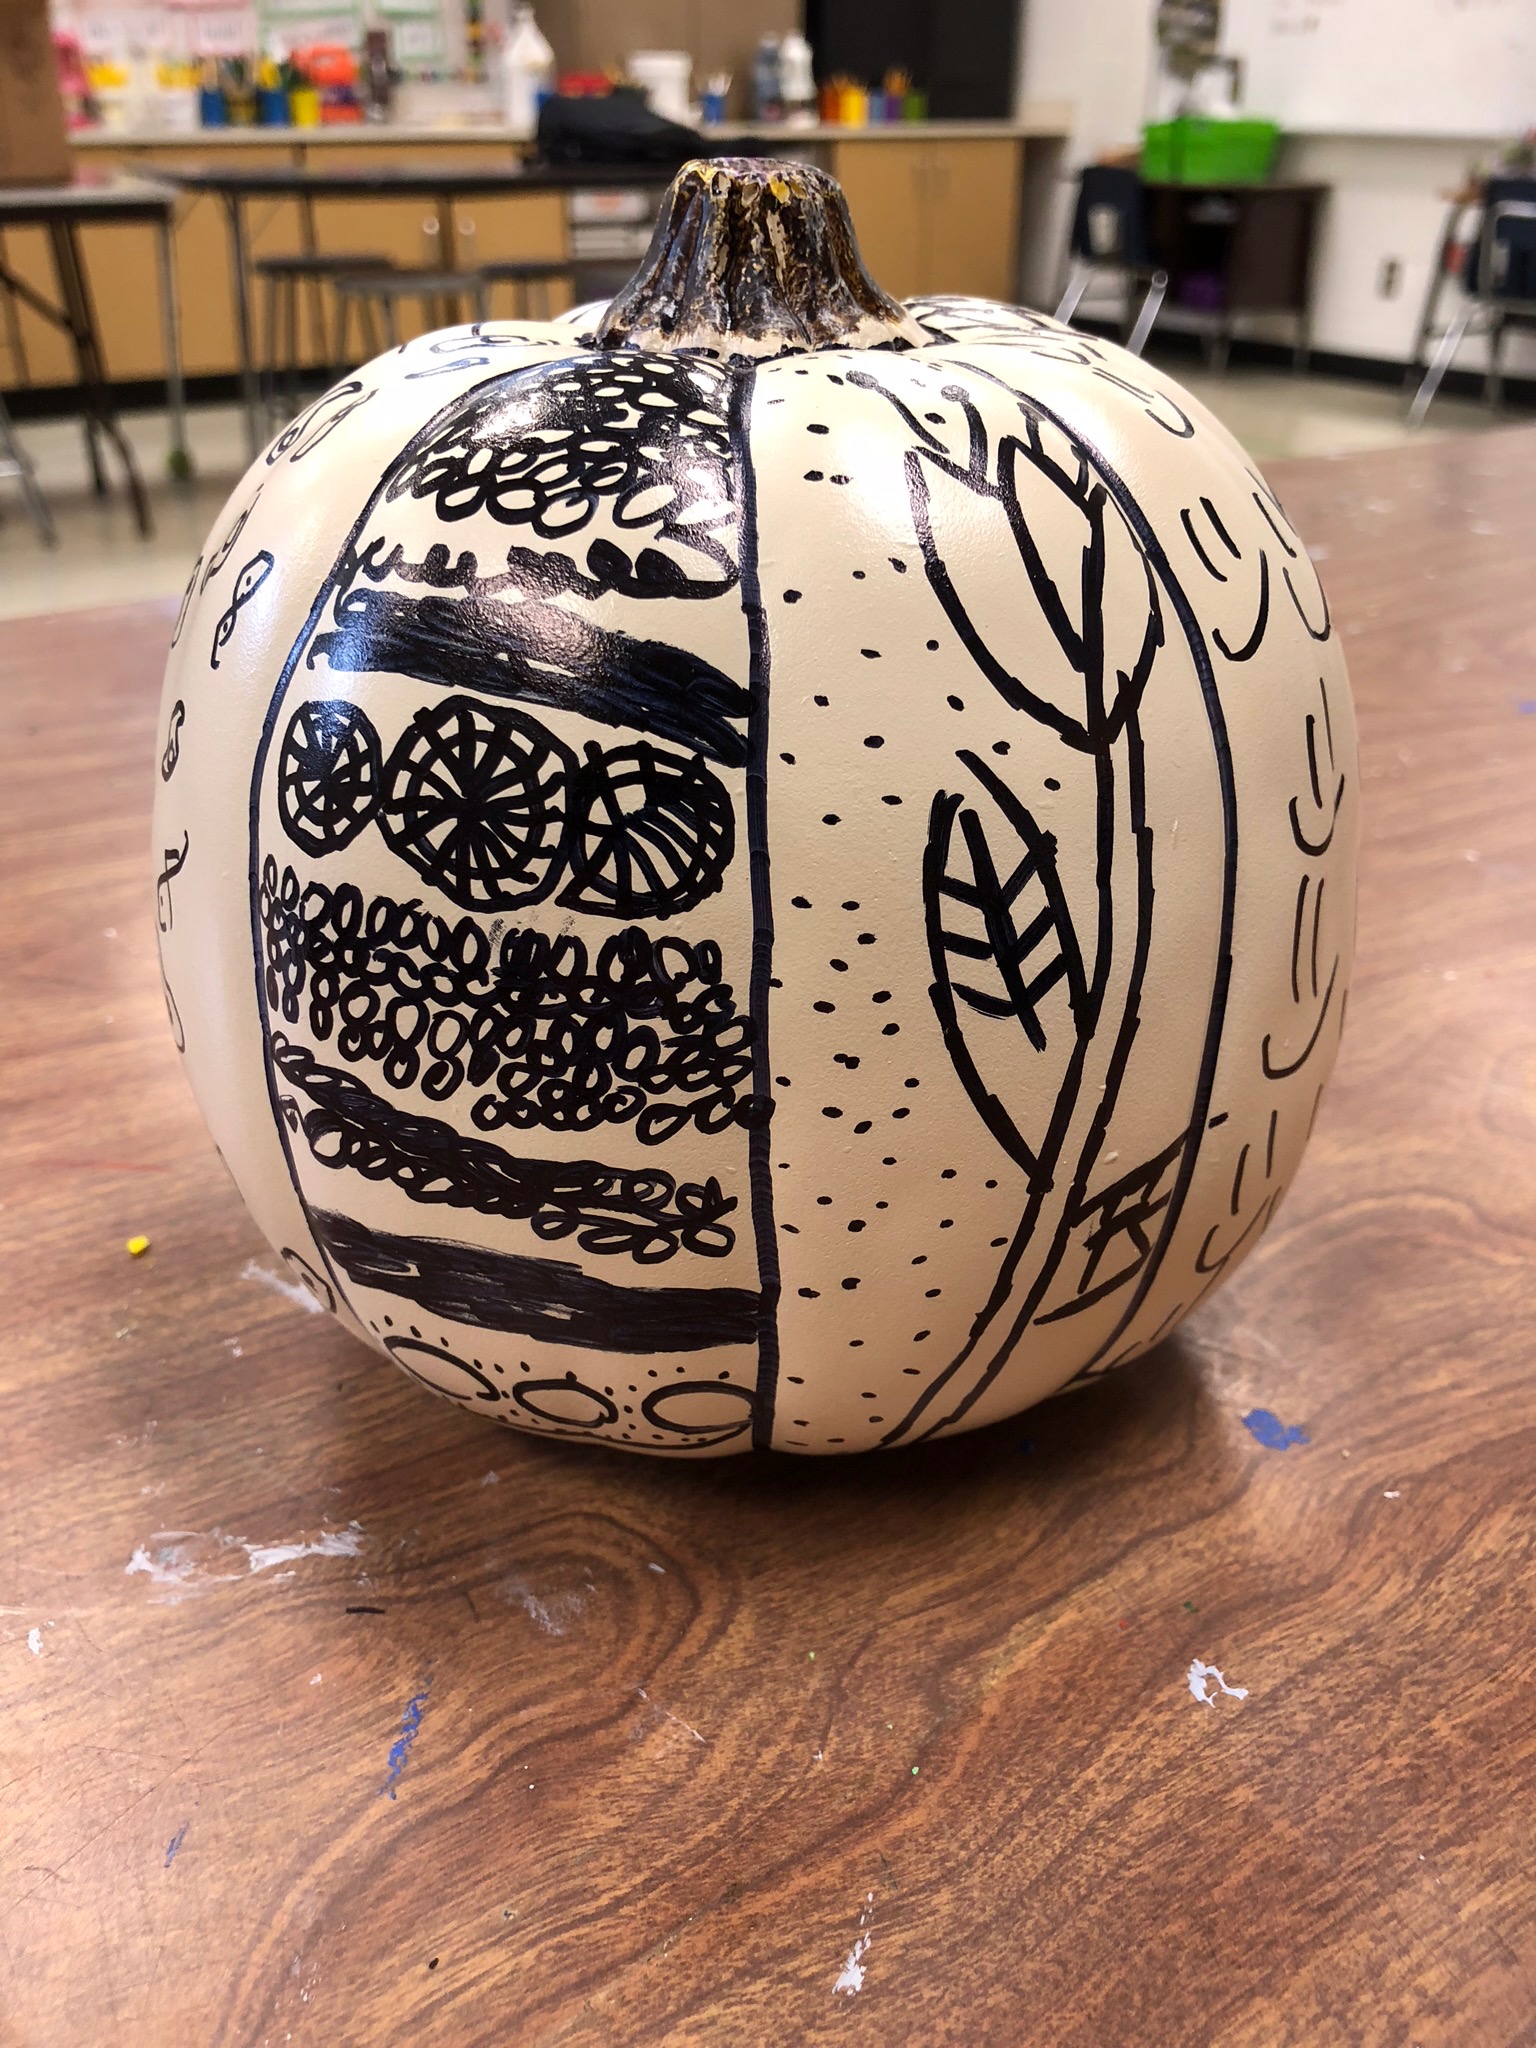
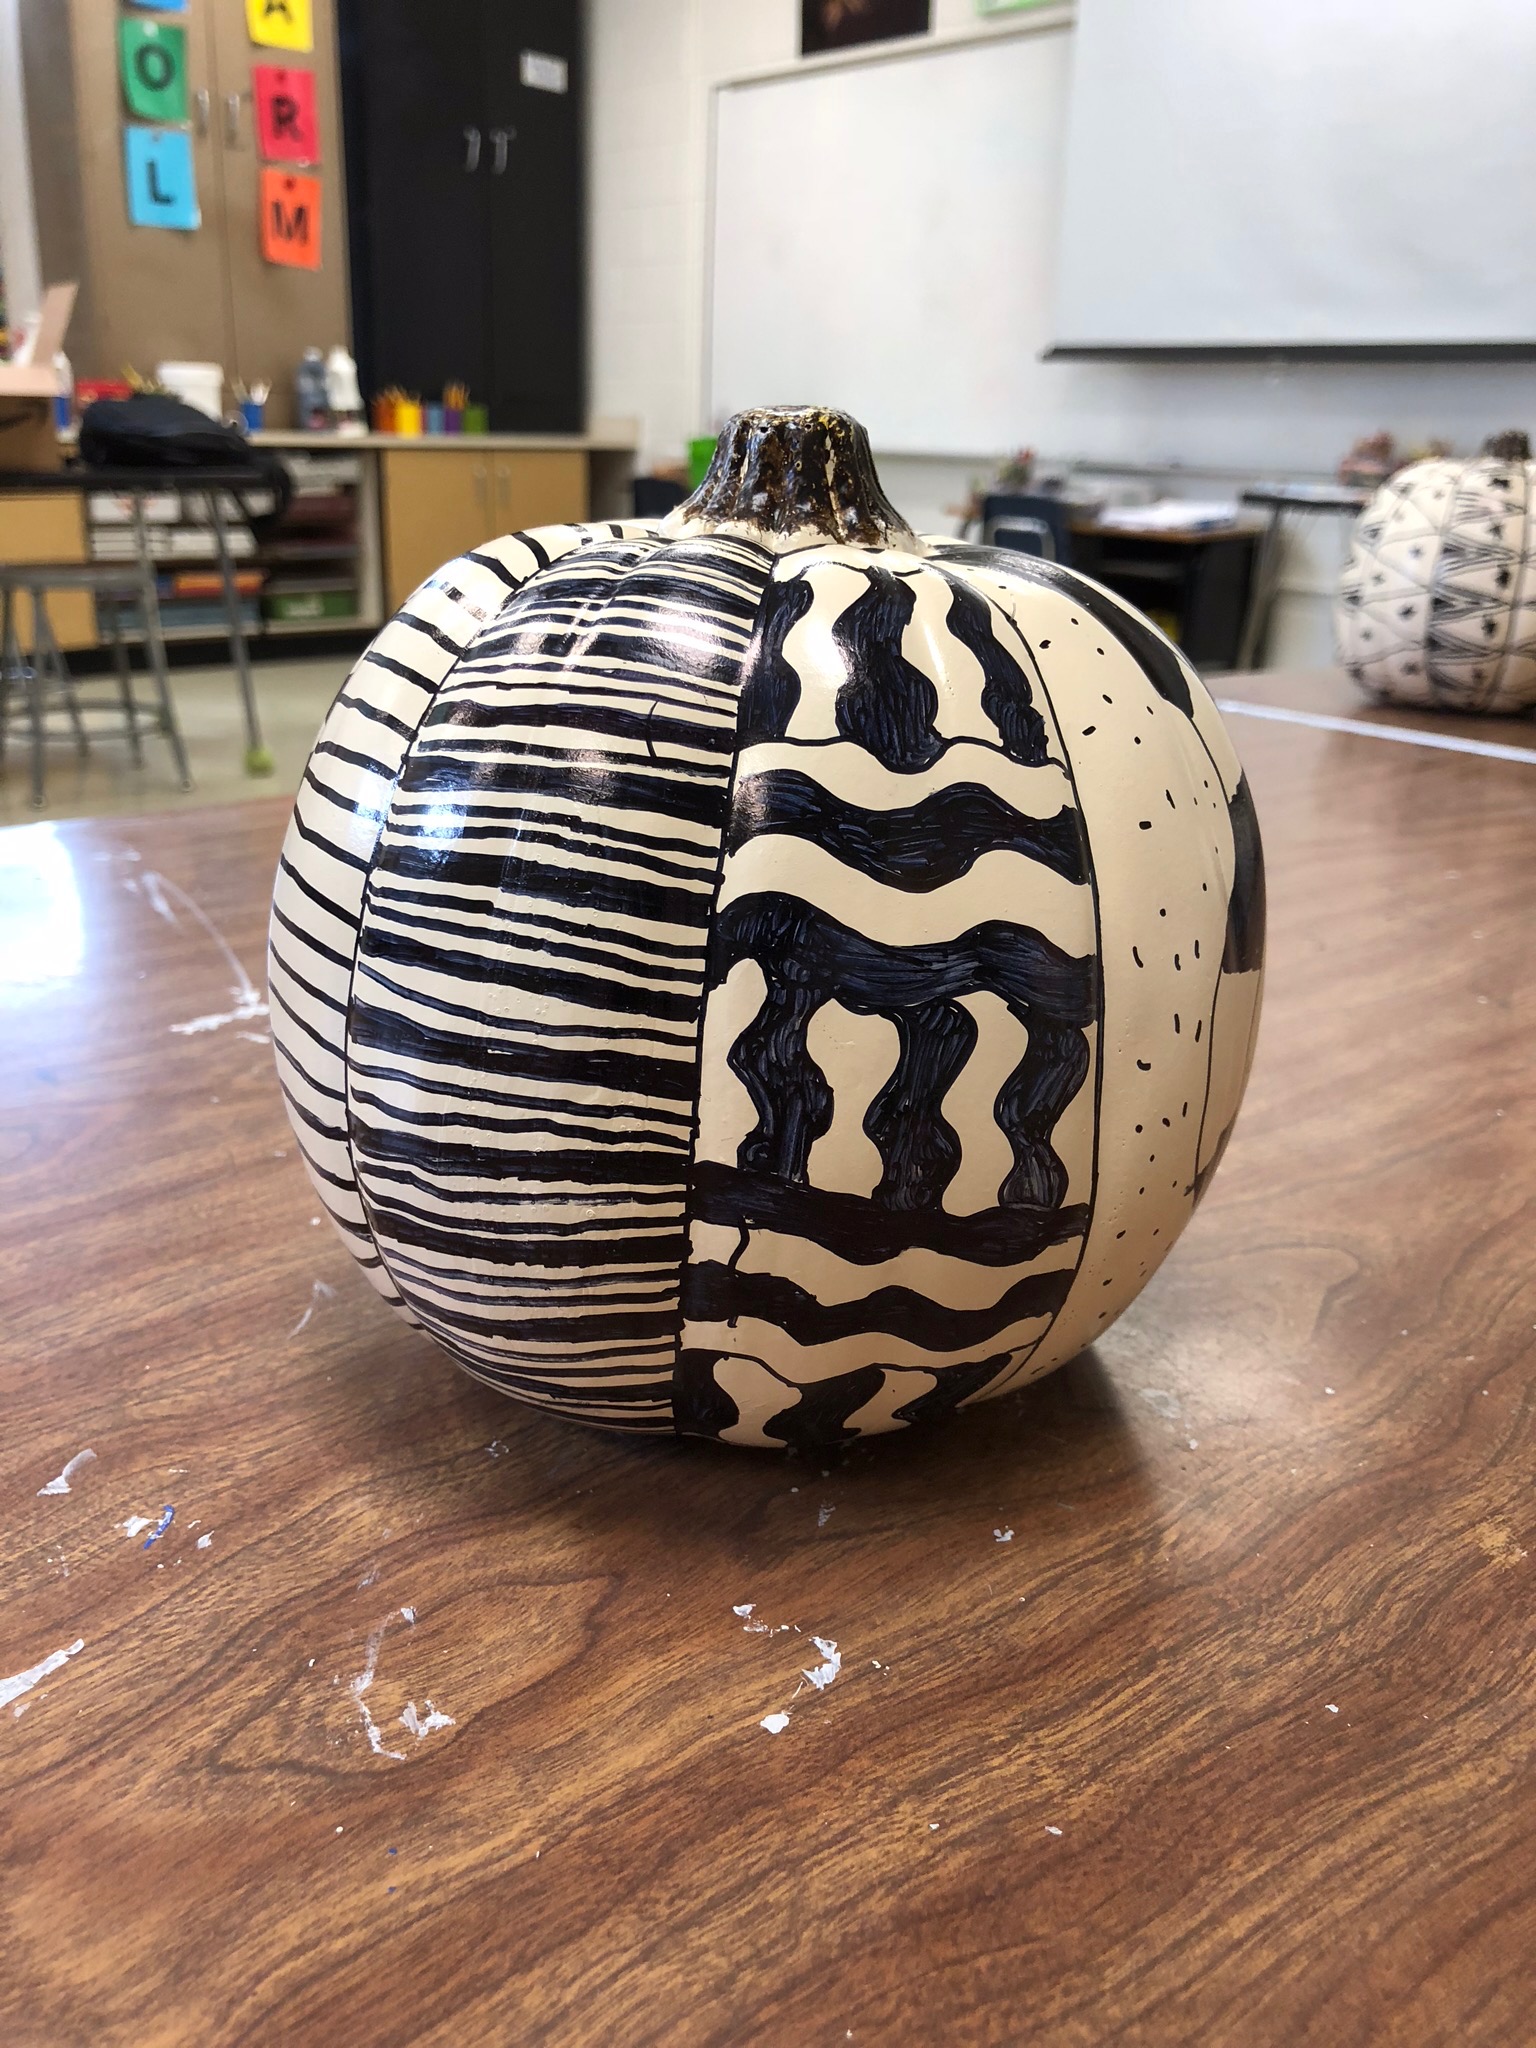
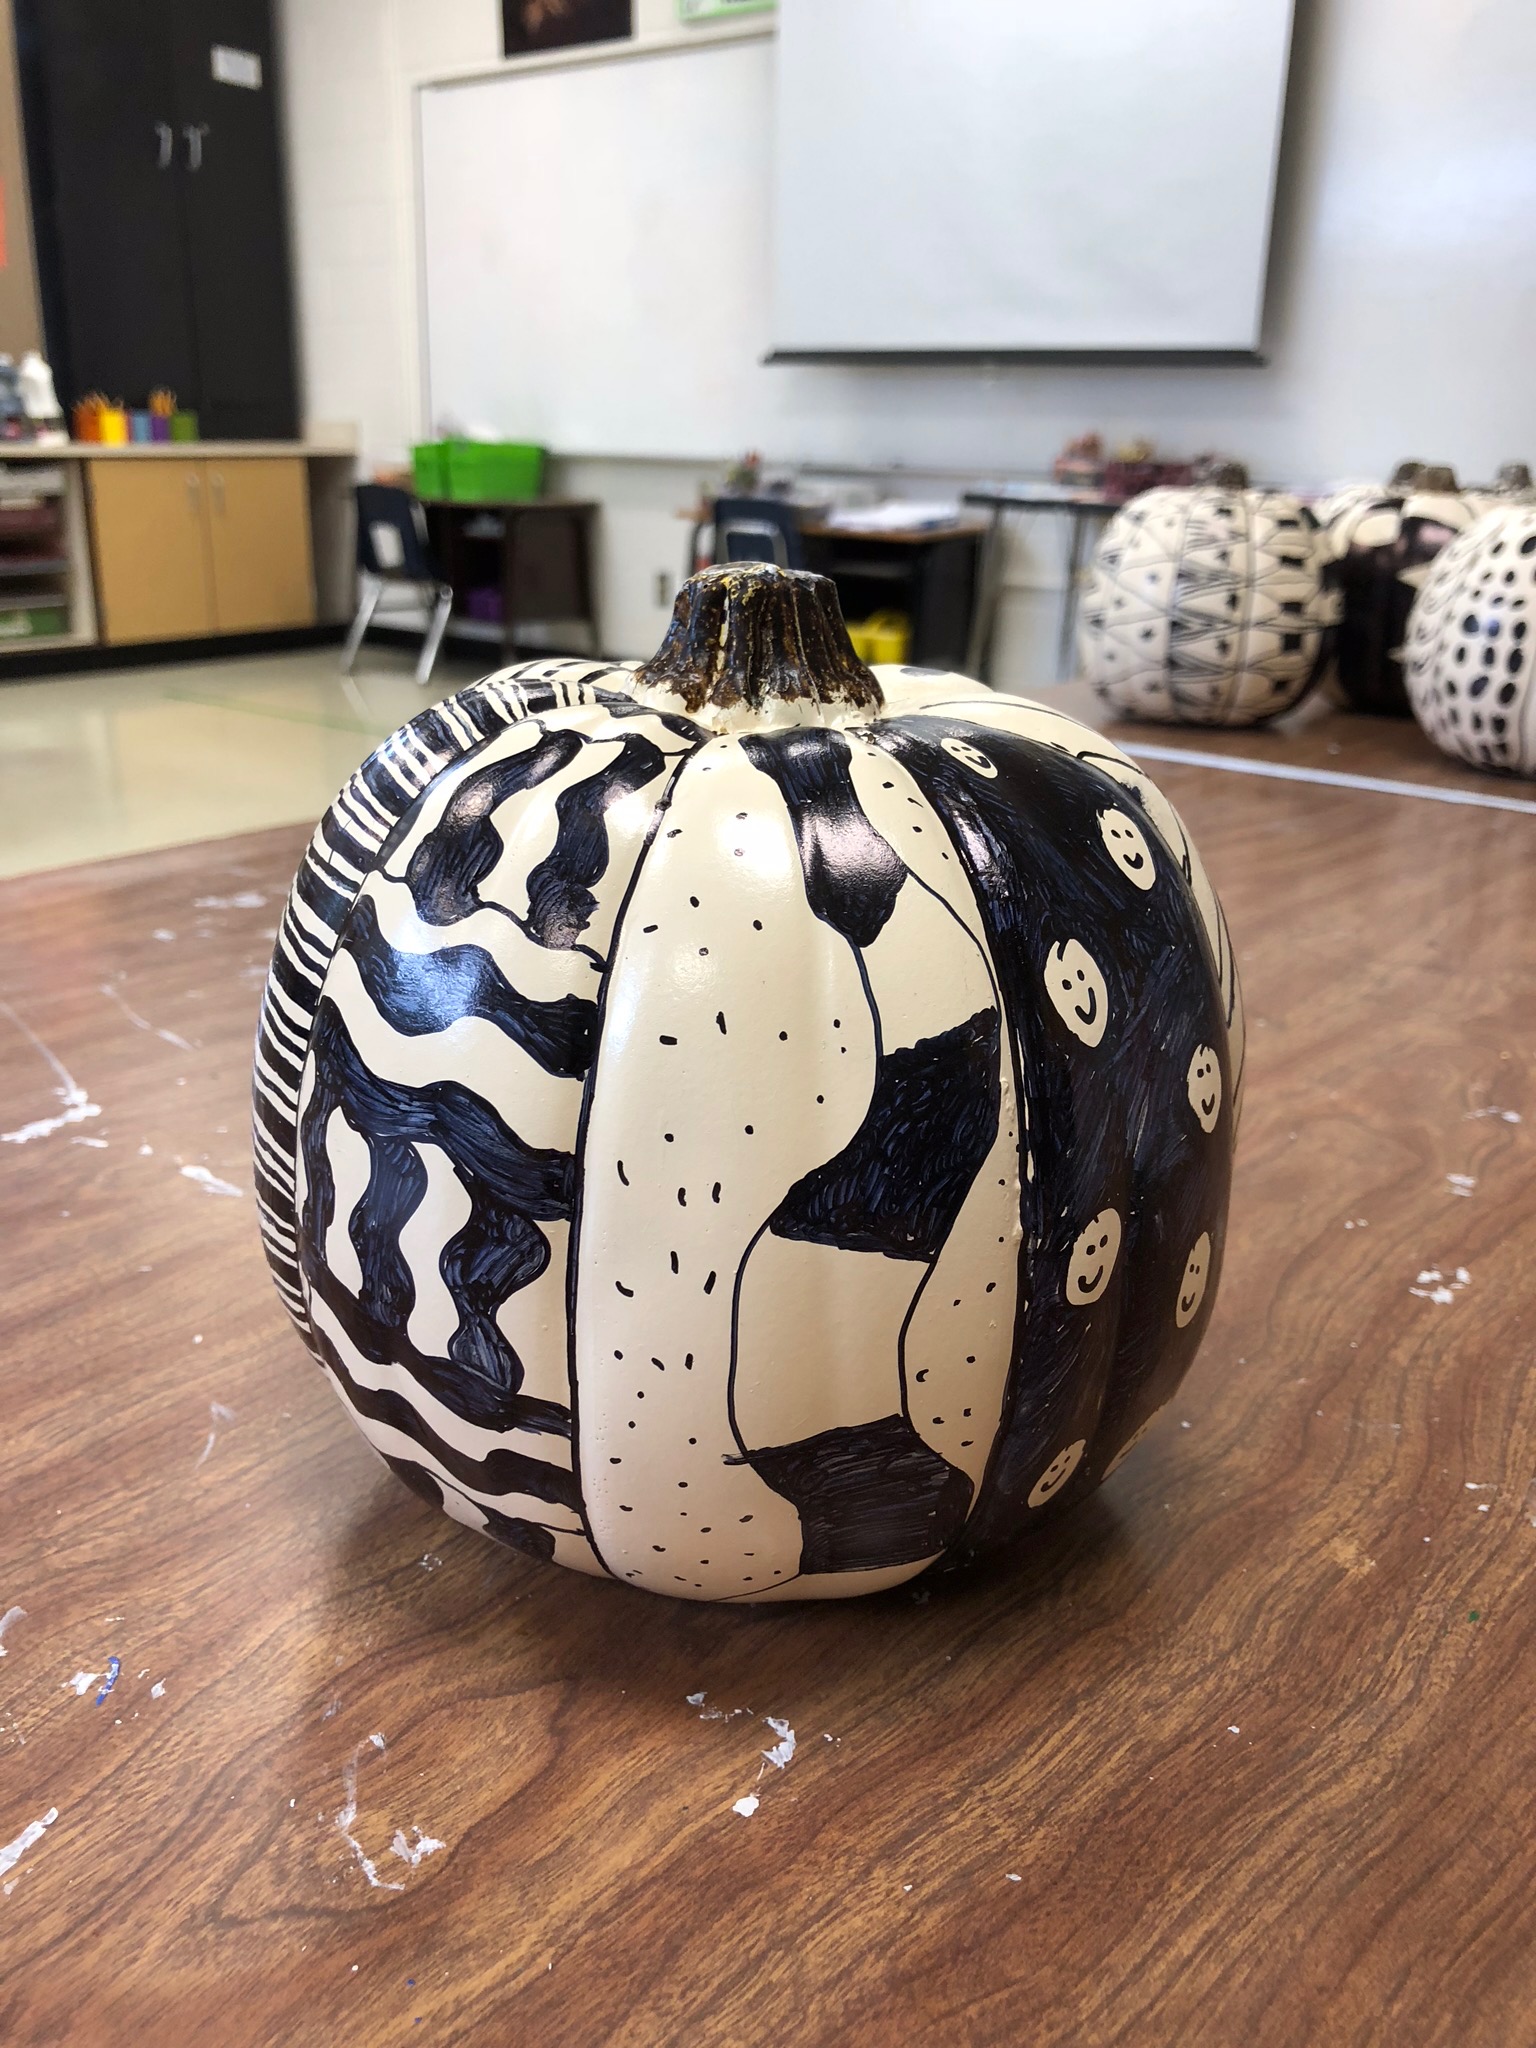
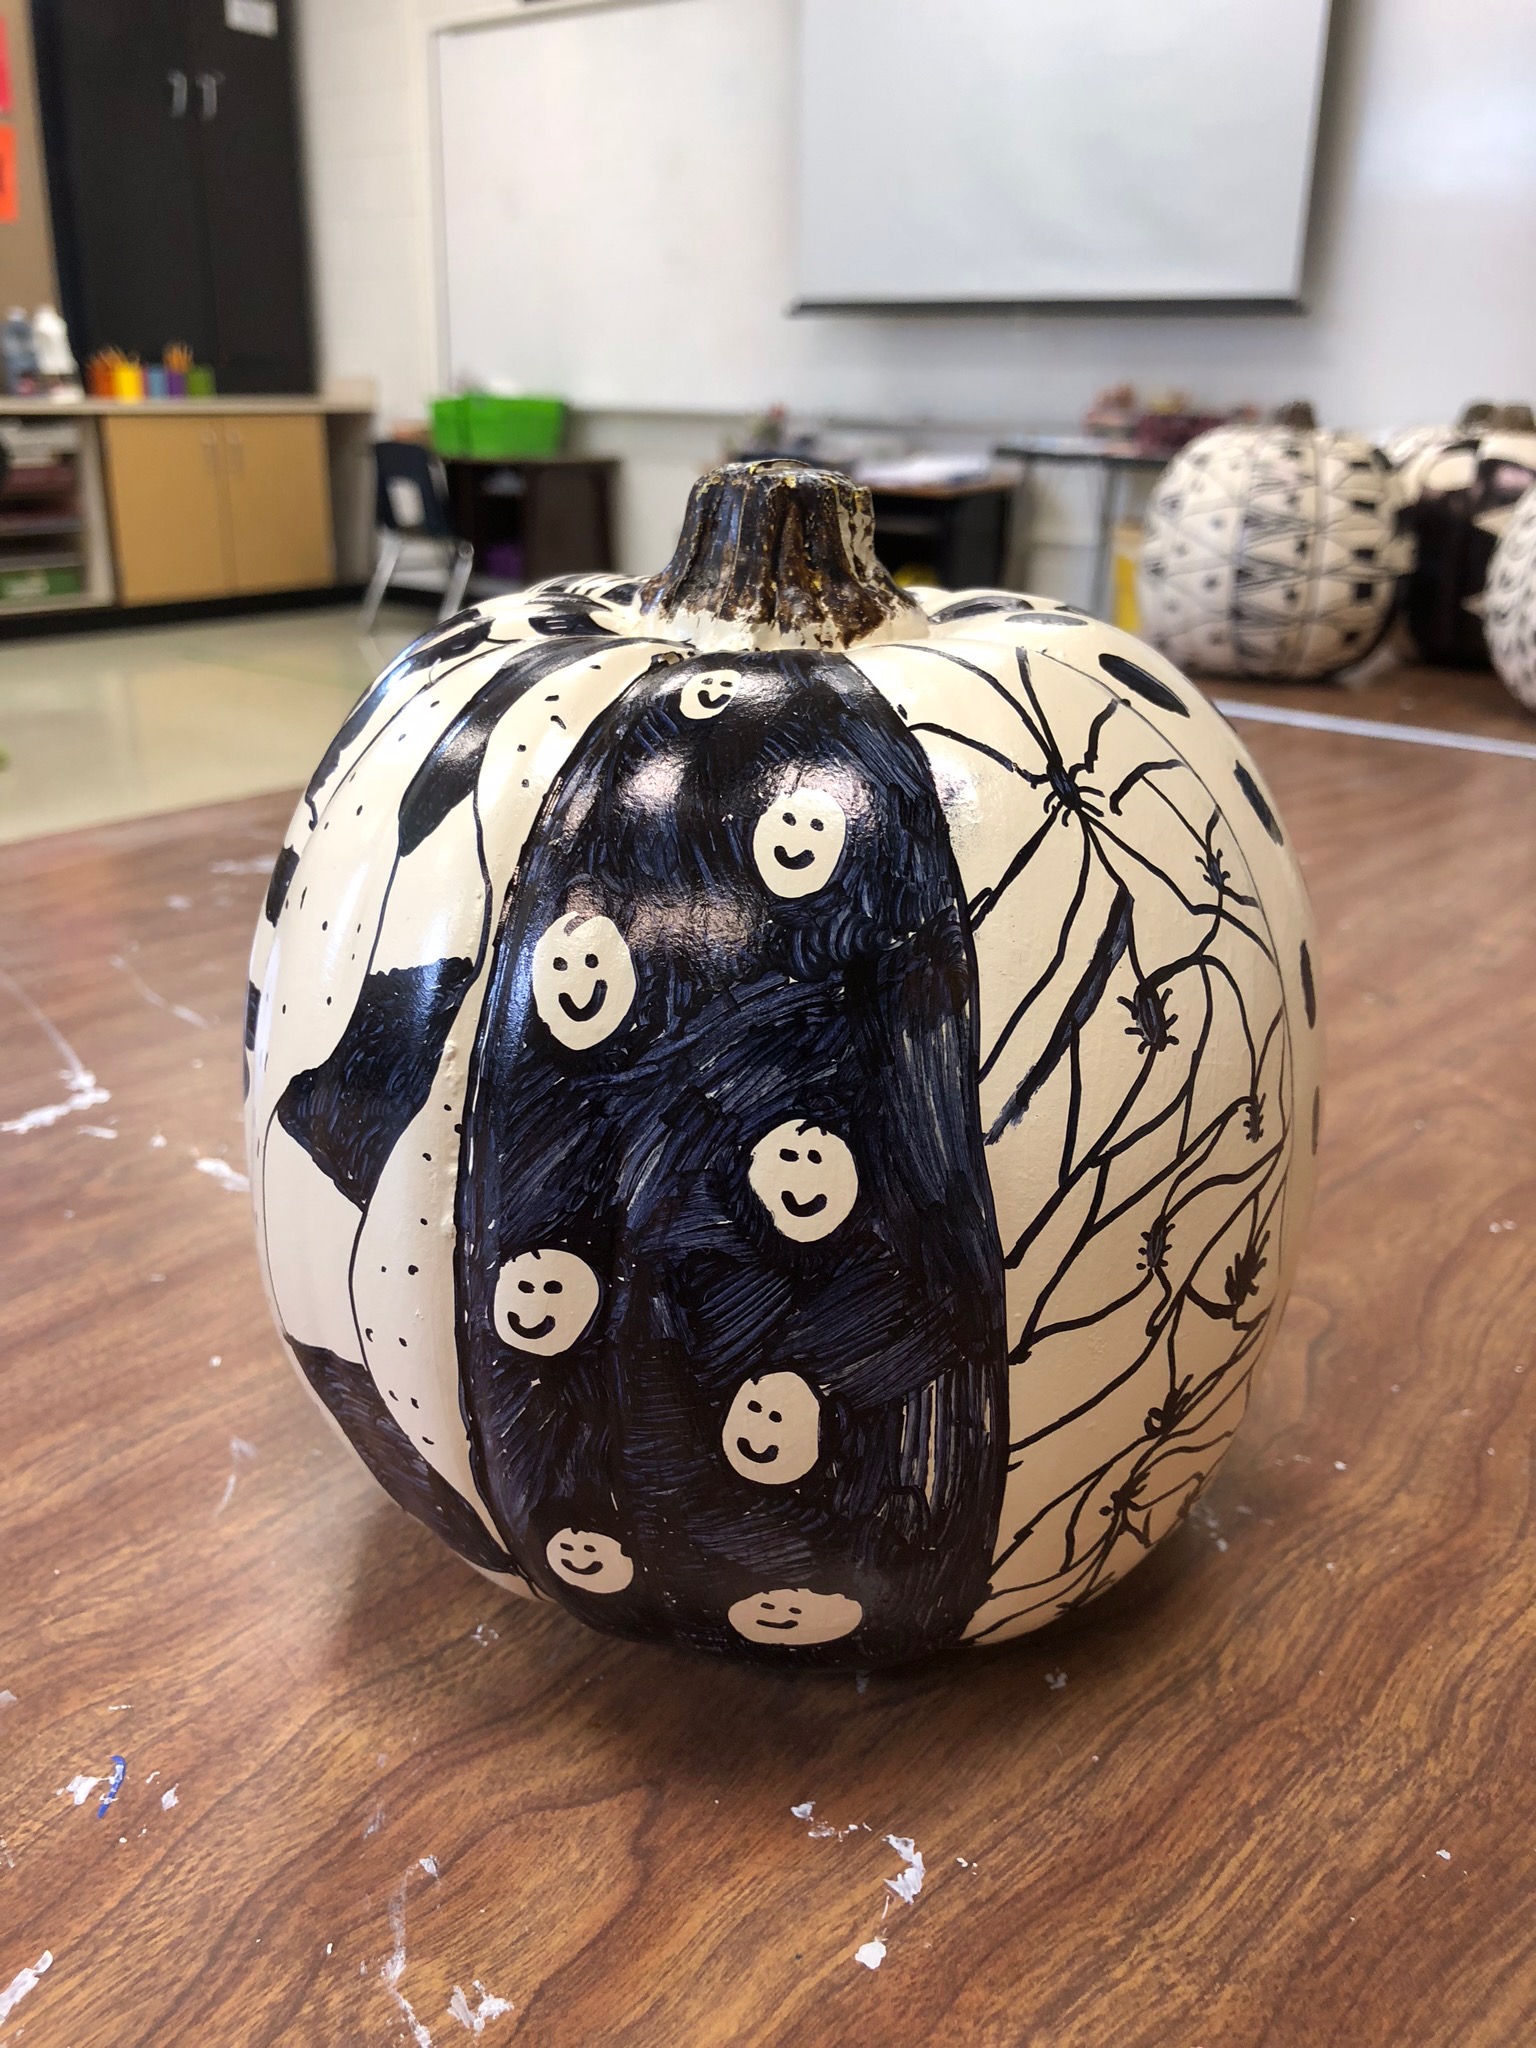
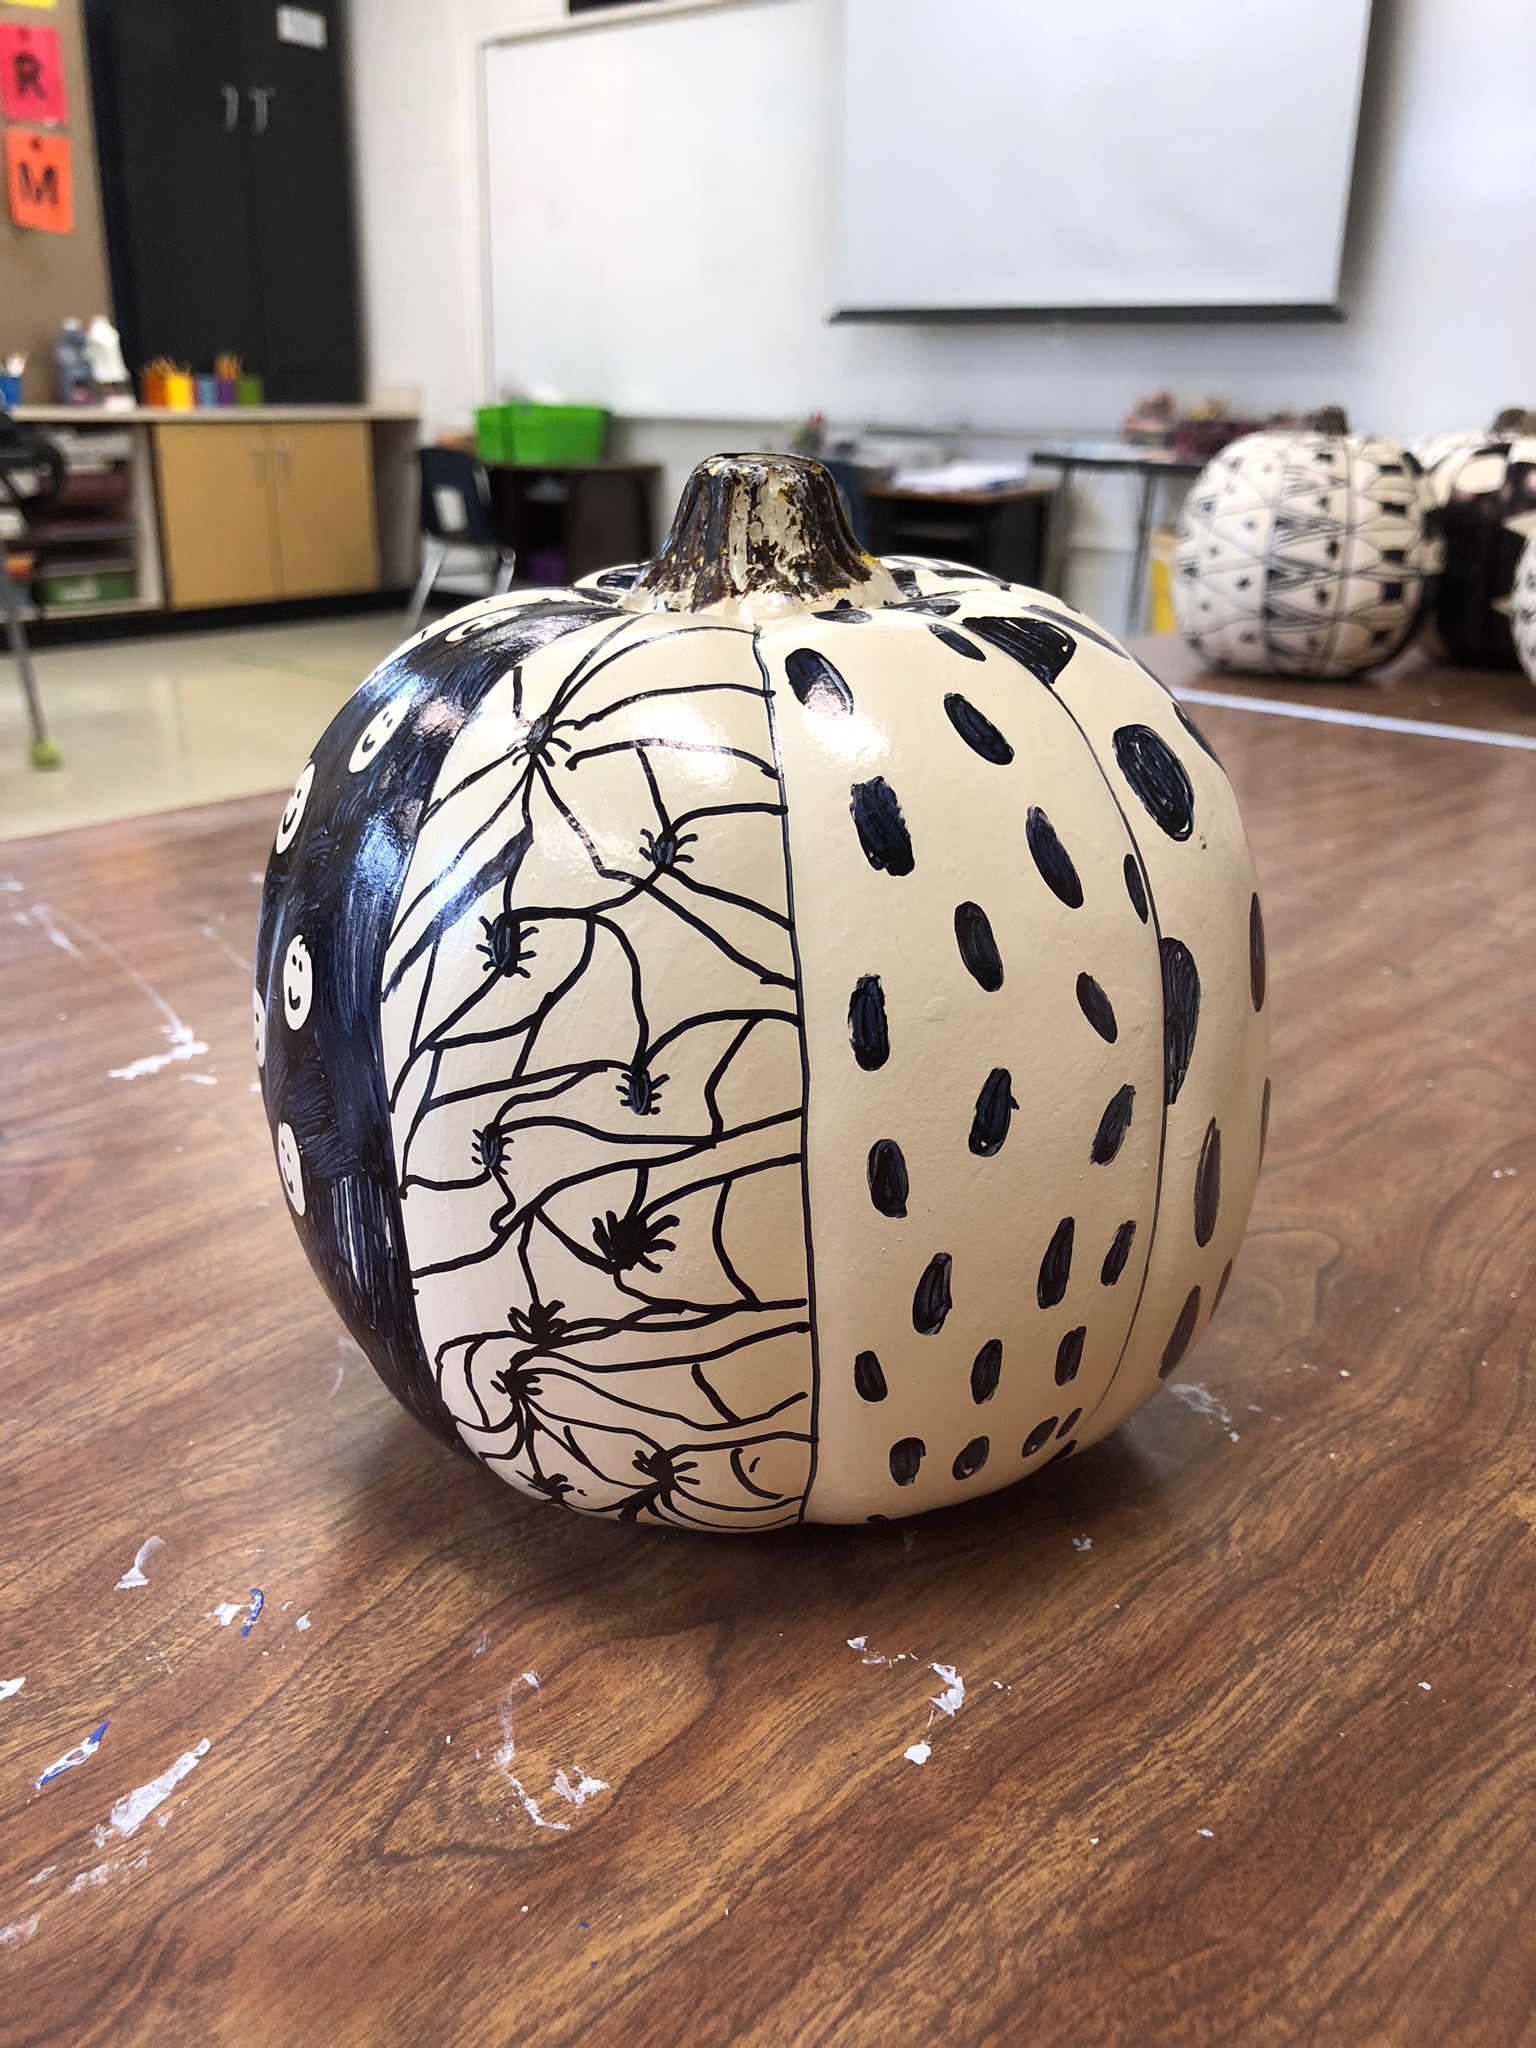
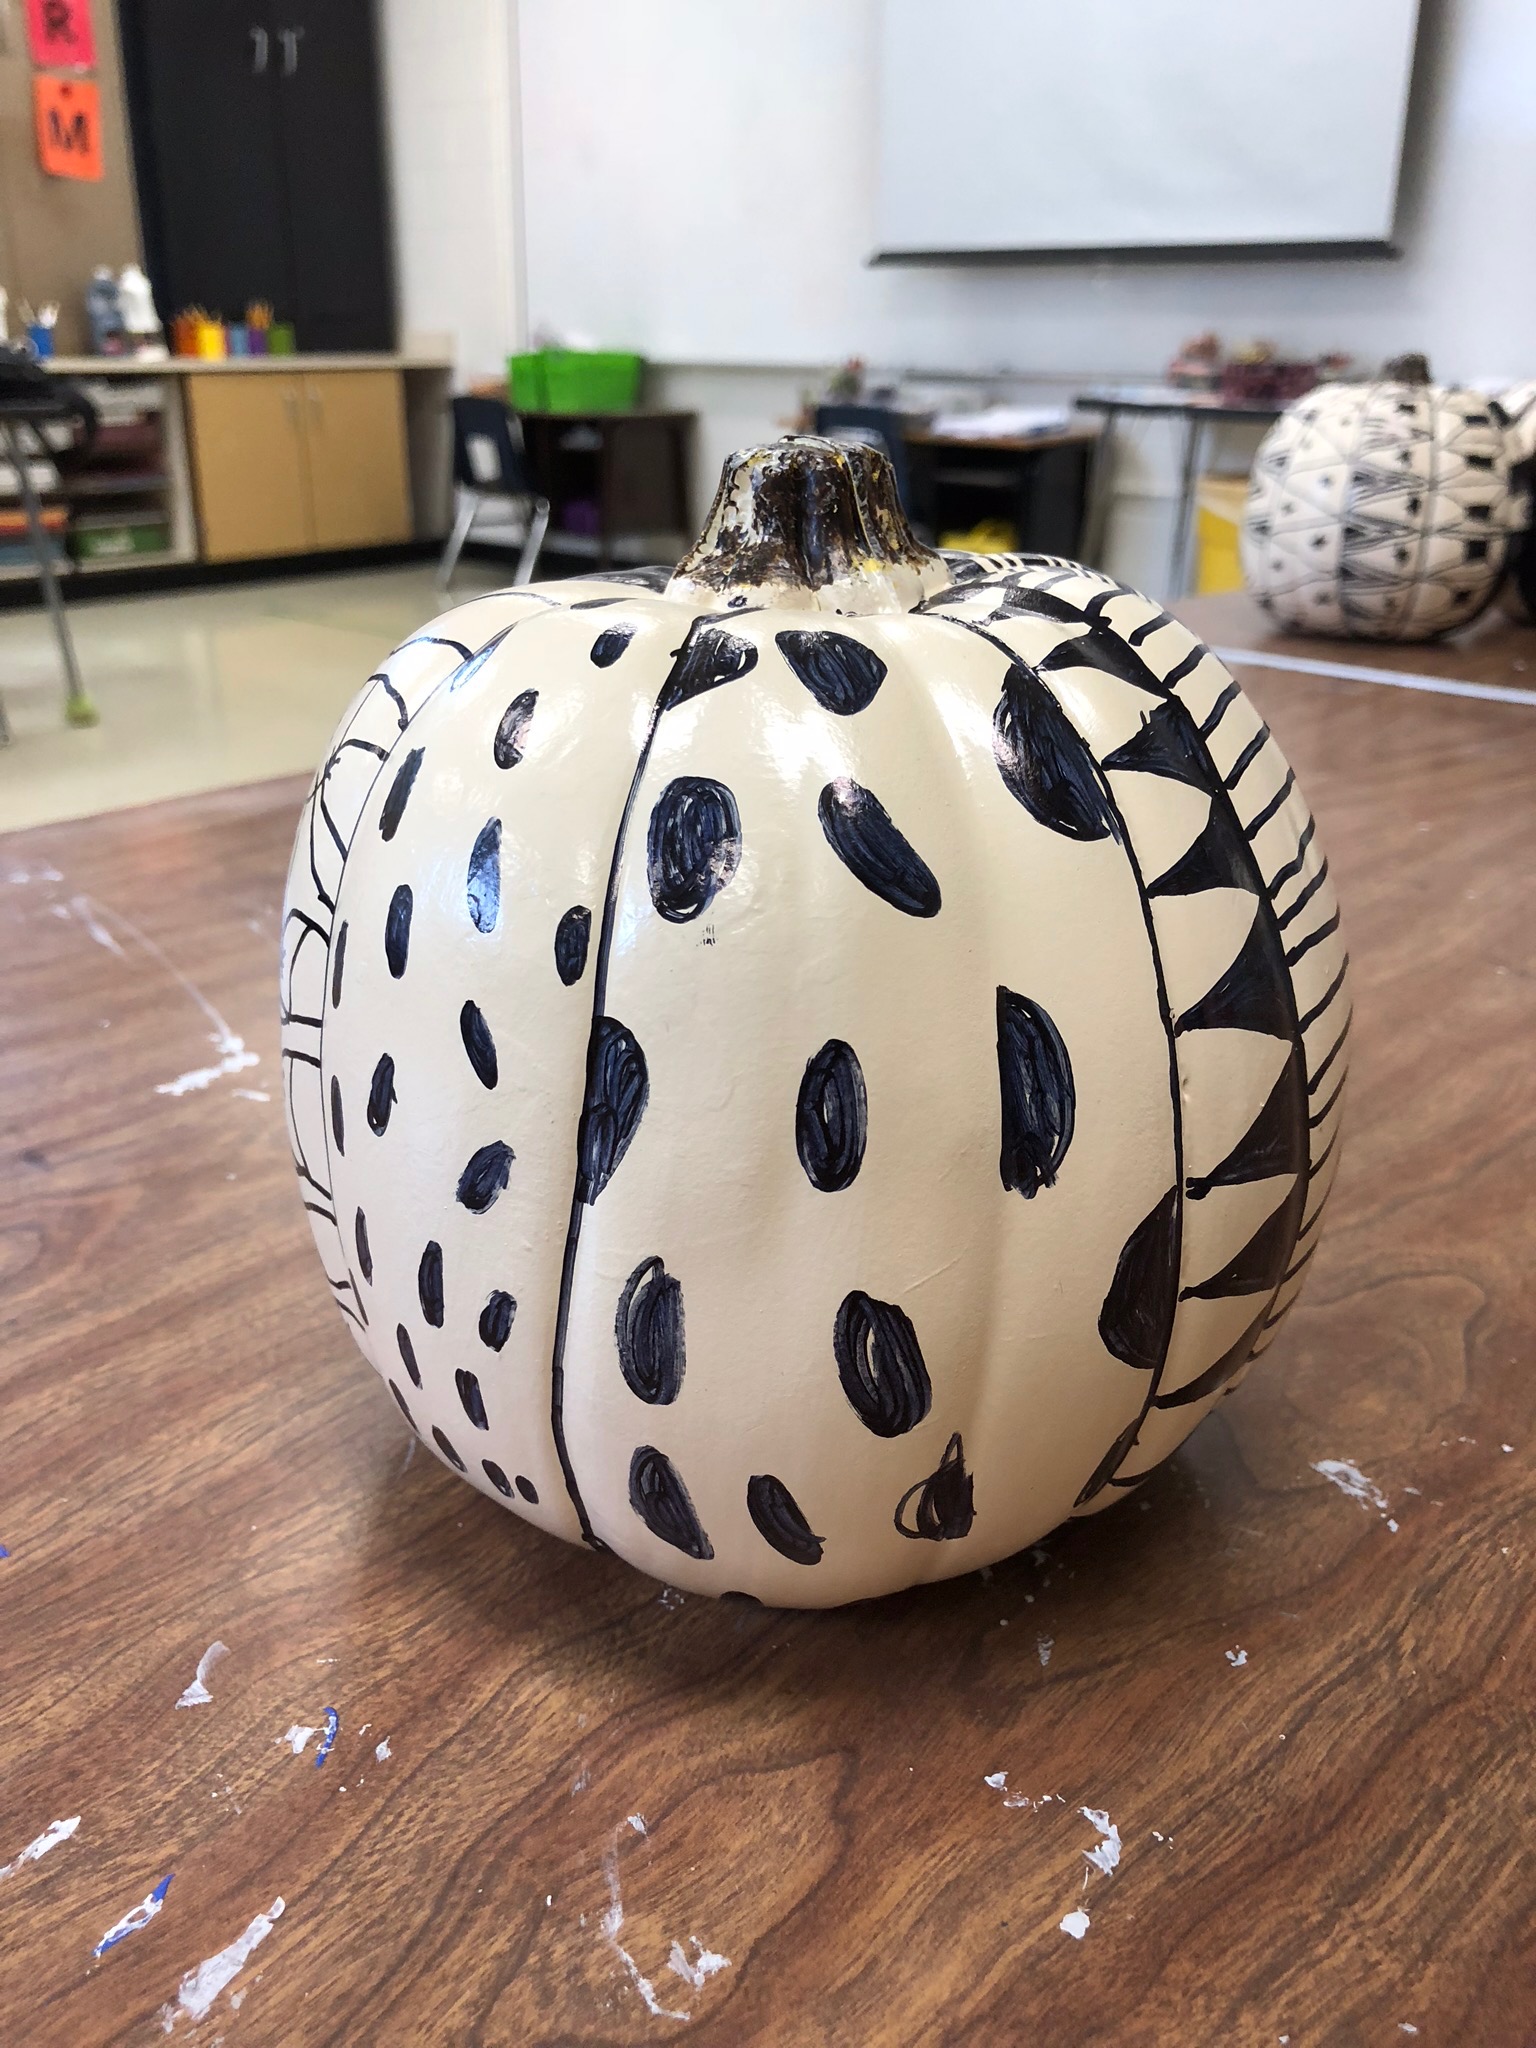
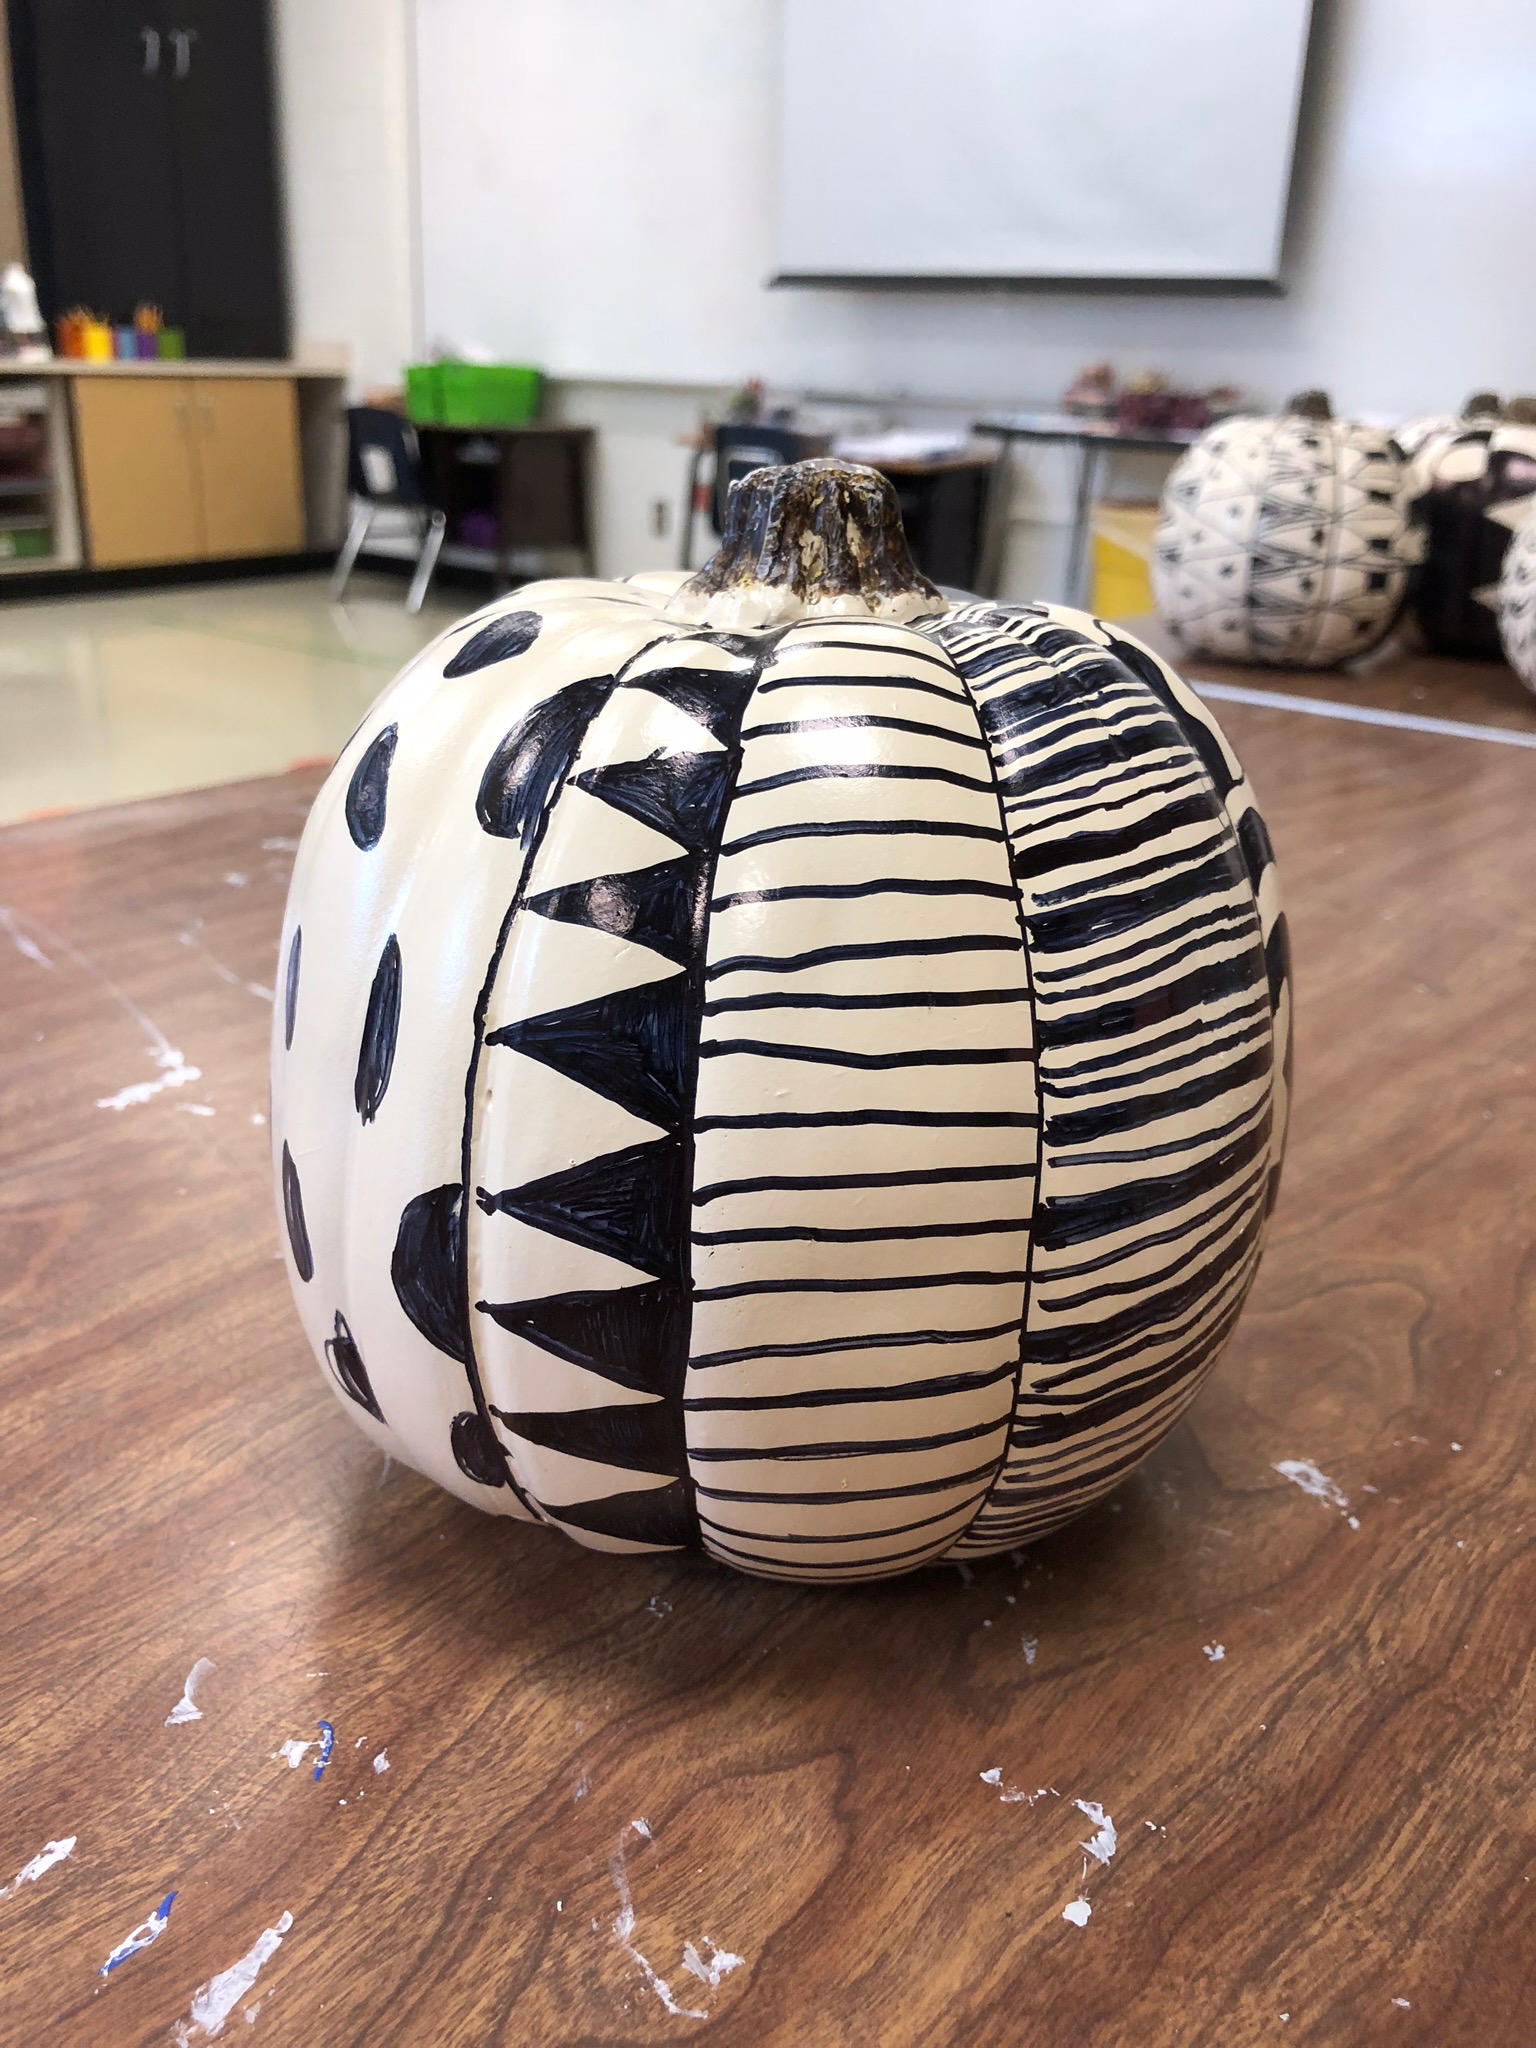
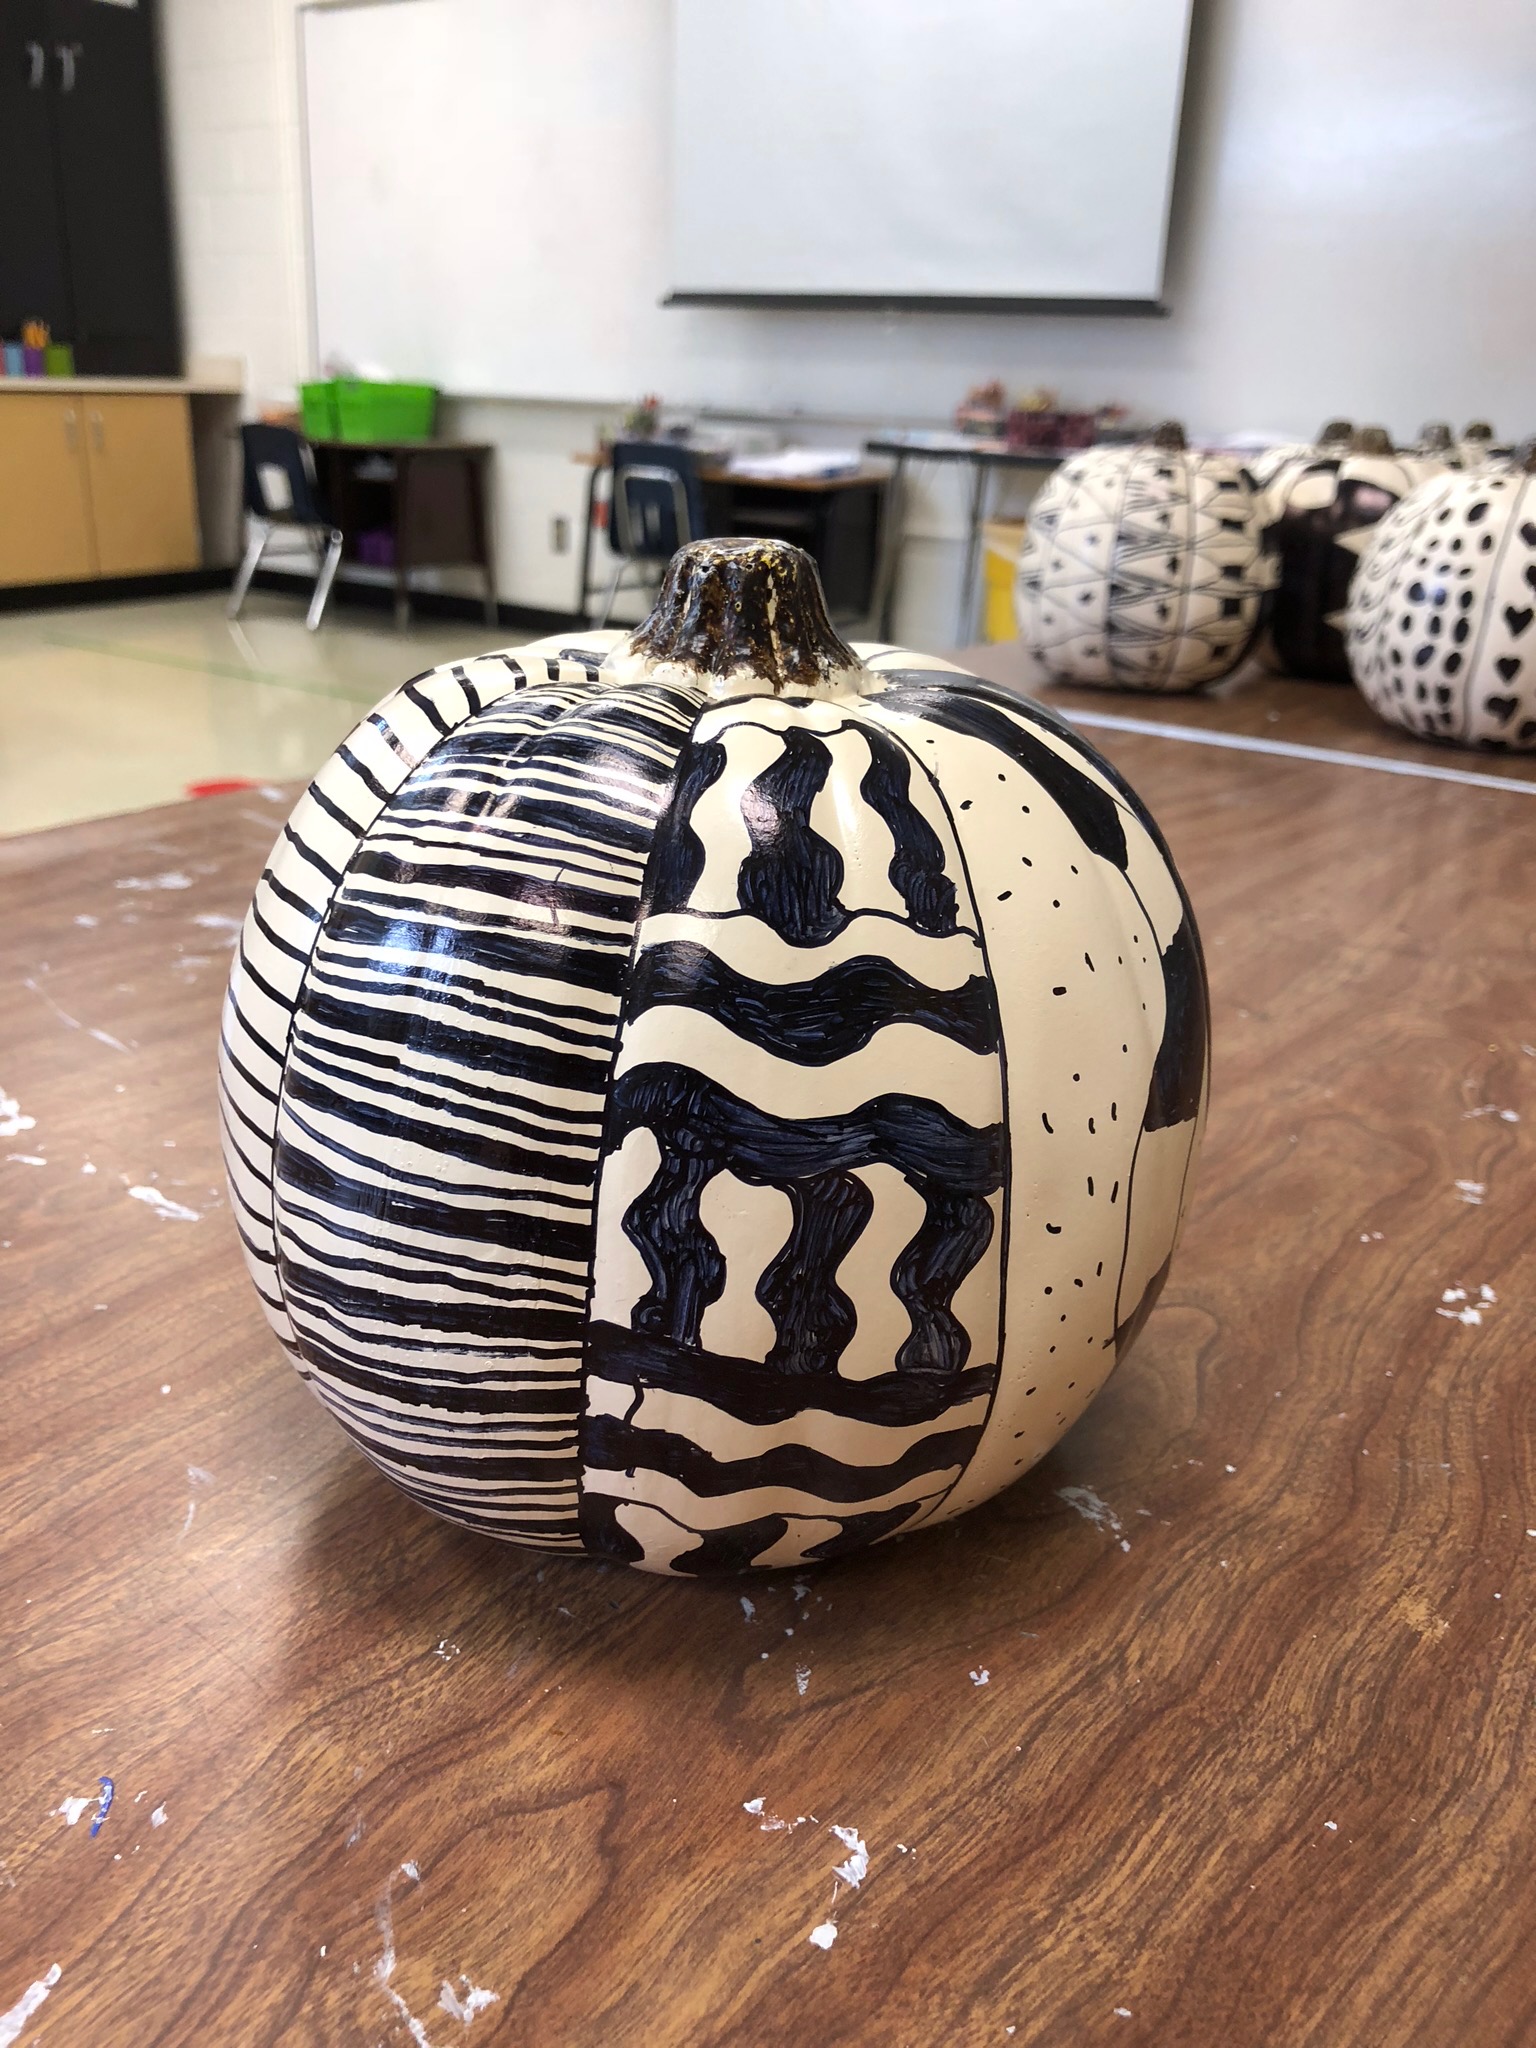
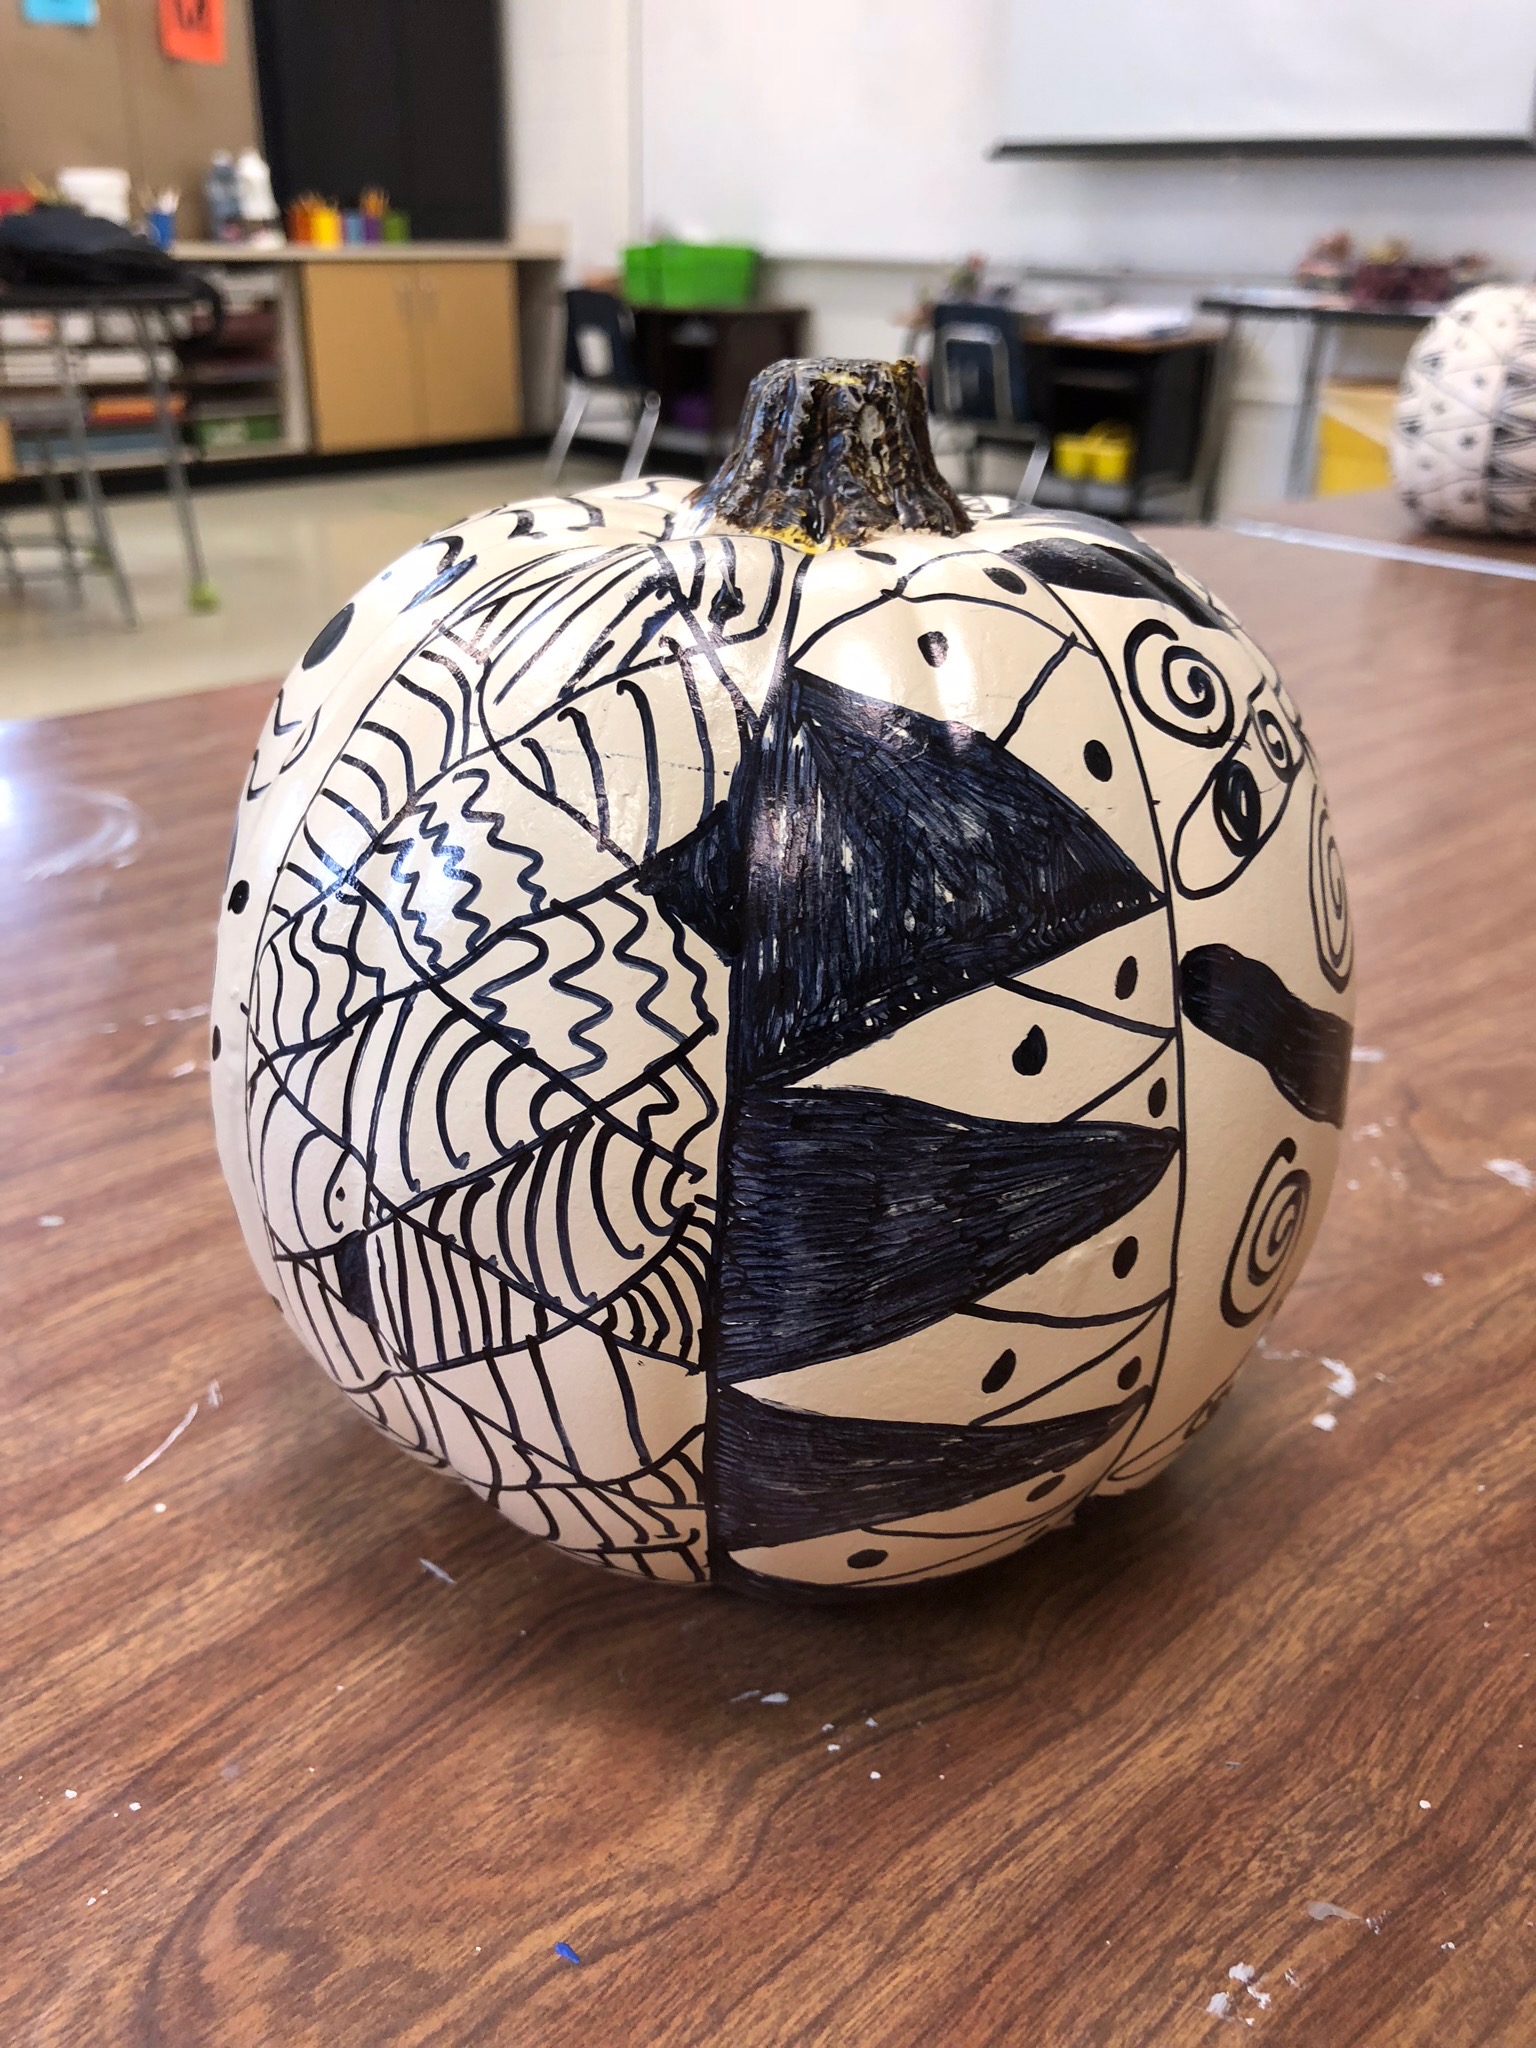
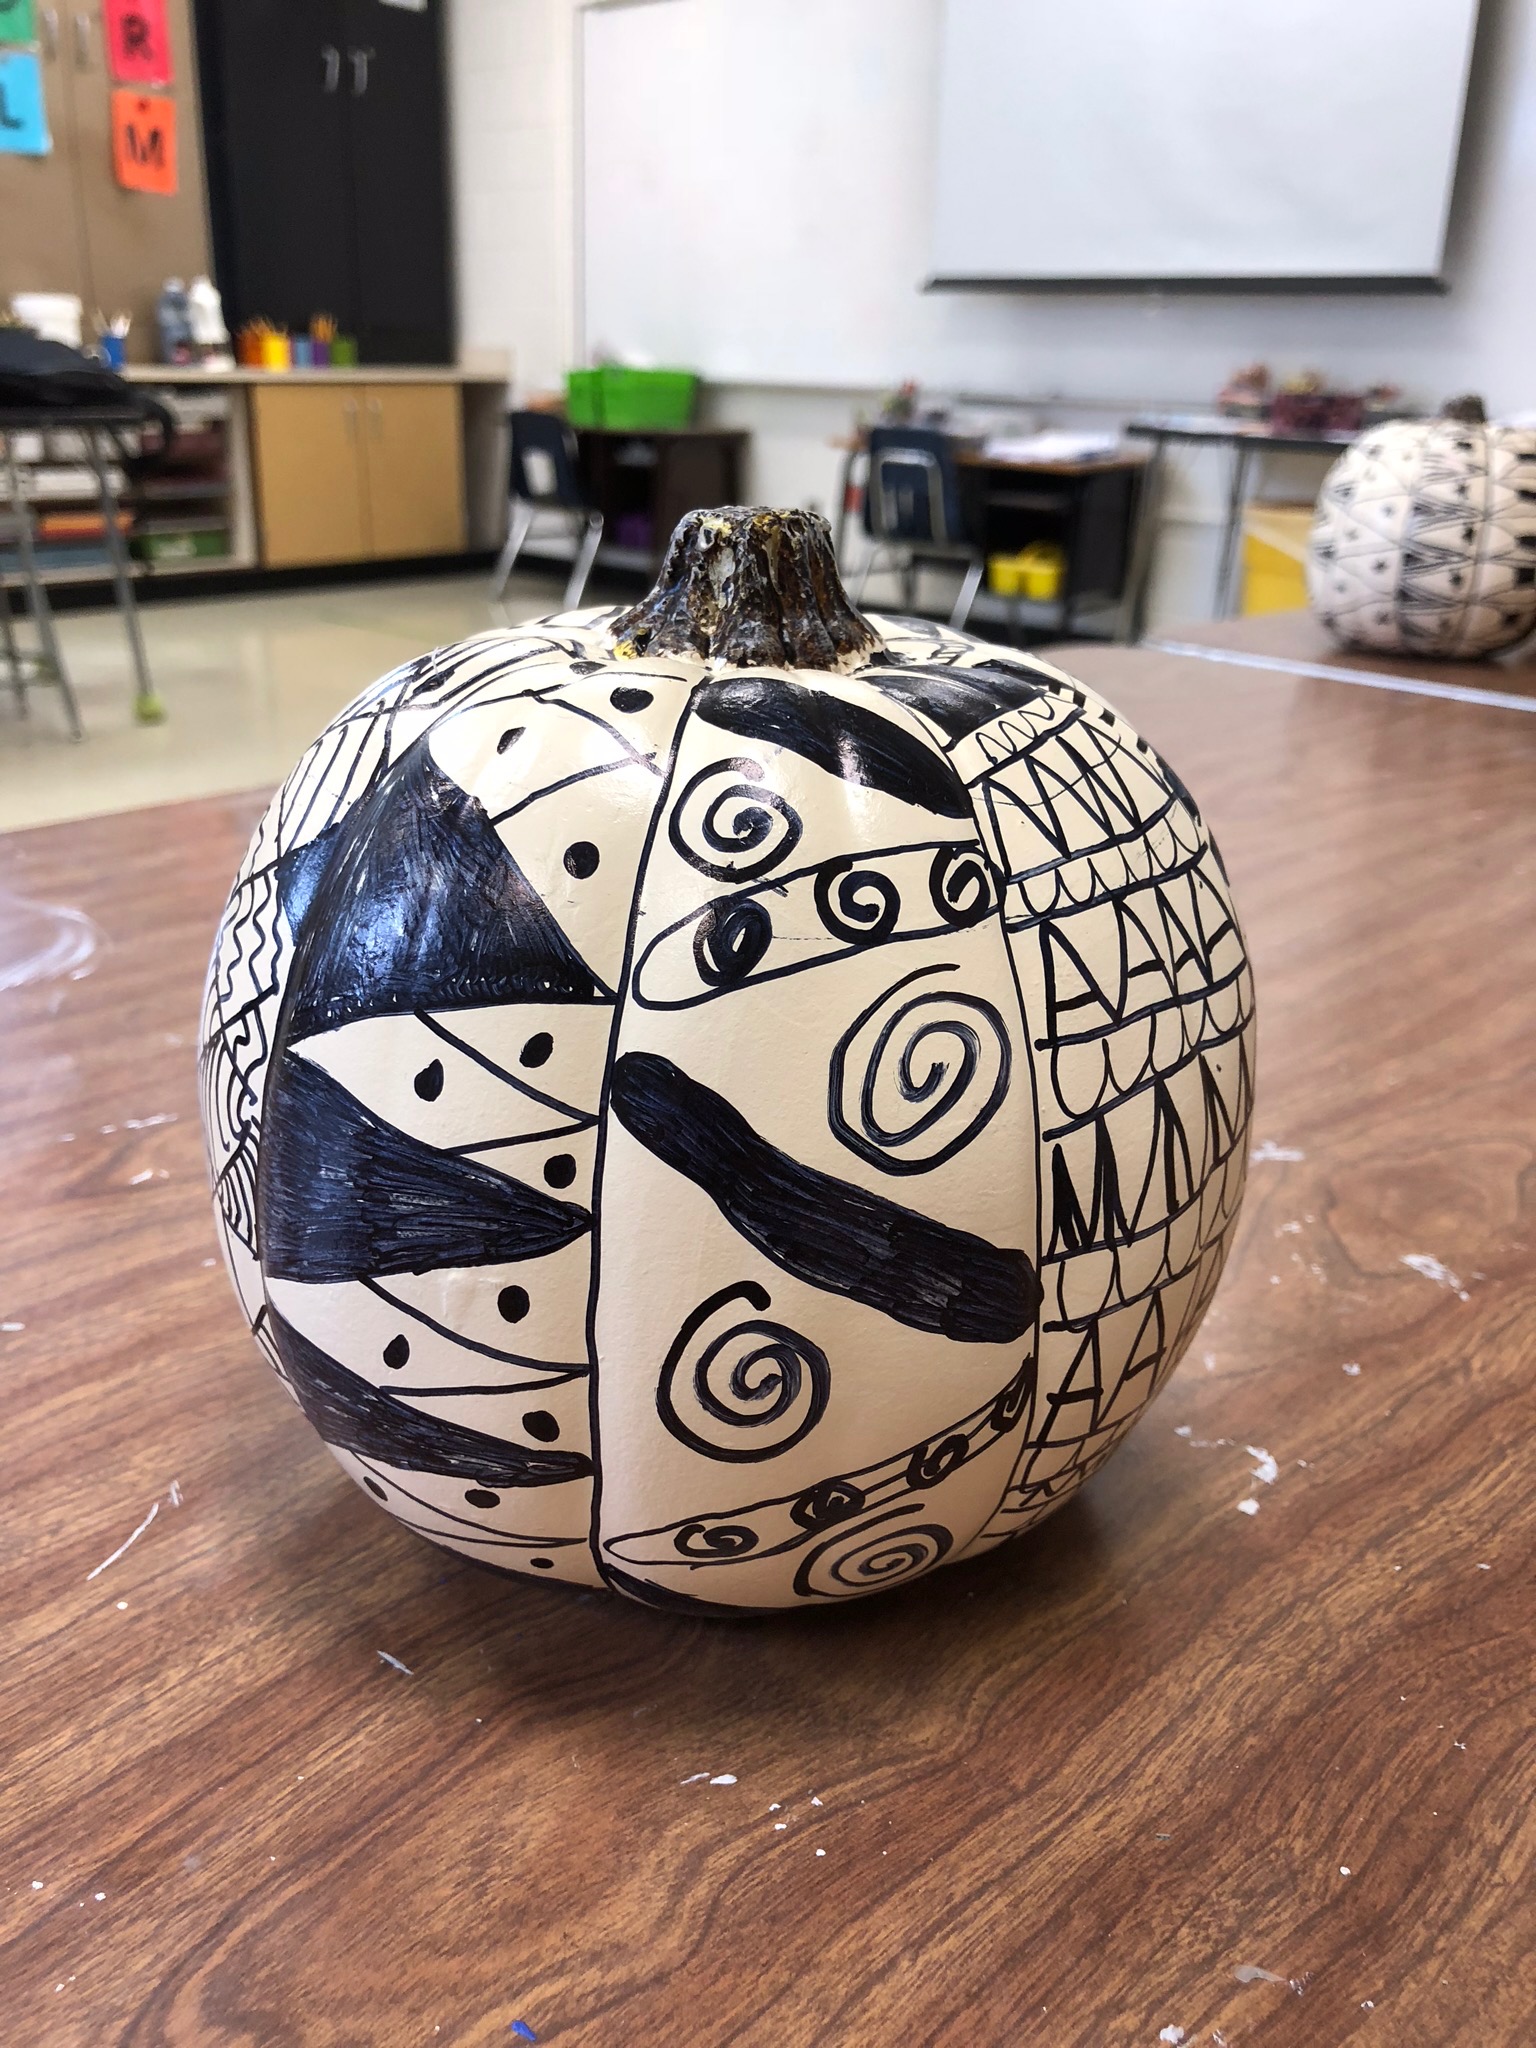
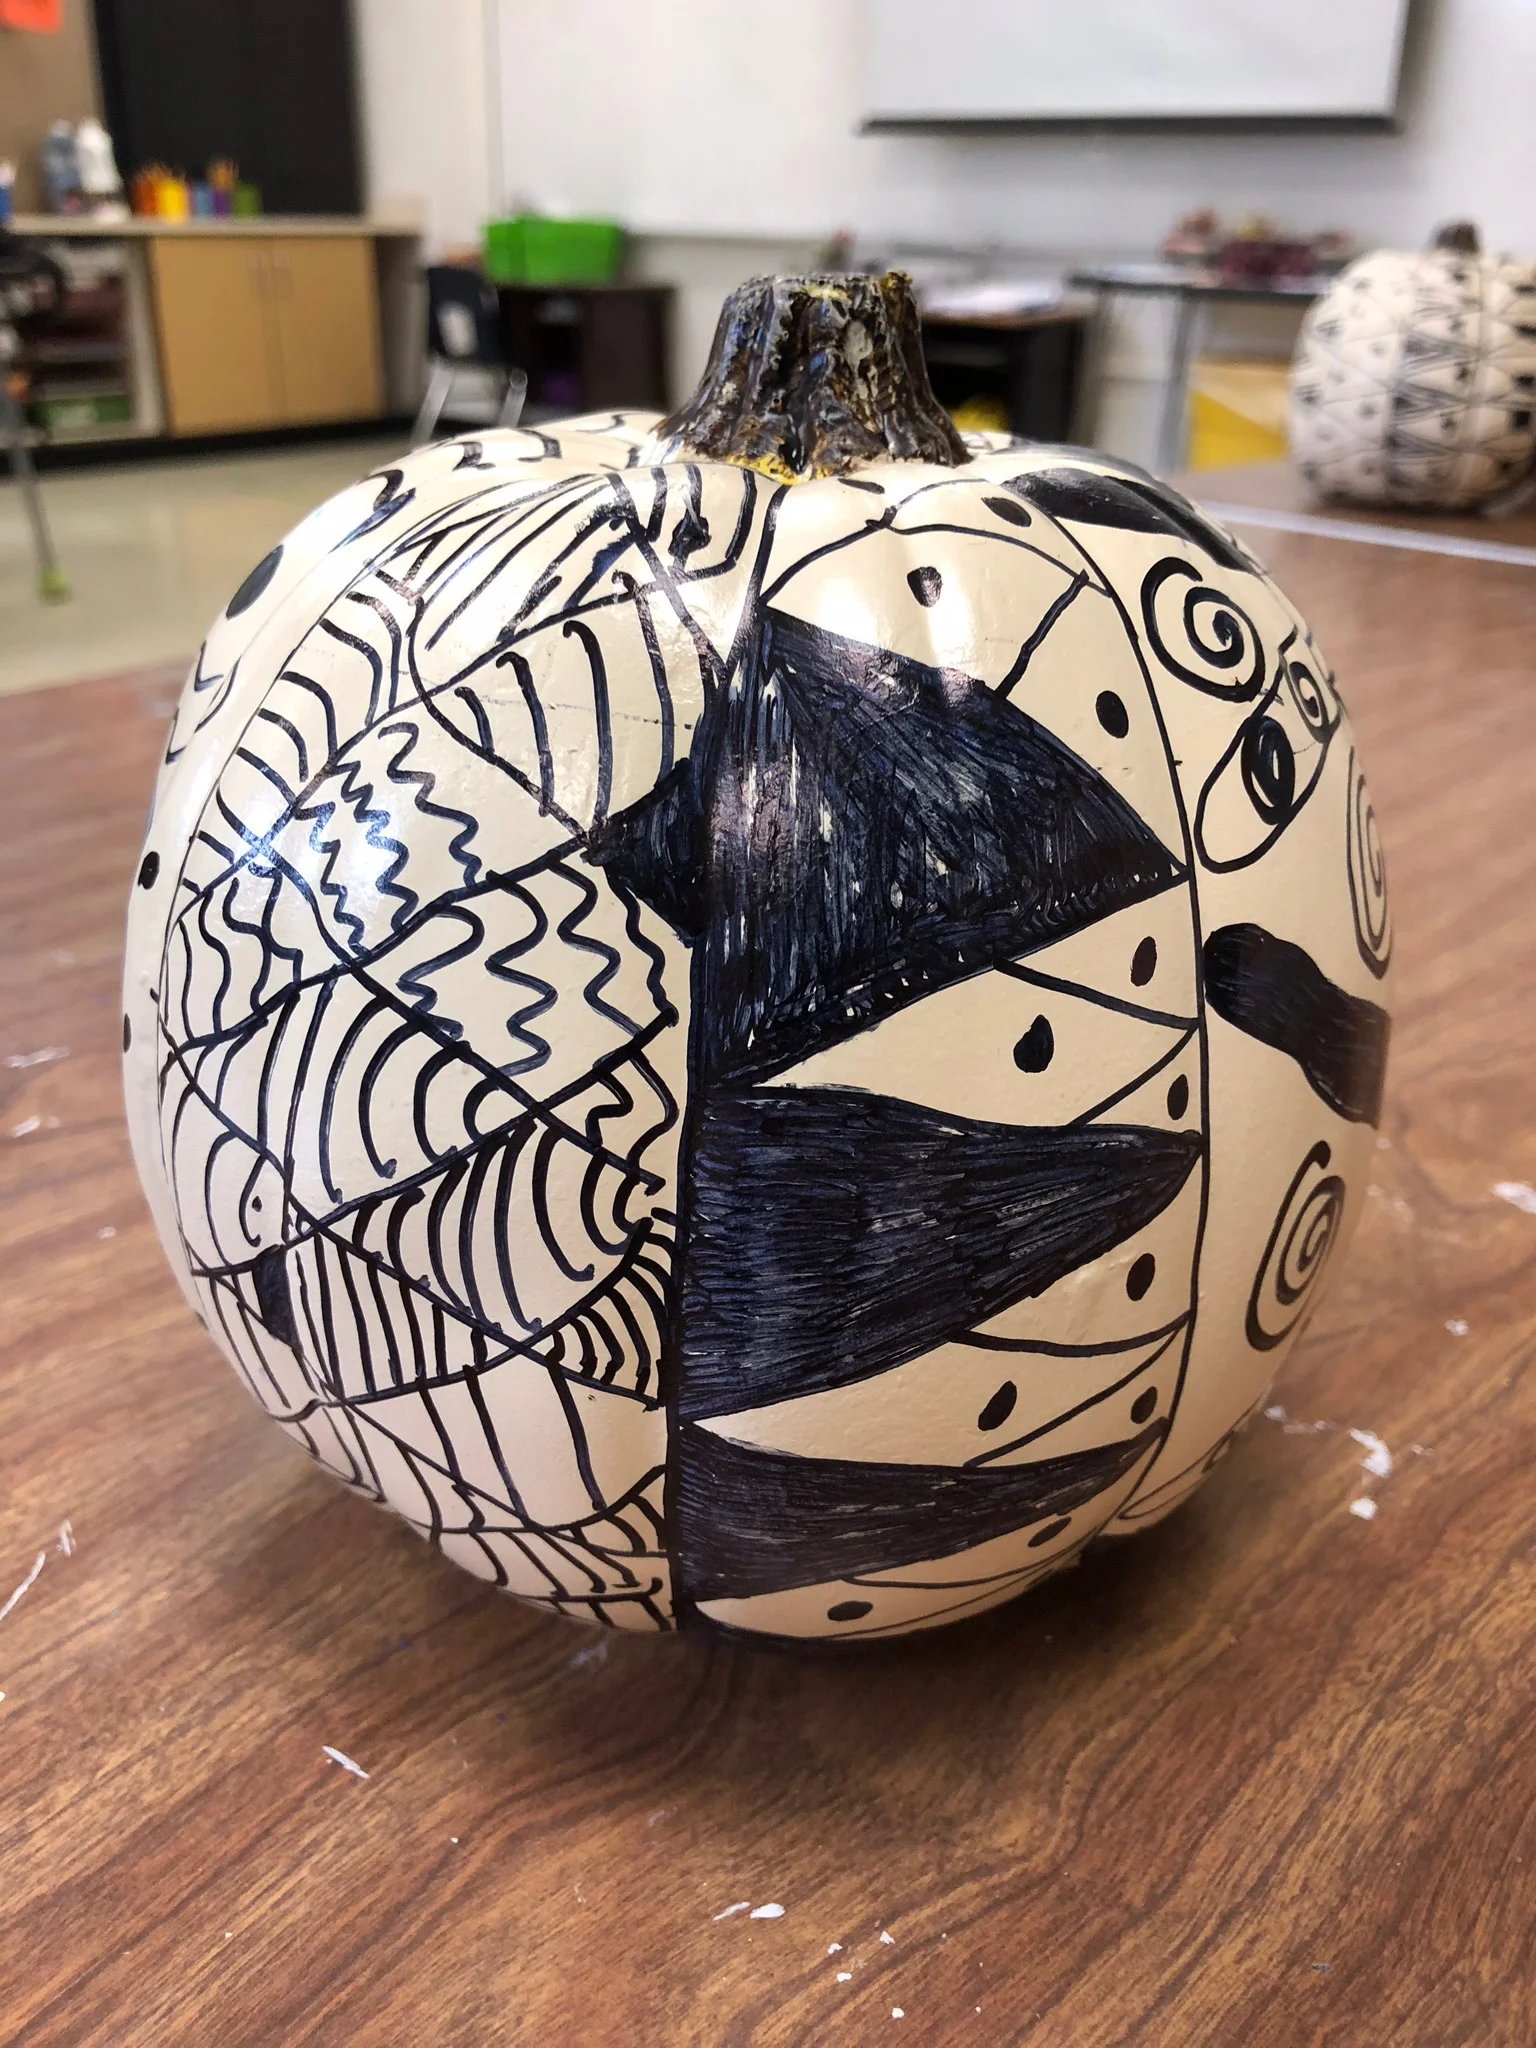
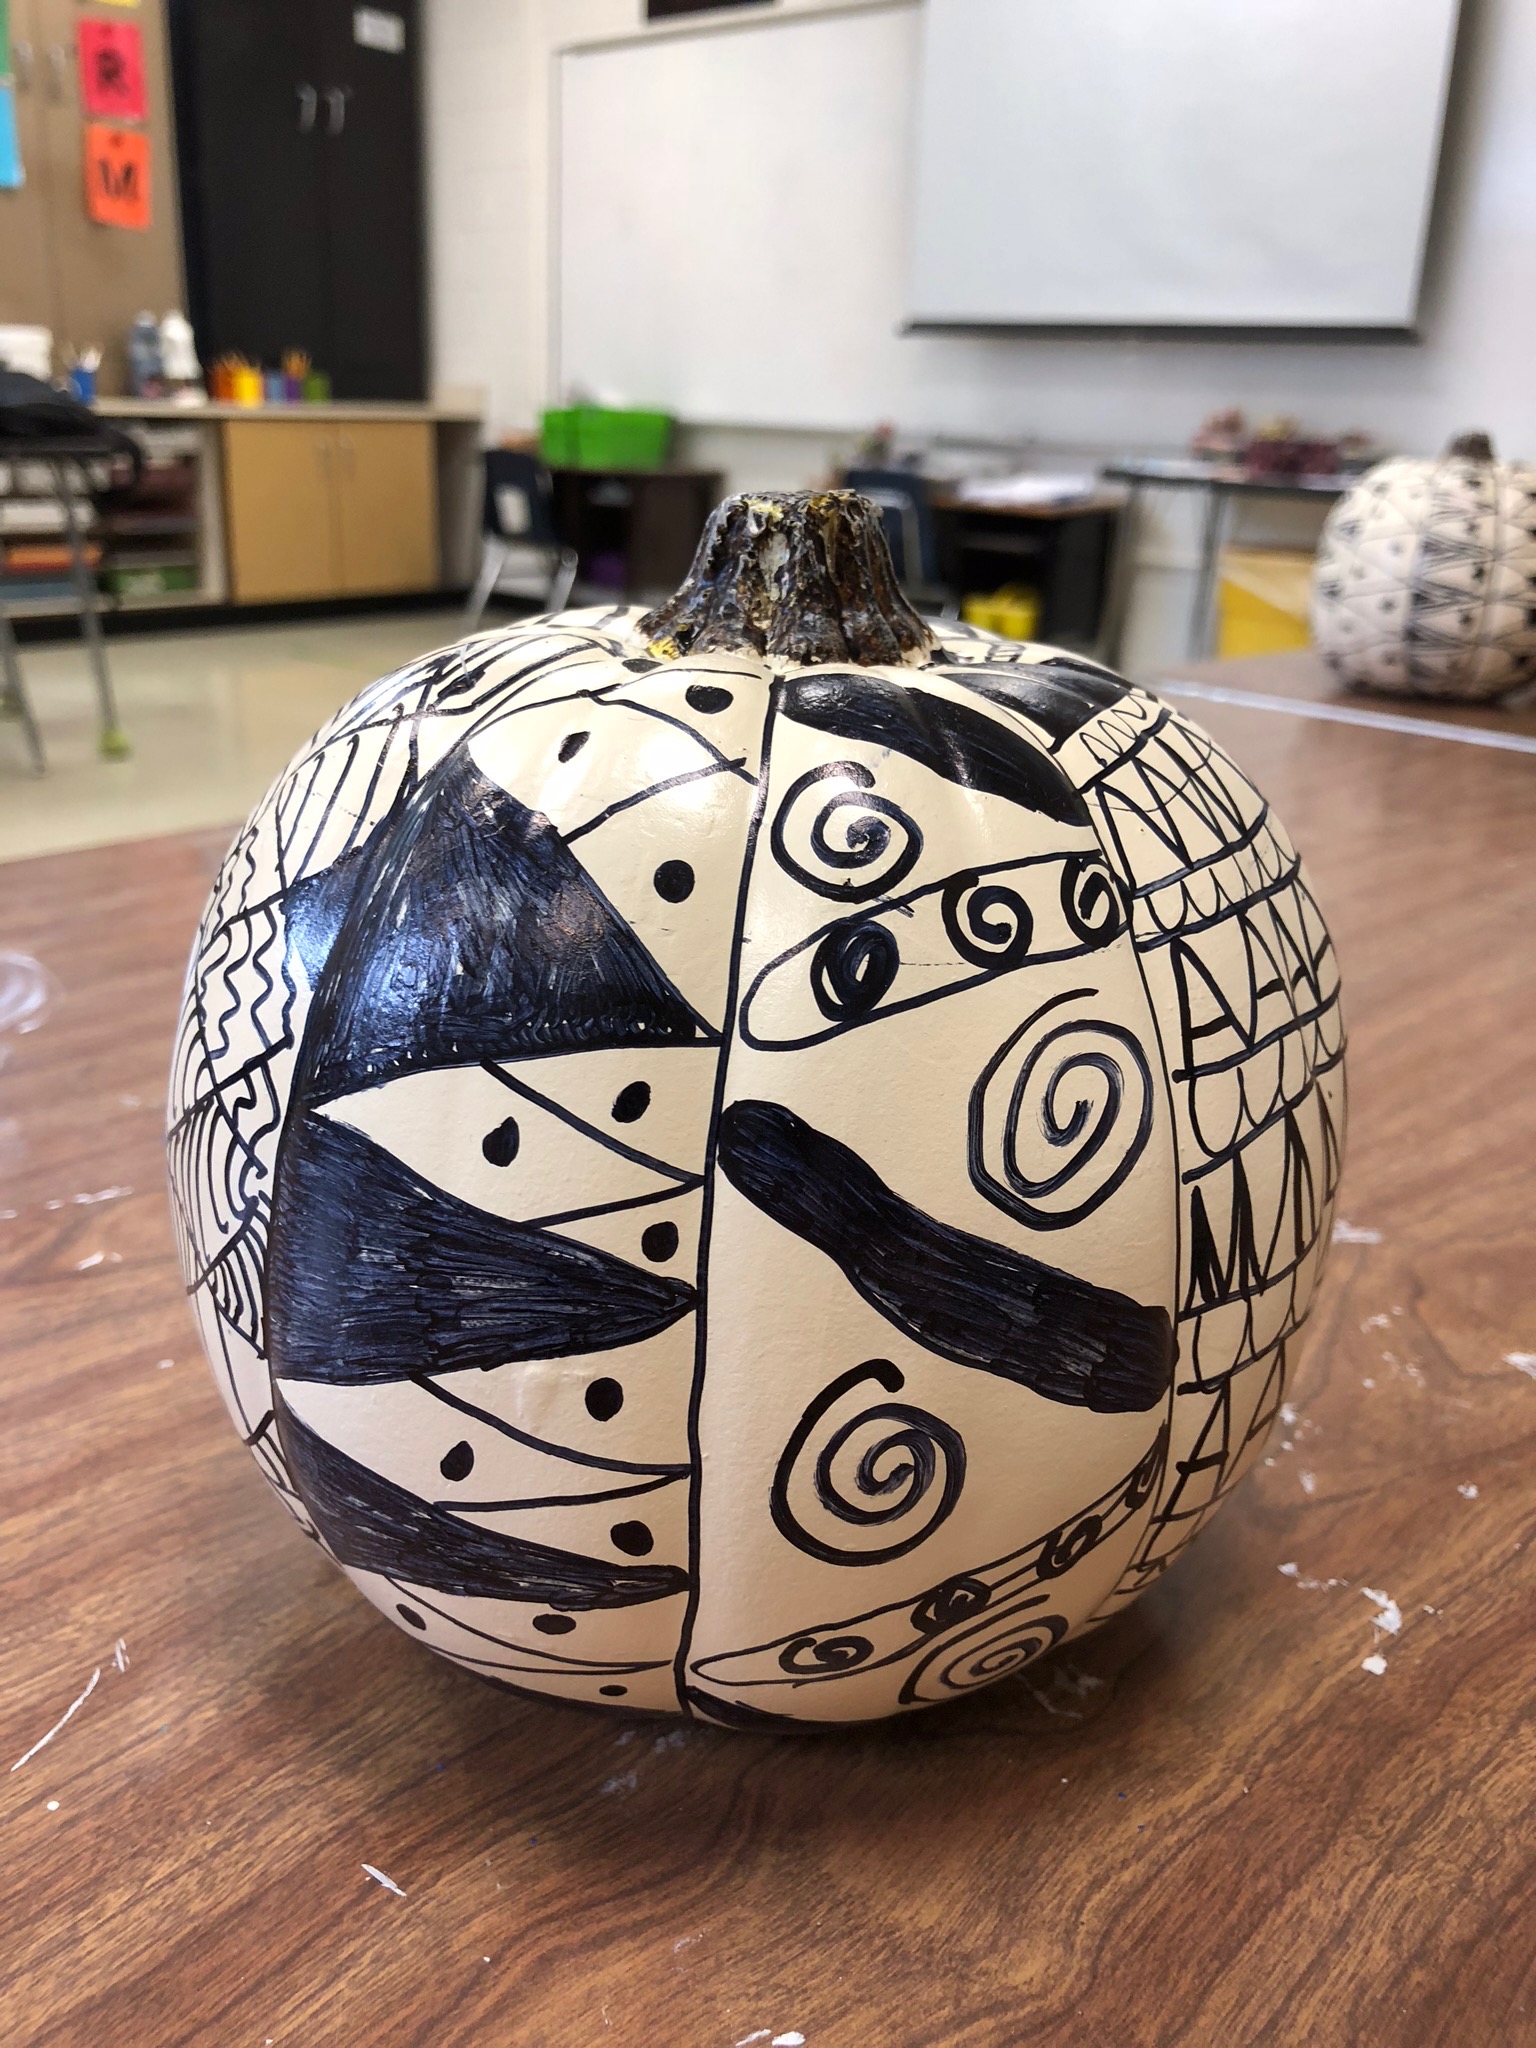
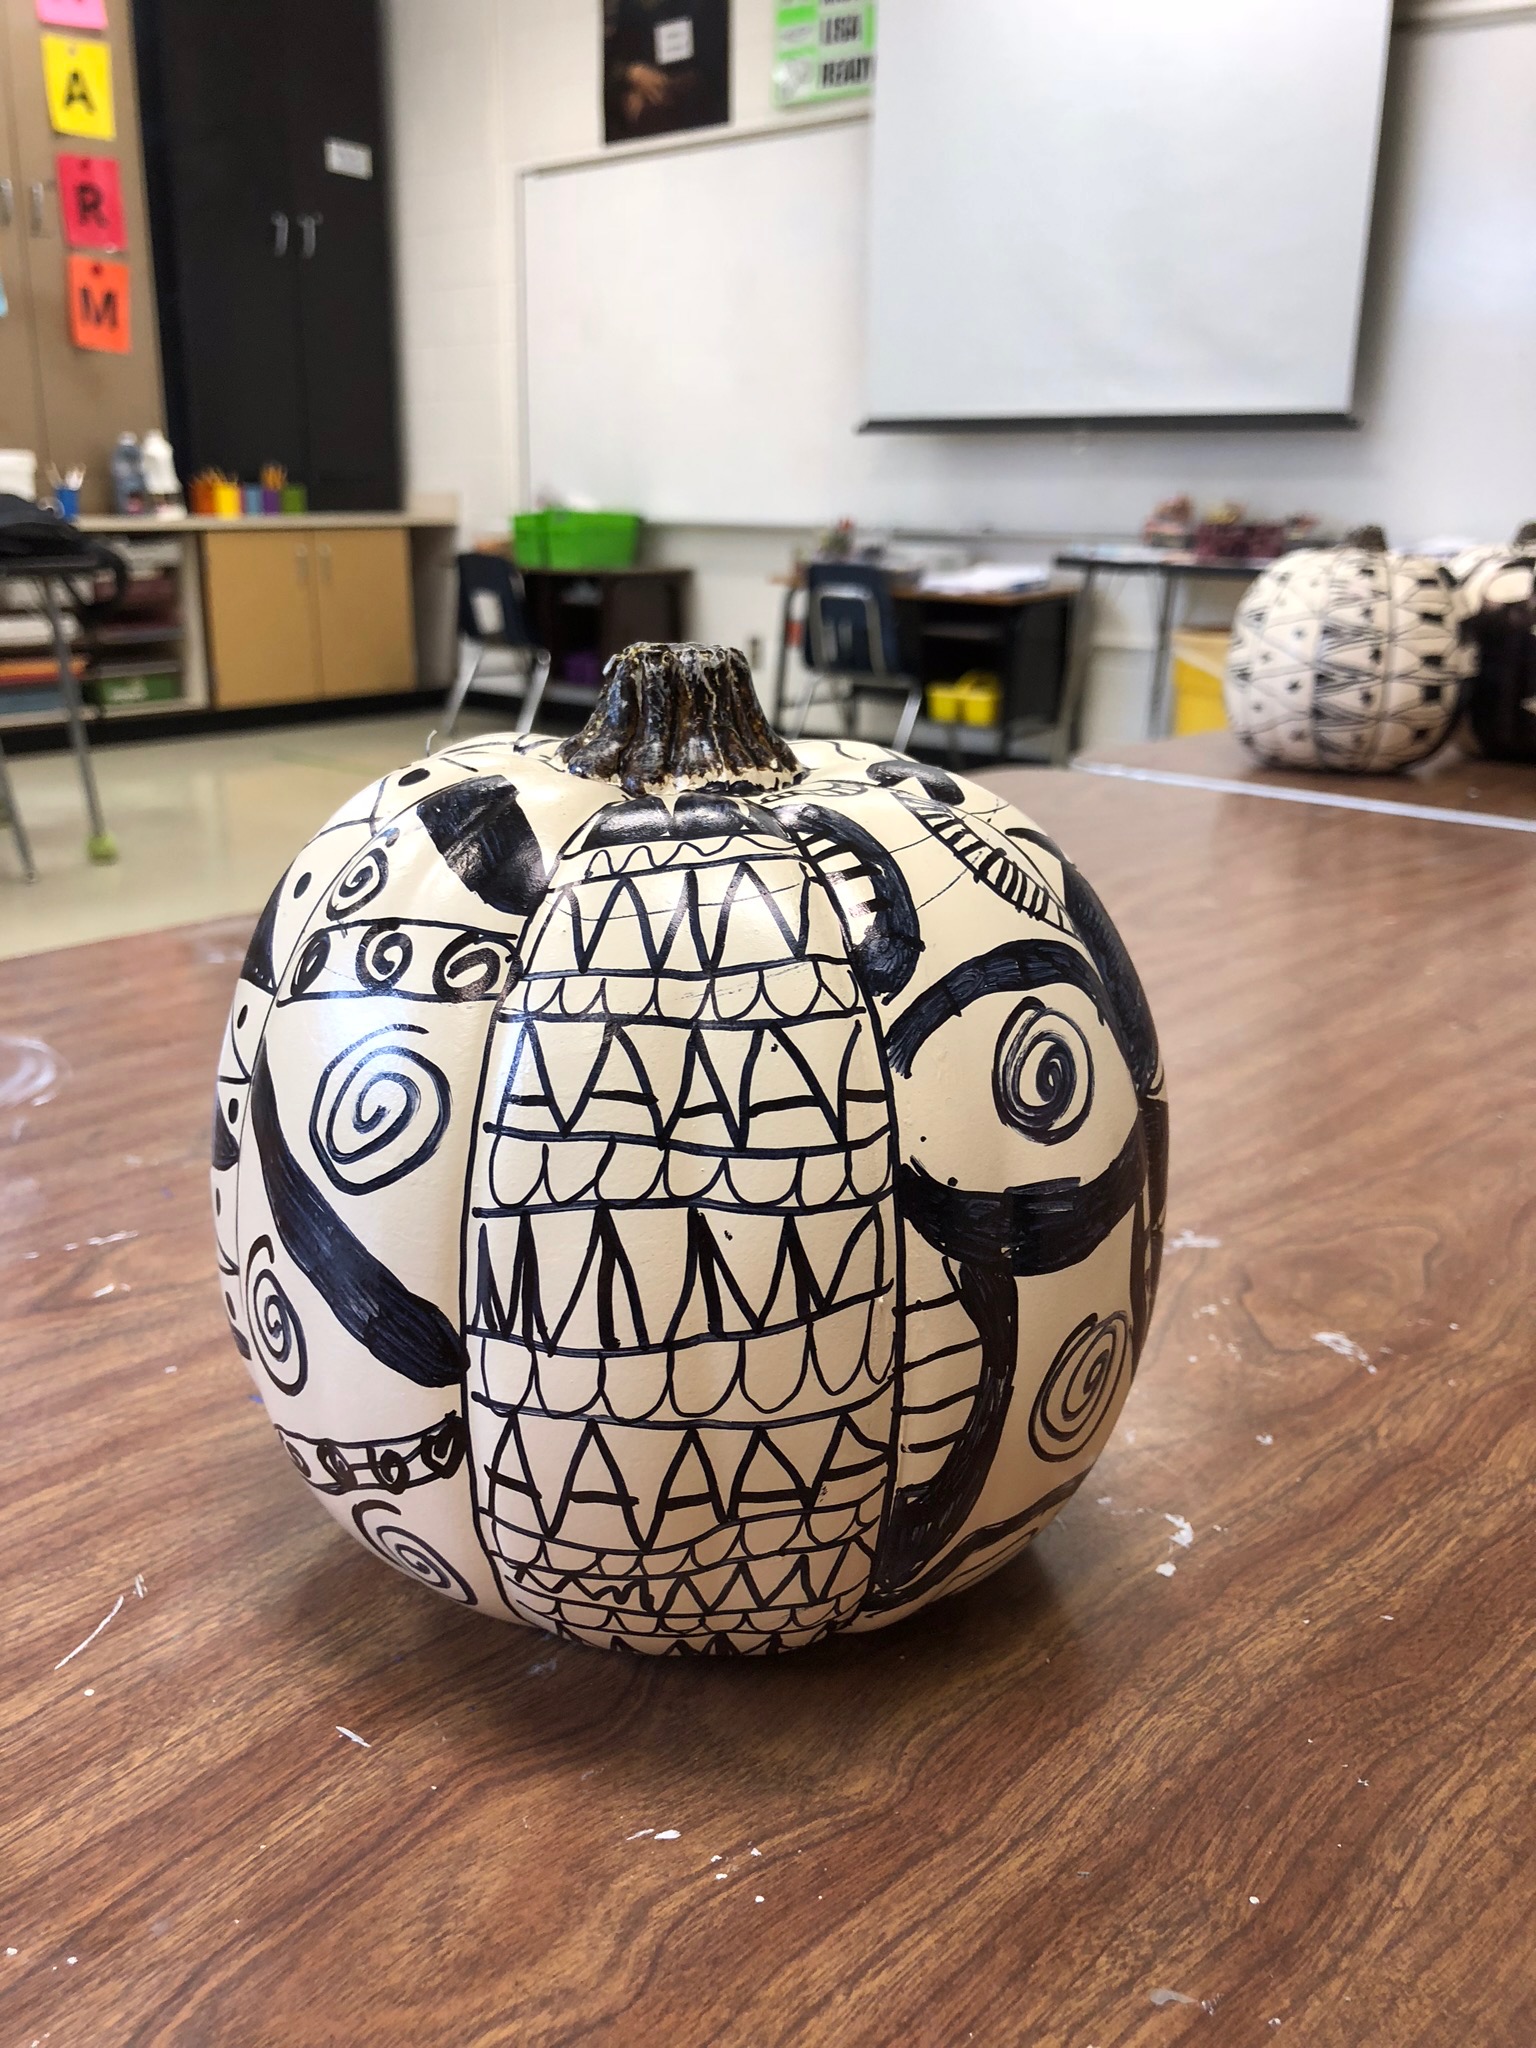
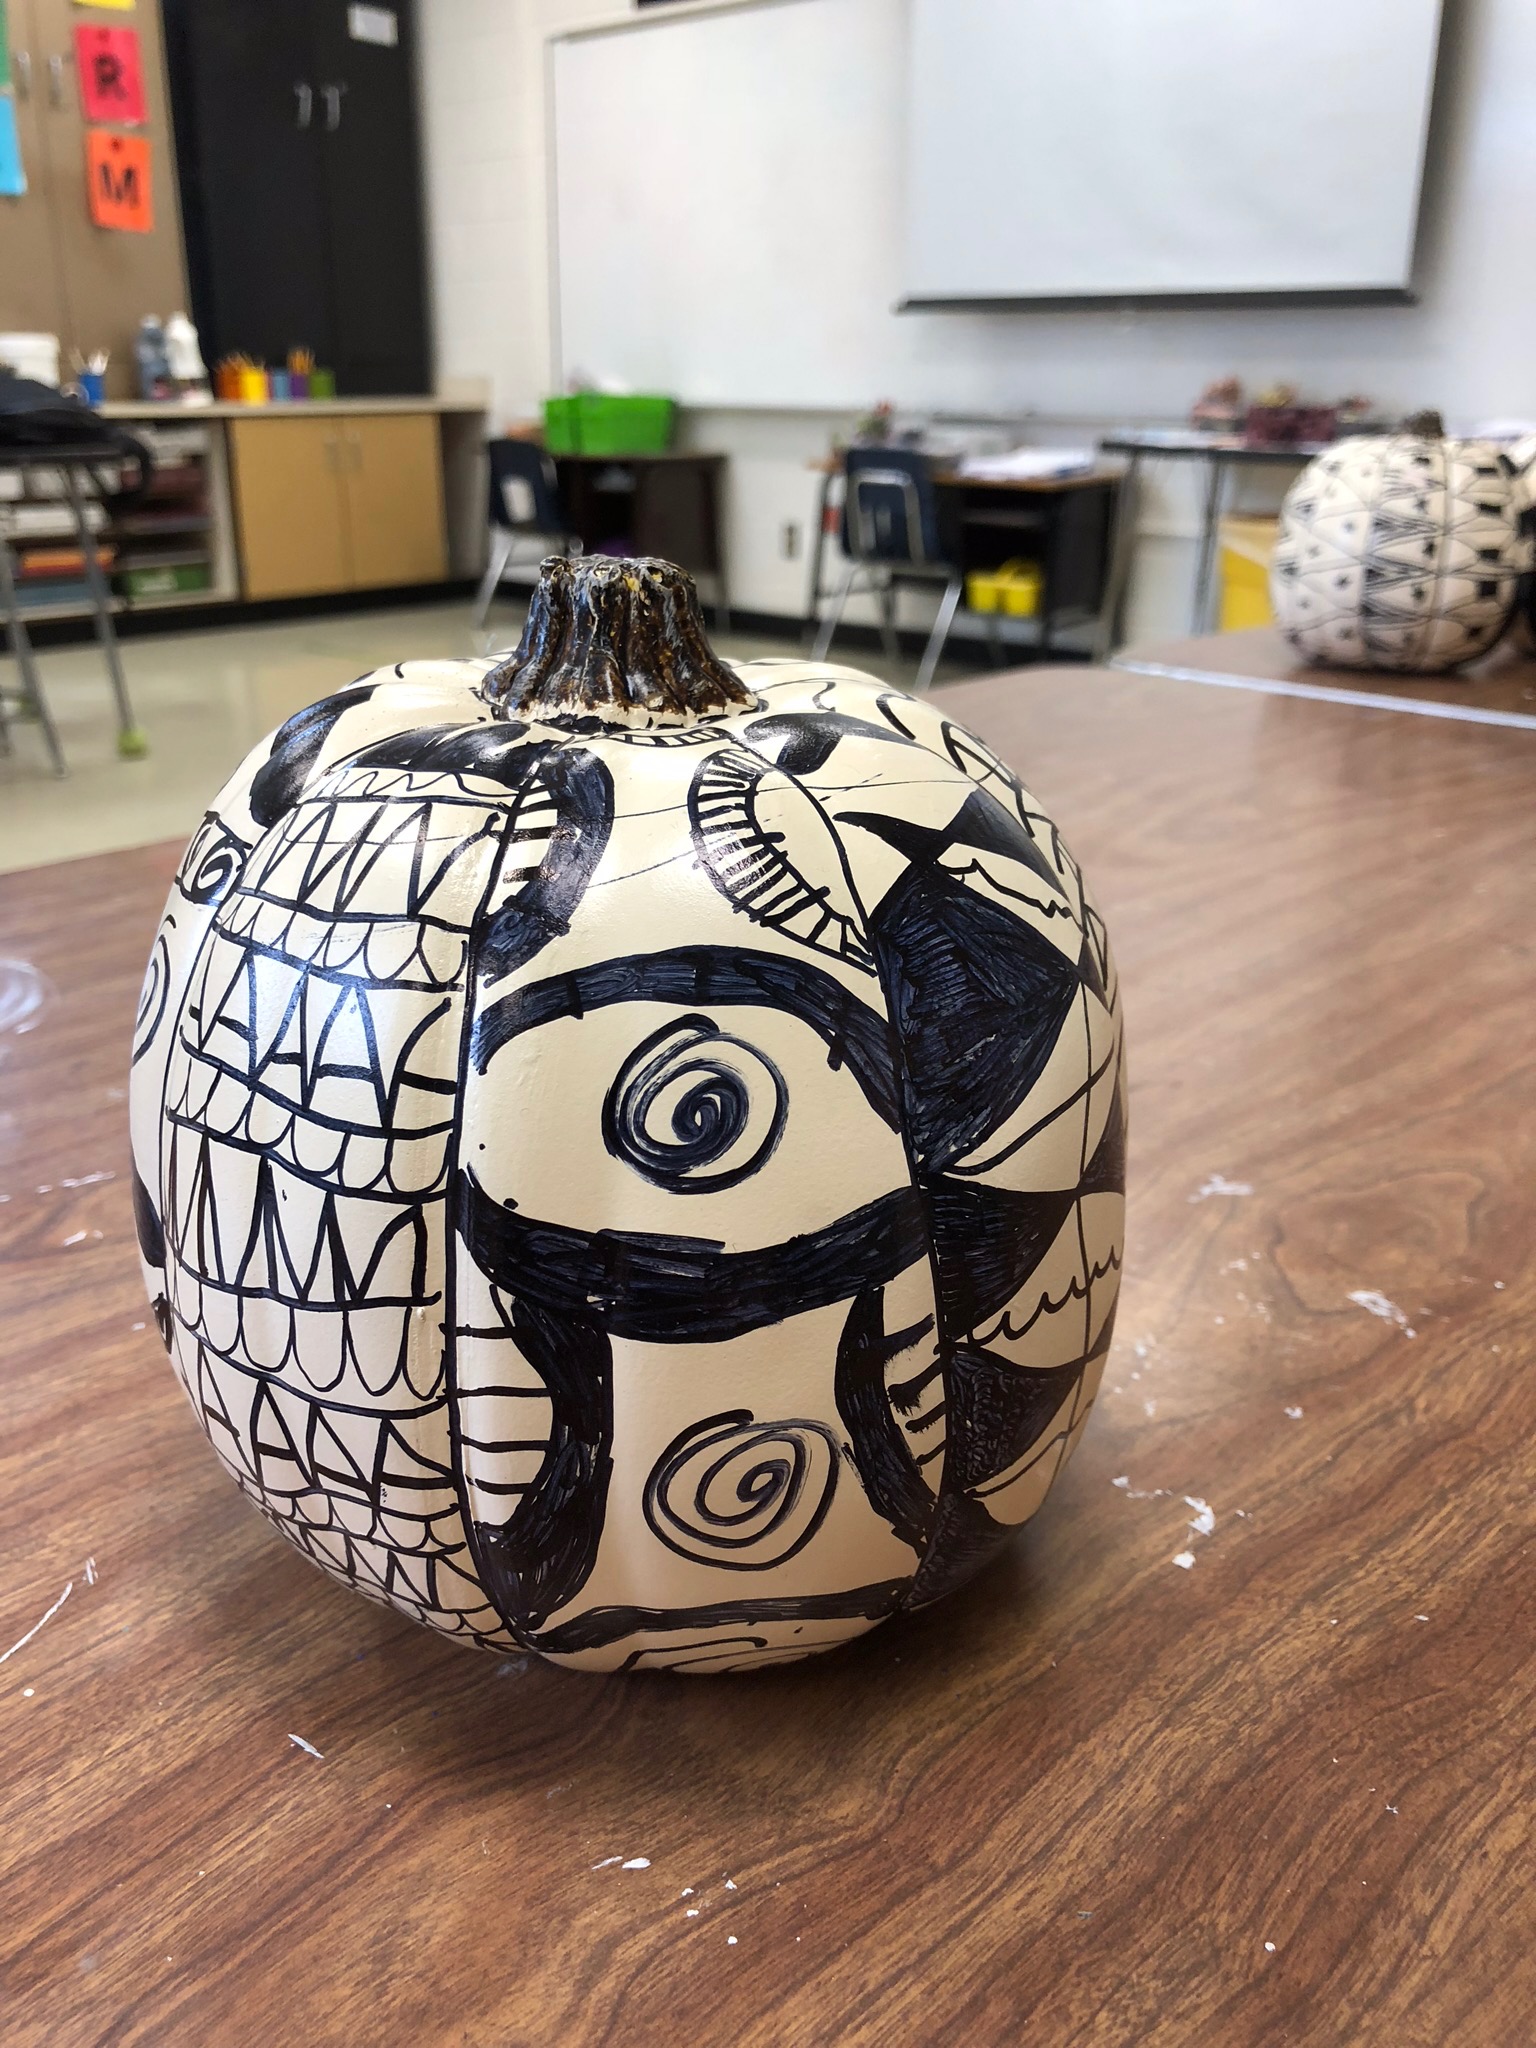
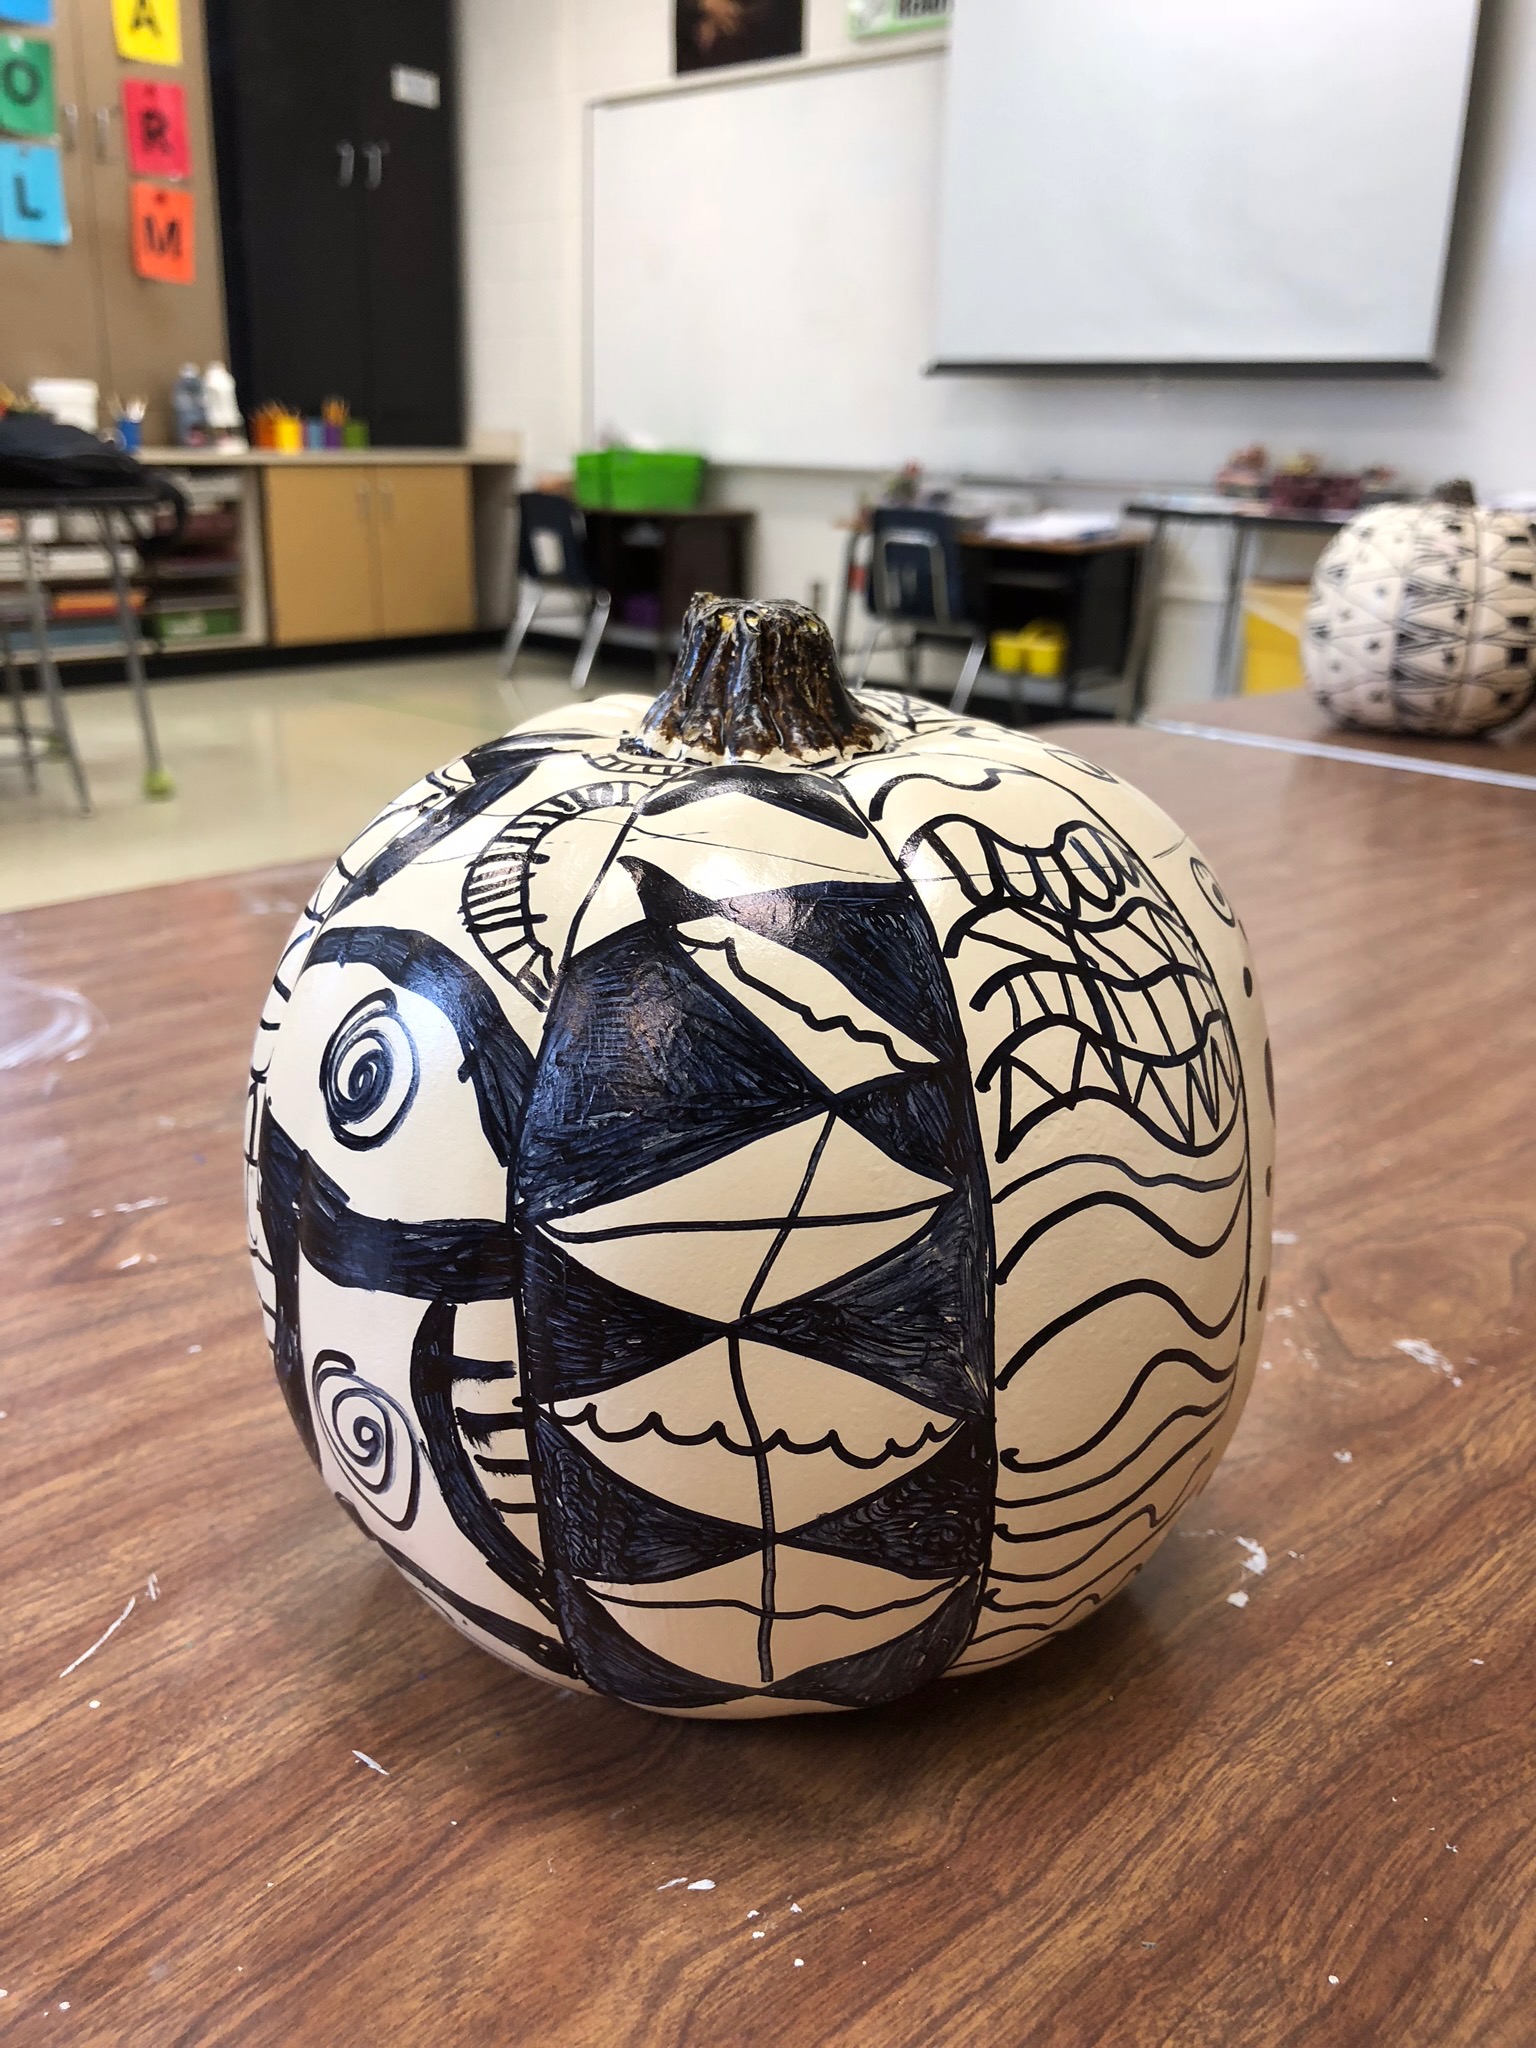
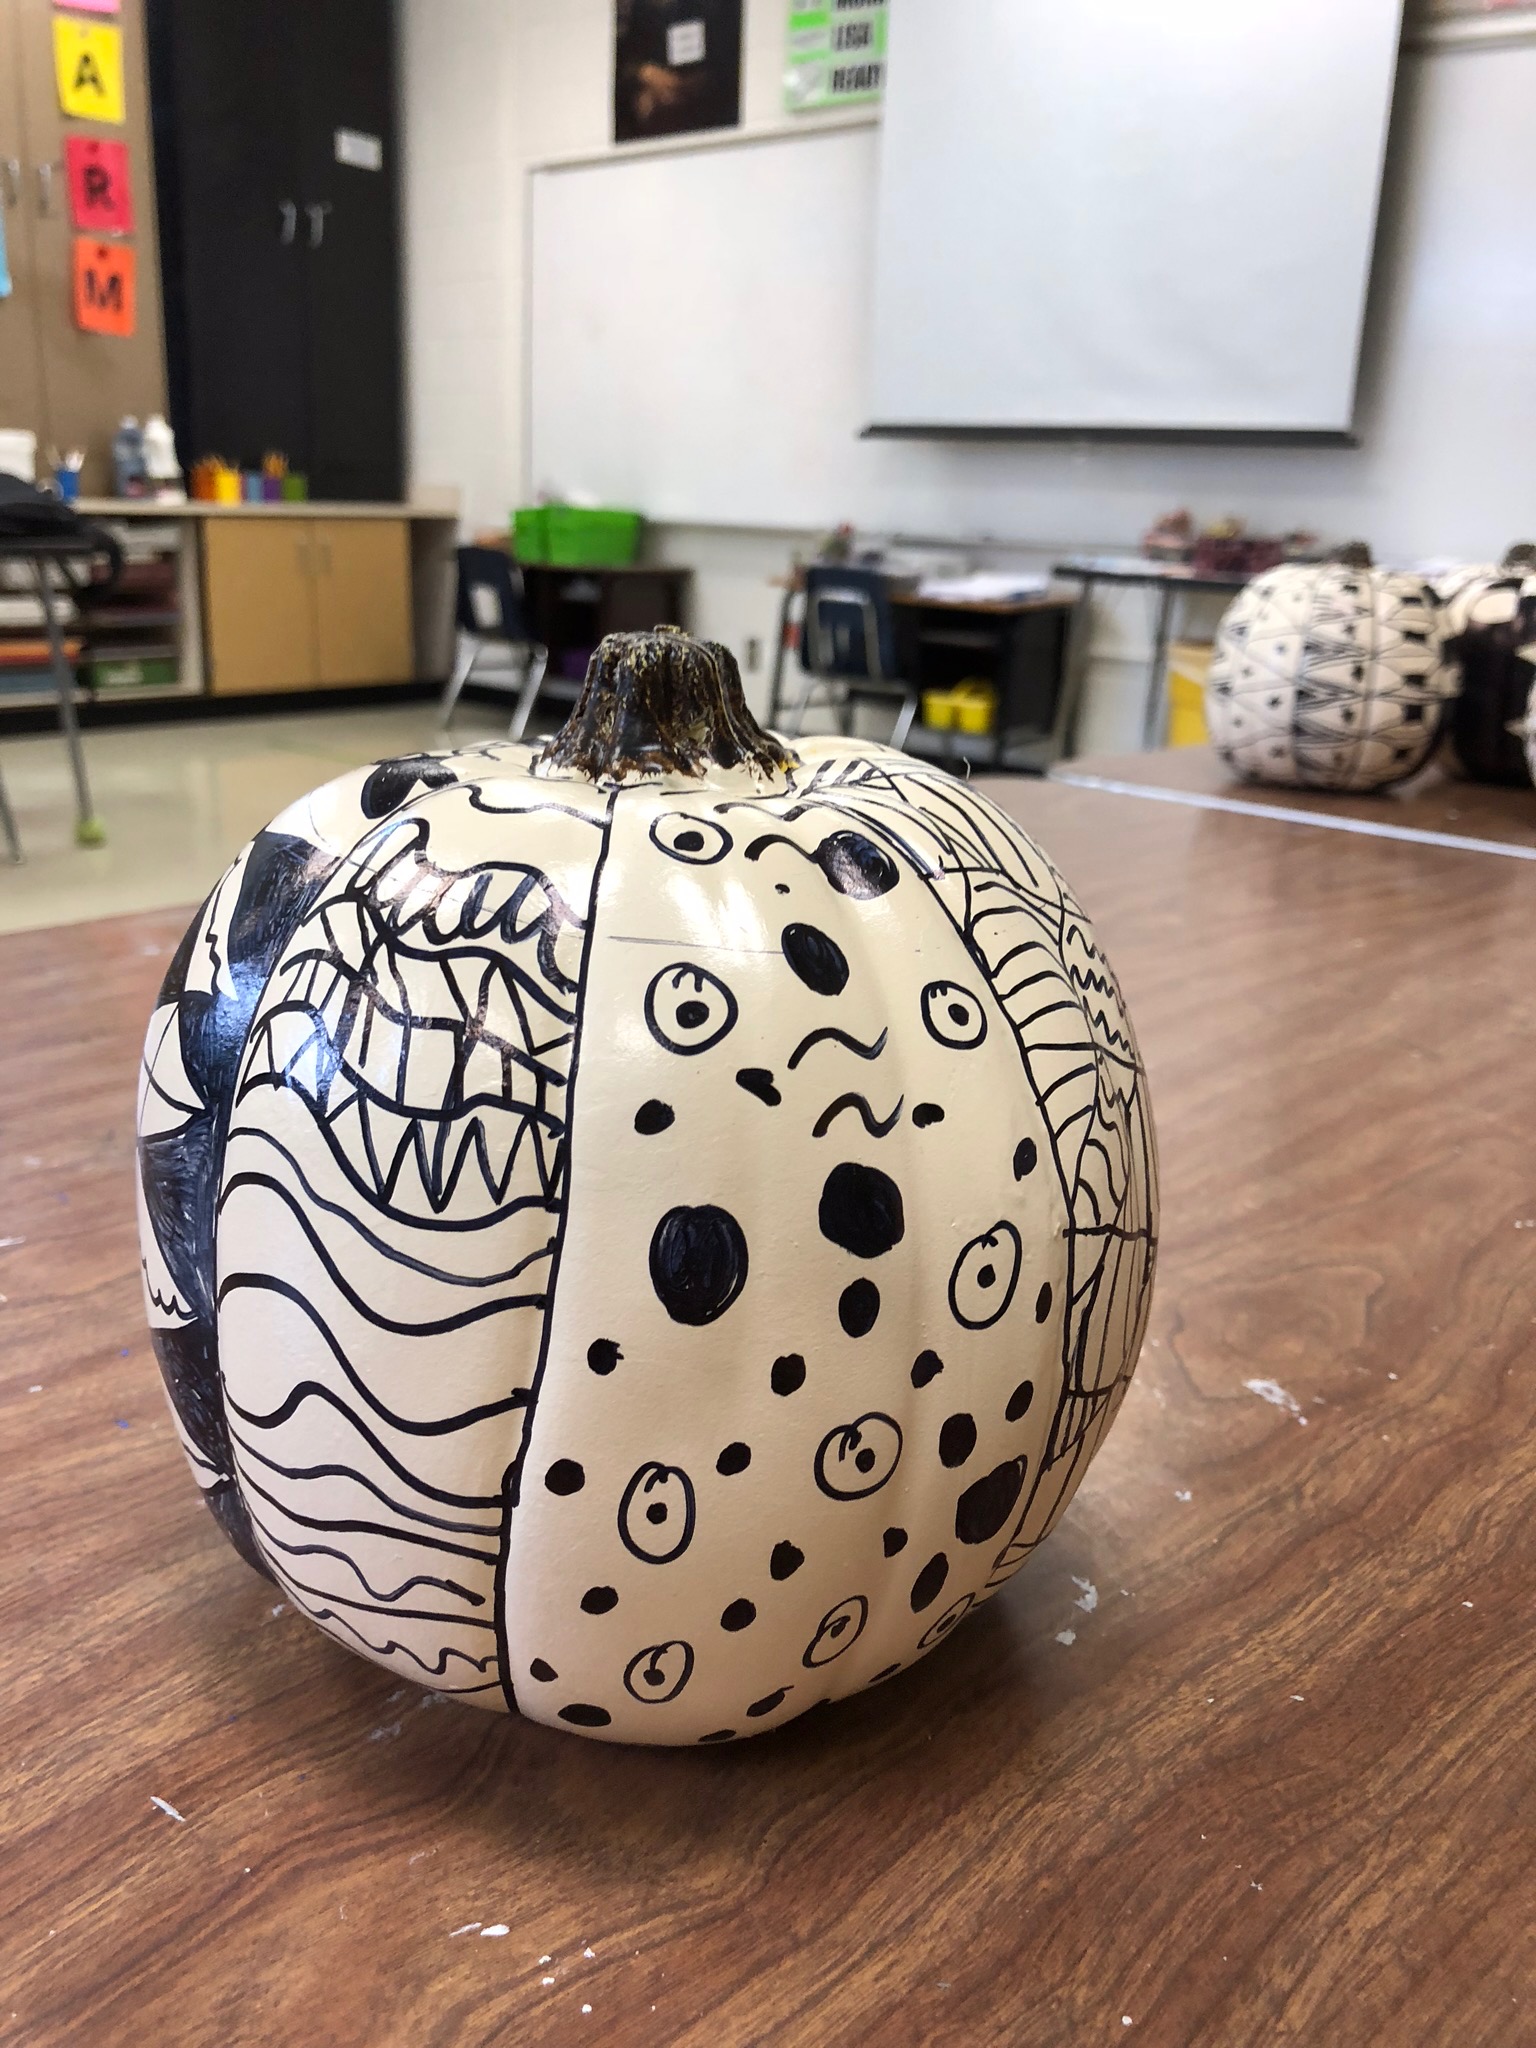
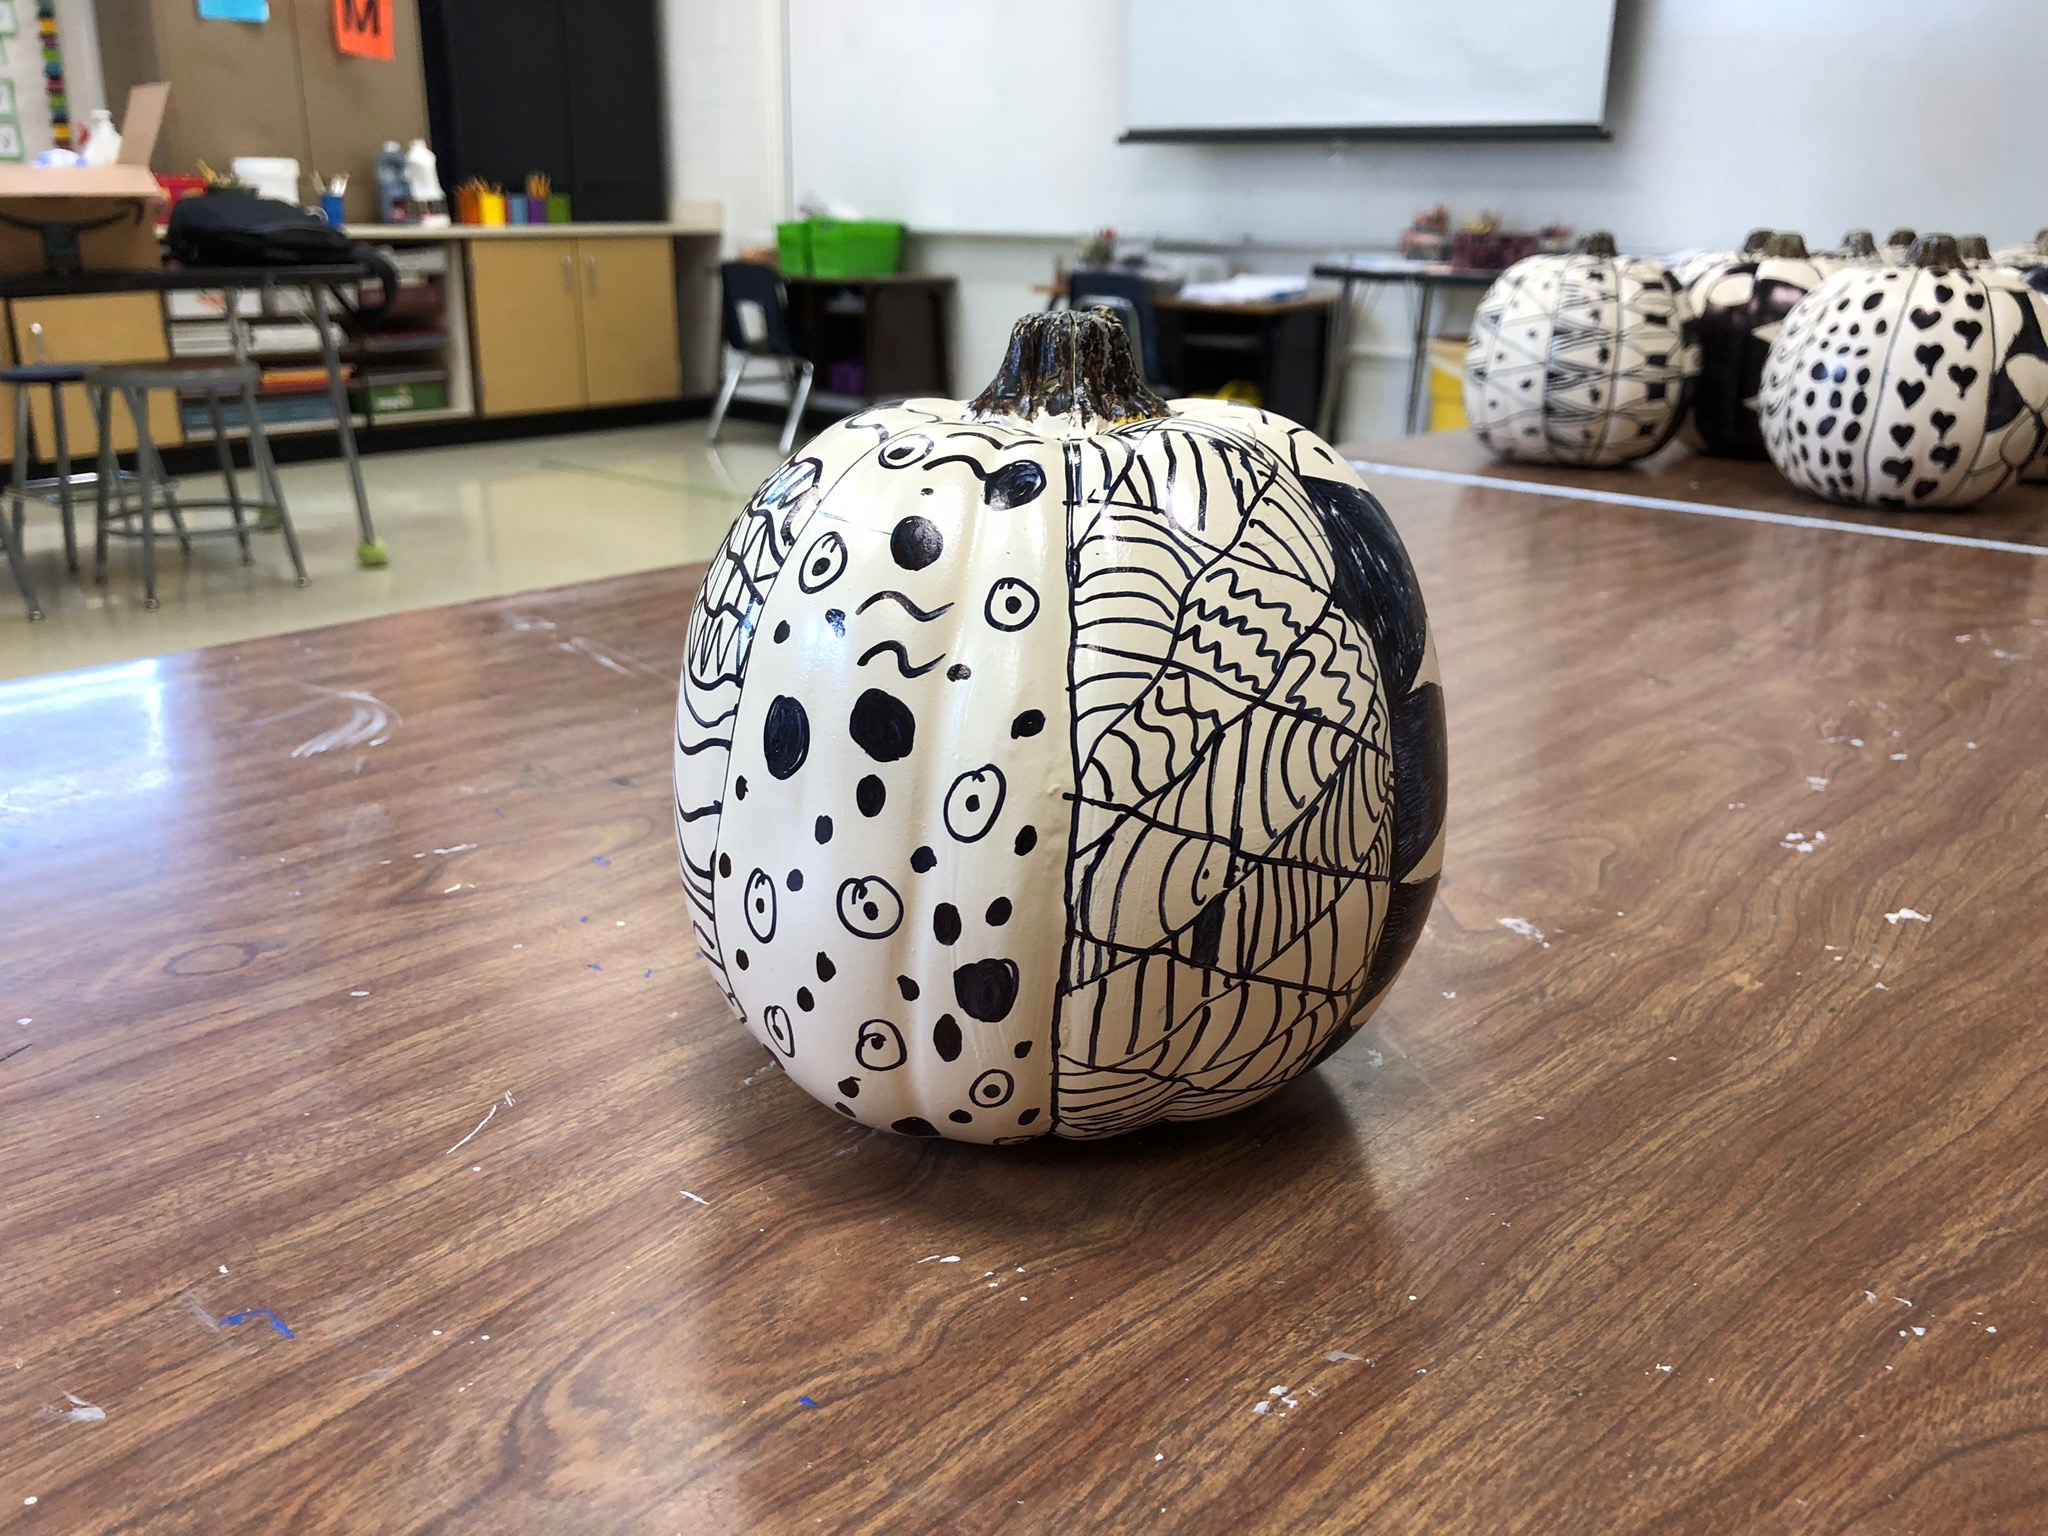
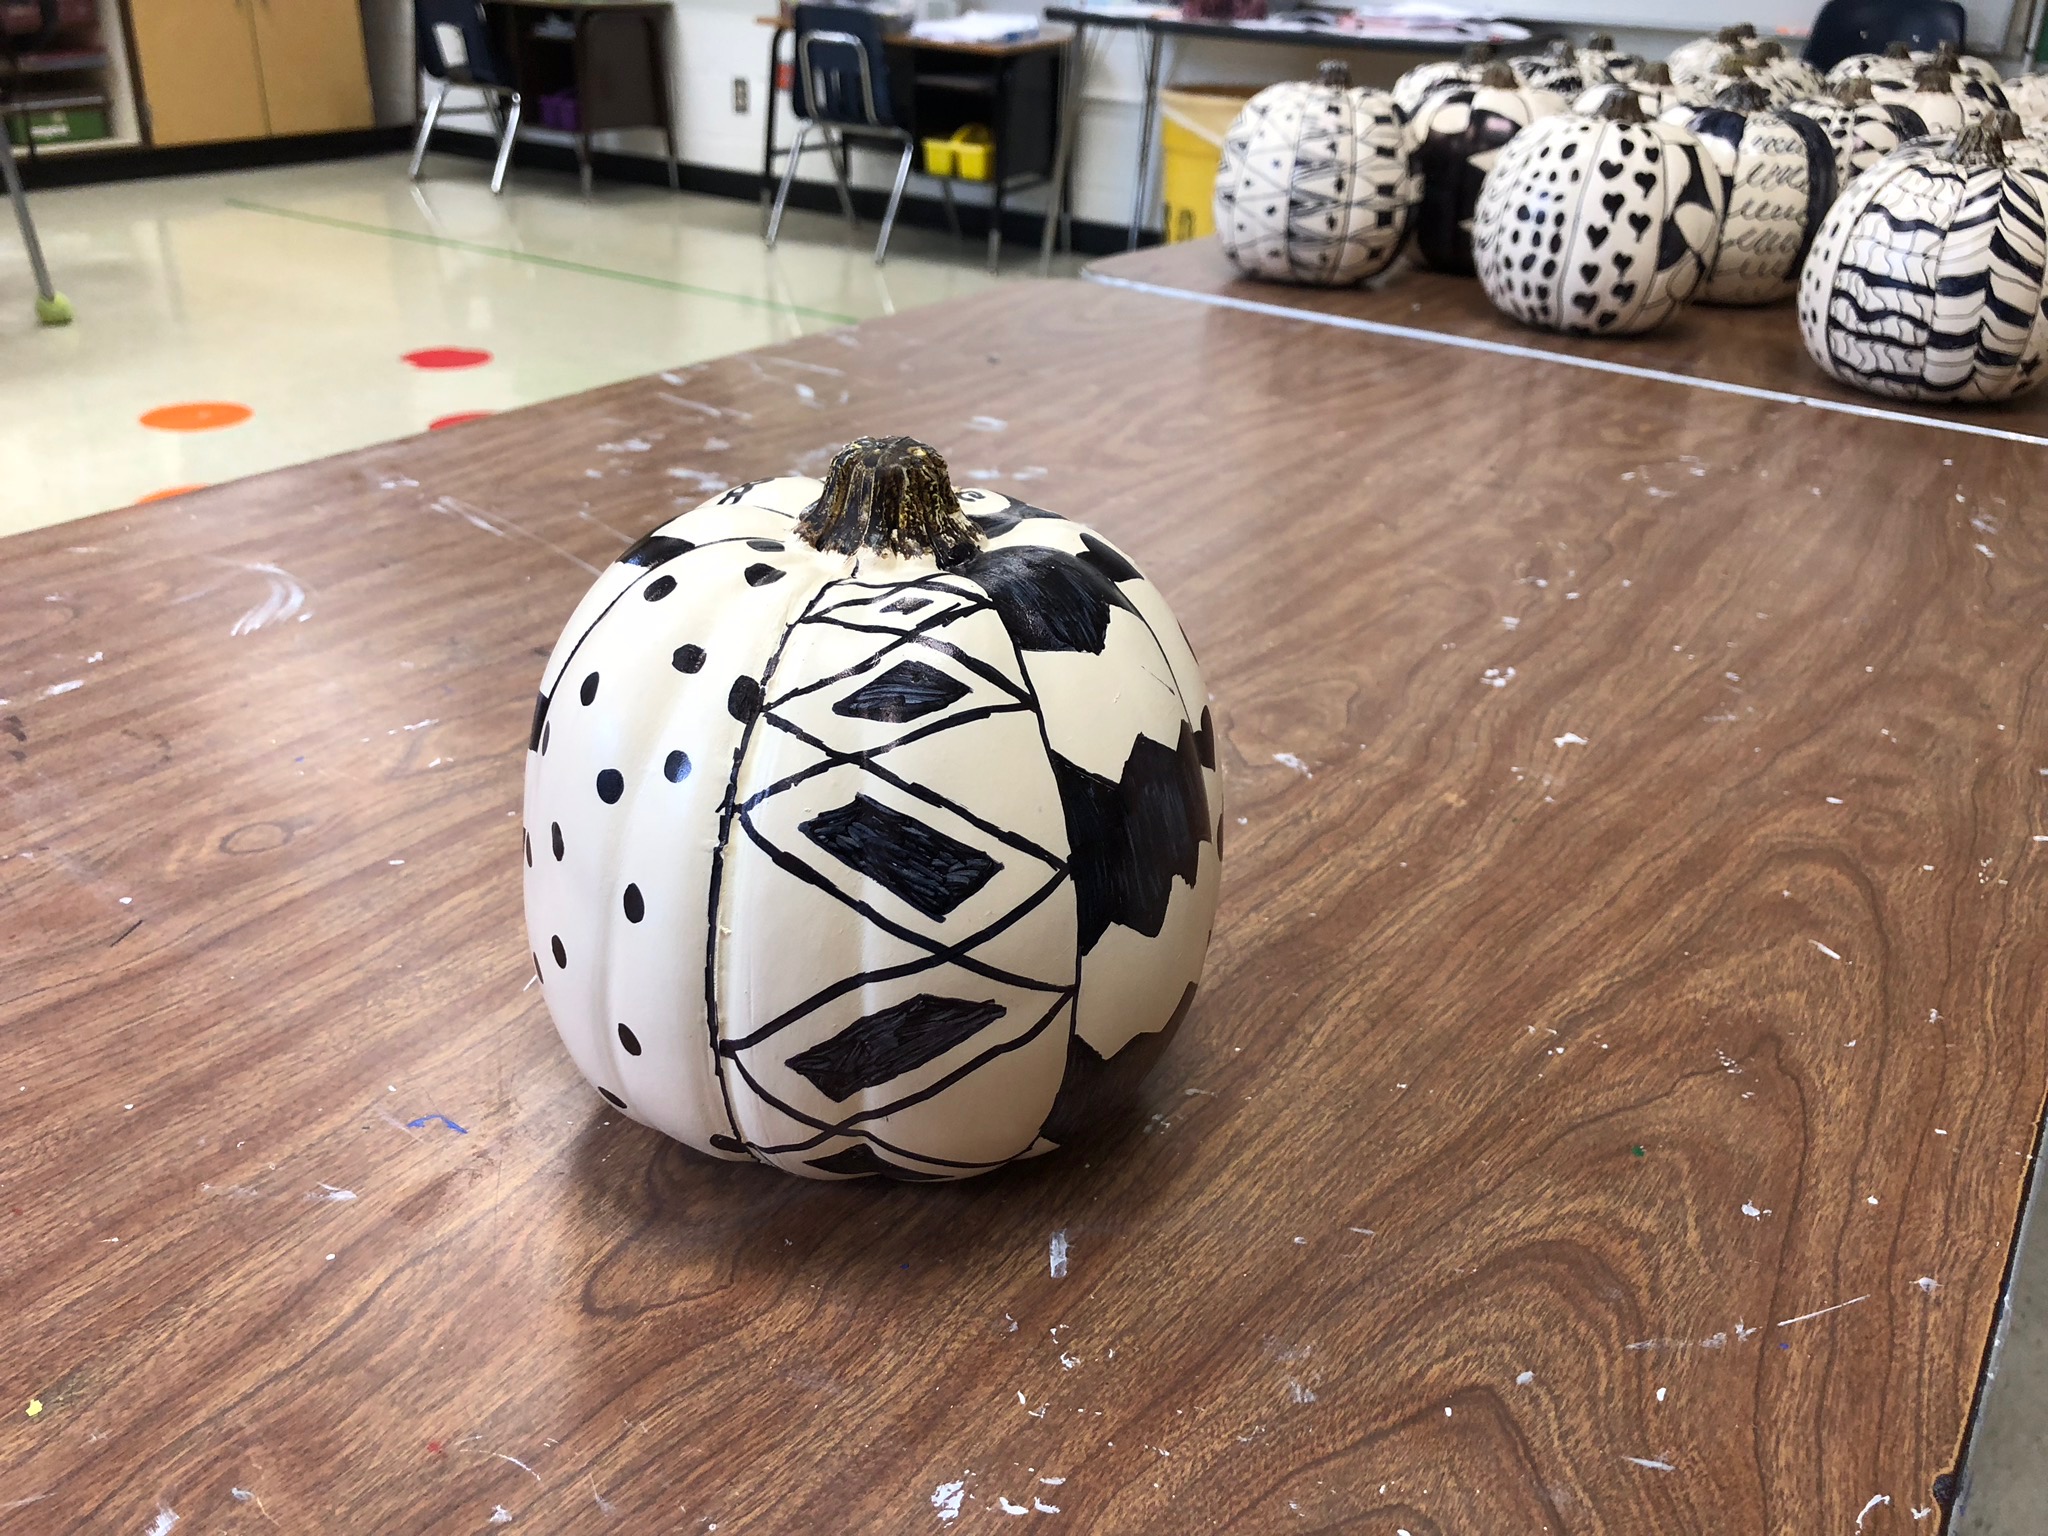
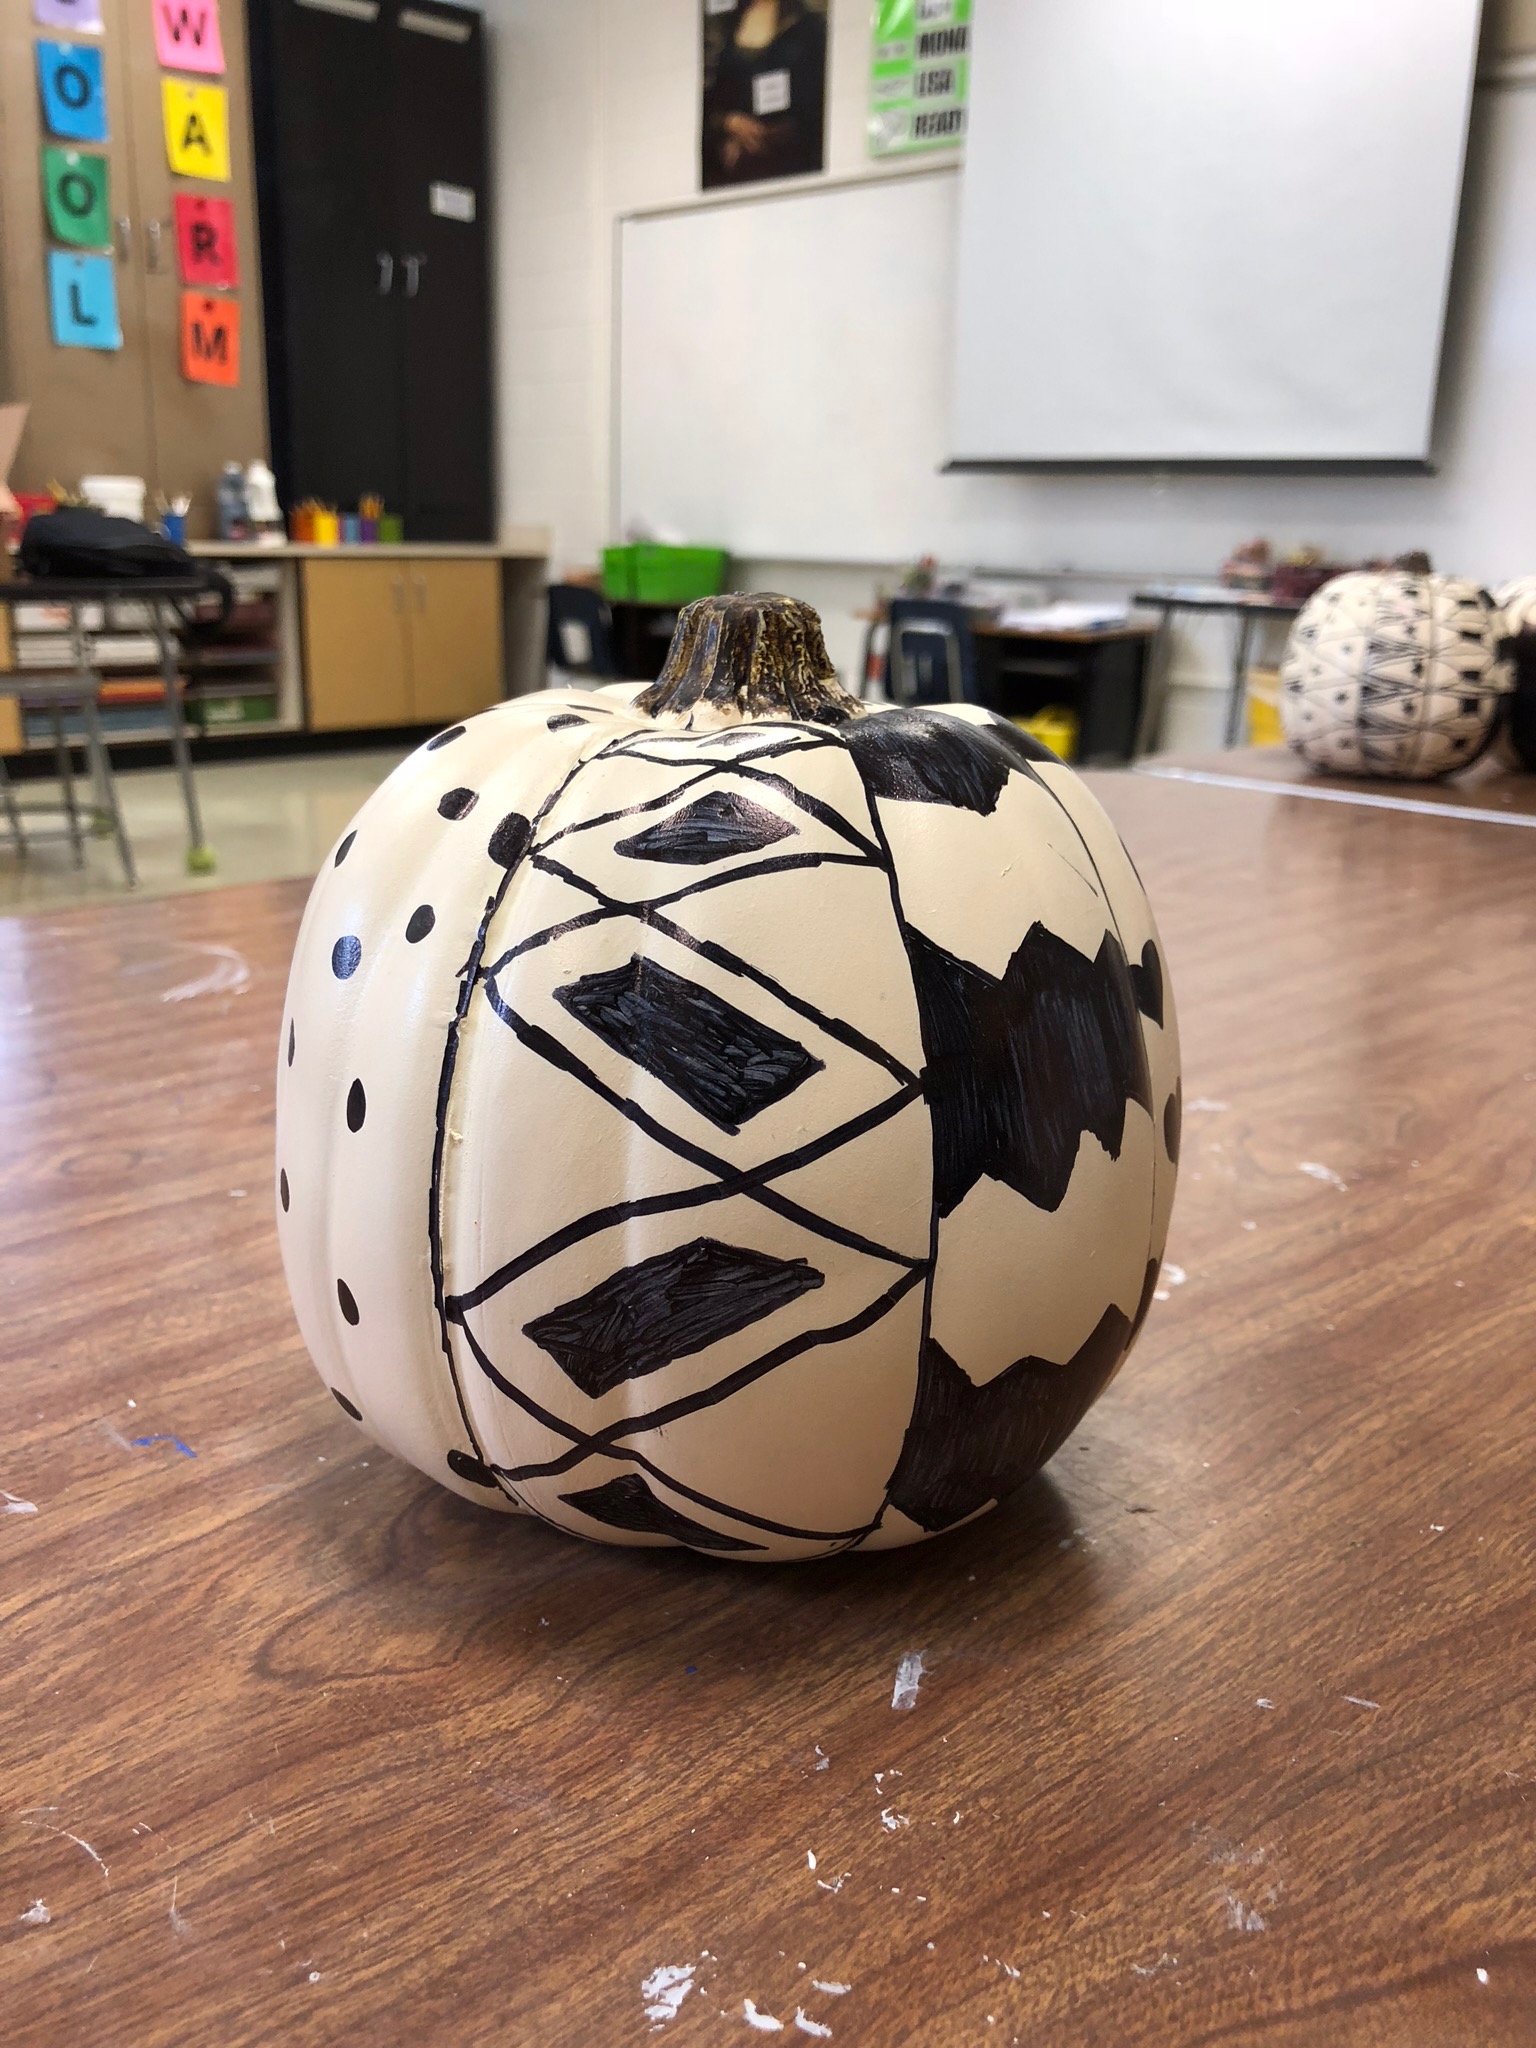
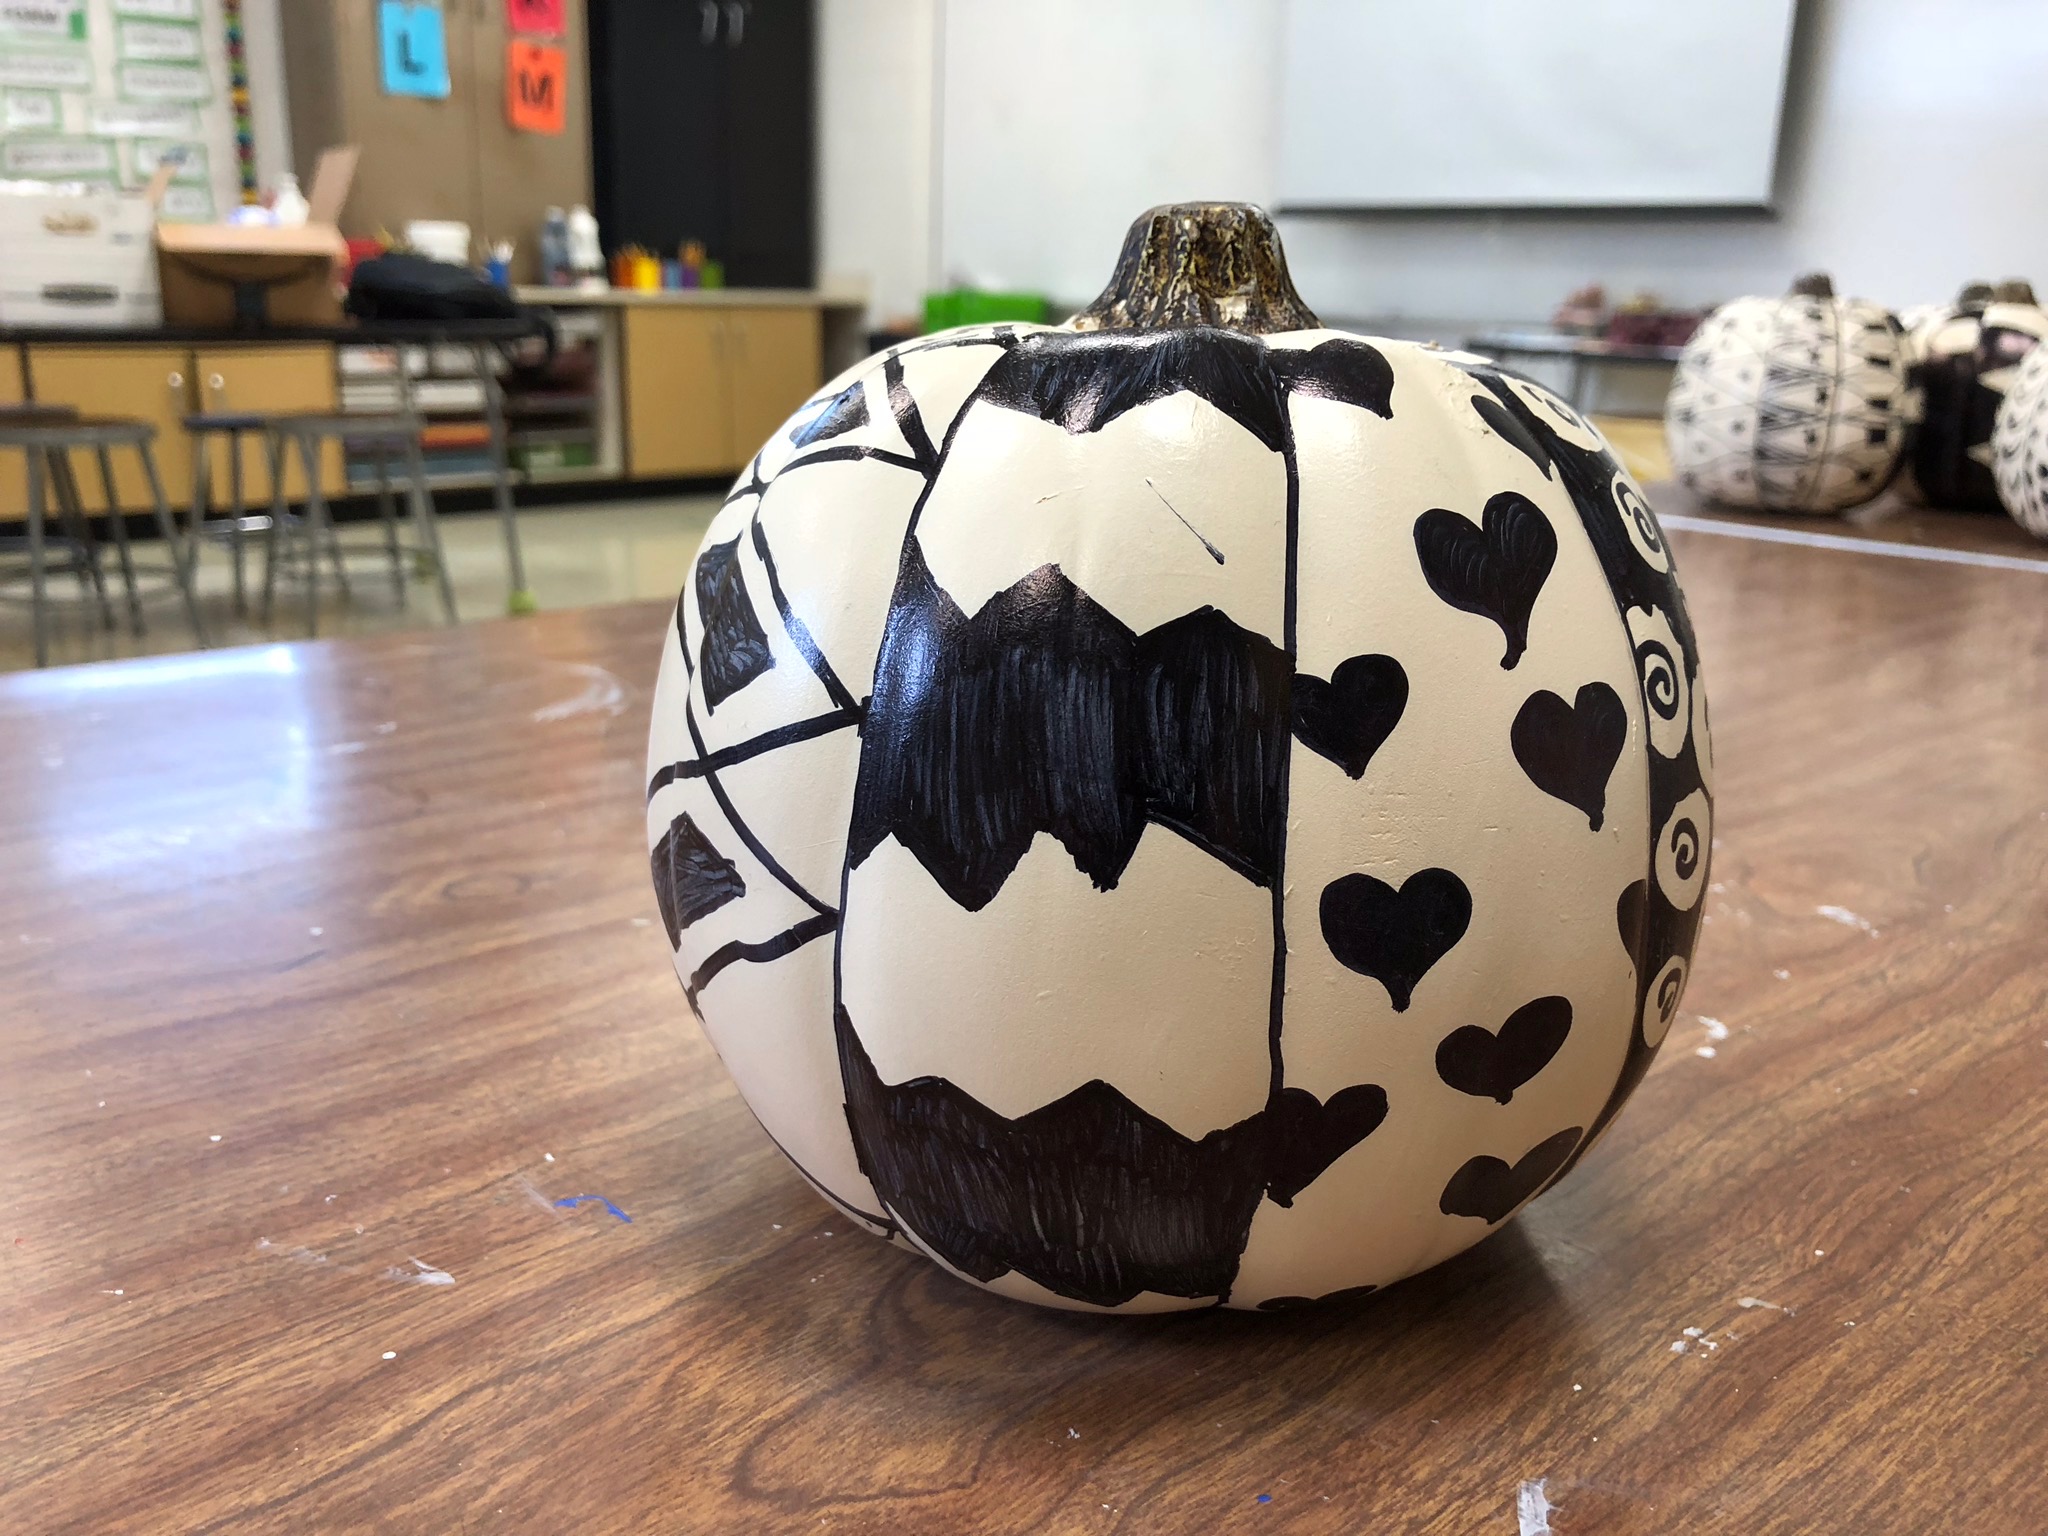
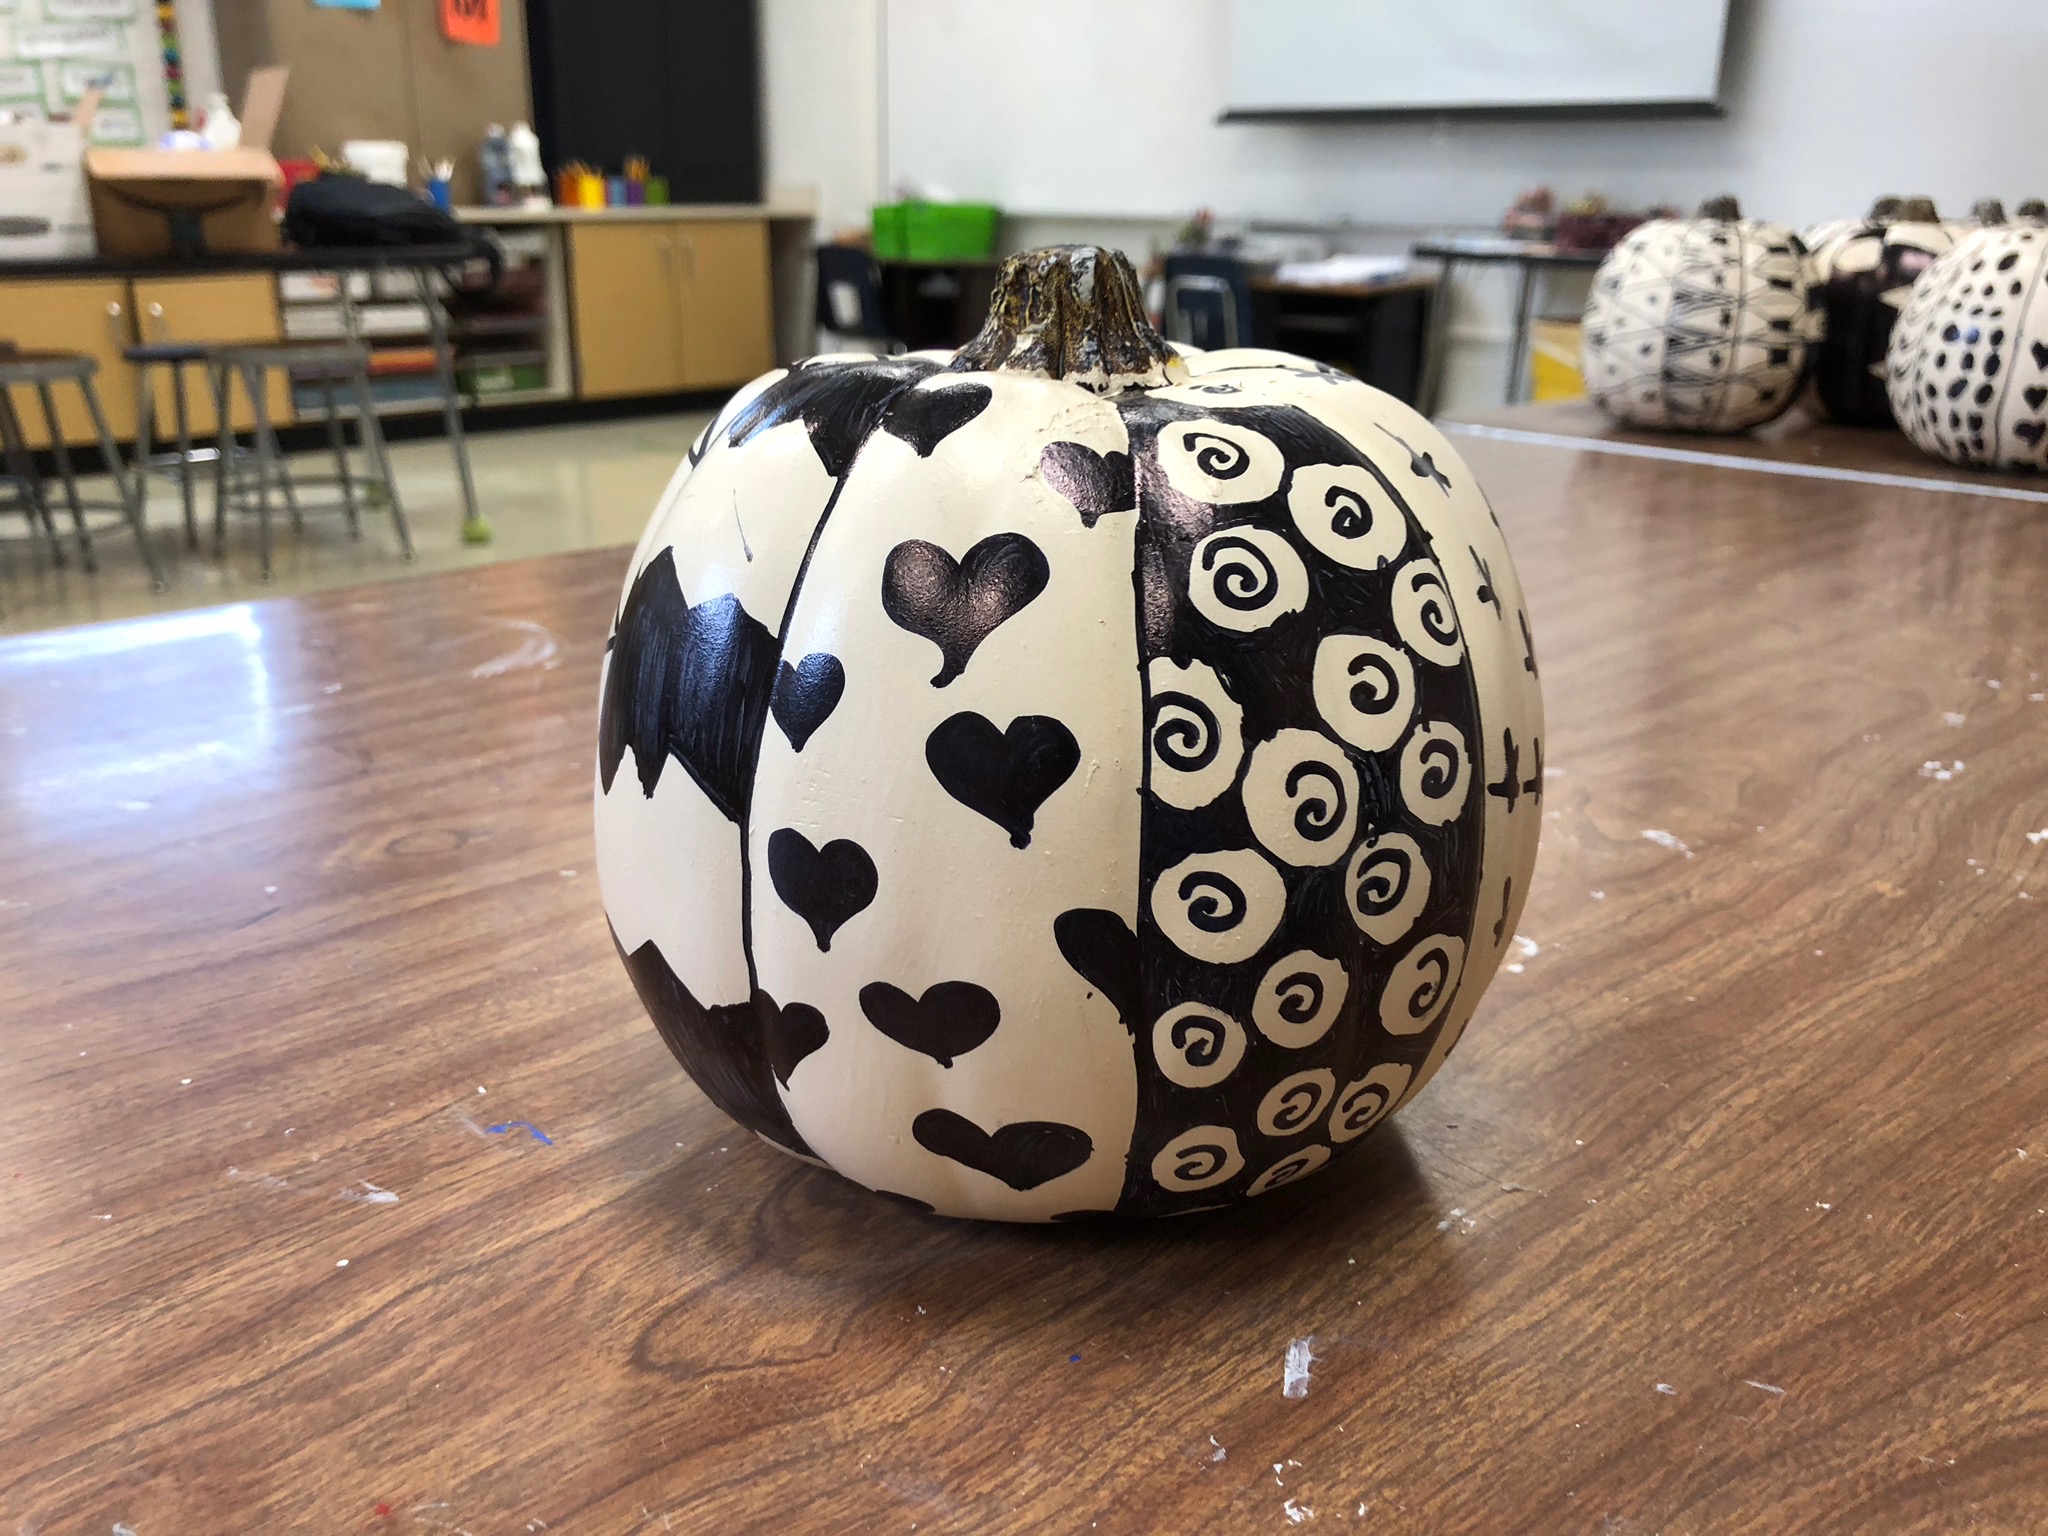
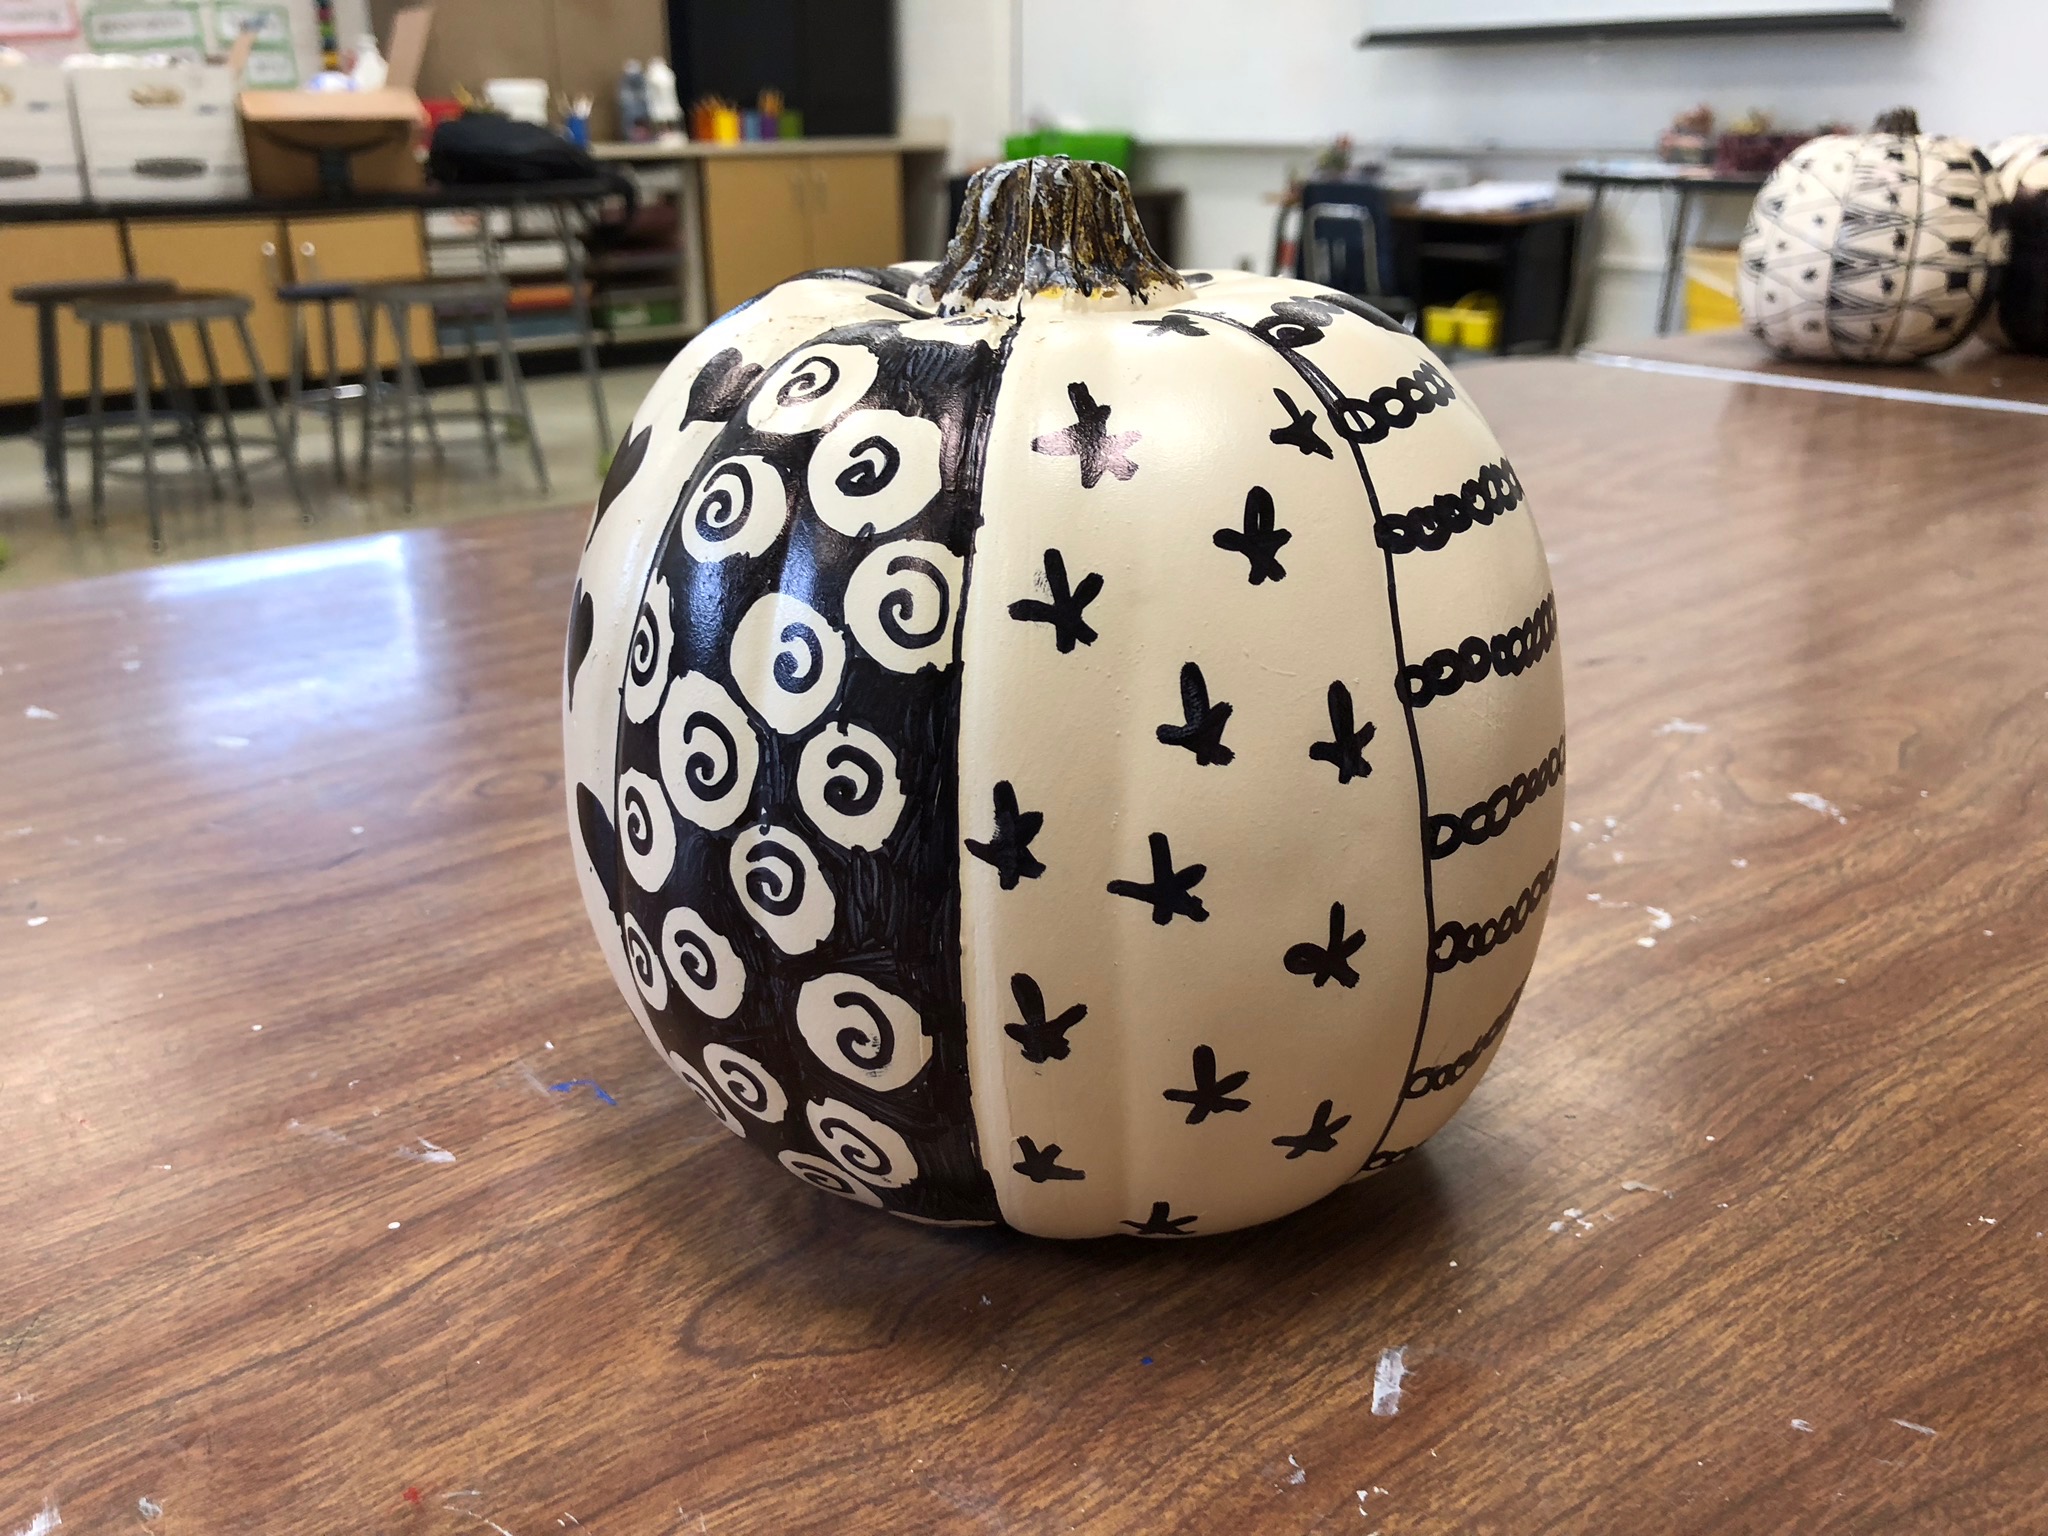
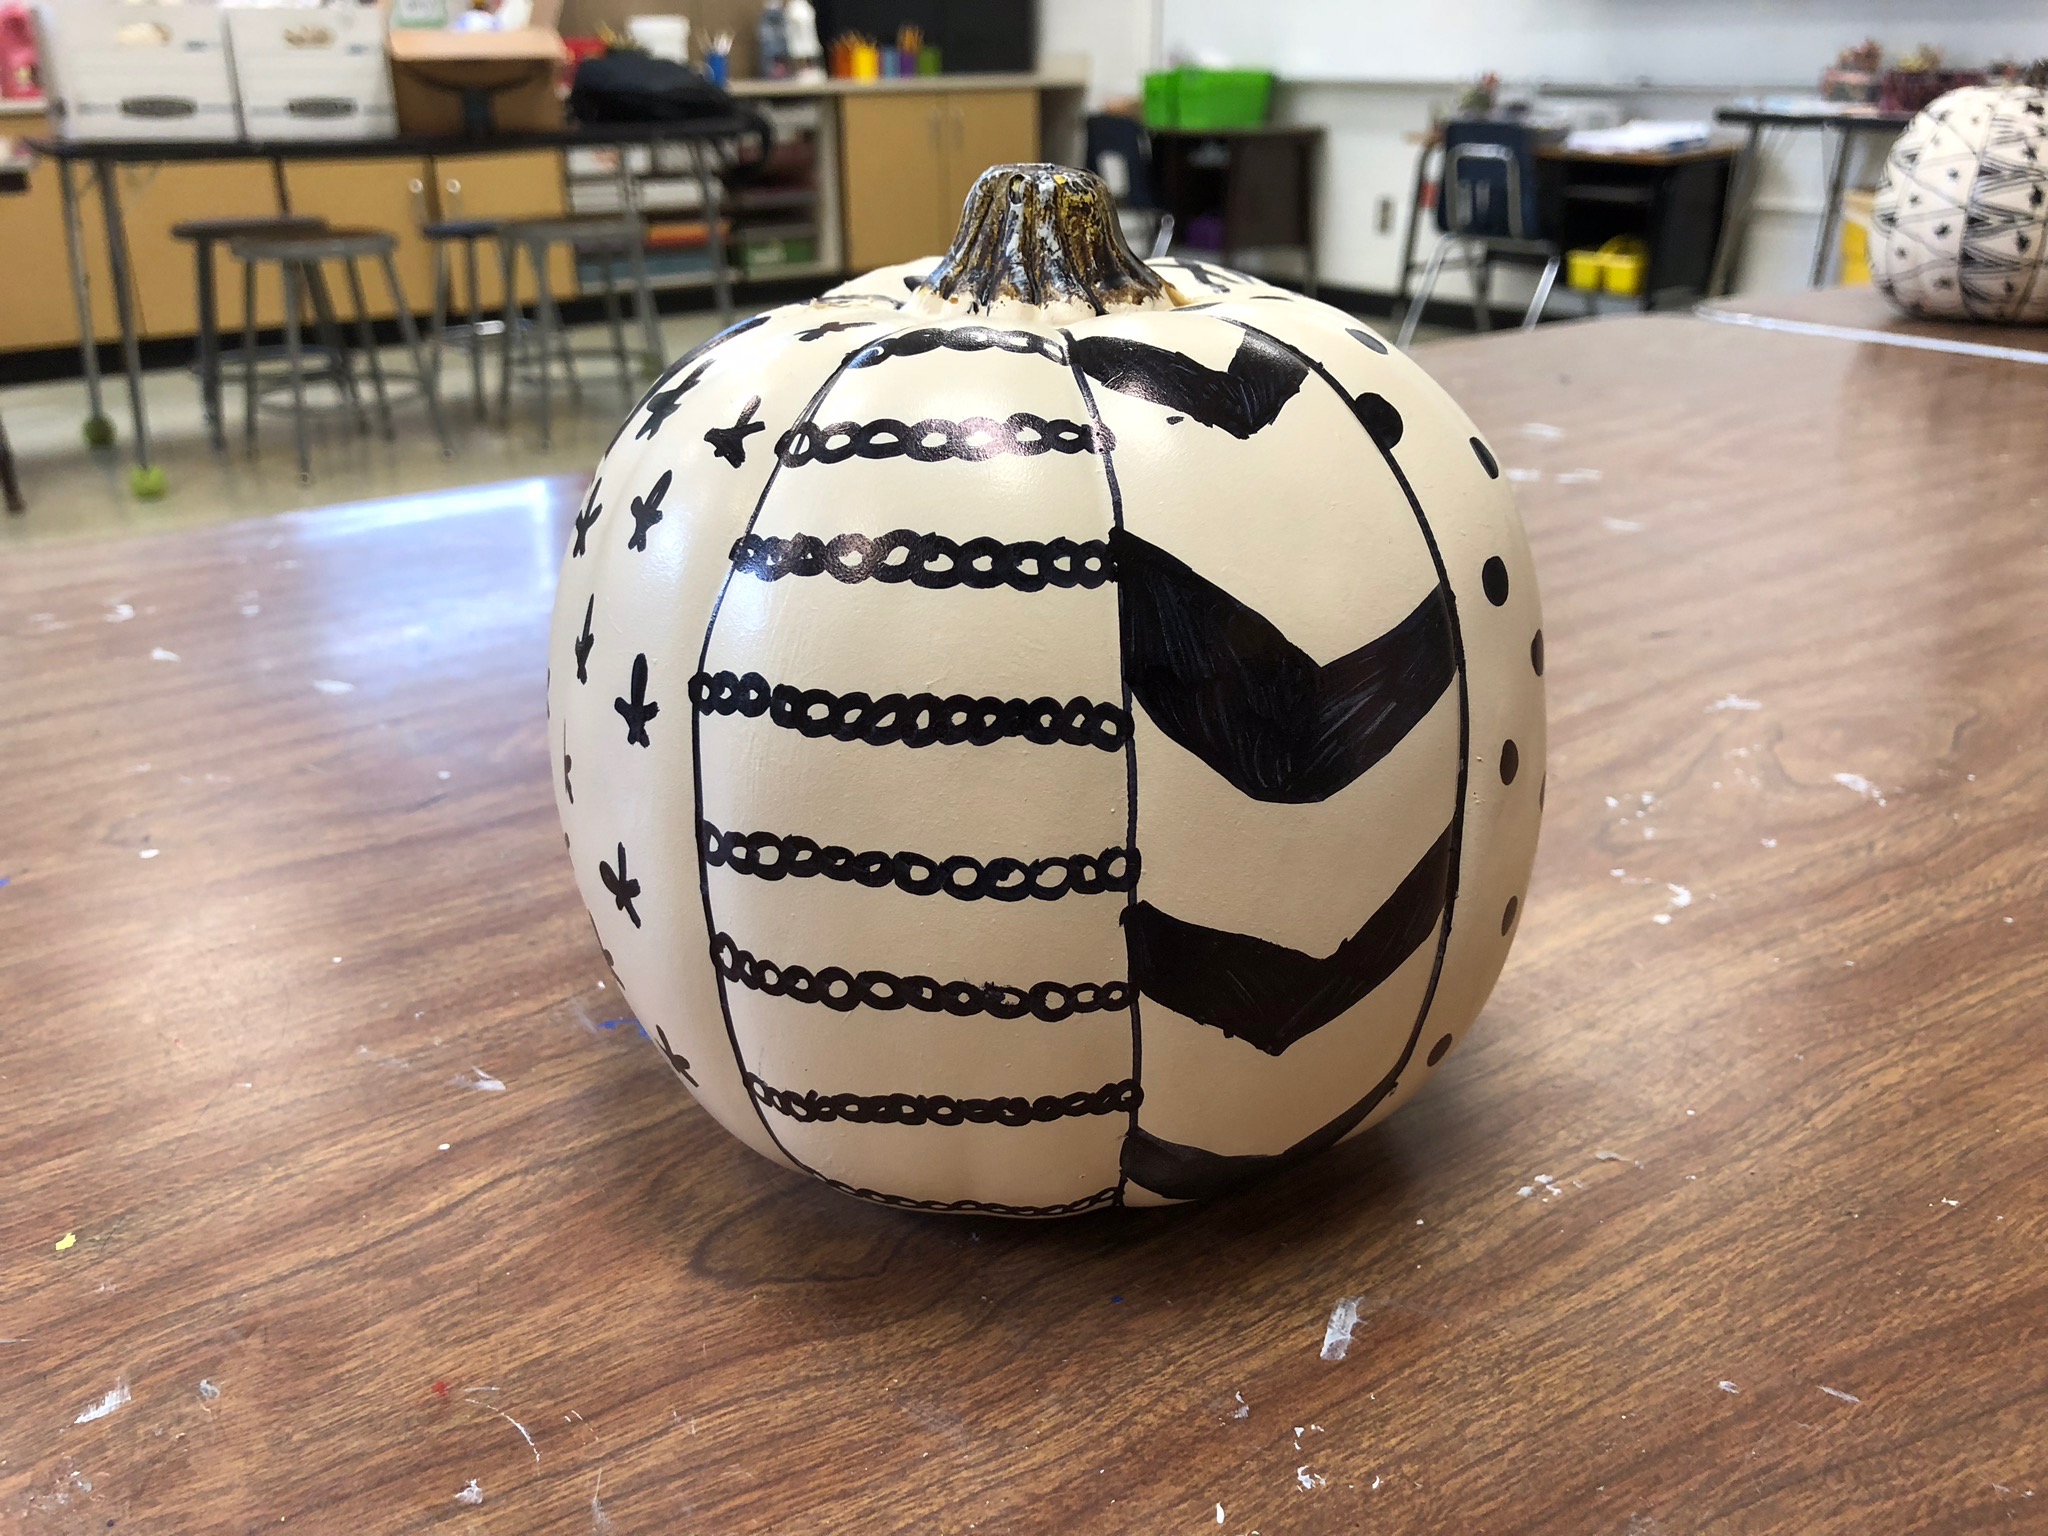
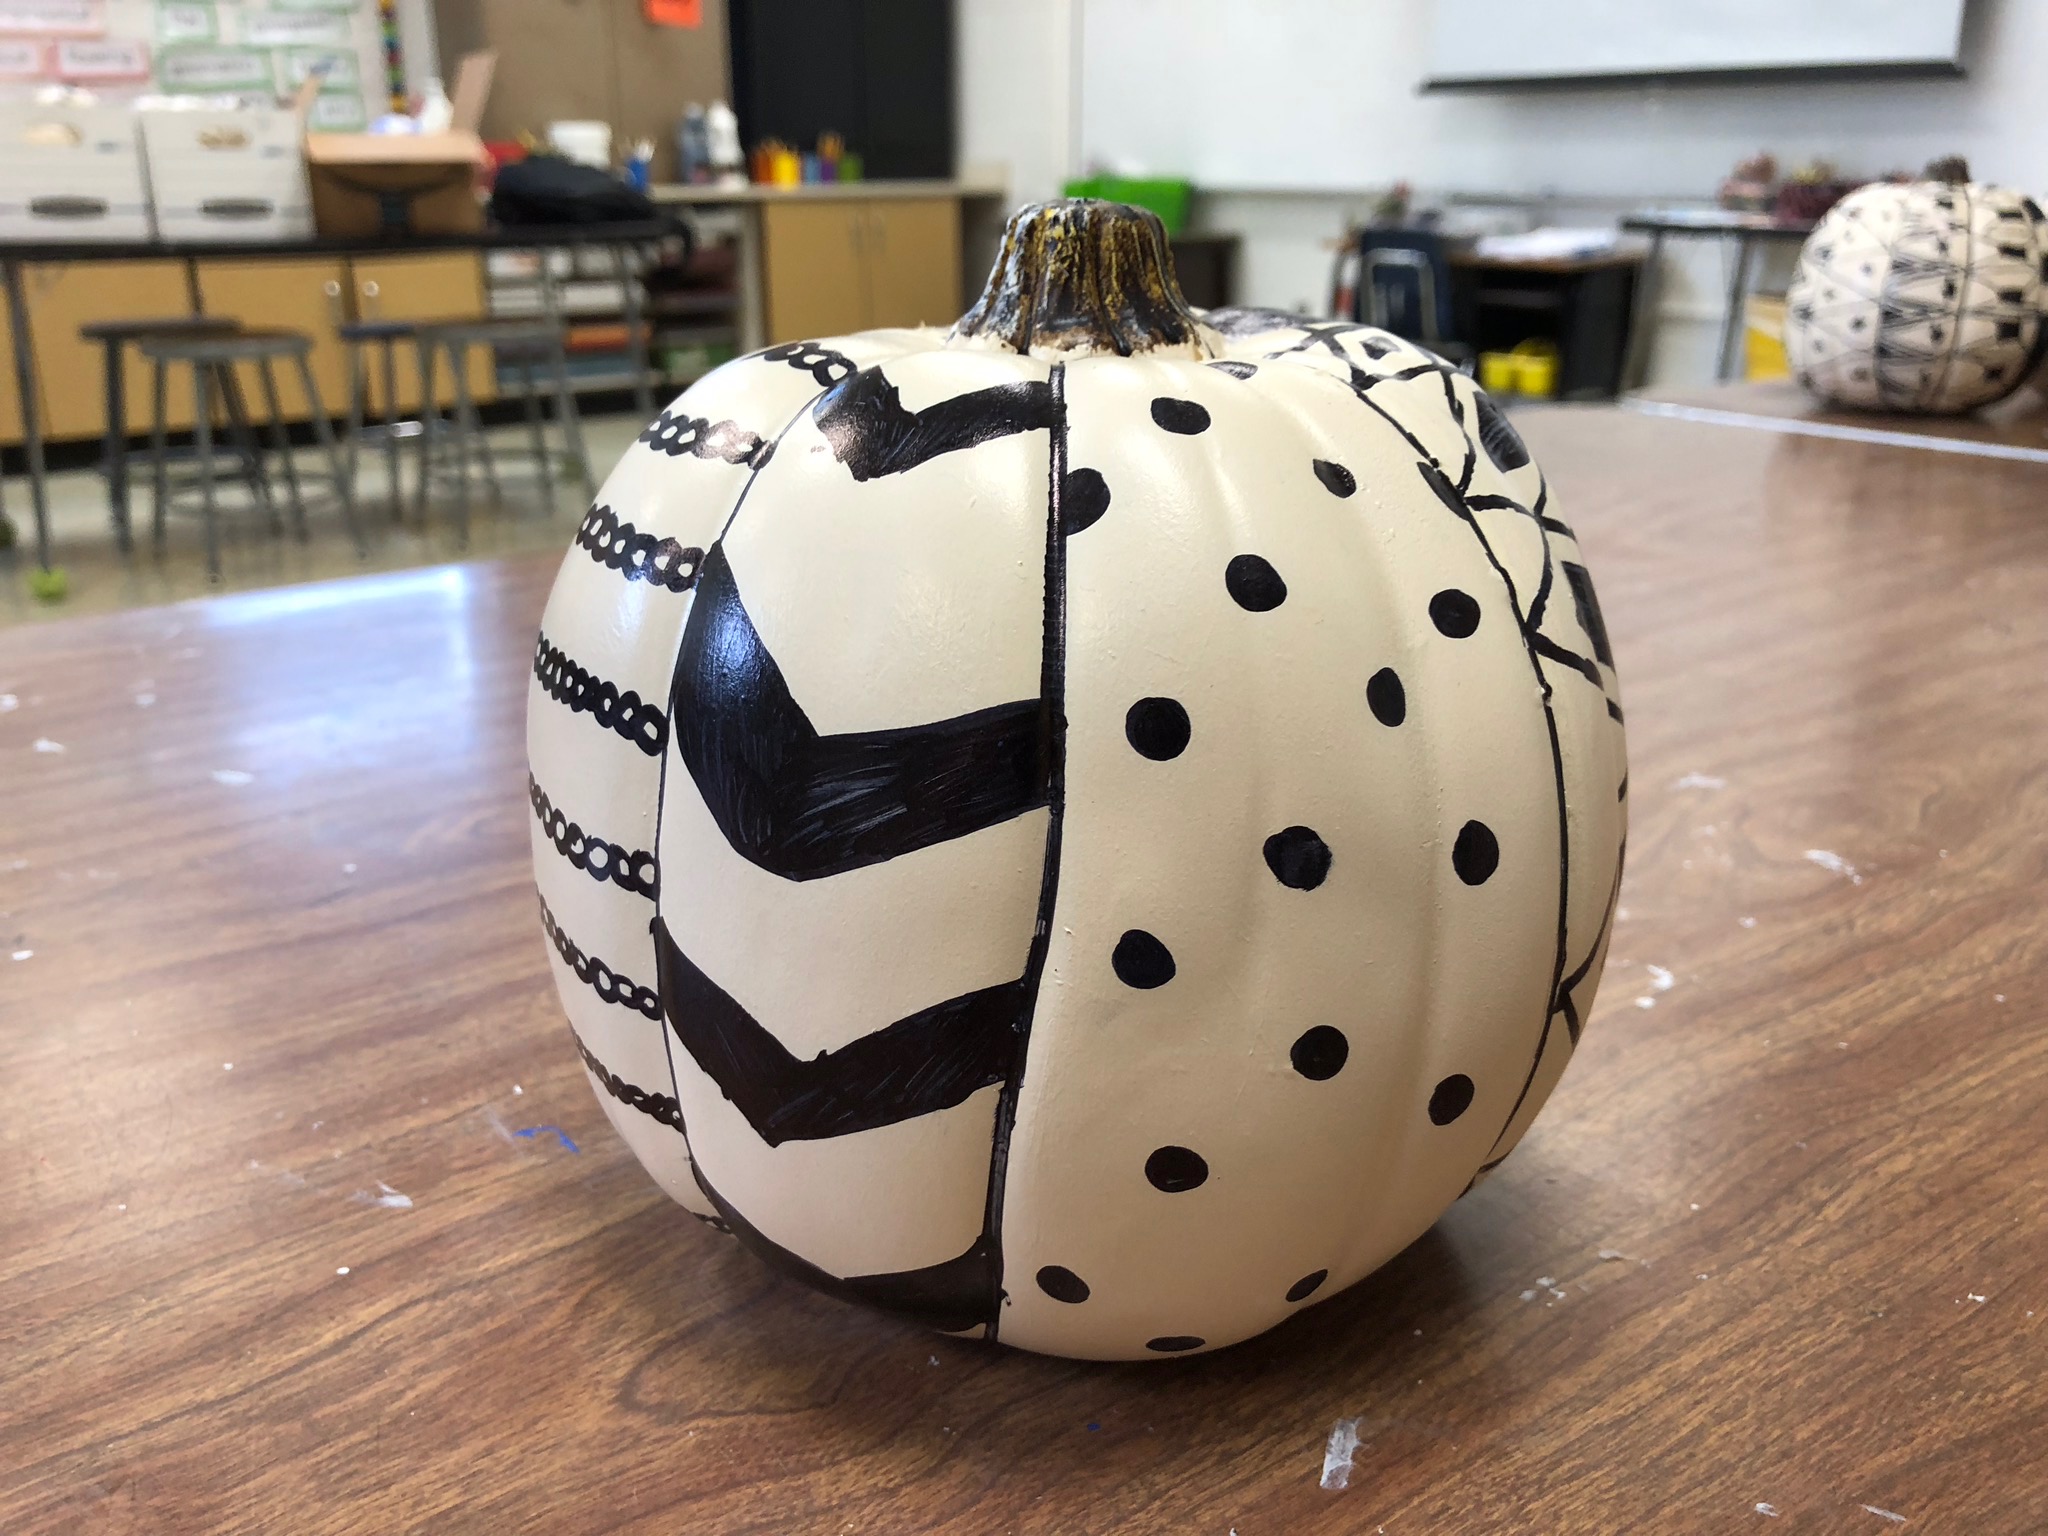
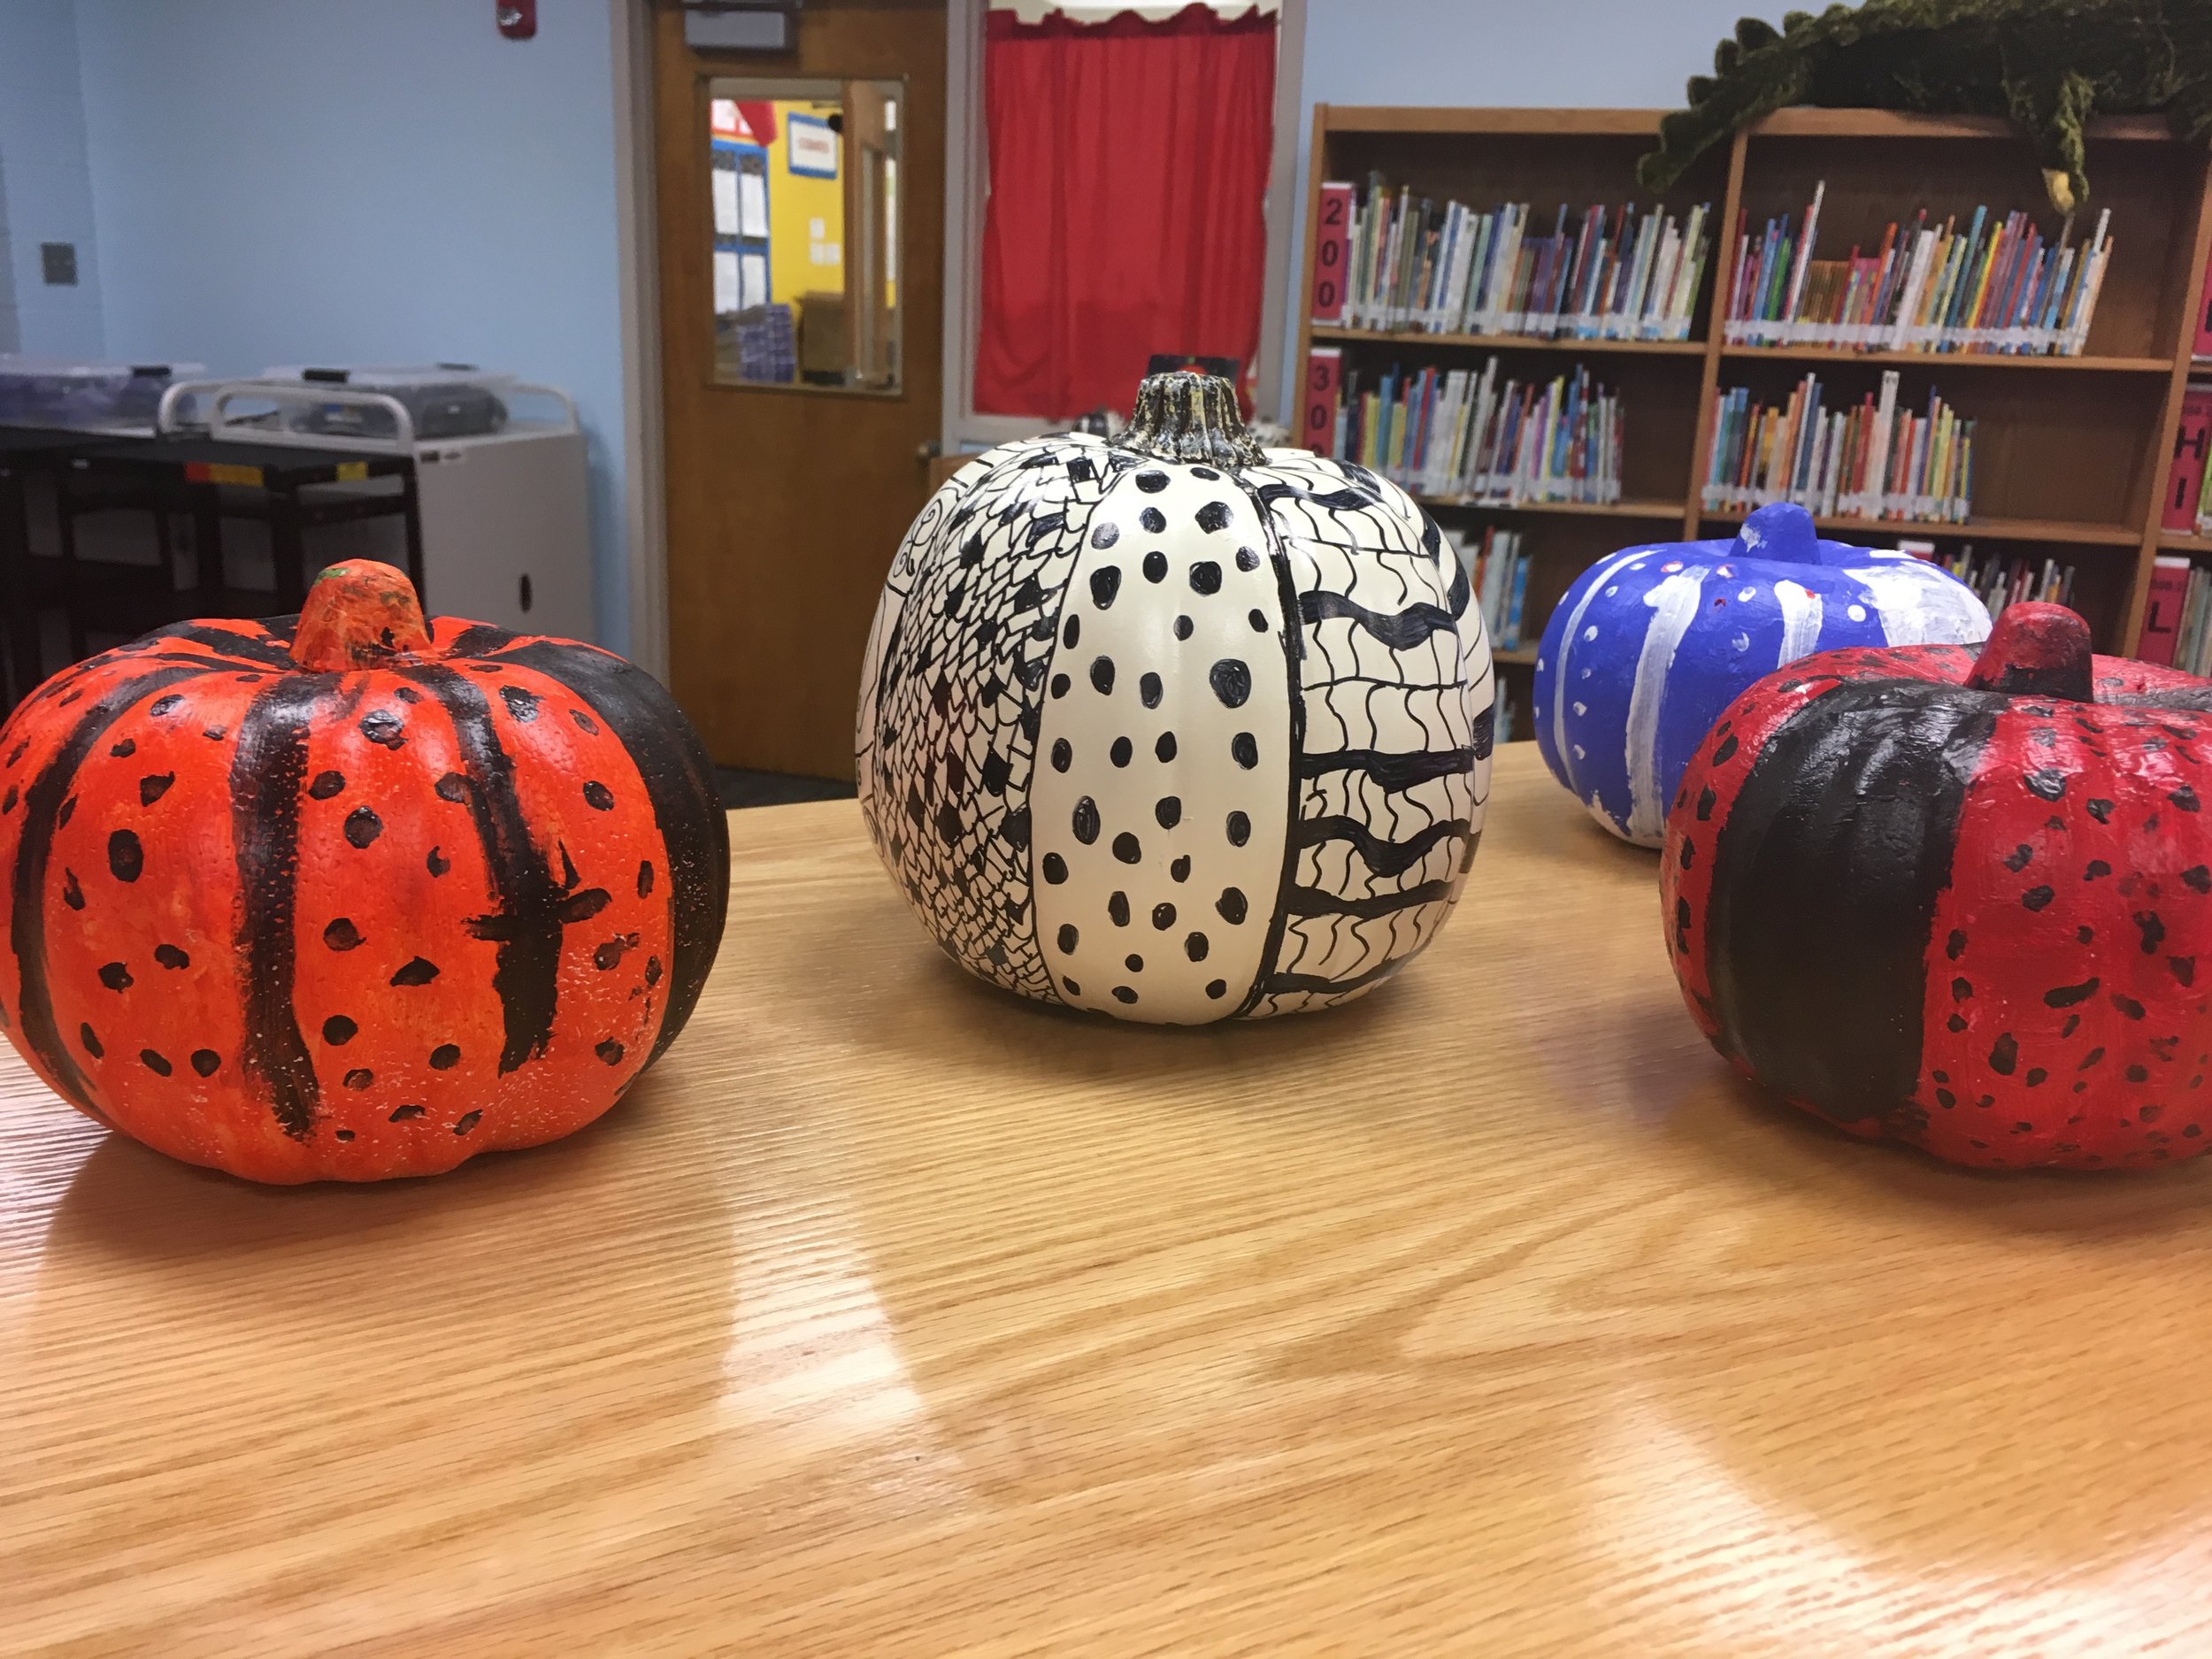
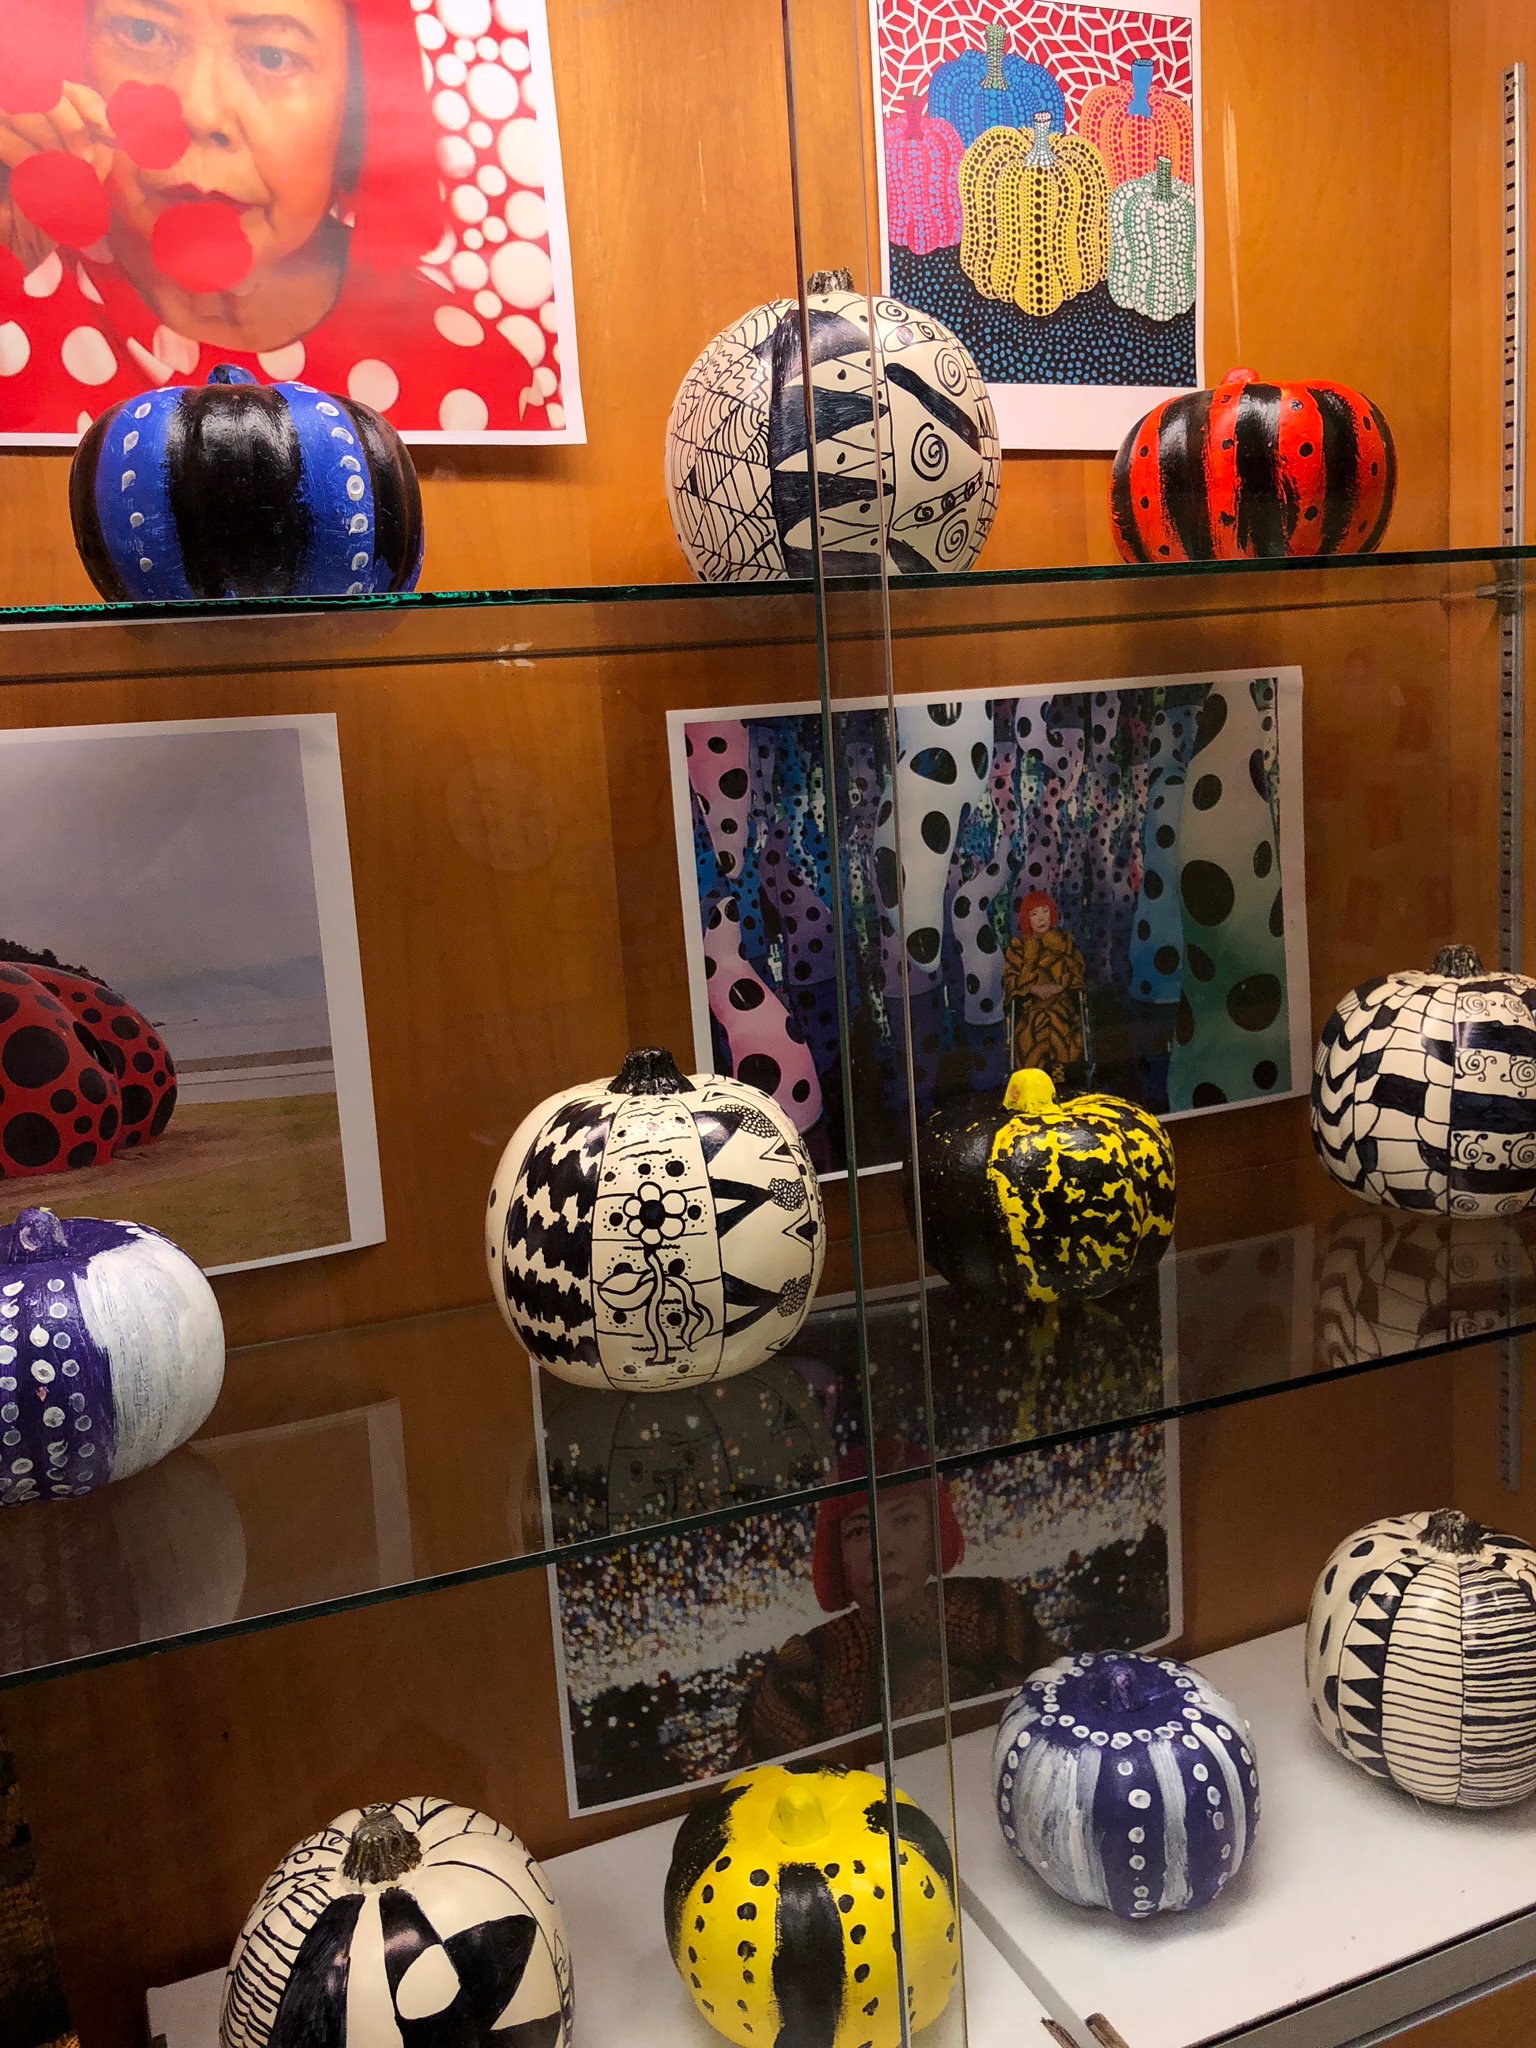
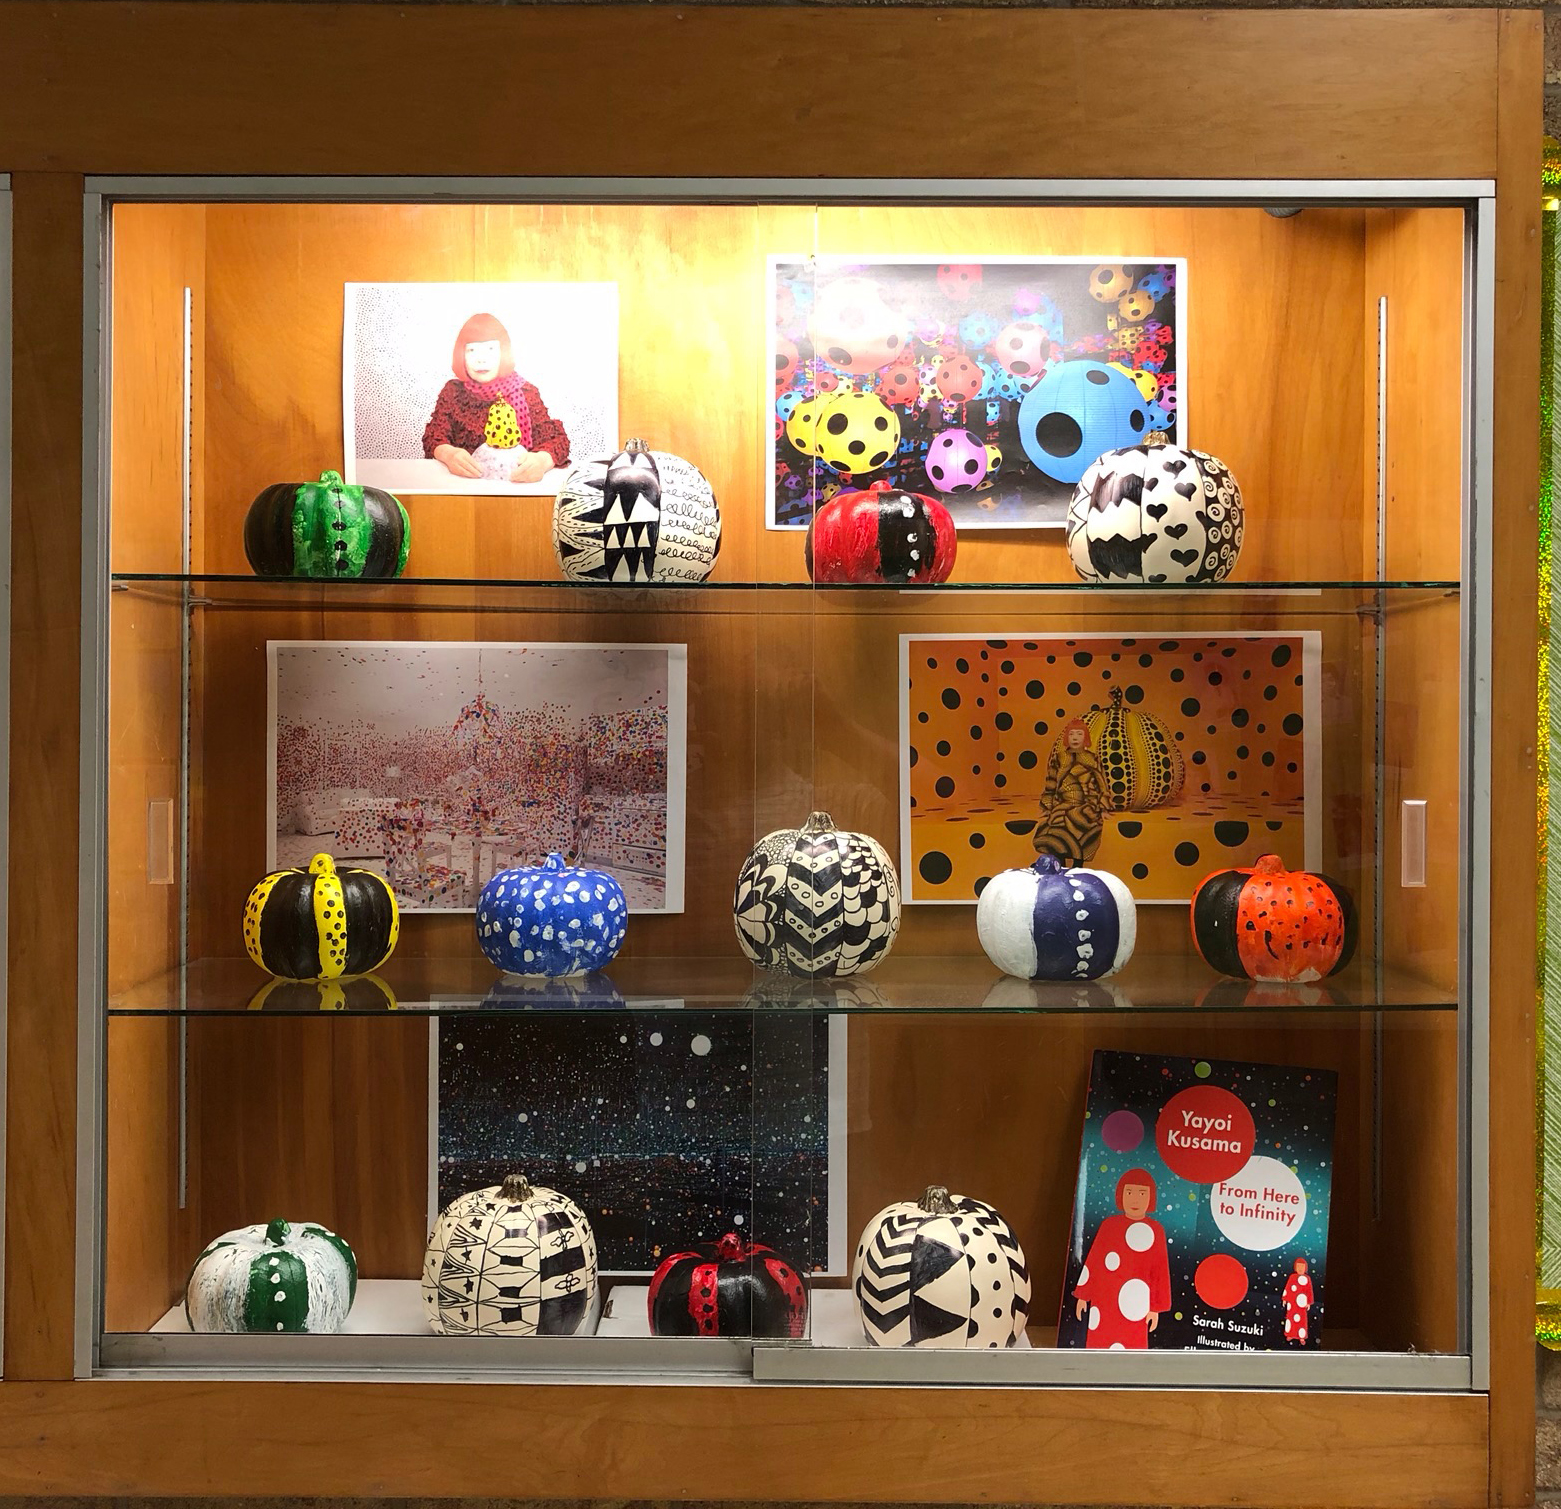
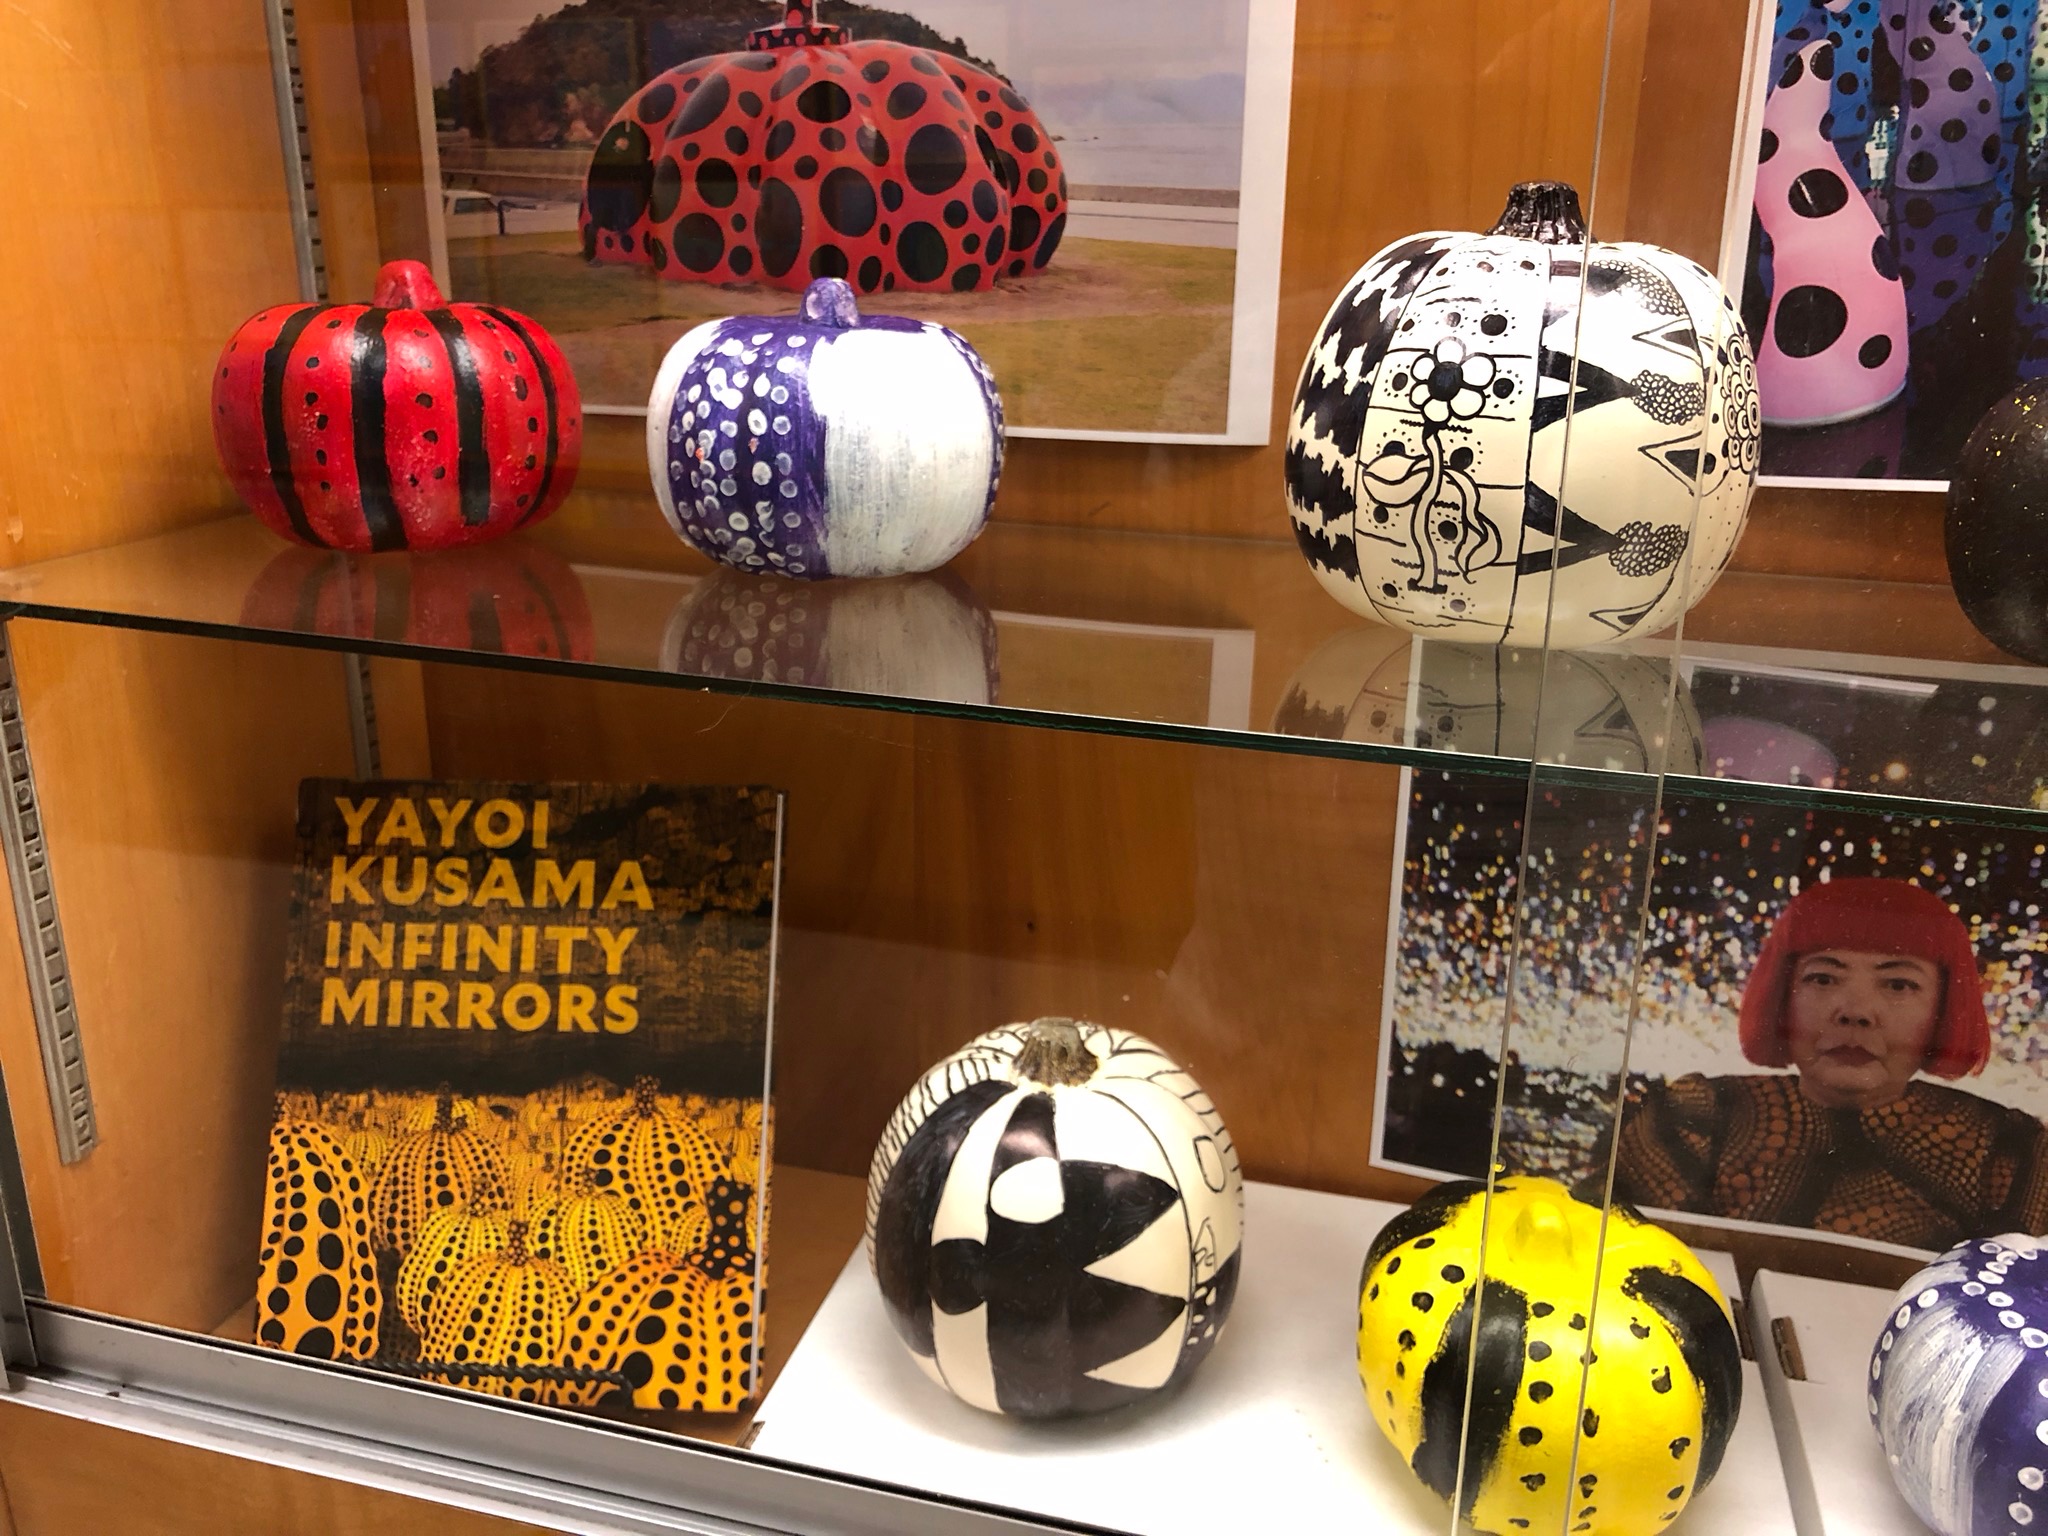
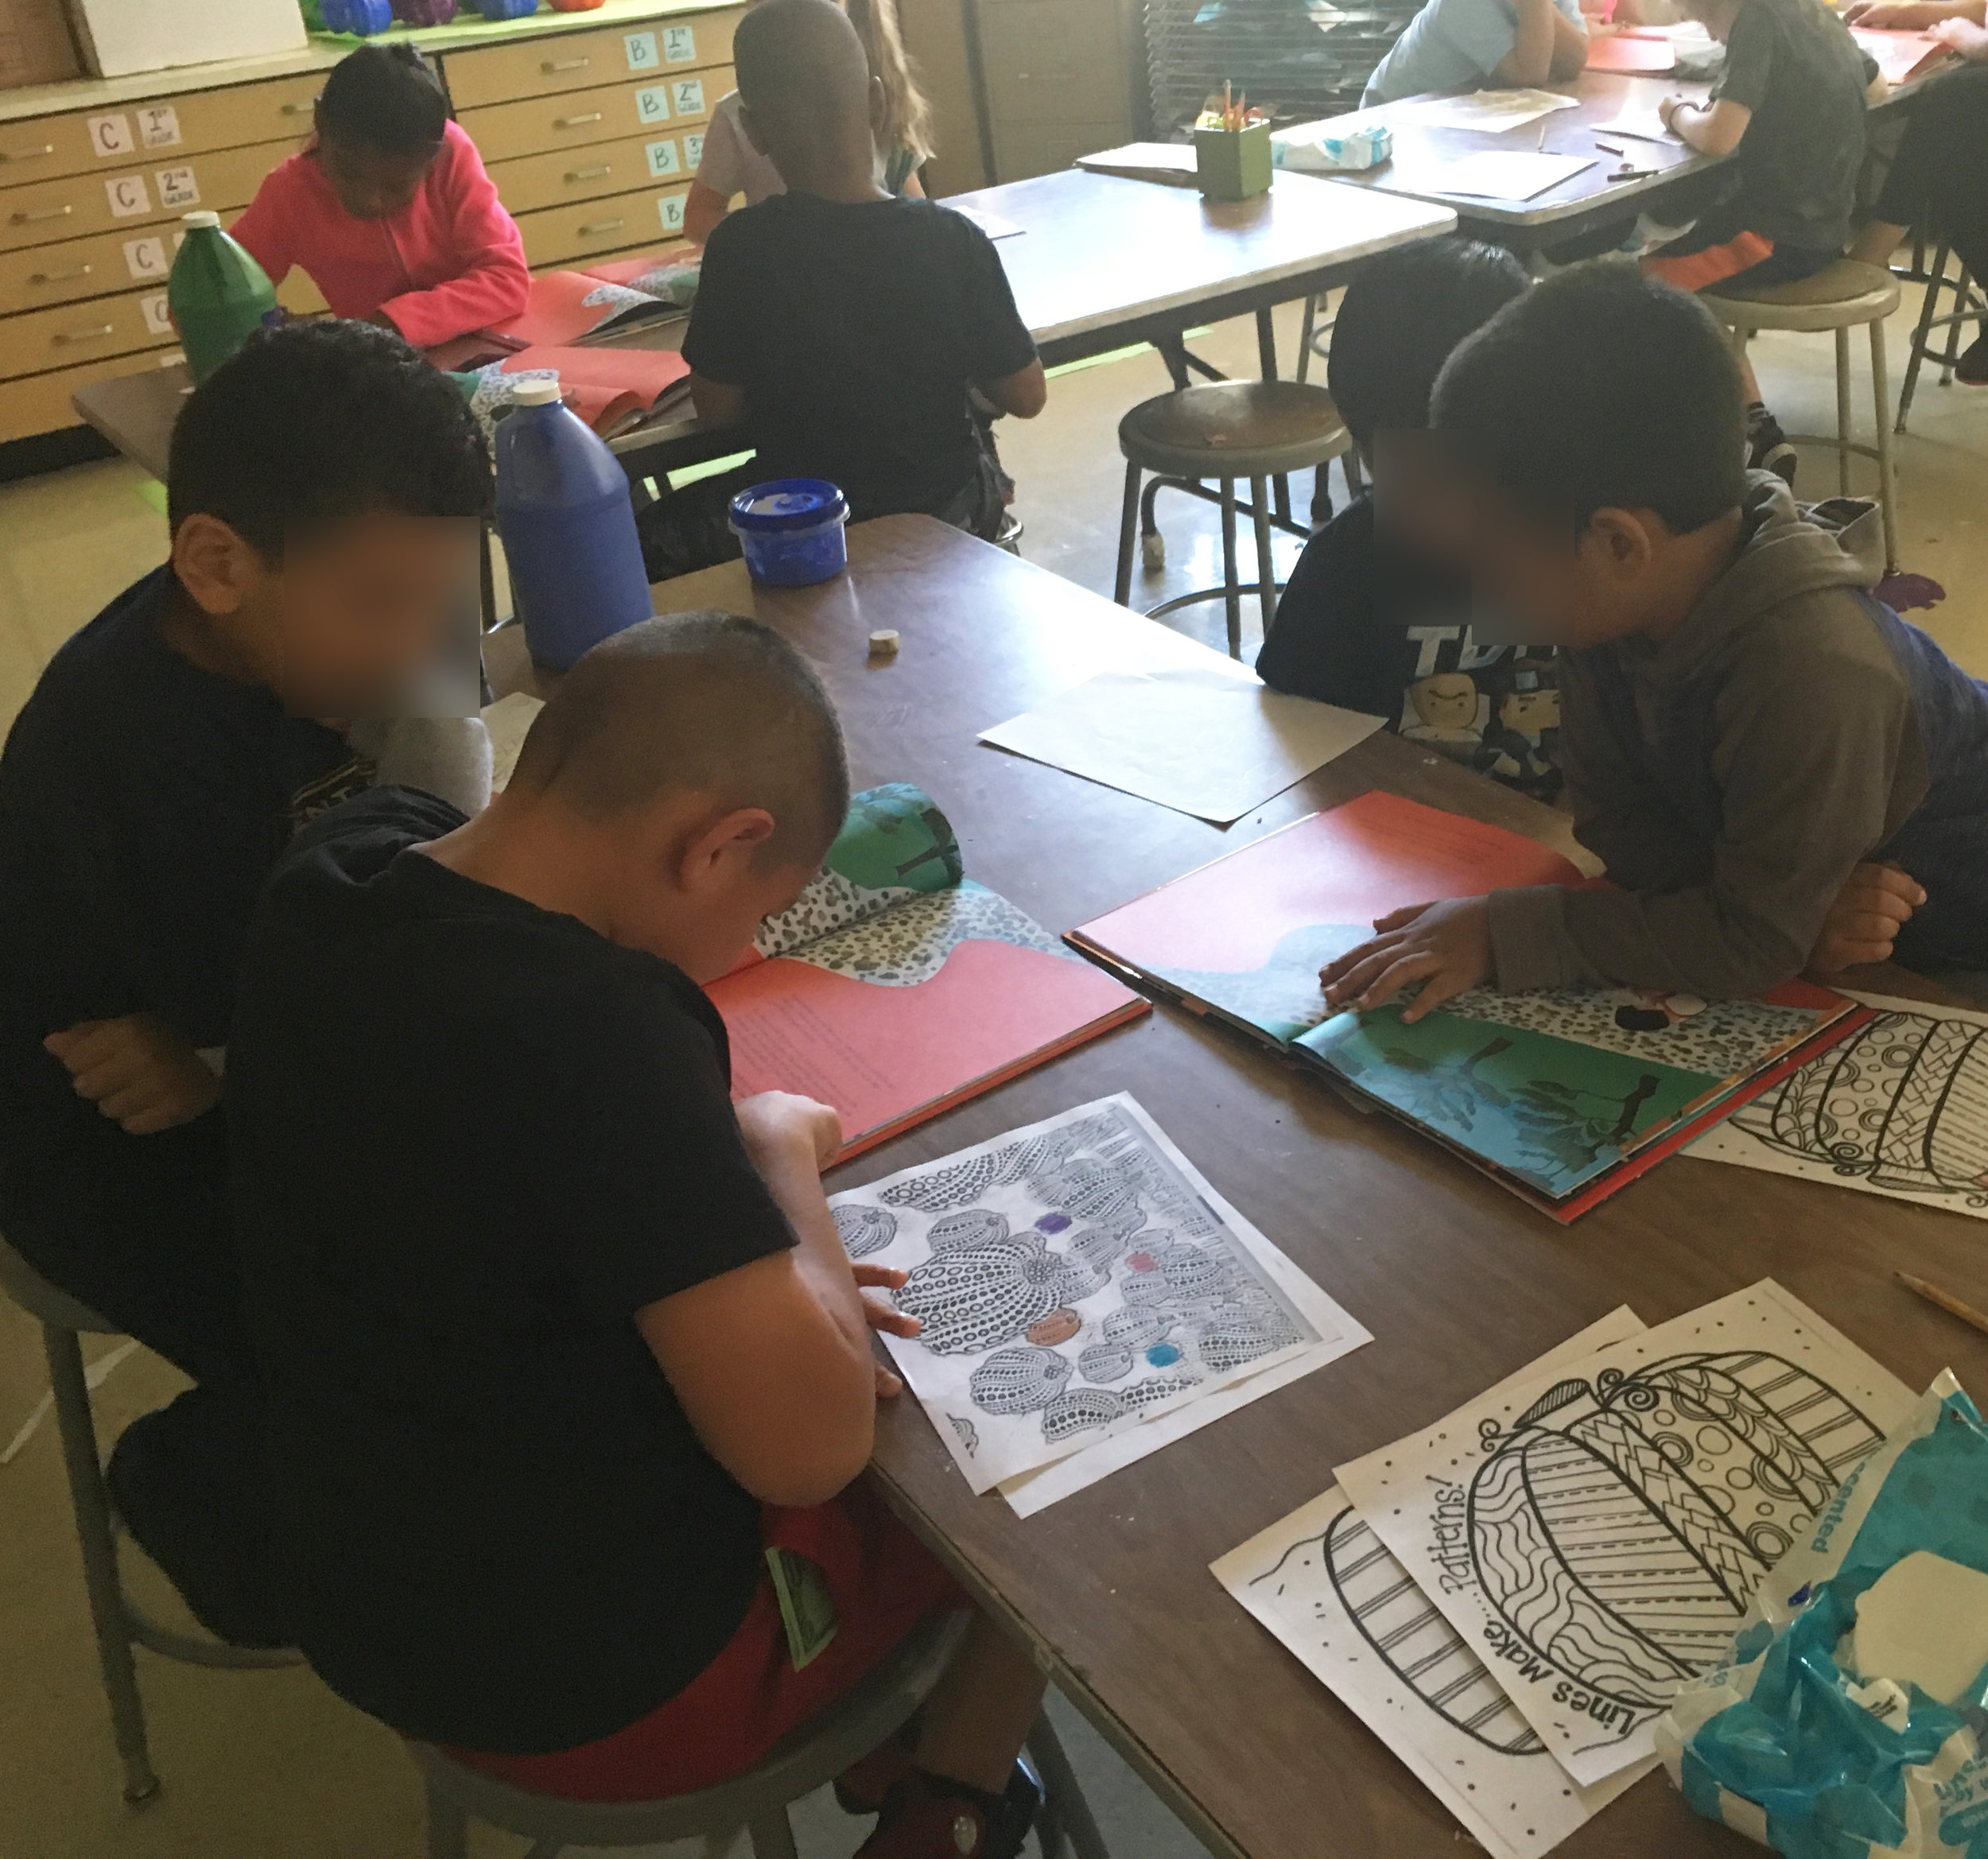
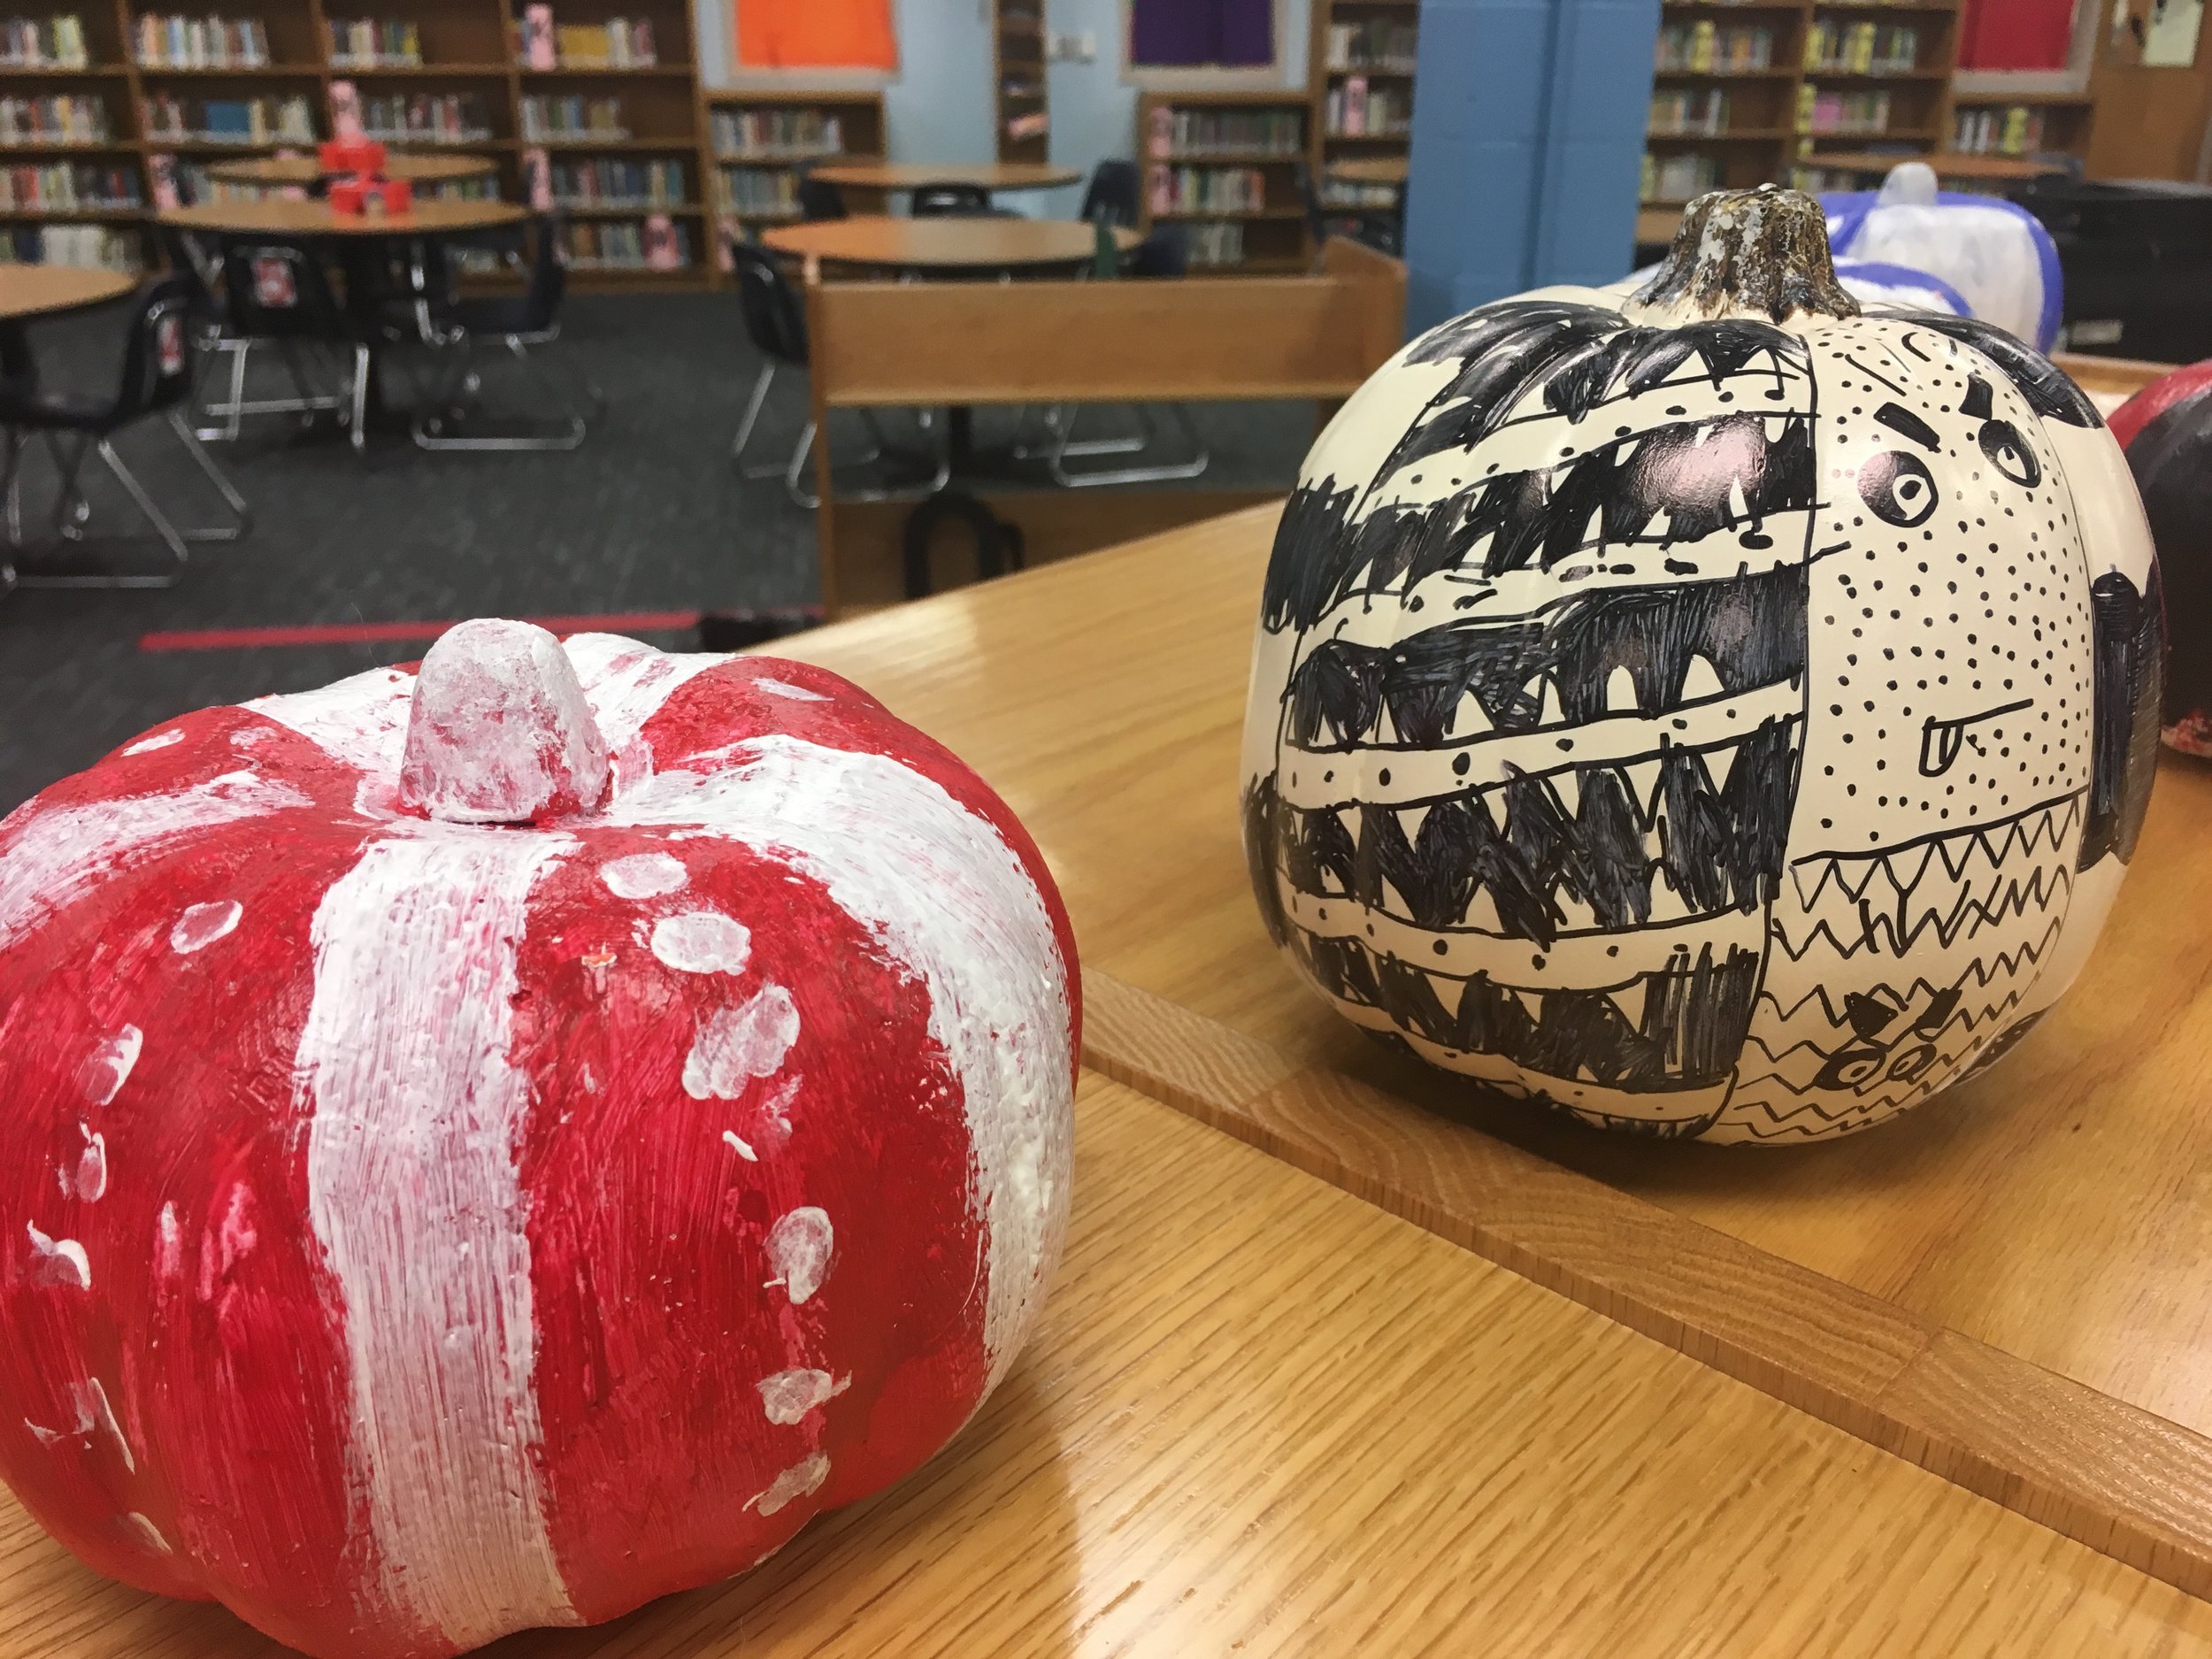
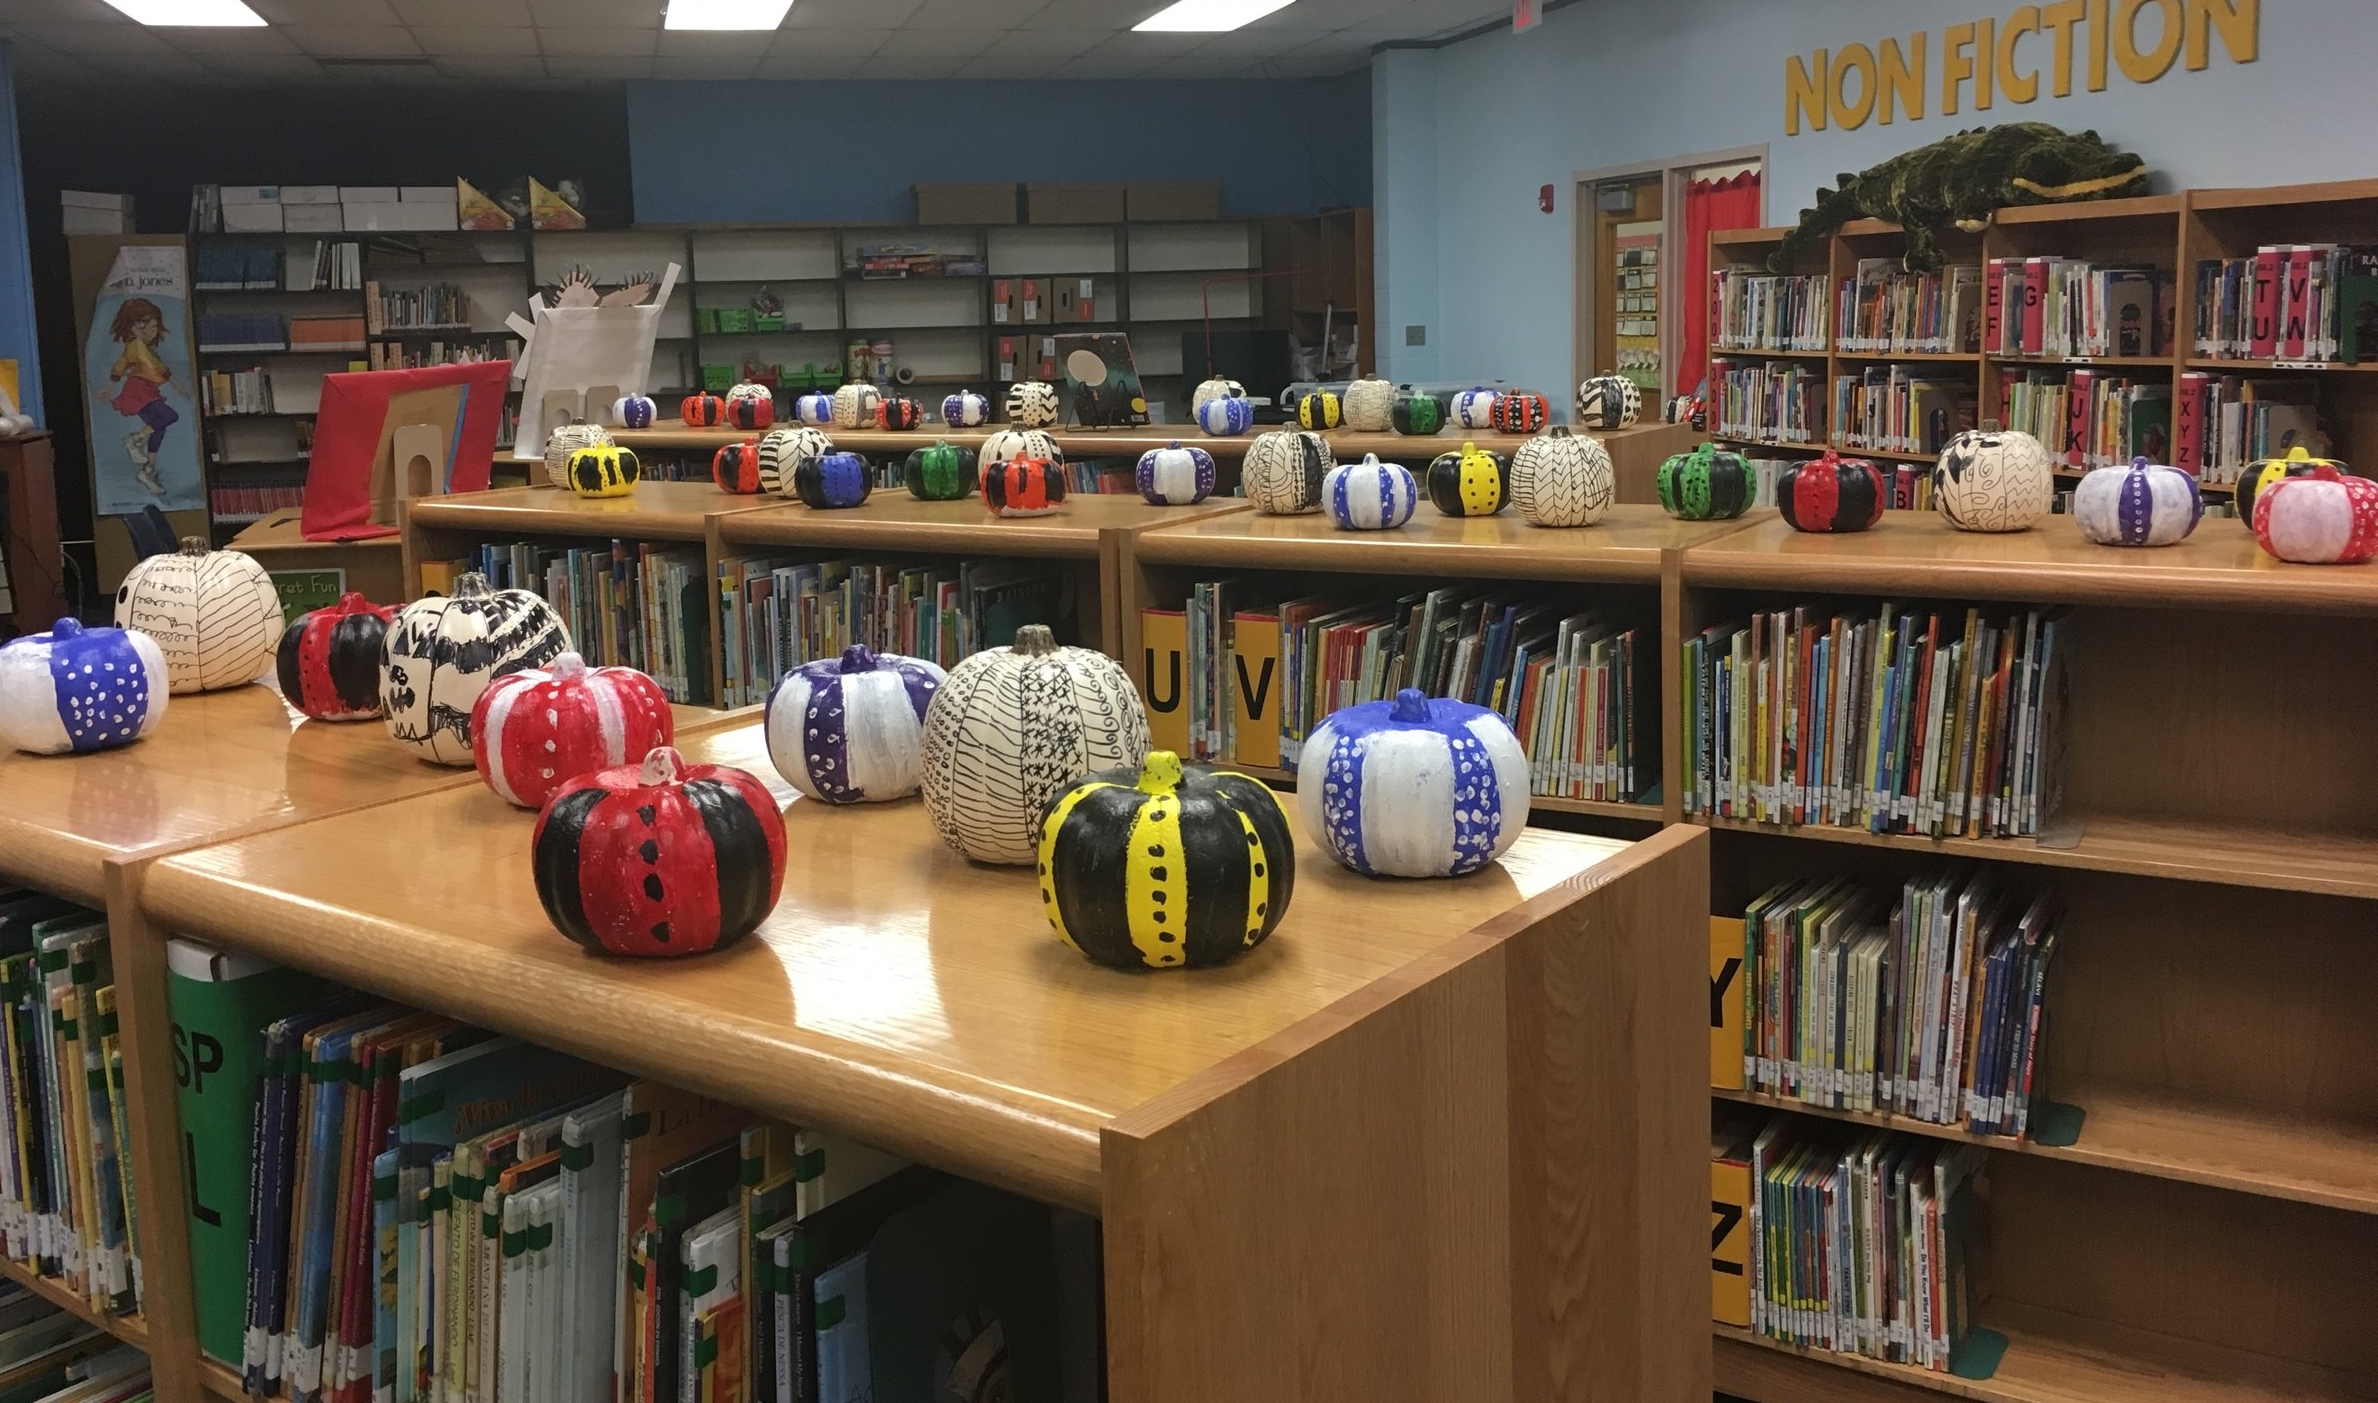
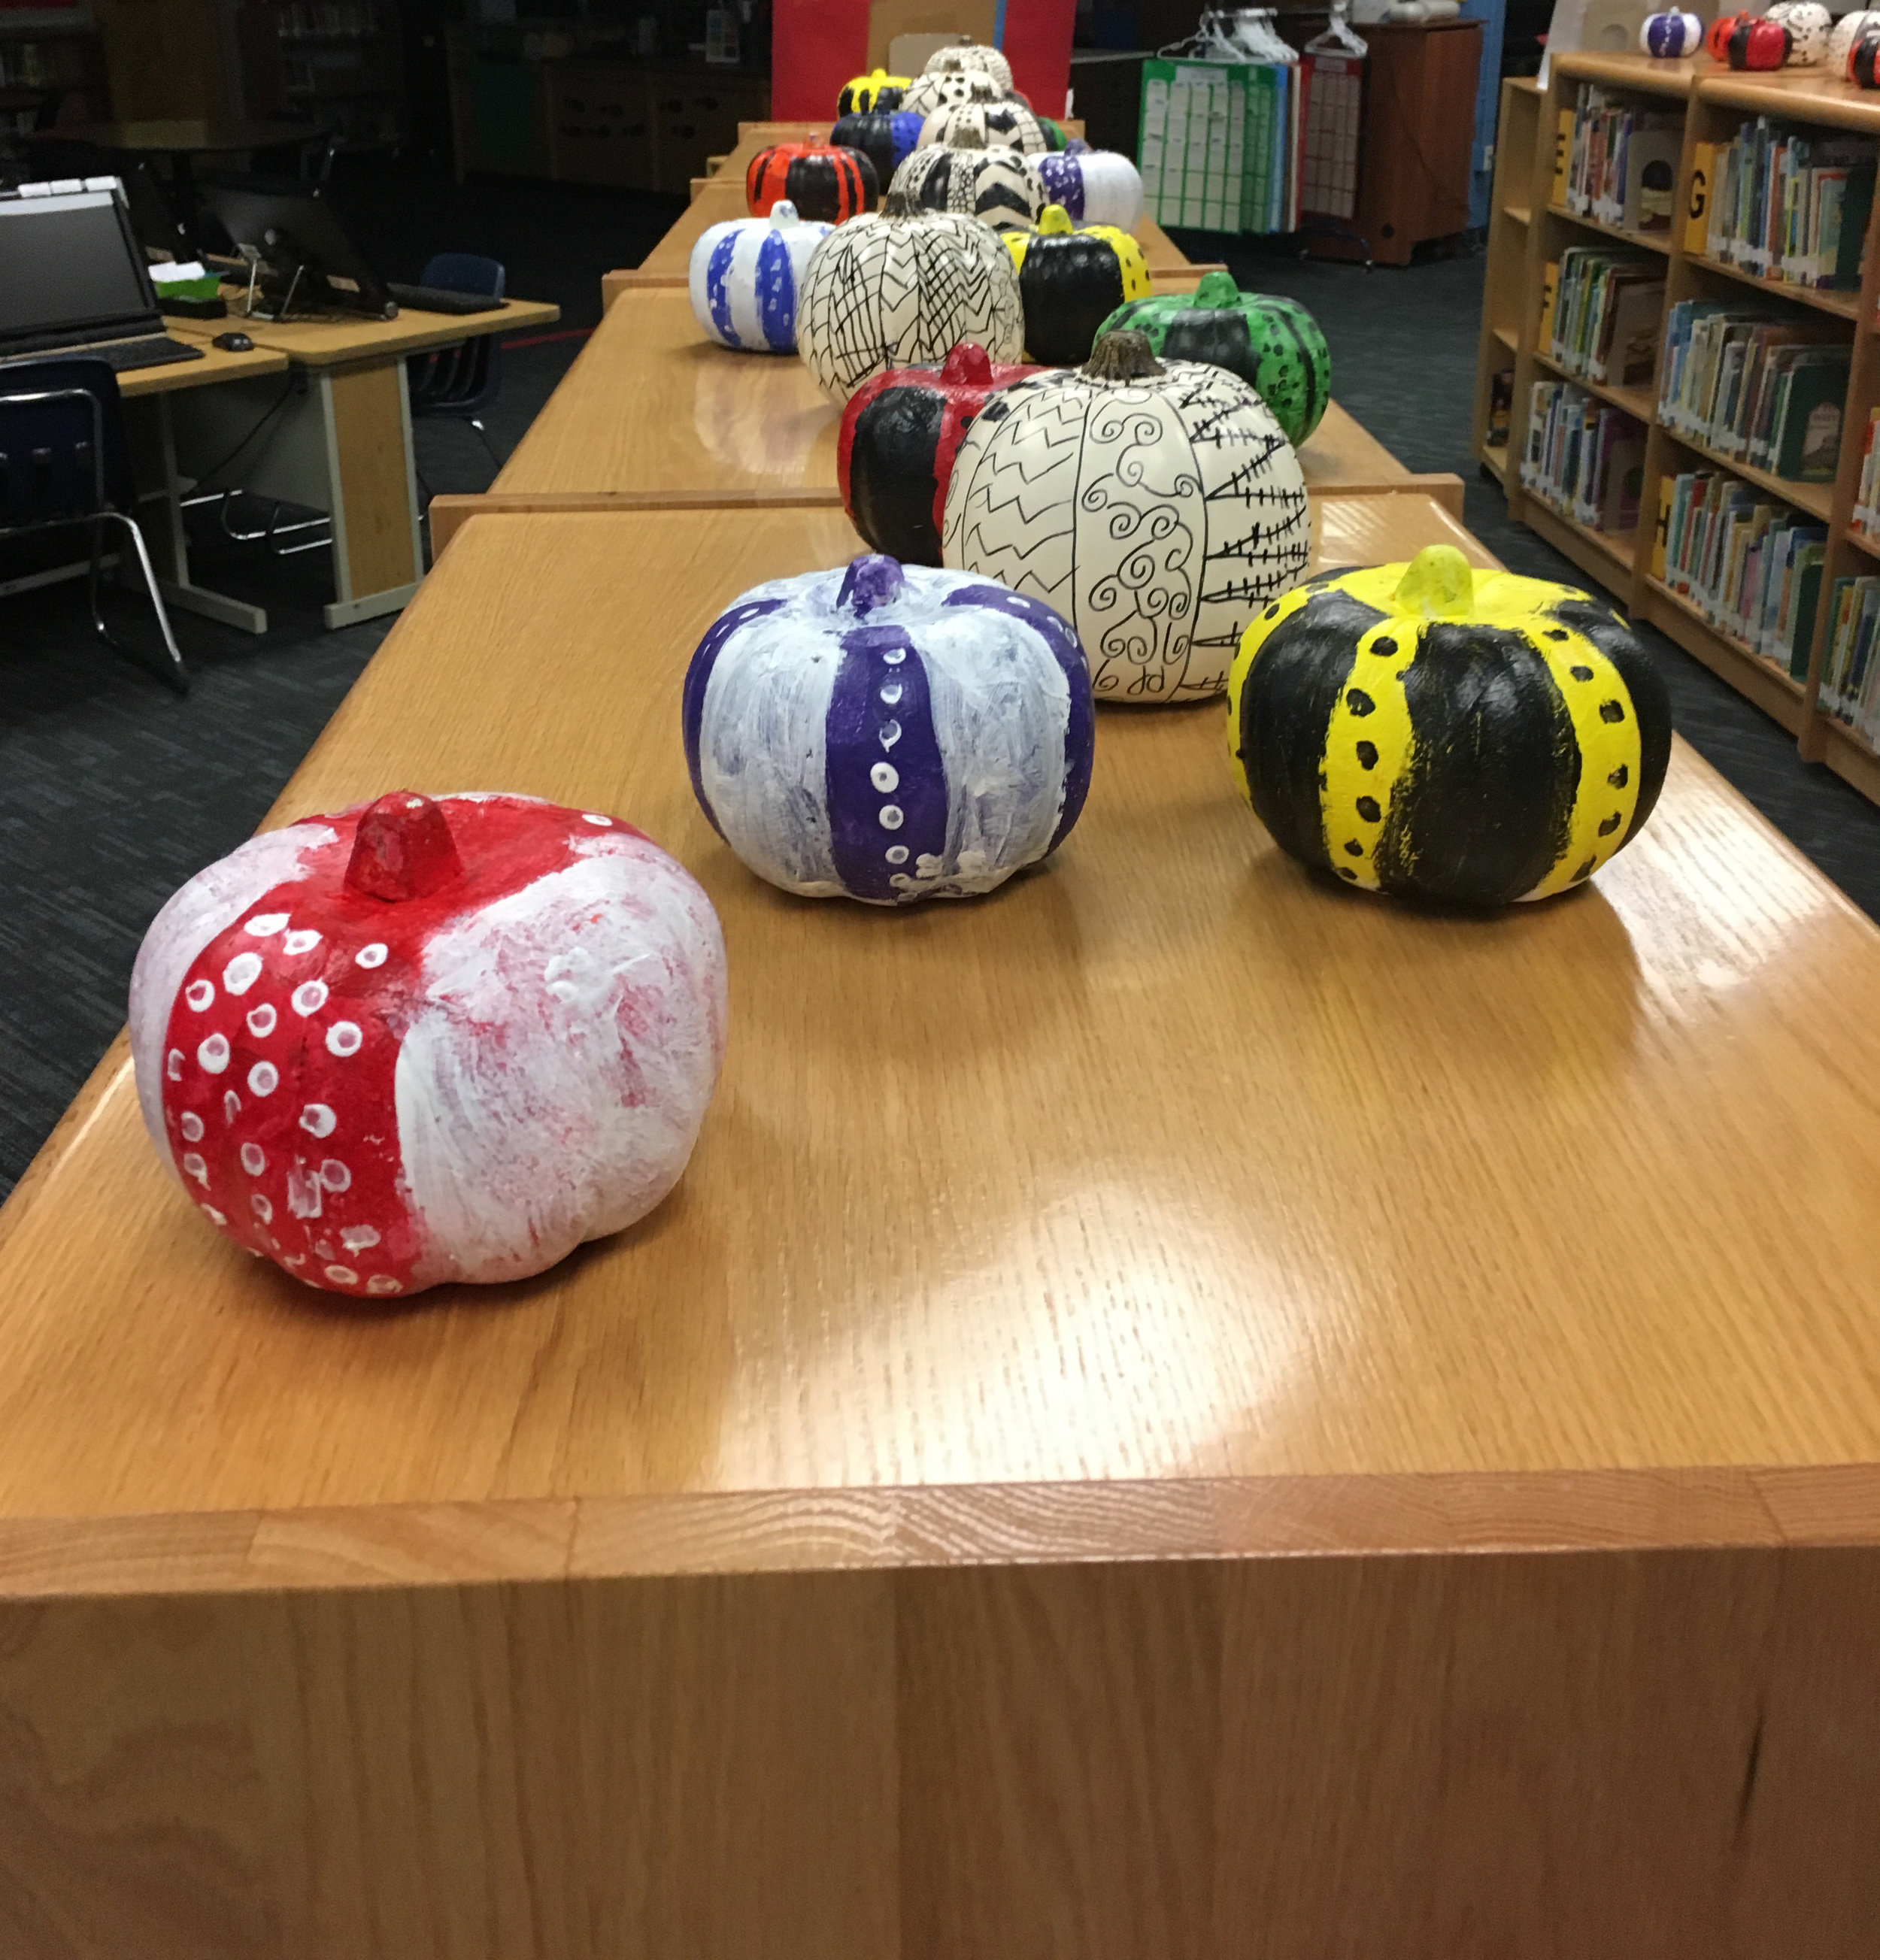
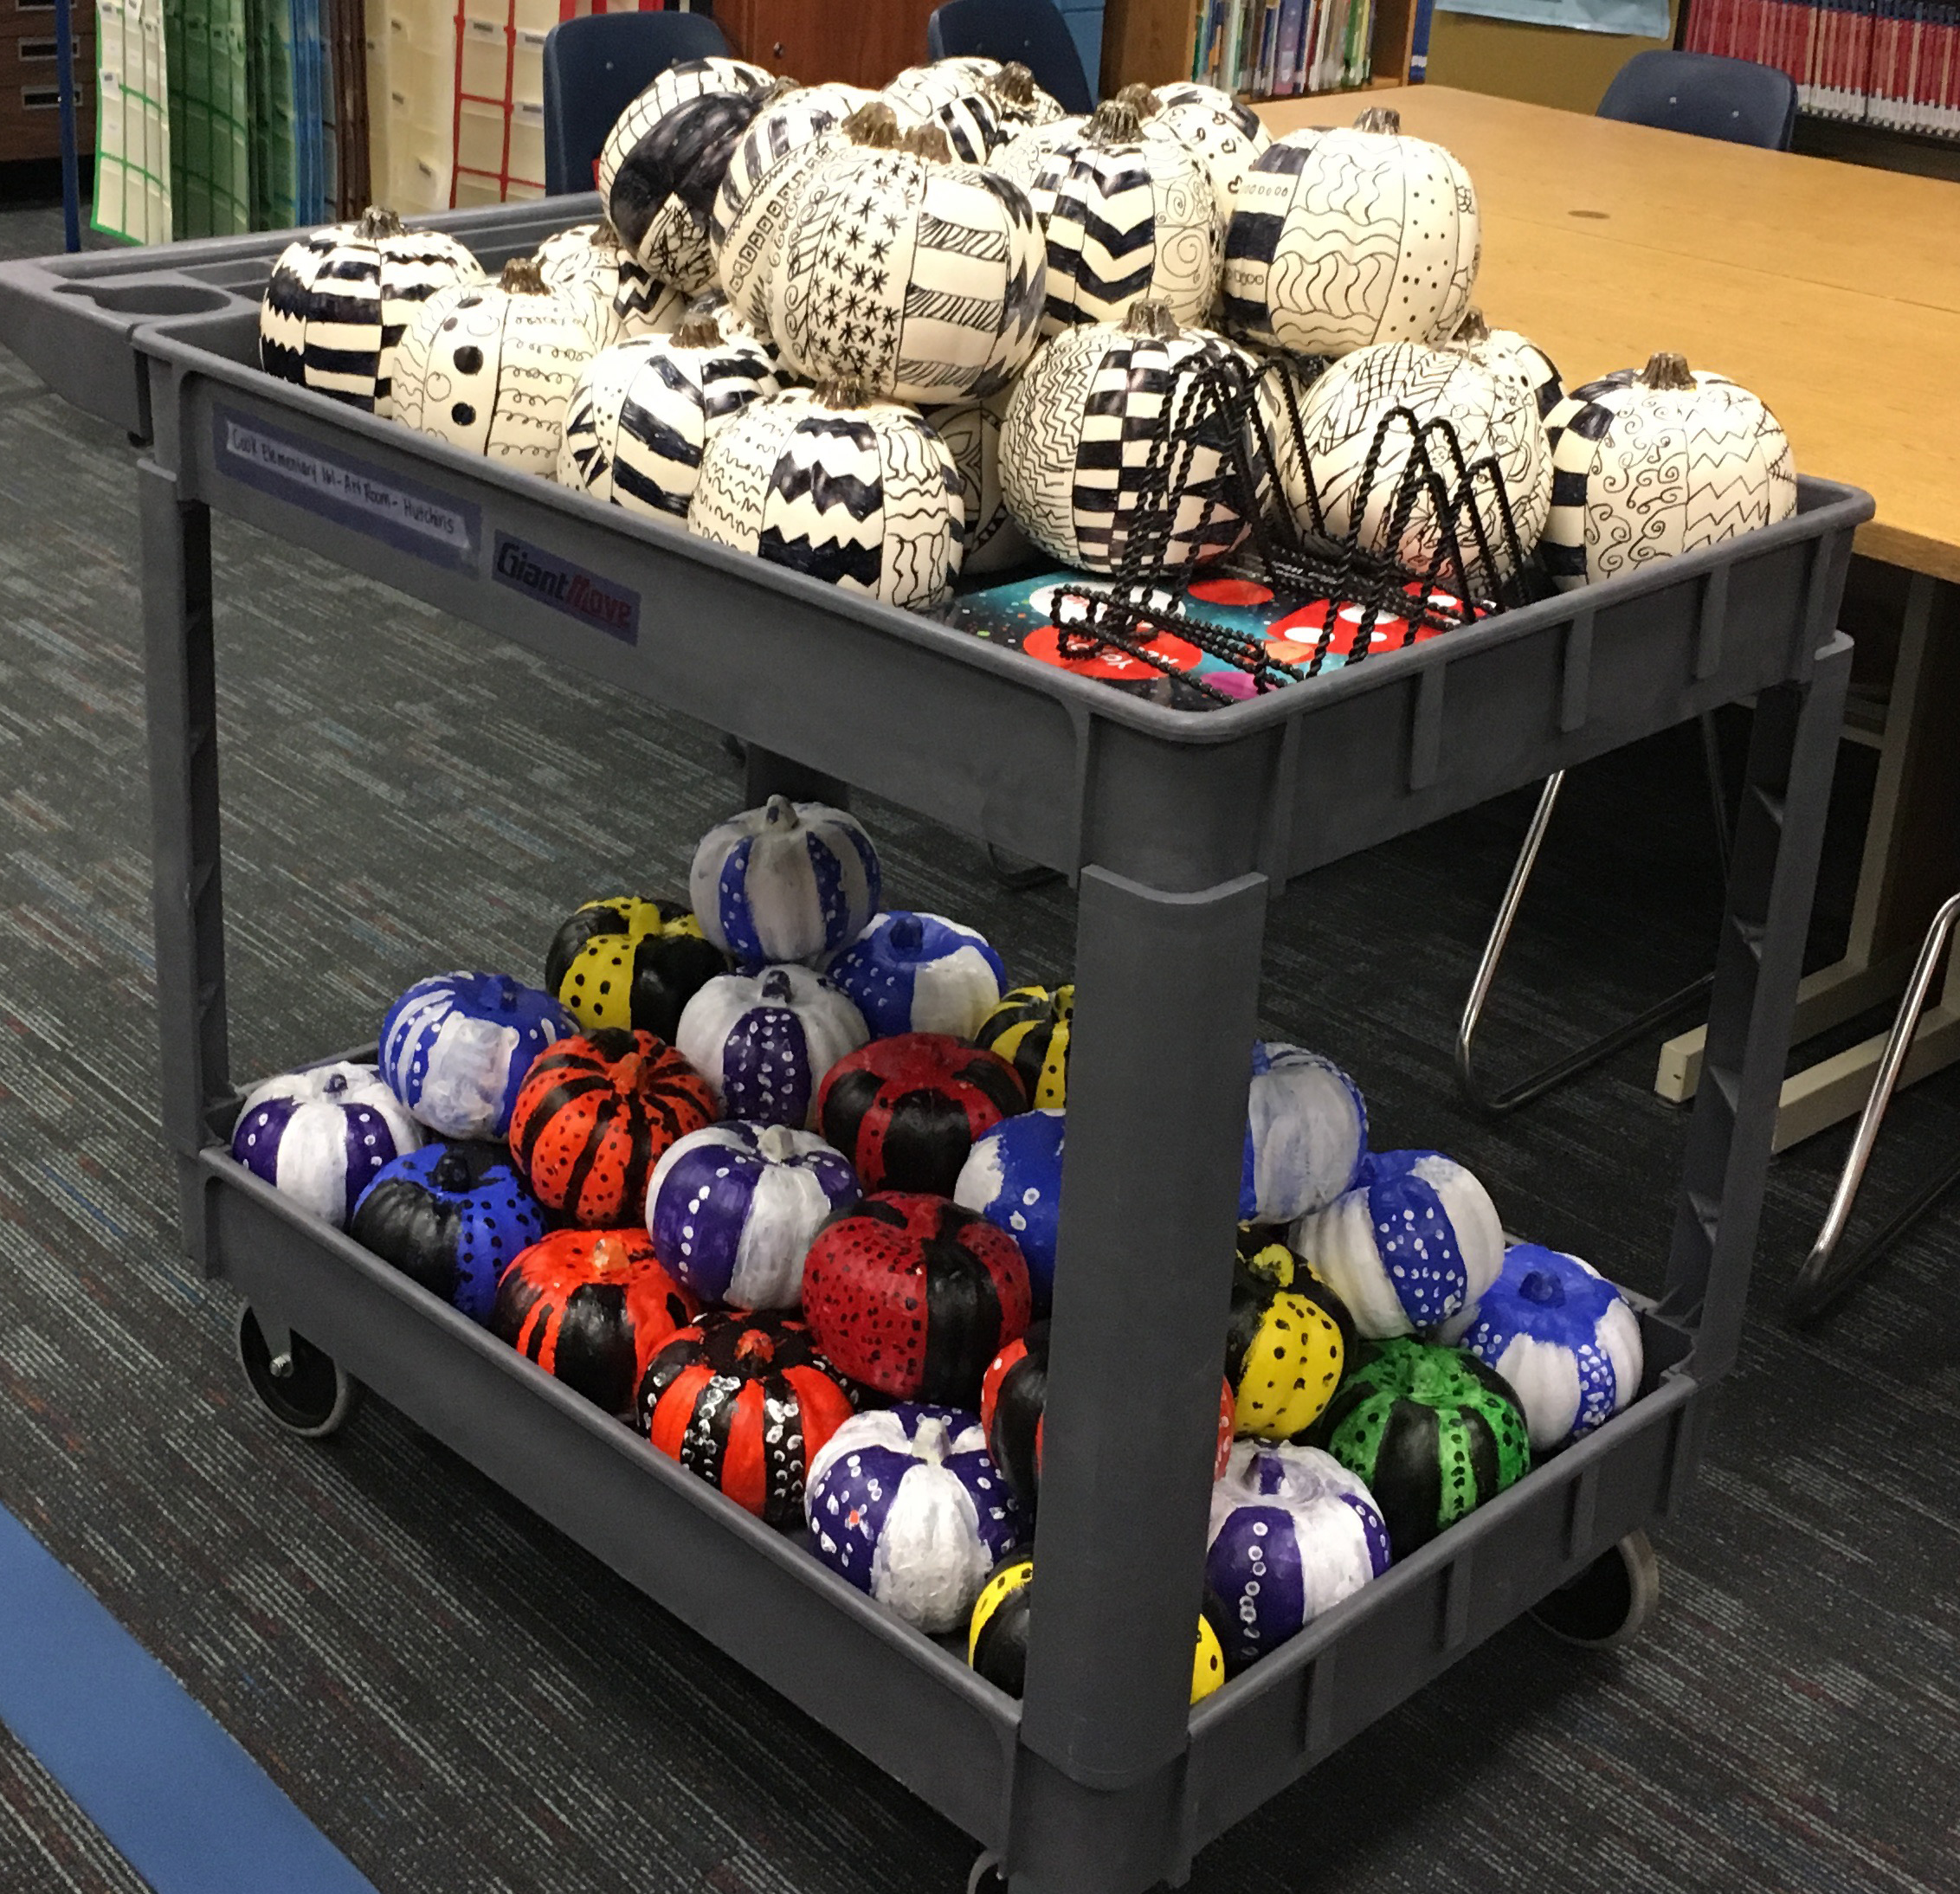
It's now year three, I just finished teaching a third variation of this unit, and it's probably my favorite.  My fourth graders basically took a sharpie to a white pumpkin and just went for it. “How can you change a ‘mistake’ into something you like, when you can’t erase?”  They could look at this worksheet and projected some zentangle example videos (in the background) as anchors while they worked.  We touched on pattern, line, contrast, positive/negative space...but risk-taking was the main thing I found myself modeling.  We had just finished a project where I noticed they were working very tentatively and asking for lots of feedback with every step.  With the pumpkins, I prompted them to try their best and also embrace mistakes, a great lesson for little artists that reminds me of Beautiful Oops!  My librarian also told me about the wonderful Book of Mistakes.  Our "I can" statement was: "I can make a mistake look great!"

I also did pumpkins with second and third grade this year, and we focused our lesson on contrast (using a quick video as an anchor/talking point).  They painted their pumpkin with acrylic paint in a color of choice (ROYGBV).  We were short on time to finish these before Fall Festival, so I talked about keeping it to simple patterns and streamlined choices to adding black or white paint.  Which will add most contrast to you pumpkin's color: black or white? There are a lot of great resources for making 3D pumpkins, i.e. ceramics or paper mache.  If you are in a pinch, you can take Dollar Tree foam pumpkins, and the kids can prime them with acrylic gesso, or you can work with ready-made craft pumpkins from Michaels (as seen in these drip pumpkin and mosaic pumpkin projects) if there's room in your budget!

Reading About Kusama / Artist Biographies in the Elementary Classroom

At the elementary level, my favorite way to present information about an artist is to have my students read quotes directly from the artist.   I find that primary sources encourage my students to reach individualized opinions about the art.  Kusama's reading of "On Pumpkins" was a fantastic tool that connected to my haiku unit, for example. 

Kusama Here to Infinity.jpg

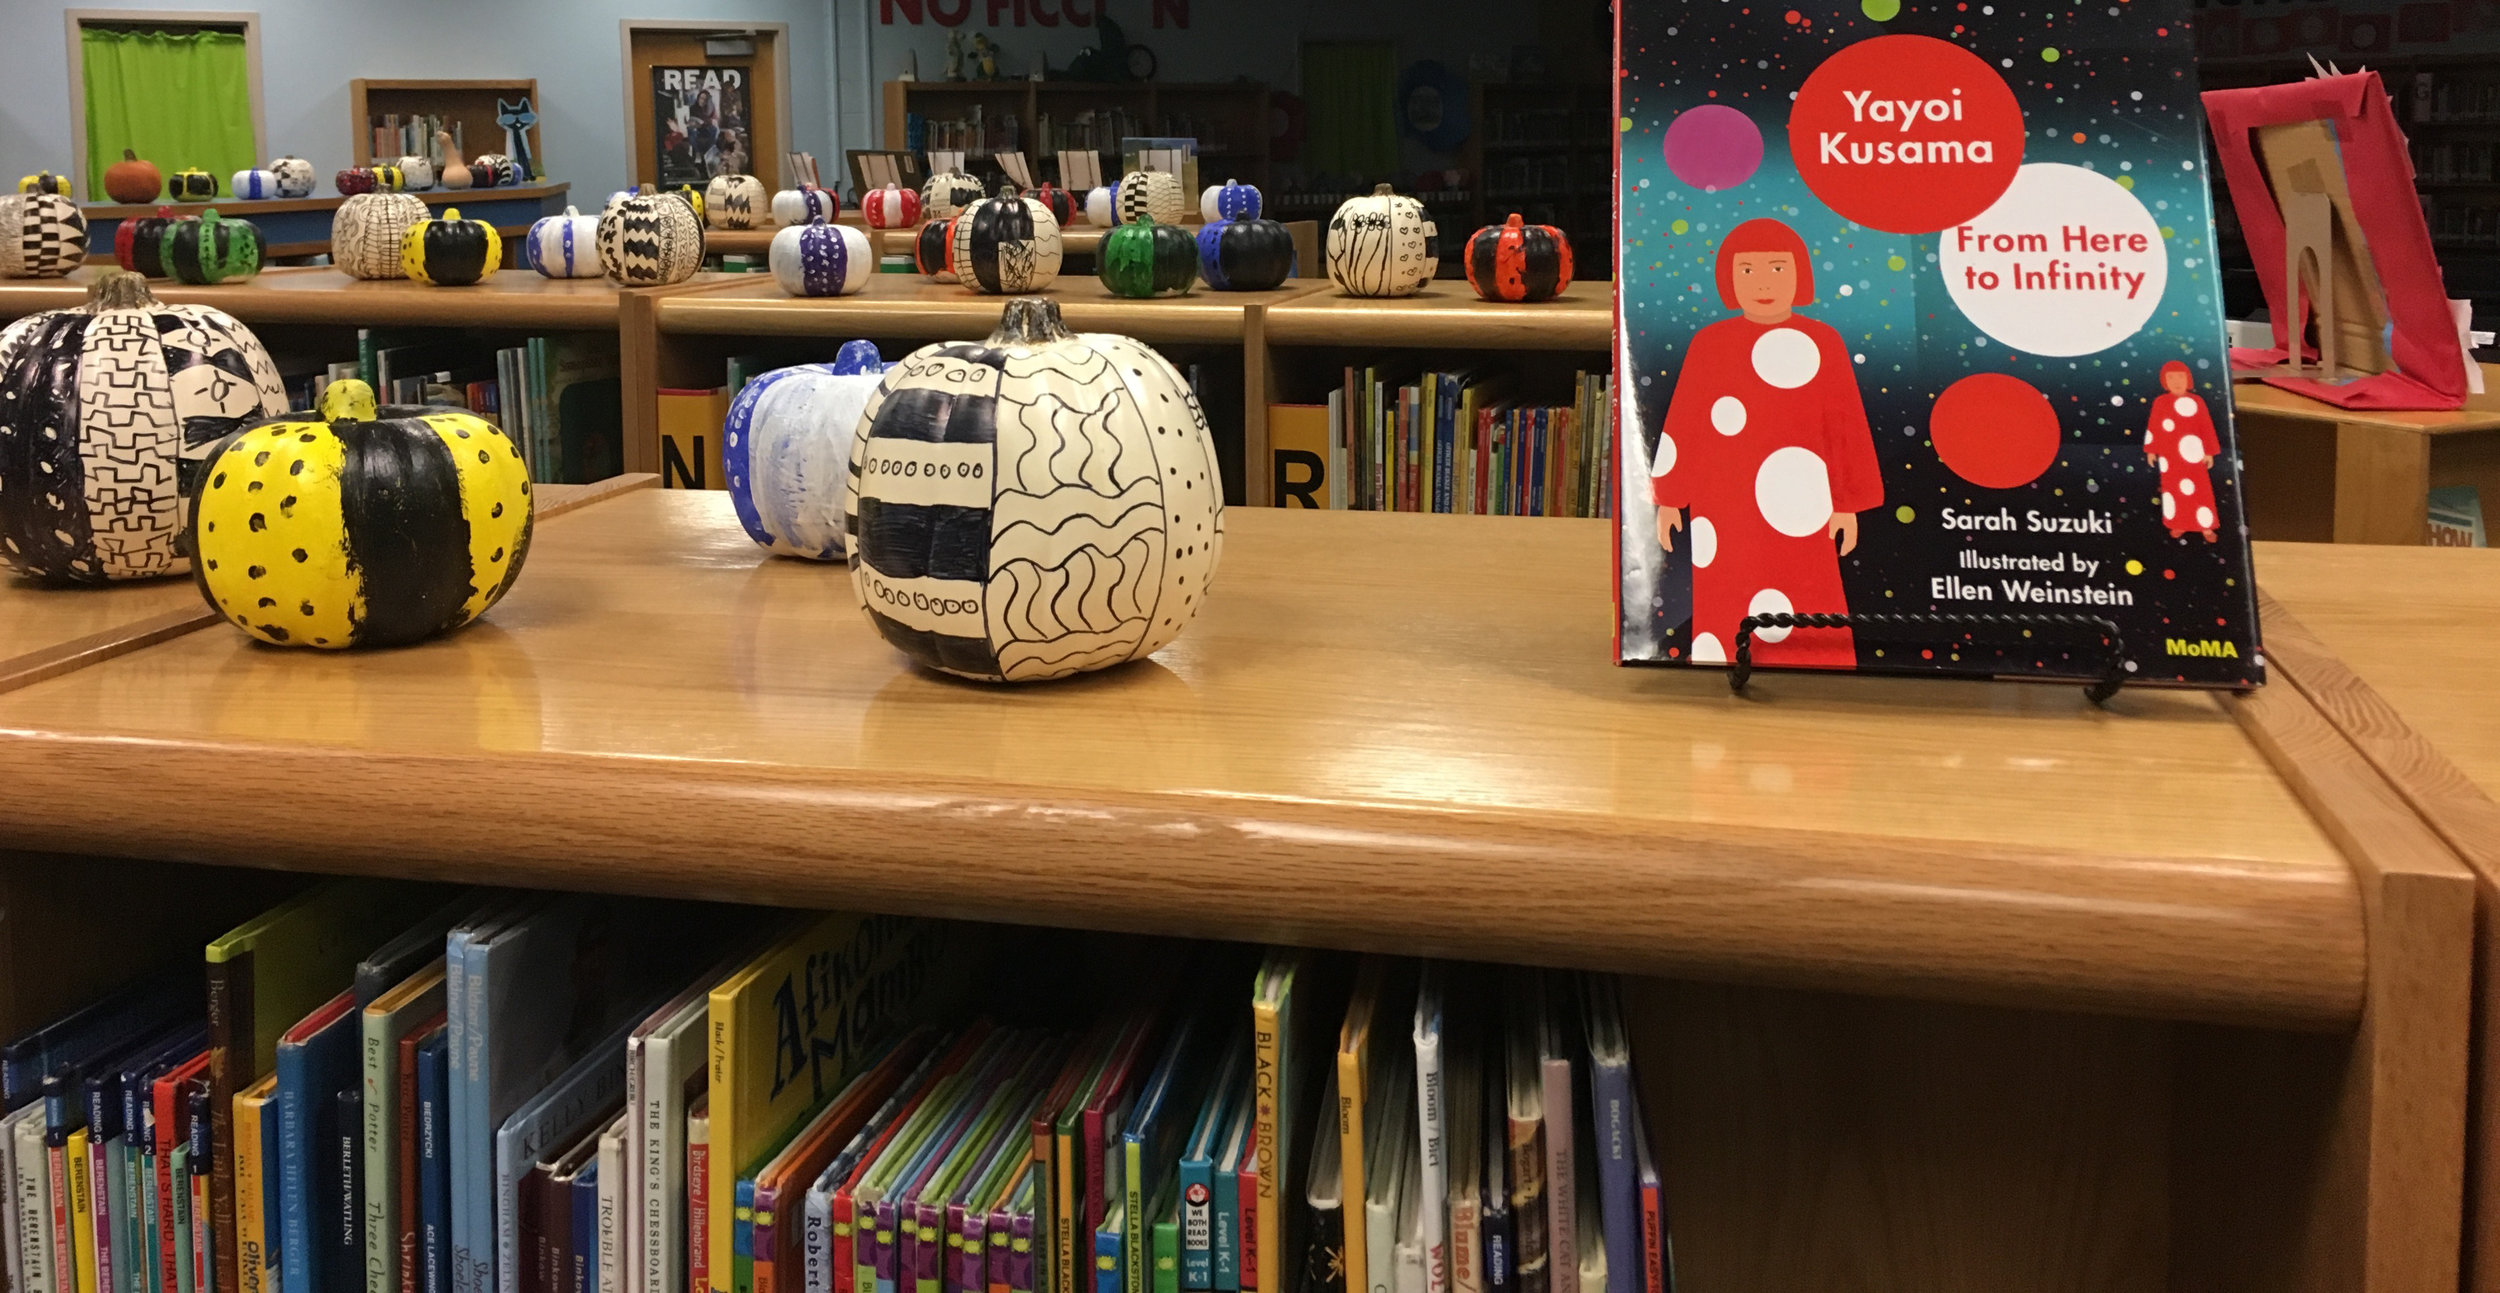
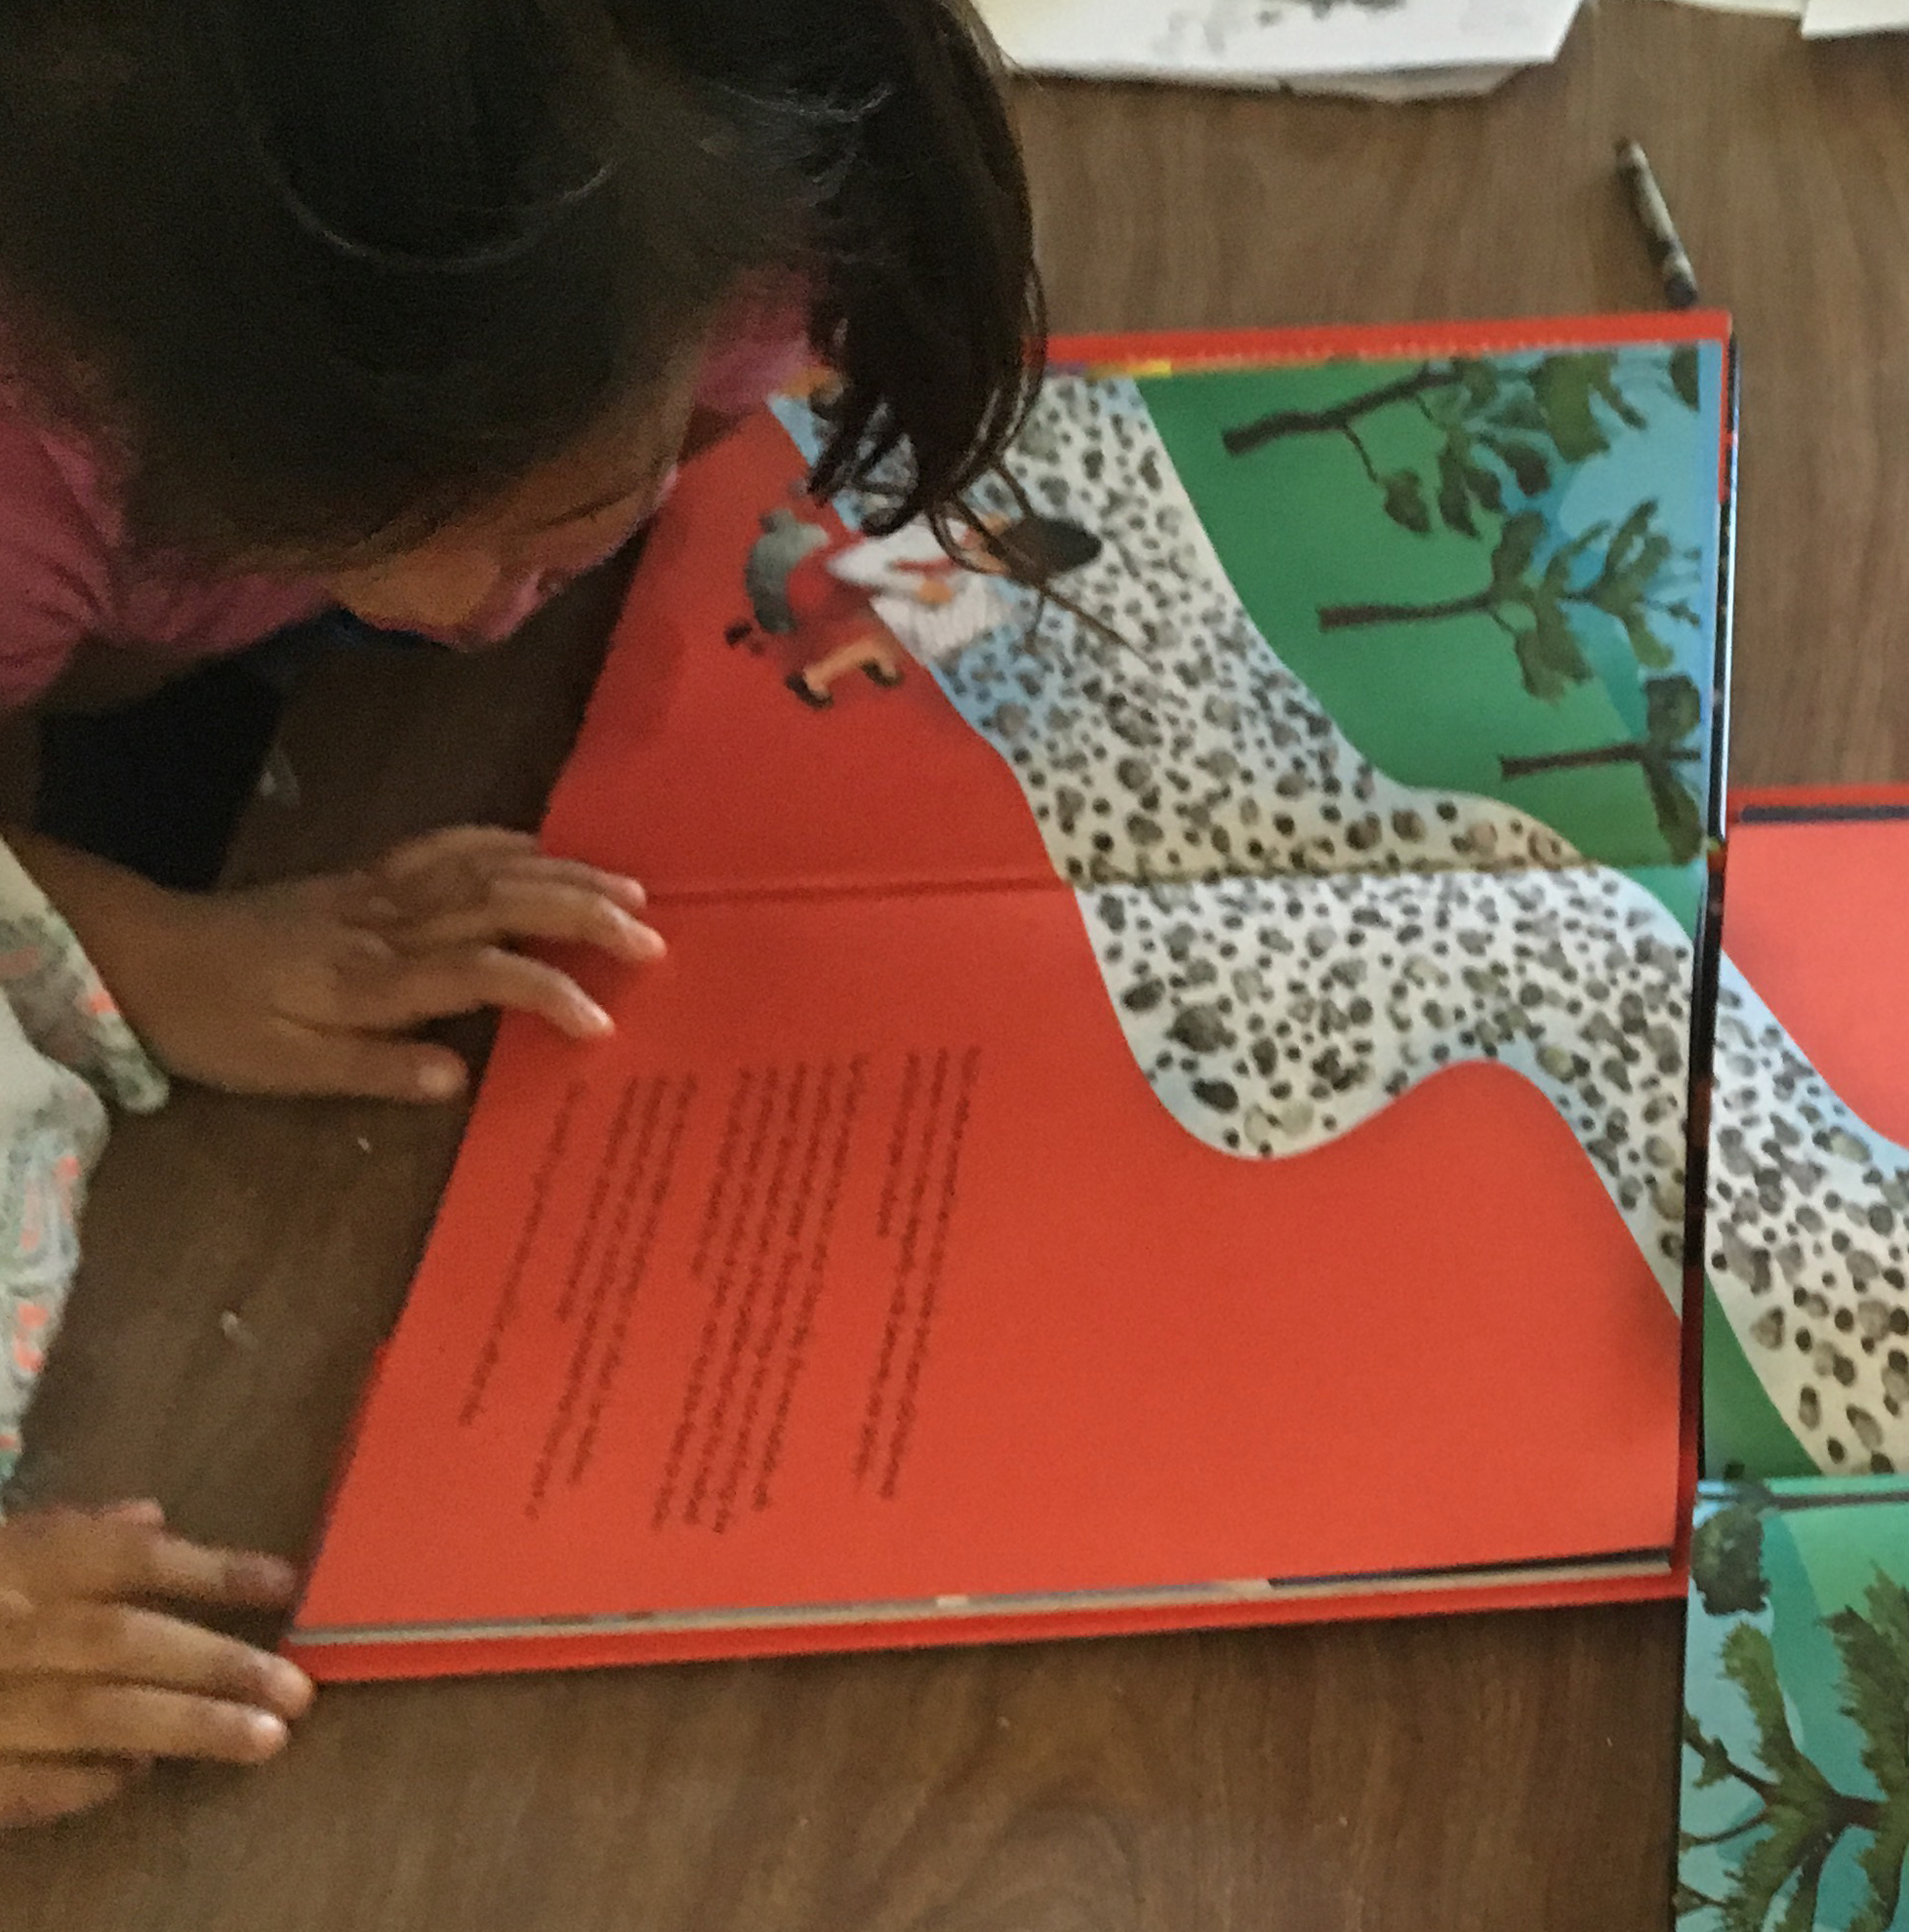
Every now and then, I'm interested in presenting my students with more context, and I may give them bits of information or use some sources that I trust.  In my opinion, Sarah J. Suzuki's "Yayoi Kusama: From Here to Infinity" was a great choice for reading about Kusama's life.  As a children's book, it does a great job of presenting information about Kusama's life alongside beautiful illustrations, and in a story-like manner. 

I can't help but to bring up a video about Yayoi Kusama that went viral recently, presenting the artist in the context of mental illness.  I don't believe that mental illness should be a taboo topic, and of course using art as therapy is a wonderful and positive thing.  Yet, this video doesn't sit well with me because it cast her career so heavily in the light of "mentally ill artist." I've read that Kusama is unashamed of her obsessions and neuroses, and not hesitant to connect her artwork to her mental illness.  Still, she has had a lucrative career as a professional artist and designer for decades, and it seems to me that her mental illness is a part of a more nuanced biography.  To this end, I was interested to read how the Hirshorn Museum's recent retrospective more sparingly mentioned mental illness in their overall narrative of the artist and her work, "inviting us to experience Kusama’s evolving output through more personal interaction, unguided by psychoanalysis."


Kinder Line Unit / Poncho / Baile Folklórico Costume

Every now and then I steal from get inspired by the amazing Cassie Stephens! I love doing her Kinder Line Unit for all the reasons that she describes. It really is a great fit for kindergarten art at the beginning of the school year. I completely relate to her when she mentions that developing a kinder project is “not my forte” (which is hard to believe for Ms. Stephens, once you become familiar with her blog). I’ve got to admit that I find kindergarten most challenging, and I’m always looking for ways to grow in this area. They are the sweetest age group and their minds are like little sponges…but sometimes I feel like I'm herding cats 😽 🎨 😸

So I’m really glad that I discovered this unit for kindergarten art.  And I’ve adapted it to make it a tailored fit for my kinders and my school.  Firstly, I added a kinesthetic line activity.  My littlest artists learn five different kinds of lines: vertical, horizontal, diagonal, wavy, and zig zag. They make lines with their bodies to identify each type. They look for lines in many examples of artwork. They also look for lines in real life – they usually find a lot on their own clothes! In addition to identifying the lines out loud, they use their bodies to signal each vocab word as they say it aloud.

Developmentally, children tend to enter kindergarten as kinesthetic and tactile learners; moving as they learn is beneficial to them.  This activity has a whole other benefit for my classroom: self-regulation.  The kinder annex is very far from my room and the transition to art can be rough on my ever-energetic, sometimes-restless, little learners.  We discuss line in a multi-project unit over the course of 2-3 weeks, so we begin each class with the kinesthetic line activity as a “warm-up.”  It gives them a great way to settle into the art room after that walk.  I pair the warm-up with different examples of art each time (3D or 2D work in all sorts of genres) and they hunt for lines and do the movements.  While the warm-up may be repetitive, they spend most of class time on a different art activity each time (applying an increased knowledge of lines, and building on other elements of art e.g. space in between lines, line patterns, how lines meet to make a shape, etc).

My second adaptation involves connecting the unit to a yearly campus event. The PTA usually incorporates kindergarten into our school’s Hispanic Heritage Month Celebration, and the timing lines up with this unit.  My first year, we looked at the lines on Mexican Baile Folklórico costumes, and we cover TEKs for pattern, color, shape, and mixed media to design costumes.  Starting with the line paintings, we add tissue paper skirts, rectangle sleeves, and belts (“skinny” rectangles plus dried bean “studs” attached with tacky glue).  For exploring cultural connections,  I found a helpful video that features a Folklórico costume designer, who talks about the tradition specific to Mexico, and how she approaches her work to honor its legacy.

Last year, kinders created wearable Line Ponchos. I have found many art projects like these, via blogs, that teach about the Mexican serape.  While serapes present a cultural connection to Mexico, I wanted to be careful not to foster stereotypes in my curriculum. Too often I have seen kids draw a cartoon with a poncho and sombrero in order to portray a “Mexican person.”  For my unit, I showed photos of ponchos from Paracas and Quechua culture, to present the tradition in the Andean regions of Chile and Peru.  We looked at photos of snowcapped Andes mountains.  I brought in a poncho to class; the students touched it and talked about how it felt warm and heavy.  We made the connection between clothes and climate, and then moved on to look at designs on ponchos from different places (including but beyond the serape).  I used a variety of images of poncho and place, trying my best to keep it simple.  “Simple” is key for kinder curricula, and it’s always a challenge for me since I lean towards nuance!

For their Hispanic Heritage performance, kindergarten still wore sombreros (as you can see in the photos below) but I think it helps that they looked at the serape tradition among other ponchos.  My students got a glimpse into how ponchos relate to different places, cultures, and history.

Tropical Fruit Still Life

This project was a hit with my first and second graders; they LOVED using tape resist to paint a colorful geometric background!

I think this project works best with second grade and up.  The first graders had a great work effort, but laying out the tape resist got a bit wacky-– tape and lines everywhere!  So I did a mini-lesson to help them slow down, and really think about shape.  Kiddos, how do we make a shape?  The lines have to meet! How can I close the shape?  We played a little game where I drew lines on the dry erase board until they said “STOP!” and I followed their commands until I made geometric shapes.  They loved bossing my hand around, haha! Then off they went to look at the tape on their artwork, and they changed clusters of lines into shapes!  The rest of the project was overall smooth for them.  And here’s how it went…

Lesson One:  Tropical Fruit of Cuba

I took my students on an imaginary field trip to Cuba.  We looked at the country on a map in relation to where we live. We learned about its tropical climate and its agriculture.  I used a PPT as an anchor to prompt discussion.  We talked about tropical fruit and looked at artwork by Cuban painter Amelia Peláez.

Amelia Peláez, Bandeja con frutas (Sandía) (Tray with Fruits [Watermelon]), 1941. Private Collection, Coconut Grove © Amelia Pelaez Foundation. Photo credit: Sid Hoeltzell.

Amelia Peláez, Bandeja con frutas (Sandía) (Tray with Fruits [Watermelon]), 1941. Private Collection, Coconut Grove © Amelia Pelaez Foundation. Photo credit: Sid Hoeltzell.

Amelia1.jpg

Students defined "still life" and were prompted to draw a tropical fruit.  After a demonstration, practiced drawing the fruit in different ways. They could break down the fruit into composite shapes, using stencils. Next, I prompted them to draw this method again, without stencils.  Providing differentiation, I prompted some students to make a contour drawing of the fruit (outline only, without using composite shapes).  Students learned how to draw from observation a variety of ways, with an emphasis on breaking down the larger picture into more approachable parts. They completed a drawing of their fruit, 2-3 ways, over 1-2 class sessions.

Lesson Two:  Geometric and Organic Shapes

On a stations day, we defined and explored geometric and organic shapes.  When we returned to the unit, we reviewed the concept and talked about the organic shape of fruits.  In the background, students were prompted to make straight lines to create geometric shapes.  They looked at a demo video, then used thin washi tape to get to build their geometric backgrounds. This demo video turned out a little rough, but it got the job done and the kids loved watching it--especially the fast forward painting!

Lesson Three:  Paint Resist Background (starts at ~6:45 in the video)

After laying out the tape for the background, we talked about the word “resist” and how the tape will block the paint on their paper.  Then students watched the rest of the demo video, and got to work on painting their backgrounds.  Looking back, I also see an opportunity here to talk about color schemes.  We could look at “tropical” color schemes that are often put together (e.g. in marker and paint sets) and explore “Why are these colors tropical? How do you think the colors relate to a tropical climate?” 

Lesson Four:  Color Pencil Techniques

Using this worksheet and website as a resource, I gave a mini-lesson to my students on ways we can use color pencils.  It worked well to print color copies of the worksheet and do a “Follow-Me” for them to try out some basic blending.  I then prompted students to use the back of the worksheet to explore blending different colors on their own. When they felt ready, they could start coloring their fruit.  I made a quick and fun video demo to show the color pencils technique at work on a tropical fruit still life (my cats make a special guest cameo):

Student Art Gallery

This is a great unit for fans of color! The art brightened up our hallways, and the students felt so proud of their work:

The Fun of the Draw

Drawing Days

My students. THEY. LOVE. TO. DRAW! Paper and pencil are easily accessible to my students outside of art class.  So in my curriculum, they more often work with materials and artistic methods that are less ubiquitous. Sometimes these units integrate drawing as part of the larger project. But I set a priority for my students to learn a variety of media: printmaking, ceramics, painting (tempera, acrylic, watercolor), graphic design (Photoshop), fiber/weaving, sculptural 3D techniques (paper, cardboard), collage, and mixed media. 

For the occasional drawing-only units, I have taught TEKS that center around media, methods and techniques.  E.g. shading/values, figural or facial proportion, gesture drawings, contour drawings, observational/still life drawings, or how to apply different drawing media (oil pastel, chalk pastel, color pencil, marker, pen etc).  I’ve also tried a couple of Step-by-Step/Part-to-Whole illustration and drawing activities as a sponge lesson for classes were ahead of the pack, or a seasonal reward day.  Here are some examples of student work from these activities (the Charlie Brown illustrations by Kinders always make me smile!):

So many of my students, at all grades, want to get the “tricks of the trade” for illustrative drawing. They want to increase their skills for creating representational, pencil to paper pictures. In a previous blog post, I reflected on how sometimes they can use a break from more independently-driven, personal, expressive prompts.  I was advised to have students work on a quick activity that could help them build skill and confidence within a highly structured format.  With all this in mind, I plan to try out “Drawing Days” more intently this year.

I’ll be back to reflect on how Drawing Days work out.  The goal is to integrate a different style of teaching than what I usually deliver, in small doses, within my curriculum for all classes.  Drawing Days will be like a mini-lesson that teach students how to illustrate and draw representationally, by breaking down a problem (the whole picture) into smaller, approachable parts (shape, line, texture, color).  With this learning goal in mind, I found a great article from SchoolArts magazine that helped me brainstorm some “I Can” statements for my elementary-level Drawing Days.

In their sketchbooks (manila folders), students already create and store their free time drawings.  Now they will add work from the structured Drawing Days, and later they can independently flourish these works during free time. 

There are some excellent blogs by helpful art teachers out there that provide a plethora of anchors and resources for drawing activities like these.  I want to give a shout out here and share:  Expressive Monkey;  Art Projects for Kids;  Deep Space Sparkle; ArtistsHelpingChildren.orgCraftsy Drawing.

Mona Lisa Fridays

Making Time for Stations and Rewards

In an earlier blog post I wrote about incentives in my classroom that I call “Mona Lisa Points.”  I don’t want the process of looking up points and giving out rewards to take away from the pacing of a carefully planned, project-based unit.  So, I allot space in my curriculum for “Mona Lisa Fridays.”  I see students on a rotating ABC schedule, so a class will get a Mona Lisa Friday about every third week.  On Fridays, instead of using the last ten minutes of class to clean up, we look at all our points on Class Dojo and winning teams collect rewards.

I have stations set up so that it all requires minimal clean up time, and that makes it a perfect activity for when I need spend time on the rewards system.  This kind of set up is also fantastic for a Sub Plan (here’s an emergency sub plan as an example).  I have at least six stations that are all ready to go, some with laminated prompts, and that all grade levels have practiced.  The students know what to do; they love it, and so do the subs!

Mona Lisa Fridays give the perfect time and space for stations with choice-based, materials-focused art activities.  At stations, students make art in an exploratory, fully self-driven manner.  It’s an important and unique way for children to learn how to solve problems creatively and independently. 

I set out stations based on different materials or sometimes based on big ideas or themes. I usually set stations to a timer so that all students rotate every 8-10 minutes.  Other times students may choose and switch stations on their own terms and may spend the entire class at one station if they choose.  No matter what format, my students understand that stations are about making special one-day art.  They are usually prompted to make ephemeral art (i.e. modeling clay, dry erase boards, building blocks that get put away).  Students feel like they are not supposed to produce a “real” product, and so they open up to taking risks and solving problems on their own. 

My role is mainly to provide a prompt and praise their unique choices, which I find helps my students build confidence. Later, when they feel stuck in a project they find “real” or “too hard,” I prompt them to remember a great way they once made art or a solved a problem at a station.

There are a lot of great “I can” statements that you can align with stations, and I put this poster up as an anchor.  Sometimes I use a PPT to display a unique “I Can” statement depending on the format, prompts, or unit I have going on (i.e. using stations as a mini-lesson to reinforce "geometric and organic shapes" to help my first graders learn the concept).  Often times I think of a statement that will be uniquely helpful for a class that I’ve noticed could improve on certain studio habits of mind.  For example, to help students feel more responsible and proud of their individual effort, I once displayed: “I can experiment, take risks, and figure out how to make something that only I can make.” My students will say “I can” statements like these aloud at the beginning and end of the class session.


Free Time Activities

This post is about some successful activities I’ve set up in my classroom to keep students productive.  Sometimes they need a break from the big project.  Sometimes they are done early.  I introduce these activities informally or, if we need it , I use one class session go over all the free time options (here’s a PPT that helps to review all activities).  

Sketchbook Assignments, Free Draw, and Draw from a Book

Students may get the option to take a timed break to draw, or draw if they are done early.  Drawings must be kept in their sketchbooks or, if they want to earn Mona Lisa Points (MLPs) for it, turned into a bin.  I like my students to keep their work collected in the art room as much as possible.  Older students get a Sketchbook Assignments worksheet they can use to prompt their work.  Students also have the option to pick out one book from my classroom library and draw from observation.

Adopt a Lost Drawing

Kids will be kids. Sketches will get lost.  Some will fall out of sketchbooks and some will be left out during clean up.  If they don’t write their name on their sketch and it’s out of place, my students know that it will end up in the “Lost Drawings” bin.  Now anyone can adopt the drawing and make it theirs.  The key to this prompt is that if students take a drawing, they only really “adopt” it by adding to it and making it “their own” in some unique way.  Students can earn 2 MLPs when they adopt a lost drawing.

The 800 Word Art Challenge

When my principal asked for campus-wide support of our district’s "800 Word Challenge", I presented my students with the Word Art challenge.  Students defined “font” and watched a quick demo on how to create a font.  The Word Art Challenge, on a basic level, prompts them to use the elements of art to design a creative font.  To engage in higher-level thinking, it prompts them to use metaphor so that the font design hints at the meaning of a word.  There are also some excellent artists to explore in connection to word art, like Jenny Holzer and Barbara Kreuger.

Students were very happy to learn that they can earn MLPs by working on this prompt during free time or as optional homework.  They earn 1 point if they fulfill the basic prompt and simply write a word out in a creative font. They earn more points if they repeat the word many times (the initiative involves repetitive exposure to the word).  They earn most points if their font design acts as a metaphor for the word.  Most of my students love puns and word play, so they were really motivated by this prompt! It’s the most popular choice of all free time activities.

Here’s a worksheet about the 800 Word Art Challenge, and check out some examples of student work:

Are you Mona Lisa Ready?

Classroom Management Beyond the Lesson Plan

When I interviewed for my first (and current) teaching job, the principal asked me about my approach to classroom management.  As I still believe today, I talked about how an engaging lesson plan is the best tool for positive student behavior.  We were on the same page about this, and she talked to me about some of the behavioral challenges specific to our campus.  She asked me how I felt about the use of incentives.  Little ol’ me, starry eyed and idealistic, said something like, “Extrinsic motivators? Oh, I teach my students to develop their intrinsic desire to make art.”  Aaahahaha! Yeah. What an unexpected challenge it was to develop that intrinsic motivation, or rather, rely on it so heavily.  Y’all, I am now more than happy to use incentives or whatever approved and appropriate method it takes to get my students to be safe, respectful, and learning more quickly.

That awesome principal knew what she was talking about (shout out, by the way, to all the practical and positive leaders I’ve been lucky to have!). My kiddos are quickly motivated with the mention of a reward.  By now, they know how to earn “Mona Lisa” points, which I track with ClassDojo. A veteran art teacher in my district introduced me to this online tool.  I use the app on my cell phone, and with a single click I give out reward points.  Digital points are so great in the art room, where so many messy materials are always in play. I want to do away with extra stuff when I can, and ClassDojo takes fussy tickets and stickers out of the picture.  When my students hear the app go “ding,” they get Mona Lisa Ready (MLR) quickly!

You may be familiar with the Mona Lisa motivation that is popular with many art classrooms. Over time my class has developed a whole game out of this.  If students are the first to get MLR when I ask, or if they notice it’s getting rowdy and they get MLR on their own, their team will gain 3 Mona Lisa Points (MLPs).  If students break my #1 rule (No talking while the teacher is talking) their team will lose 3 MLPs.  There are lots of other rules in my class, and if I catch them following or disregarding a rule they can earn or lose 1 MLP, respectively.  Over time, I have also integrated extra credit opportunities and free time activities for them to earn MLPs.  On "Mona Lisa Fridays," we look at which team has the most points.  Since I see students on a rotating ABC schedule, a class will get a Mona Lisa Friday about every third week. 

This system is a little intricate, but it’s a point-based game that my students learn very quickly.  It works great for them and for my curriculum.  My first couple of lessons when we return to school in August teaches my students expected behavior and procedures with an emphasis on how a team can earn MLPs.  Rewards are given to teams, and students are in teams based on assigned seating at color-labeled tables.  I have 18 different sections (three sections per grades K-5), about a total of 500 students, and a high mobility rate at my campus.  So it takes a lot of work to assign a seat to each student at a team table, but I find that it is absolutely worthwhile.  I print out my class rosters as soon as they are available, and get to work. 

My students either sit at color-labeled tables, OR color-coded polka dots on the floor area.  Assigning floor seats, in addition to tables, has been extremely helpful.  Sometimes materials are set out on their tables, and my students would be playing with those instead of participating in dialogue or paying attention to a demo.  Switching to floor seats for certain activities minimizes distractions and maximizes instruction time.

Instead of entering individual students into ClassDojo, I enter each class section, and then within each section I enter the 6 teams: red, orange, yellow, green, blue and purple. So even while at floor seats, I can quickly give MLPs to teams based on those colorful polka dots.  They also help to keep the assigned seating consistent at all times during art class. There are a lot of kiddos in my school that have separation orders and I carefully assign my teams with a mix of kids that can keep each other safe and help each other learn.

In these screenshots of my ClassDojo app, I show how I label each class section based on my ABC Day rotation and grade level, sometimes adding the name of homeroom teachers. When I click into each class, I can track points for each team table.

In these screenshots of my ClassDojo app, I show how I label each class section based on my ABC Day rotation and grade level, sometimes adding the name of homeroom teachers. When I click into each class, I can track points for each team table.

Of course, sometimes individual behavior calls for individual rewards and consequences.  I may select students to invite to art lunch as a reward.  As per individual consequences, I often ask a student to take a break to fill out reflection worksheets, or conference with me after class, or take a note home, etc.  Often, students just need a break without a negative connotation so that a potential conflict can deescalate, or to think about any number of SEL tools that we teach at my school.  So I blend “Take-A-Break” areas with “Peace Areas,” and make sand timers and a mix of self-soothing tools available.

Back-to-School Portrait Units: Tying MLR to Art Curriculum and Campus Themes

My first art unit, for every grade level, is about portraiture.  We define “portrait” and I prompt my students to consider a more complex or abstract definition of “portrait” at each grade level.  For example, last year my kindergarten defined portrait as “art that shows a person” and my fifth grade defined “portraiture” as “art that represents a person or tells us something about them.”  While learning about how to get MLR, they review and reevaluate DaVinci’s Mona Lisa.  Most kinders are just looking at the Mona Lisa for the first time, and adorably tend to call me “Ms. Mona Lisa” for the first two weeks or so, tee hee.  Students are prompted to look at the Mona Lisa, talk what about they notice, and older students tend to talk about DaVinci.  After a few minutes of dialogue to discover or rediscover the work, all grade levels watch this video: “Why is the Mona Lisa so Famous?”  (I stop the video at about 3:03). 

This video happens to beautifully highlight the three characteristics of getting MLR:  Hands crossed, “creepy stare” (as the video calls it) i.e. looking at teacher, and closed smile (sometimes I ask them, “Can you even make your smile lopsided like Mona Lisa? That’s tricky!”). So the brief “Look and Respond” activity transitions nicely into a review on how to earn MLPs.

Then we move on to a portrait project.  My first year, I had kindergarten and first grade draw a portrait of themselves and Mona Lisa in response to the prompt: “Where would you take the Mona Lisa to make her smile?” It was a one-lesson drawing for this first day of art class.  For grades 2 and up, this blog post inspired our first unit.  I taught facial proportions and monochromatic color schemes (based on their color teams) and we created a collaborative mural for the art hallway:

CCBF2136-DC3B-4186-9580-2BDFB1E845B9.JPG
Mona Lisa Ready - 1 (1).jpg

Last year, I integrated sketchbooks to my curriculum (I use manila folders).  I created a new portraiture curriculum with the sketchbooks in mind. This was so successful that I plan to repeat the curriculum this year (with just a few changes to mix things up).

For kindergarten, I designed this Blank-Face Mona Lisa coloring worksheet in Photoshop. I videotaped a Follow-Me, and played my video while watching the students work (pausing and addressing the group as needed).  This assignment is not very exploratory or personally-relevant for the students, but it is very useful as a pre-assessment tool as the first project of the year.  Kinders at my school are mostly learning to follow procedures first week or so, and there is huge disparity in their ability to follow basic directions and use drawing tools.  I keep the activity fun and light; at the end of the unit they add their Mona Lisa to their sketchbook. In kindergarten, we move on quickly to a unit on line, and lots of exploratory art activities.

Grades 1-4 did a self-portrait on the covers of their sketchbook as their first unit.  First and second grades follow along with this video to draw a self-portrait. Third and fourth grades work on a more advanced version of this prompt.  Their unit incorporates a facial proportion packet as an anchor, along with a different Follow-Me video that promotes more vocabulary.  With all grade levels, the Follow-Me videos act as a sort of "second teacher" in the classroom to help with the behavioral and procedural element of this Back-to-School unit.  It allows me to walk about while students work, praise positive behavior, give out lots of MLPs, and, as previously mentioned, see where students are at after the summer break.  These are all great pre-assessment activities.

Fifth grade explored the question “How can a pose make a portrait?” and evaluated Keith Haring’s work.  I created this PPT Presentation as an anchor for the unit.  Every year I make a different mural for the art hallway, and our fifth grade displayed their Back-to-School artwork in the hallway for year 2.  Students worked collaboratively to create a “Pose Portrait” that expresses team character, and we talked about using joints to show movement and overall proportion of the body.  They created one life-size portrait per team.  This year I might have them paint an individual pose portrait on their sketchbooks, so we can do something new in the hallway. 

Throughout these Back-to-School units, students practiced getting MLR and following rules to earn MLPs! I give extra time and space to teach behavioral expectations, taking breaks as needed, while they work on their portraits.  I also teach students how to spend their free time in art if they are done early (productive habits earn MLPs, too!).  It really helps to invest time into classroom culture this way on the first weeks of school. Later in the year I present students with different examples of portraiture (i.e by Kehinde Wiley, Andy Warhol, Frida Kahlo, and more) to revisit and expand their ideas about the genre.

School Themes

As always, bringing motivation and joy to the art classroom is key.  I usually tie the Mona Lisa motivation to a yearly campus theme in a fun or humorous way. My first year, our school had a sports theme called “T.E.A.M.S.: Together Everyone Achieves More Success.”  I matched the elements of art to this theme, and transformed the Mona Lisa into a Baseball MVP.  I took some photos of MVP students who were exemplary at being kind, safe, and productive.  These Mona Lisa photo props are so much fun!

In year two, the theme was “Superheroes.” Mona Lisa looks fabulous as a Super Portrait!  I displayed some Super Kinder Mona Lisas at the beginning of the year.  Later, I designed some “Studio Habits of Mind” posters in the Superhero theme.  It was helpful to leave these up for the rest of the year (I have lots of other bulletin boards to display student art).  Sometimes after class, I would point to these posters while talking to individual students in the hallway on ways they can grow as an artist or make helpful choices.

I can’t wait to see what the next theme will be! I'm Mona Lisa Ready!

Fierce & Friendly Animals: Unit Reflection

Fourth and Fifth Grade 3D Paper Sculptures

How does this unit relate to my Art Education philosophy as a first year classroom teacher?

One of my favorite Art Education professors stressed that a good teacher is always noticing what the students bring to the table. She’d refer to this quote in her seminar:

“We have ideals. We have philosophies. But the problem with any ideology is that it gives the answer before you look at the evidence.” ---Bill Clinton

I think the message here is to strive for our ideals, but ultimately stay honest about what works for the kids in our classroom. Two years later, working with an increasingly better understanding of my students, my curriculum has turned out to be a blend of different philosophies of art education. Yet, when I left grad school I had a certain philosophy of what makes for great art education, and I felt determined to bring the “right kind of lessons” to my future students.

I developed this ideal philosophy by listening to that same professor.  From her teachings, I adopted a clear vision that I admire and will always strive to fulfill as much as I can in my practice. My vision statement puts it into words, but for this blog entry I want to explore what that philosophy may look like in practice. 

In my first few months as a teacher I delivered a unit I had learned and evaluated in grad school, called “Fierce and Friendly Animals.”  I had previously taught this unit within the setting of a small-group workshop. The unit is in line with a highly student-centered philosophy; it is designed to put students in charge of their own learning and making.  It tends to result in drastically different and individualized products by each child.   Below, I journal about what each lesson looked like with my kiddos.

Lesson 1: Motivation to Explore the Material

At the start of Lesson 1, I asked students as a class if they could come up with at least ten different Ways to Change Paper. Open-ended questions like this, with many possible correct answers, always get my kids going. “Color (draw/mark), fold, and cut” were typically the first answers I got out of a class.  If the class was stumped for more than 10 seconds, I would ask follow up questions like “What if you want to cut but you don’t have scissors?”  Students eventually gave answers like: rip/tear, attach (glue, staple, tape, hole-punch, fasten), poke, wet, burn, twist, crumple, roll, fringe, and braid.  Instead of being shown different ways to use the material, students opened up and arrived to different possibilities on their own.

Next up, a Builder’s Challenge would prompt them to work sculpturally with paper in teams.  We looked at our Ways to Change Paper list, and I crossed out any actions that were not allowed (e.g. wet, burn, cut, glue).  Then, I revealed the prompt:  Use paper to build something tall that can stand on its own.  How High can you make it go?

It was made clear that students must change paper in at least 5 different ways from their list, to complete the challenge.  I've had students try the challenge without any tape at all before; this time I allowed up to 5 pieces of tape per team. After answering any questions about the prompt, I gave a very quick demo for two building techniques: (1) how to fold a rectangular prism, (2) how to use tape like an “L” strip, to connect two flat sides of paper at an angle. 

And off they went! Teams worked together, and I observed my students.  It gave me a chance to get to know them a bit and adjust seating before they started to work on their animal sculptures.  To help with differentiation, I tried to mix together students based on artistic experience, risk-taking/confidence, behavior, and (particularly in dual language settings) their communication skills.

After about 10-15 minutes, I called time, and then sculptures were measured to see which was tallest.  Students had to point out examples of at least 5 different ways they changed paper, or the team would be disqualified. They talked about what worked and what was difficult.  There was joy and laughter. This challenge was like a game taken lightly by the students, and they learned a lot about how to use limited materials to reach a goal.  There was teamwork and quick, creative, problem-solving. They gained experience with the sculptural limitations and possibilities of paper. I have since then found out that this same activity is popular with middle school science and math classes.  Students are learning about the physical properties of paper and how to make physical changes. Plus the geometric prisms and engineering involved, it’s a great STEAM component of the unit.

If we had extra time before the kids had to line up, I would show them this TedEd video about How Folding Paper Can Get You to the Moon. I told them that we would soon use paper to make an animal sculpture, and they left excited for the next lesson.

Lesson 2: Brainstorm and “Visualization” Image Search

E.g. Writing descriptive search terms "lion" vs. "roaring lion"

E.g. Writing descriptive search terms "lion" vs. "roaring lion"

To start, we reviewed how we changed paper last class, and I asked the class to define “sculpture” and “three-dimensional.” Using a PPT slide with an image of a flat paper next to images of their own sculptures from the Builders’ Challenge, I typed in their definitions into the PPT.  I reminded students that in this project they would make a paper sculpture of an animal, and introduced our brainstorming activity.

Students used this worksheet to brainstorm a list of fierce and friendly animals.  We defined “fierce” and “friendly”, informally, and as a group went through the front page of the worksheet with examples of how to complete each part. Afterward, I walked the class over to the computer lab, worksheets in hand.  They were prompted to print images for up to 5 animals of choice, using their worksheet as a checklist.  The goal of this lesson was to get students to think of unique animal choices for their art, and to think of the animal in terms of an expressive character.  Students also practiced digital citizenship by using the search engines effectively and responsibly. 

I used dialogue (either 1-1 or with the whole class) to help students visualize different ways their animal could look.  How would it act fierce or friendly? (Students would say growl, play, etc.) What do we see when it roars? Purrs? (E.g. sharp teeth, wagging tail, etc.).  When I learned about this unit in grad school, my professor defined this sort of dialogue as “visualization,” a discussion that helps students elaborate on their own ideas and develop descriptive vocabulary.  In this case, I tried to deliver the “visualization” within a tech lesson, so that students wrote search criteria to successfully find images.

Lesson 3: Creative Expression and Anchors

Students started with a 3-Minute Do-Now Prompt:  “Change this flat paper into a 3D prism. Try your best, work on your own.” It was a quick review of the demo they did with me in Lesson 1 before the Builder’s Challenge.  About 5 kids per class forgot how to make the prism, and I stepped in 1-1 with reminders.

We quickly moved on to our Essential Question: How can we use paper to make a fierce or friendly animal sculpture?

Most students explained that they could use the prism as the body for their animal.  This was a great start.  With differentiation in mind, I wanted to provide a basic building block for students as an option, and also motivate them to use paper differently and creatively.

Sometimes, I find it helpful to show completed examples before the kids get started on a project. Other times it helps for them to work solely from imagination.  I taught this unit once before without showing examples, and this time I heeded some mentor feedback and tried it differently.  I showed the following images (note that neither shows a prism for the animal’s body):

Fierce and Friendly Student Examples.jpg
  • To guide their evaluation of these examples, I asked:
    • What are some ways the artist changed the paper?
    • Which animal do you think looks fierce or friendly, why?
    • How do the materials show that the animal is friendly/fierce?
Change Paper Board 2.jpg

We talked about form (for animal parts, like the belly or legs) and texture (e.g. the torn paper shows the soft feathers, and the cut paper shows the sharp teeth). The goal was for students to connect the quality of materials to characteristics of the animal. An interactive display board was one of the most helpful anchors for that objective.  I attached rolled cylinders, rolled cones, curled strips of paper, folded prisms, torn strips of paper, twisted and braided paper, etcetera.

During this class dialogue, I asked students about an animal they wanted to make.  E.g. I would call on Jorge, who would say “A Lion,” and then asked him to look at the board and point to something he could use for its form or texture. And he would respond, “A cylinder for the belly” and “curly paper for the mane.”  Then I would turn to the class and ask, “Does anything else here remind you of a lion?” and they would respond with more ideas, like, “Cut zig-zags for the sharp teeth!” Throughout the course of the project, I would use the board to talk 1-1 with students, especially when they were stuck on what part of the animal they should make next, and how.

After this introductory dialogue, I showed students where/how to get their materials and I transitioned them to work-time by asking, “Who will start by making the animal’s head? Who will start with the feet? When I call your table, get your materials then get started.”  Down to this transition, which helps the student visualize how to get started, I delivered this lesson based on techniques I learned in grad school.

Lessons 4 and 5…and 6: Staying Motivated and On Task

Enter here the main challenges of this unit, for my particular student population.  To sum it up, my kiddos were used to a lot more structure in the art classroom (i.e. step by step procedures, with less but still some opportunity to individualize their art).  They had a difficult time creating individual artwork as independently as prompted by this unit. 

They found it difficult to take risks and often felt frustrated until I talked with them. “I don’t know what to do” was a too-often repeated statement.  I would model risk-taking to the class and praise student accomplishments at the beginning of each new session.  I am so thankful I was undergoing training on Social Emotional Learning, and it definitely helped to praise my students whenever they demonstrated positive Studio Habits of Mind (shout out to Eisner & Hetland!). 

I provided differentiation, i.e. pre-made paper prisms and cylinders, having certain students to work in pairs, and a timed paper exploration station. Advanced students took on helper roles and had free-time activities they could choose to work on.  Still, most students spent a lot of time off task until I had 1-1 dialogue with them, guiding them to problem-solve the next step. I put incentives and consequences to work. There were moments of creative play that brought out fantastic details in their work.  But most students showed difficulty with staying focused, and (as I now understand is an important need for my students) I spent a lot of time on behavioral interventions.  I work at a Title-1 school that has a large Special Behavioral Services unit (at one point we had two units), and often times our wonderful T.A.s are spread thin.  A large part of my job is helping my students to improve their emotional and social skills, deescalate conflicts, and maintain a safe and positive classroom climate. 

At this time I was working with an Art Teacher mentor, a veteran teacher in my district who taught with the same student population at a school just a few blocks away from me.  My district has a program that assigns a mentor to first year teachers, and we are required to meet weekly.  I am so happy I had this support!  My mentor loved the higher-level thinking involved in the unit but quickly noted that it may be too ambitious.  She gave me some feedback from the start that I needed to provide more structure to my students.  Based on her feedback, I had students work from their inspiration photos (instead of the mind’s eye), and I showed examples before the students began their own work. These anchors are deviations from my grad school’s presentation of the “ideal” unit.  Ideally, as I learned, students at this age (developmentally, a key time for story-telling) should be prompted to visualize and manifest details from their own ideas about their animal. 

As my professor also pointed out, I had to take an honest look at my students’ response to the unit.  For its many rewards, it was overall very slowly paced and perhaps asked my students to reach a little too high, as they ended up spending so much time off task. Putting safe and kind behavior first, I found it a challenge to deliver 1-1 artistic guidance and the scaffolding most students needed to work at a more productive pace.


Lesson 6-ish: Art Evaluation & Cultural Relevance

I have a tendency to connect student projects to artists who explore similar subjects or big ideas.  After a docent experience with The Contemporary Austin (more to come on this great resource), I also began to think of connections to artist based on media. 

Connections to Subject Matter:  When it comes to animal art, there is a plethora to choose from.  Some examples that caught my eye are Spider by Louise Bourgeois, lots of friendly animals by Manga-loving artist Hiro Ando, and check out this fierce gorilla by Richard Orlinski! Before doing a little research, the fierce animals we see in Rousseau’s work first came to my mind. I’m self aware that I focused on modernism in my art history studies, so I watch out for my tendency to present students with ODWM artists.  If I show modern art, it’s among examples of contemporary art and culturally diverse artists. I want to empower my students – it should be no question to them that successful artists come from all backgrounds, and that great artists are working creatively today just like them.

Connections to Media:  The eye-catching and large-scale sculptures of José Lerma & Hector Madera are fantastic examples for using paper expressively and representationally.  The Saatchi Gallery offers great resources on these artists.  With any artwork, I use questioning techniques to prompt student response, and sometimes look to MindPOP for more dynamic art evaluation activities.

José Lerma & Héctor Madera, Bust of Emanuel Augustus, 2012.  Paper bust, dimensions variable.

José Lerma & Héctor Madera, Bust of Emanuel Augustus, 2012.  Paper bust, dimensions variable.

José Lerma & Héctor Madera, The Countess, 2012.  Paper, dimensions variable.

José Lerma & Héctor Madera, The Countess, 2012.  Paper, dimensions variable.

Anyone think of origami when they hear about paper sculptures?  One of my 5th grade sections would not stop talking about origami during this unit!  It also turns out that, in this class, there was the most disparity in working pace.  So, I used the final lesson to show them Between the Folds, paired with this worksheet.  The origami documentary kept students quietly engaged, while I worked with those who needed extra guidance and time to complete their work.

Extras: More Motivation and Optional Extensions

Video Clips:  One of the most practical suggestions my mentor gave me was to show short video clips to students at the beginning or end of class.  I was teaching three other units at this time, to a total of 500 students, with zero minutes in between each class.  Like me and many other teachers in my district, my mentor had no prep time between classes.  So she suggested allotting 10 minutes clean up time, paired with a relevant video to keep students seated and engaged if they were done cleaning up (she tended to show read-aloud book videos).  Like my mentor, I didn’t always need to use a video, but it was a helpful tool to have on hand!  For this unit, I used short animal videos like Hedgehog Boat that also motivated students to feel joyful about their project. While they watched I would swap out materials for the next class, increasing overall instruction time.

Creative Writing:  “Mascots and Monologues” is an optional extension for this unit.  Kids can develop their animal’s character and write a monologue from its POV. I designed these character development worksheets when I first taught the unit at a writing center workshop.

My Takeaway

In this unit, Lesson 1 (with the Builder’s Challenge) was by far the most effective for my students. I witnessed how a successful lesson plan can be a powerful behavior management tool.  It’s great to see students engaged and in that ZPD. Also, a big part of the success was that students felt comfortable to take risks and explore the material.  Once the creative task became representational, they’d barely take a step without 1-1 support. 

A fellow art teacher suggested that, within this unit, I could deliver a “Follow-Me” mini-lesson on drawing an animal by breaking down body parts into shapes. I admire this teacher, who delivers many follow-me drawing lessons and says they help her students build a repertoire along with their confidence.  To me, this outlook once sounded at odds with that “ideal” art education; in my head I would hear my professors likening follow-me drawings to short-circuit thinking, or grad school peers calling it “cookie-cutter” art. I now feel that, along with ample opportunity for individual expression, follow-me activities are beneficial to my students. Step-by-step projects can be a great fit for while offering artistic learning at a productive pace.  These activities provide a lot of structure and can teach students how to break down a problem into smaller parts.

Ultimately, my students learned quite a lot about expressive creation and studio habits of mind from the “Fierce and Friendly” unit.  As the result of lots of 1-1 dialogue, they each eventually came up with their own solutions and used vocab about form and texture along the way.  They had fun while using paper three-dimensionally and expressively.  And, without disregarding these benefits, it was important for me to realize that my students were relying too heavily on individualized teacher support. I quickly shed the judgment I once had for more structured approaches to art education, and gained empathy (and great respect) for all kinds of art teachers. We got to figure out what works best for our students (whole child, behavior management and safety first).  There are many great ways to foster artistic learning.