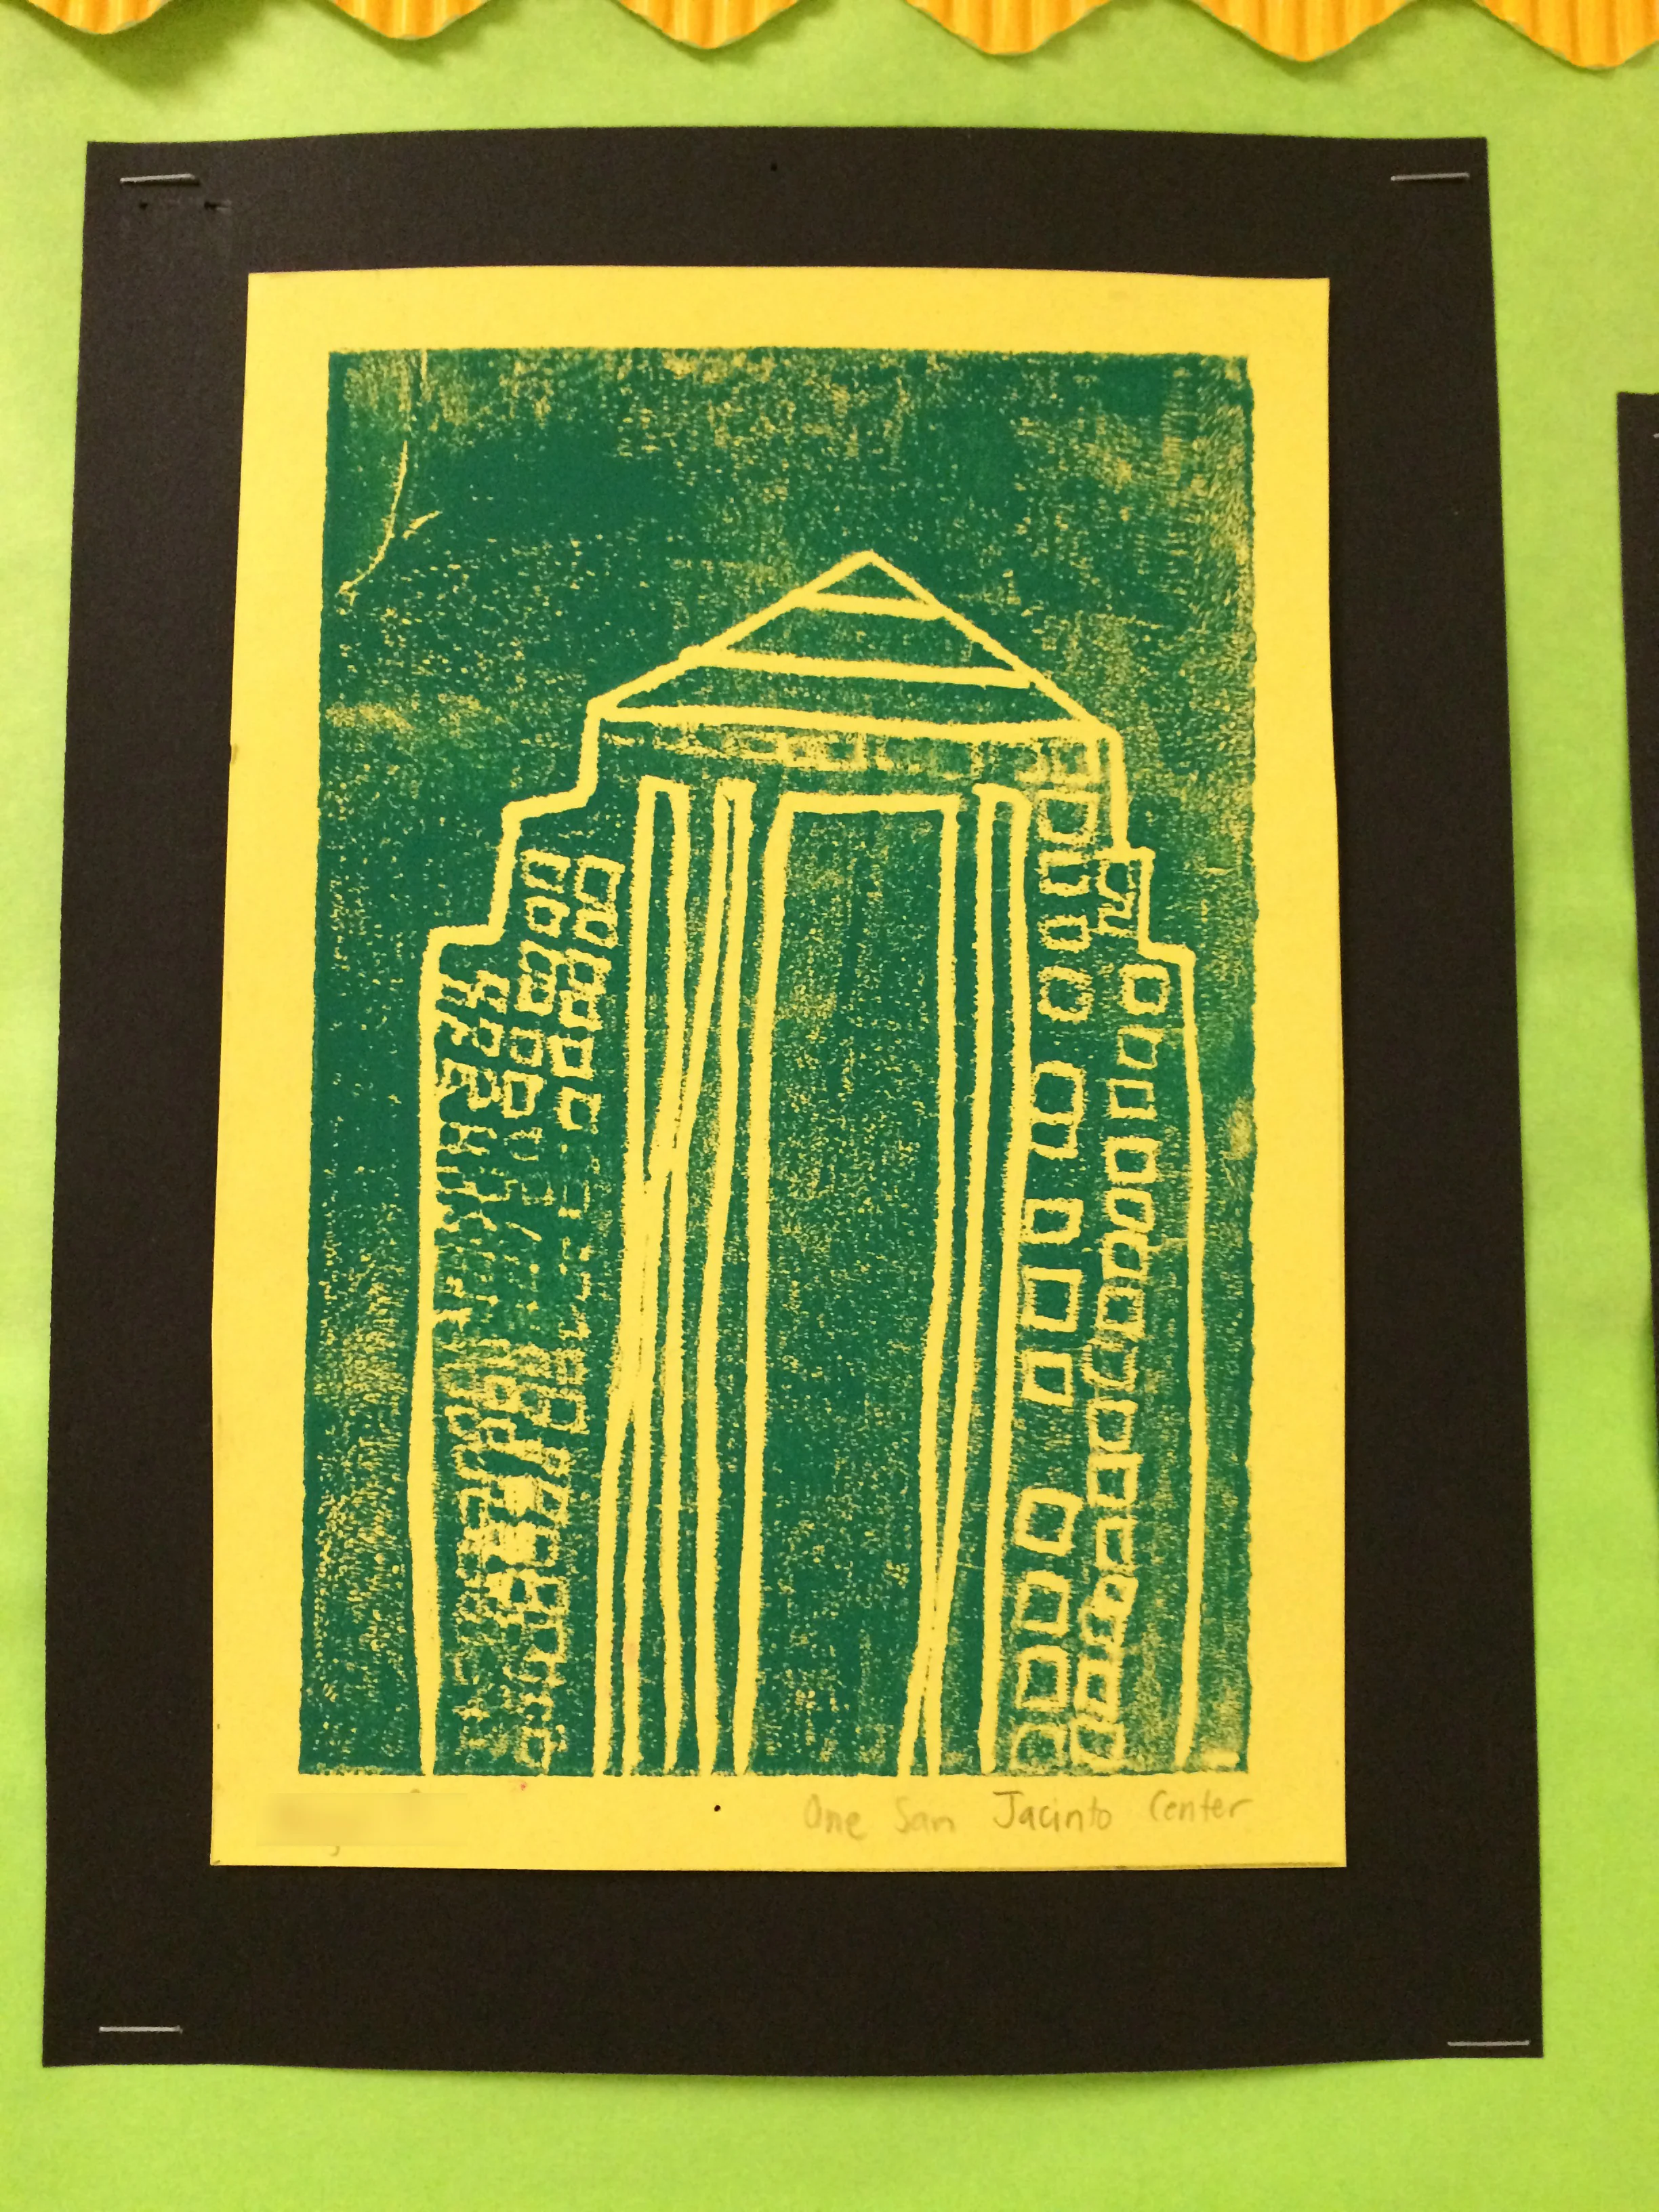
Drawing Before Printing
As a fourth grade printmaking project, my students made prints of a chosen building from our hometown, Austin. They began with a set of six different existing skyscrapers that I chose; students drew all of them before choosing one for their print. They made one sketch per building. To do this, they played a sketching game that only allowed one minute per sketch; they rotated to six different stations at which they found photos of a new building for each sketch. Before they began, I asked them about what they expect from such quick drawings. We set expectations that it’s a “first try” drawing that will likely not match what the building looks like. We talked about how to look for the most basic lines or shapes. I wanted this activity to “level the playing field” for all students; I motivated them to approach it with a sense of fun.
This activity is an example of how I like to start kids off with a “low-stakes” motivation whenever we approach a drawing project. I think that drawing is particularly different than other ways of making art (and I’ll try my best to put what I mean into words). With drawing, kids tend to be more likely believe the myth that art is about “talent” instead of skill -building. Other art activities incorporate a more sensory, “hands-on” interaction with materials, and students are more likely to both feel and see growth as they manipulate non-drawing materials.
After their six, one-minute sketches, they chose one building to practice and eventually create a final drawing. In the gallery slide below, you will see some before and after sketches. That year, our amazing principal chose a sports theme and emphasized a slogan that “Practice Optimizes Performance” (POP for the kids!). I made my display POP with this project, highlighting that with practice (not “talent”) you can build your drawing skills.
Printmaking
Students used their final drawing to create a relief print. They placed their drawing over a styrofoam place and traced over the lines to incise them into the styrofoam. This entailed taping their drawing onto the styrofoam, and then firmly tracing their lines with a pen. This process took time, and I encouraged breaks because if they traced nonstop it might tire or even cramp their hand. I had some books out on their tables for reading breaks. The video at the bottom of this post, which I showed to my students, demos the tracing as well as the inking and printing process. The video actually shows the process for another “cityscape” project, but applied to this one as well. Check out some of the beautiful, colorful prints my fourth graders made!


