This turned out to be a MEGA unit with tons of learning and activities! I was inspired by a similar unit that a fellow art teacher presented at our frequent AISD art teacher “share” meetings. To begin, my students responded to art and photographs of Downtown Austin: What is a city? What is a cityscape? What buildings do you notice in this cityscape? Then, they played an abridged version of Town Hall, one of our district’s CLI teaching strategies. I explained to students that there is a (pretend) new, empty lot/block in Downtown Austin. What businesses or community services would you like to see in this new block? What would the citizens of Austin need or want to add to our city? Working in groups of 3, the students brainstormed and listed up to 4 possible buildings and businesses.
Problem-based Learning
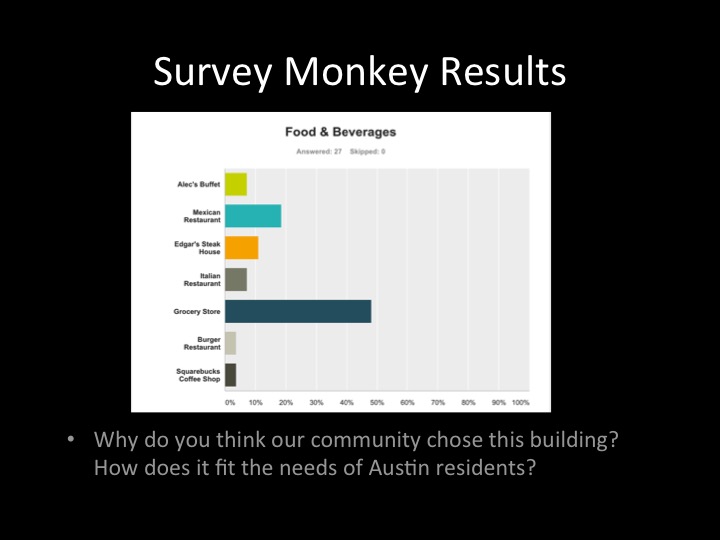
The intro and brainstorming described above was achieved in the first session of this unit. After the brainstorm was over, we had about 20 minutes left in this session. So, student groups quickly took turns telling me their list, and I typed it all into a PPT display in front of them. The class voted for their favorites, and we got our semi-finalists. (With all the different 5th grade classes I had combined, we got a total of 30 semi-finalist business ideas). I turned these semi-finalists into a survey for the staff and faculty at our school. I used SurveyMonkey, emailed our campus with the link, and then took screen shots of the results that I could incorporate into a PPT for the kids (see below, starting at the fourth slide). For session two, we went through the PPT slides, including the survey results, and I prompted students to consider if/how their ideas matched the demands and interests of the rest of our community. In the slides below, you will also see how the presentation began with a review of what we learned last class, then transitioned into the next phase of the project (architecture).
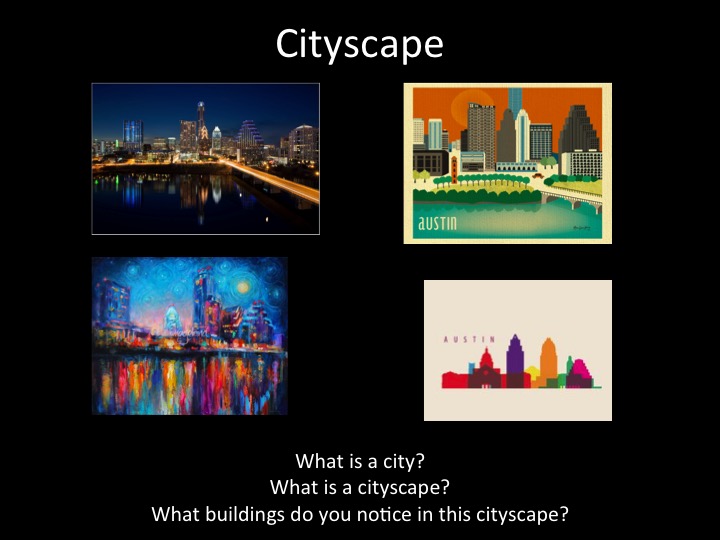
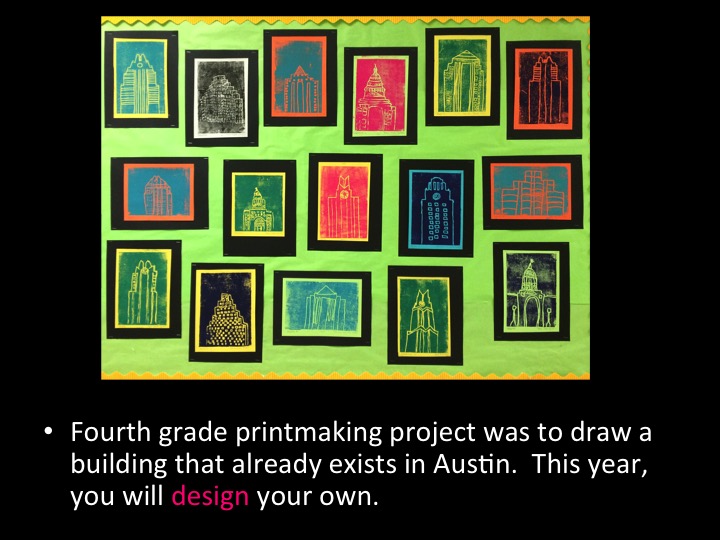
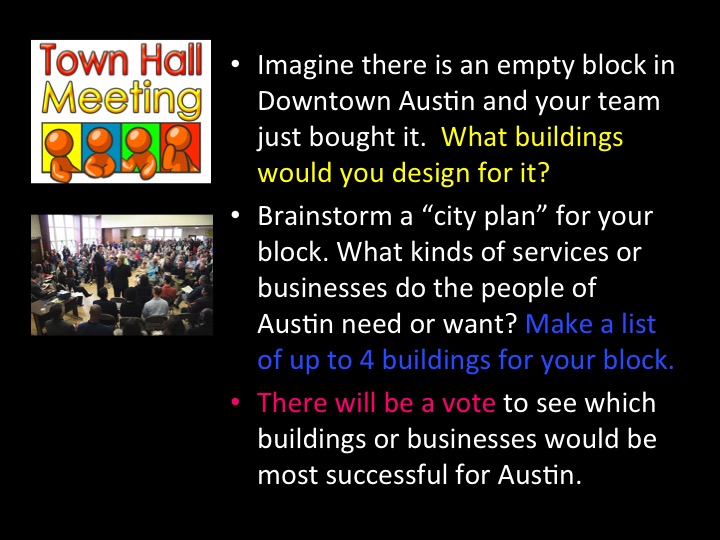
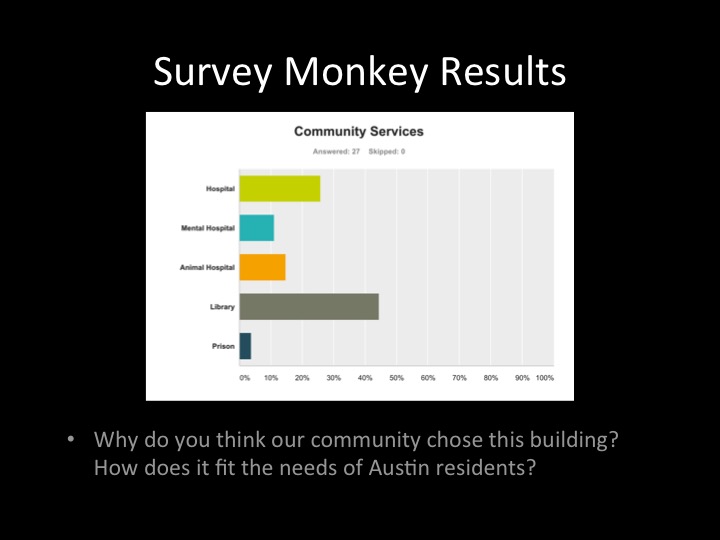
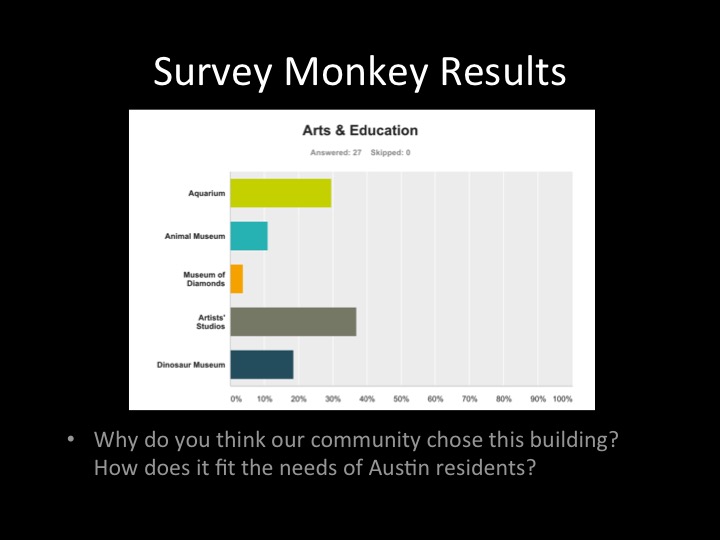
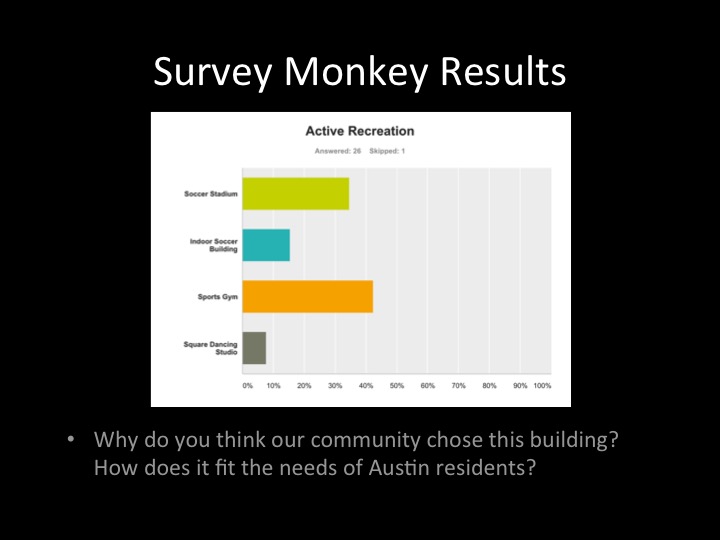
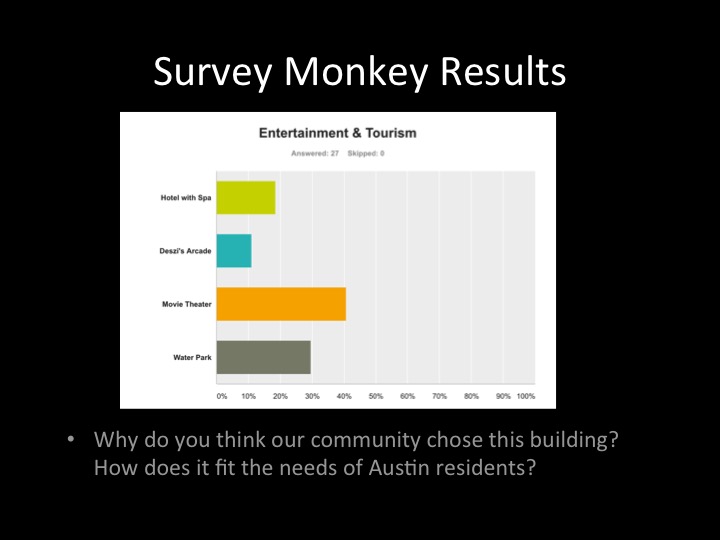
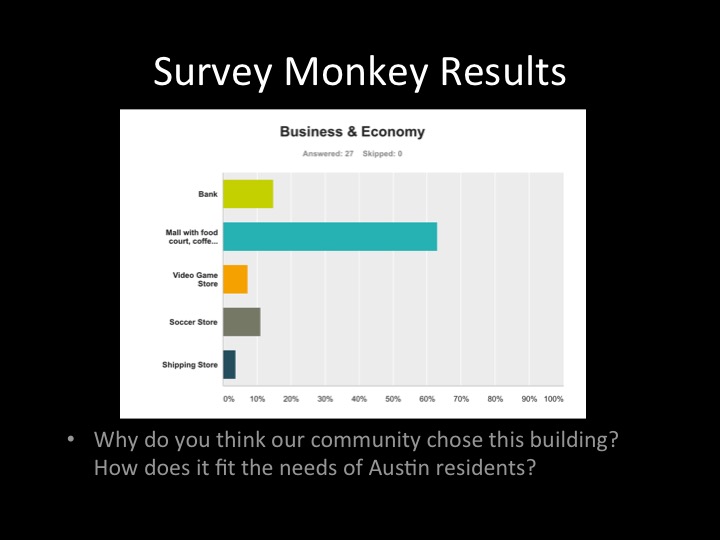


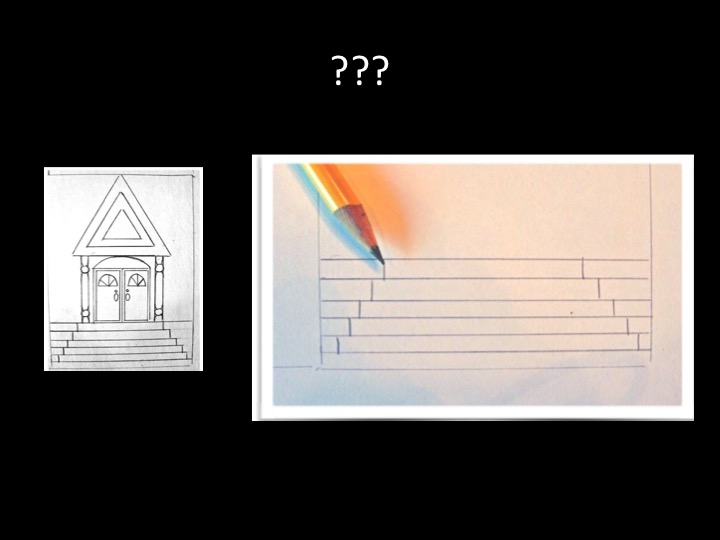
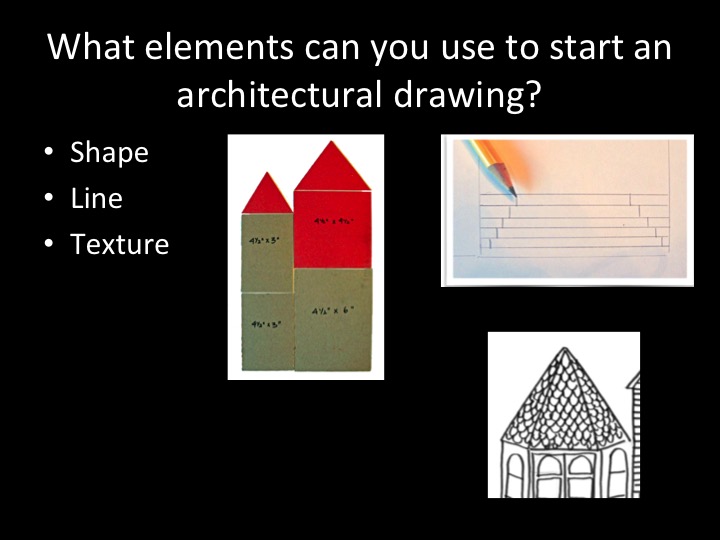
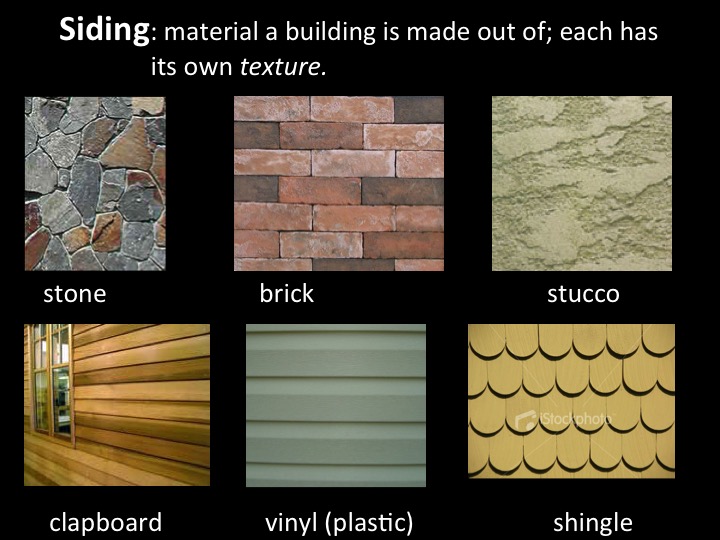
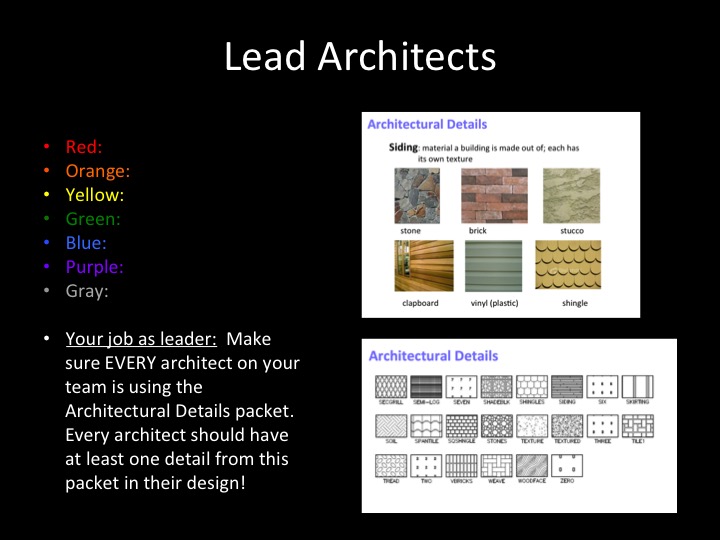
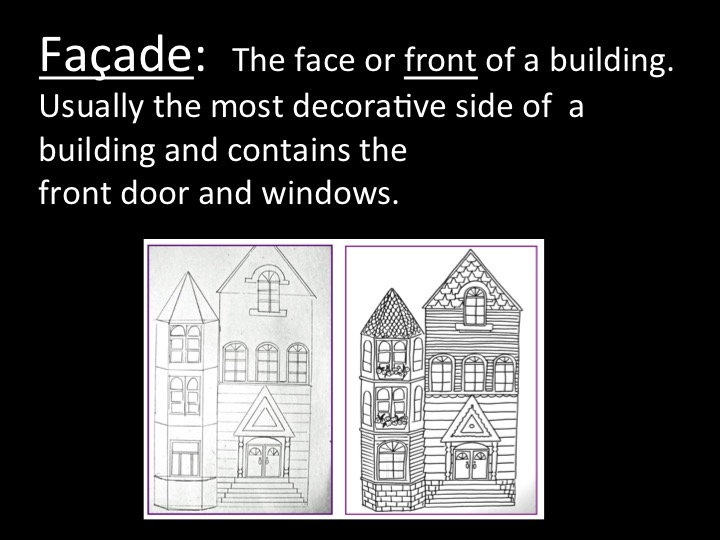
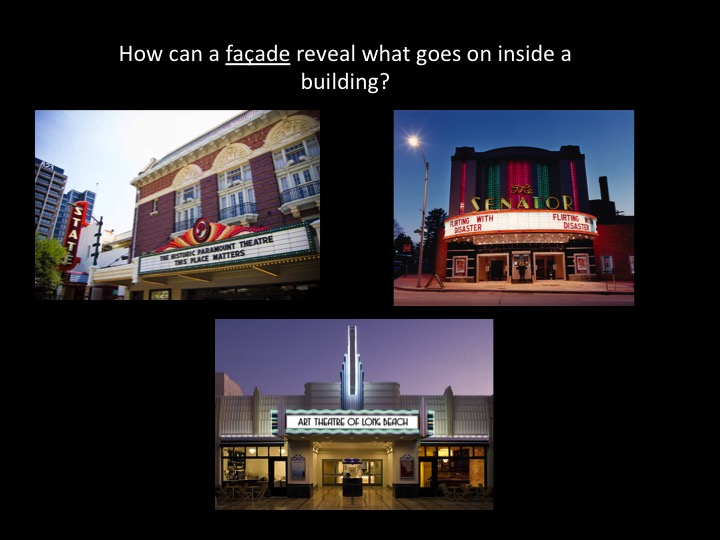
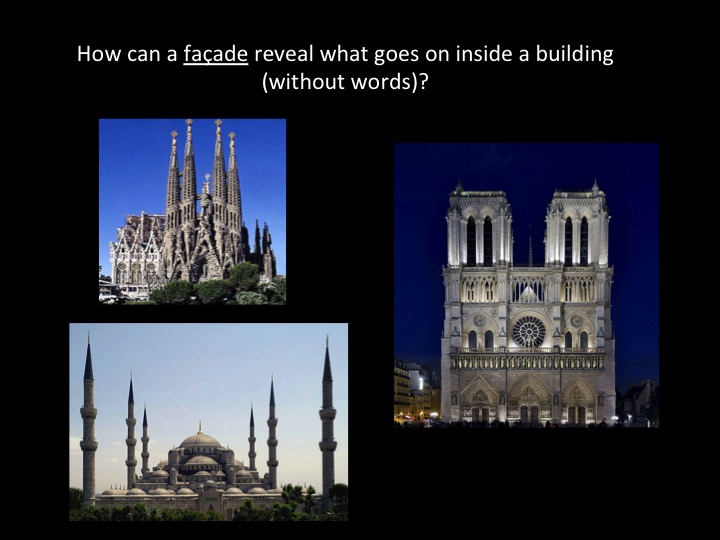
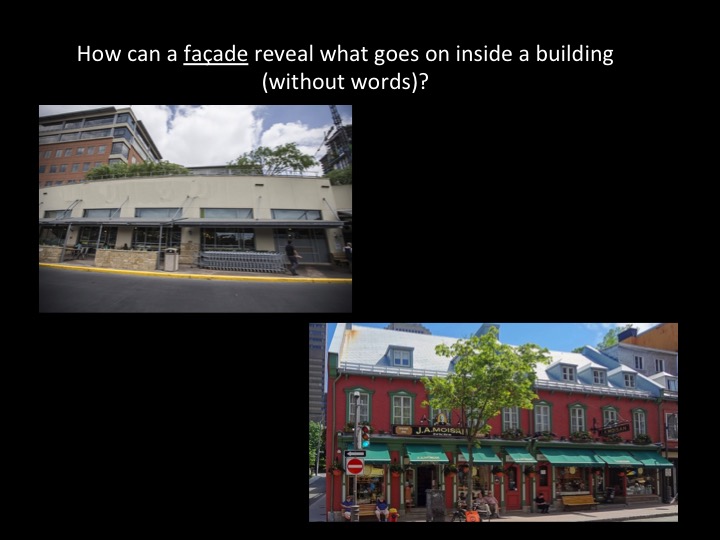
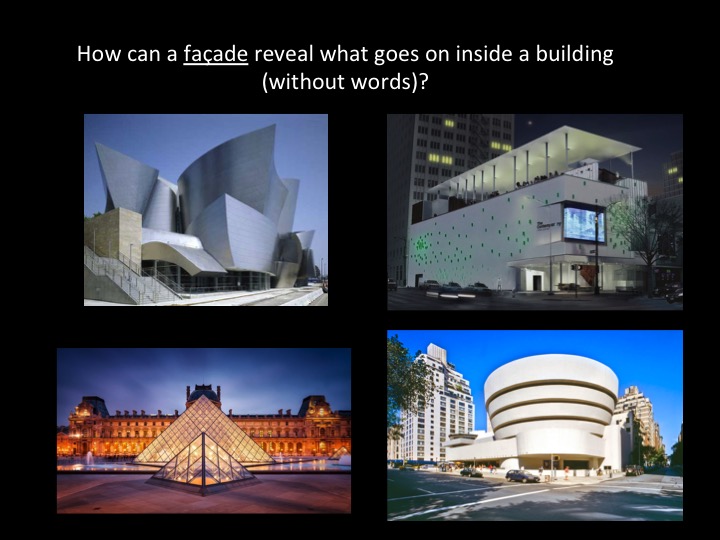
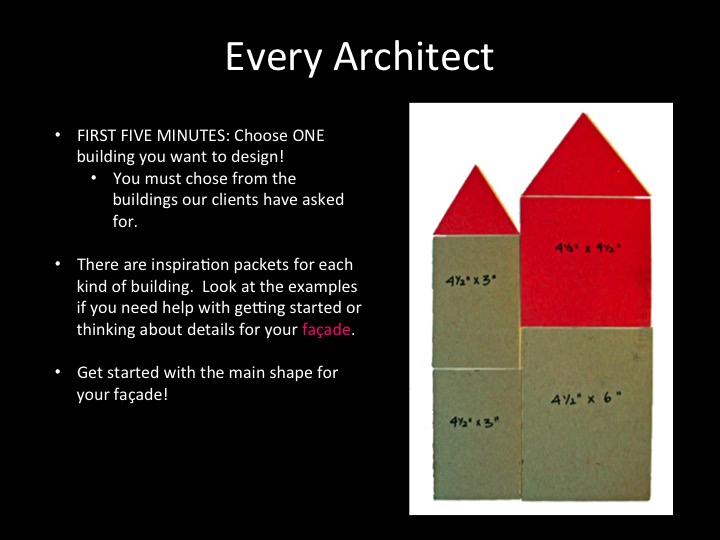
This unit fostered some problem-based learning (PBL), since our students started with a problem that relates to real-world city development: What businesses, institutions, and services can meet our community’s demands and needs? The first phase, for this scenario, prompted the students to consider and propose a wish list as citizens and consumers. They were asked to consider what the wider community wanted, with empathy for the perspectives of their neighbors. By the second class session, the students transformed into architects. After defining titles and learning about their career, they would design buildings for their “clients.” Following a quick teacher-led-demo on how to construct an architectural drawing, they did a practice exercise for an architectural drawing of a house. Students were prompted to review, at the end of class, how they used the elements of art to get their architectural drawing started.
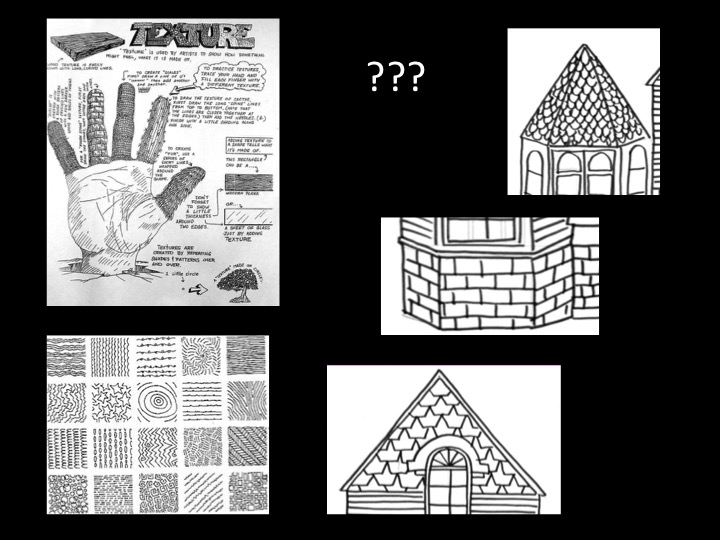
This unit is an extension of a building printmaking project that I did with the students as fourth graders. During the PPT I prompted students to review how they used shape, line, and texture for their drawings last year. Class session 2 ended with the using these elements again, spending about 20 minutes to make a practice drawing of a house. I found some great online resources for these practice drawings (I used the one for the Victorian house). To differentiate for students with less developed drawing skills, I provided some stencils (see the last slide, above).
Architectural Drawings: Design your client’s building!
You may have noticed, in the PPT slides, how I organized the semi-finalist buildings into categories for the Survey Monkey: Community Service; Arts & Education; Active Recreation; Entertainment & Tourism; Business & Economy; and, Food & Beverages. This ensured that there would be variety of finalists (one for each category). And….our finalists were…drumroll….
Mall with food court, coffee, and anime store
Each of these finalists represented a client, who needed an architect to design their building. Each student picked one client. If you click on the link for each building above, you will find a PDF packet of buildings that they could look at for inspiration. Having only six kinds of buildings to choose from provided structure for the students, and made it much more manageable for me to provide visual resources for each design. I also provided a more general Architectural Details packet. After creating a unique building design, they traced their drawing onto a styrofoam plate to prepare for printmaking.
Here are some examples of their work. The first two images show drawings taped to the styrofoam plate and prepped for tracing. I am so proud of their work! These drawings are by mostly 10 year olds, and this year we had really large classes (28-31 per section). They showed a lot of self-motivation and focus to carry out their drawings. They each made such creative designs showing their grip on line, shape, and implied texture.
Here’s my demo video for the printmaking process:
Collaborative Collage: Combining Building Prints into a Cityscape
Each of my three 5th grade sections worked with classmates to create long collages in each class. I provided each table with 18x24” construction paper in sky blue, and pre-cut strips of dark gray paper and light gray paper for them to glue on for the street and side walk. They then glued their buildings, side by side, on the horizon line created by the sidewalk. They got more background paper as needed, until we fit all the buildings from their class. During my prep, I attached white poster boards together (overlapping them at the back, using my handy dandy Scotch ATG 700) that would provide a long enough fame to fit all the papers together. I then attached their collages onto the frame. At this point, each class had a combined collage that included all their buildings on one backdrop with an empty sidewalk and street. The last step would be for them to come up with details to make it look like a busy city! They used markers and drew mailboxes, cars, pedestrians, planes, along some more creative additions like UFOs. I placed the long collage at the middle of the room as the “collage center.” They had permission to come up and glue their detail drawings onto the collage at any time, as long as there were no more than three people standing at the collage center.


