Are you familiar with STEM? US leaders popularized this acronym for the fields of science, technology, engineering and math. When you think about how art fits into this picture you get STEAM. There are many advantages to integrating the art of design in STEM education. As an advocate of art ed, I think that creation fosters higher-level thinking and helpful habits of mind like no other activity.
In this unit, my students design a robot by applying elements of art and design (repetition, visual texture, sheen, color, proportion, movement) and artistic techniques including printmaking, collage, and mixed media. They use math and engineering skills to design a paper circuit and add LED lights to their robot's eyes. Working as "engineers" and thinking like artists, they design a robot with unique characteristics and functions!
Visual Texture and Exploratory Printmaking
About a week before spring break, my first and second grade classes were done early with the last unit I had planned for the quarter. So I squeezed in a couple of lessons on visual texture with a printmaking exploration.
We had previously learned about tactile texture. We reviewed the concept and then talked about implied texture after watching this quick Texture Desert video. I am always surprised by which videos my kids love – they kept singing this song while they worked on their prints, haha! I think my older students are “too cool” for this video, but that singing cacti worked great for my littles. I also used a few worksheets and displays as anchors, e.g. Implied Texture Monster and Visual Texture Patterns.
I did a quick demo on how to carve lines into Scratch-foam Styrofoam boards with a pencil, for relief printmaking (oohs and aaahs in tiny voices, every time I peel away the board to reveal a print!). The goal was to draw and carve lines onto a board to create visual texture. I pre-cut each 9x12” board into quarters, and gave out 4.5 x 6” plates.
A bunch of metallic inks had been donated to my classroom, so I thought I’d put them to use and talk about sheen and metallic colors. I prompted my students to approach the act of printmaking in a very exploratory, play-like manner. 2-4 students would share a single construction paper – each of their small boards would take up only a quarter of the paper. They put their name on their plates, which I would assess and they could keep if they wanted. The metallic prints, on the other hand, were collaborative and belonged to the whole class. They kept making boards and taking turns printing on construction paper until we left for break.
Developing the Robot Unit
Over spring break I became curious about how I might be able to re-use the metallic prints in a new unit. I came across a few blog posts on using copper tape and LEDs to create a light-up robot with a paper circuit, and I got creative with this idea.
I was worried that paper circuits wouldn’t be the right fit for the first and second graders who made these prints. While I was planning the unit, I found blogs on paper circuit art projects that featured 6-8 year olds. In these blogs, the students seemed to be working in a small group setting with a higher teacher to student ratio. So, I gave it a shot by emphasizing the “team” in “STEAM.” I asked my students to work in teams to build a single robot (1 robot per 3-4 students). In hindsight, now I know it will be a great fit for my 5th graders, and that circuits are even in their science curriculum at my school!
The collaborative, step-by-step approach to this project made it feasible for me with first and second grade. But it was still very challenging for the students. They didn’t quite get a real understanding of how circuits work, but they were exposed to it and got a few basics out of the lesson (e.g. what an “engineer” is, how batteries have a positive and negative side). At the end, each team gave their robot a name, wrote about its special abilities, and chose a teacher or staff member on campus who would receive it as a gift. After all, engineers design things to solve problems and help others!
The Robot Body: Puppet-Making and Collage
I used 11x14” Royal Brites Two-Cool Poster board (silver/gold) for this project (they sell this size at Office Depot; online I can only find it starting at 14x22”). For my littles, I pre-cut the shapes for each team robot. Fifth graders will measure and cut on their own. They will make a robot individually instead of working in teams. Here is the template I used for the 11 x 14” boards:
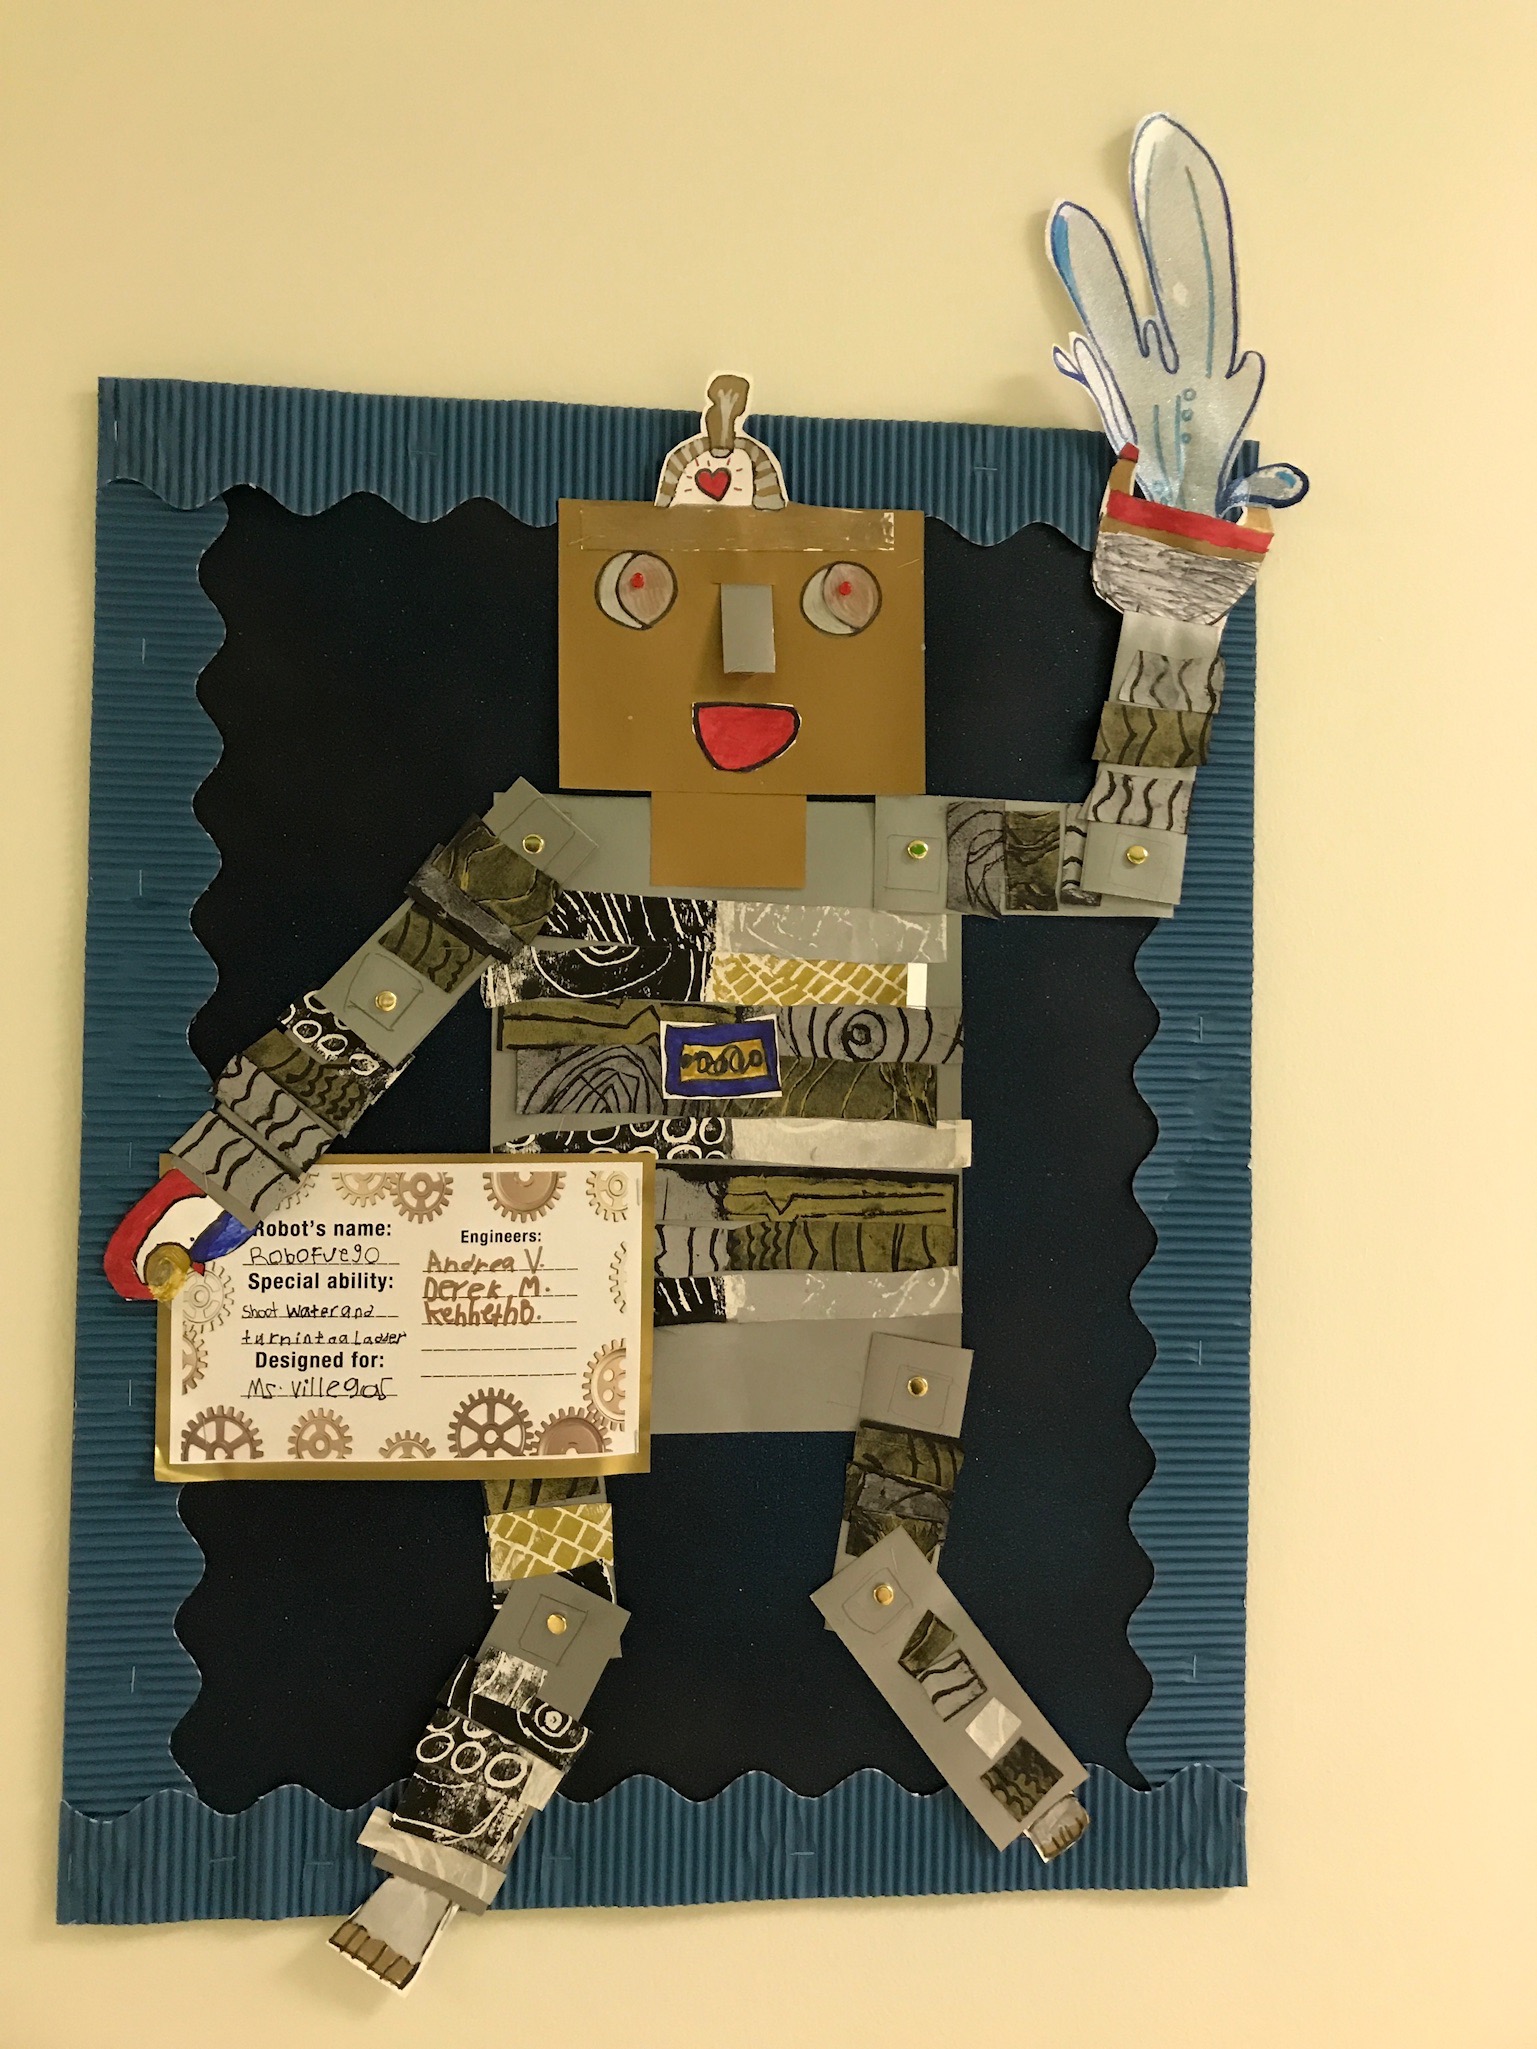
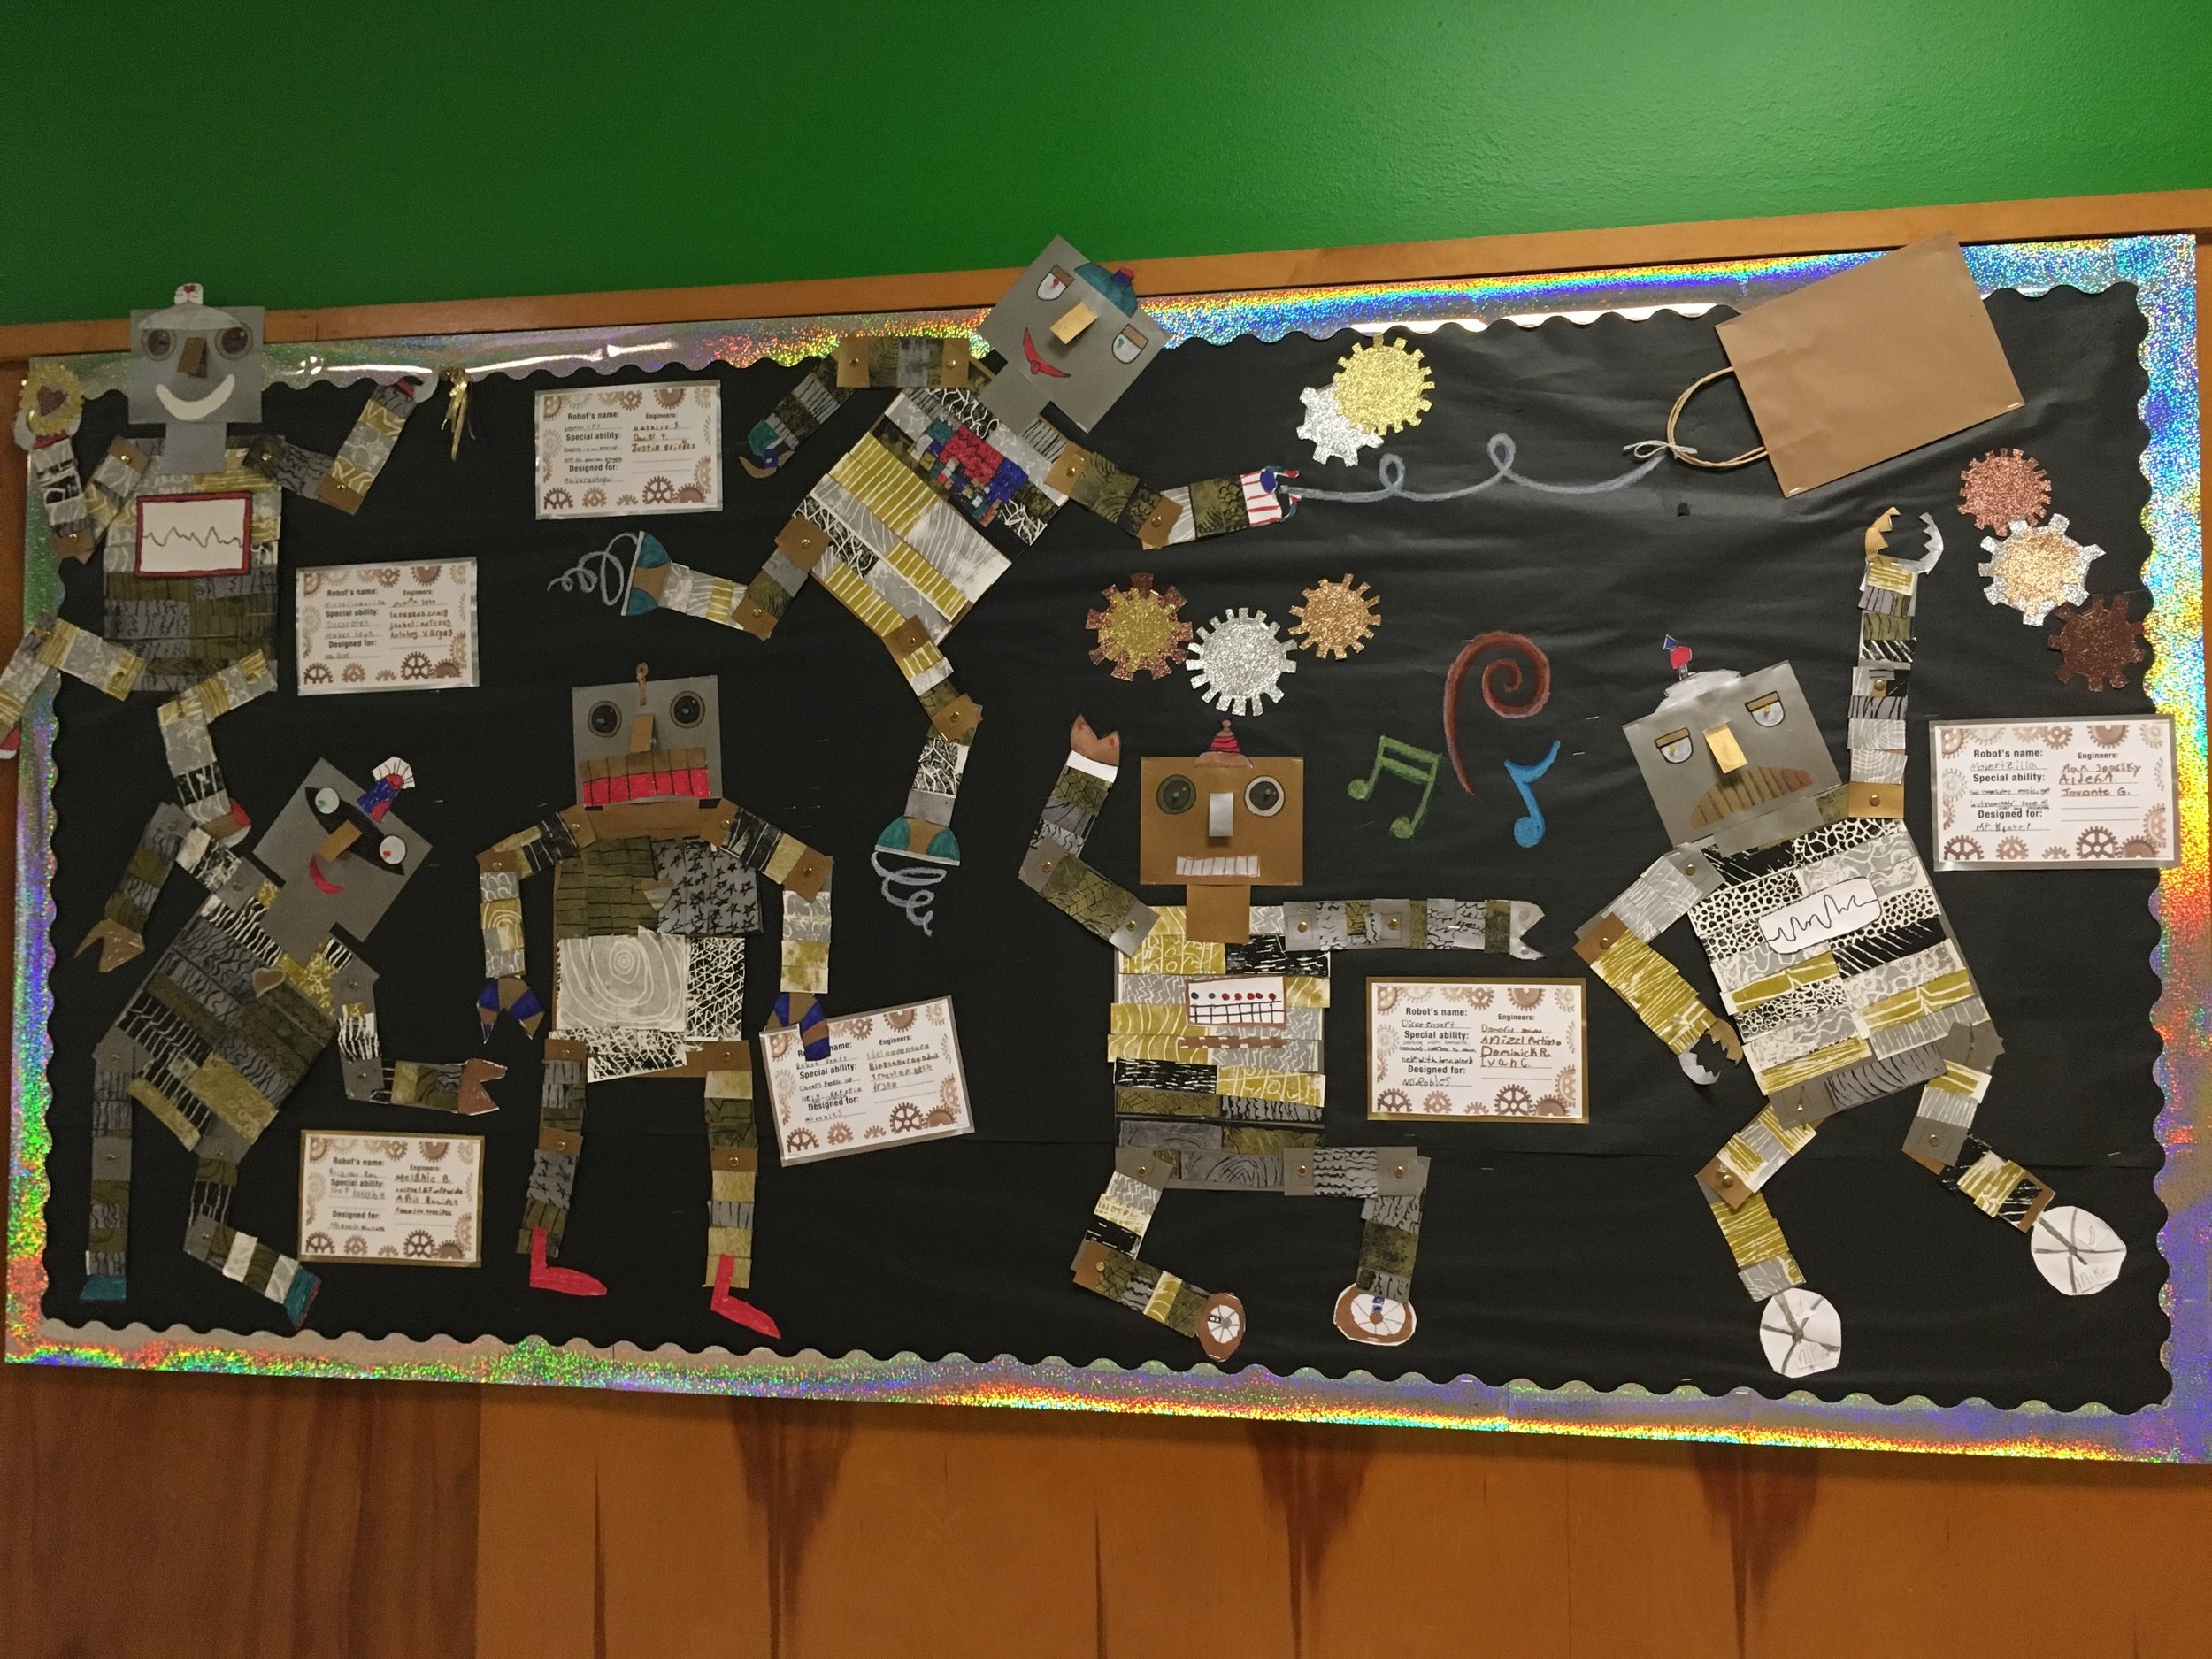
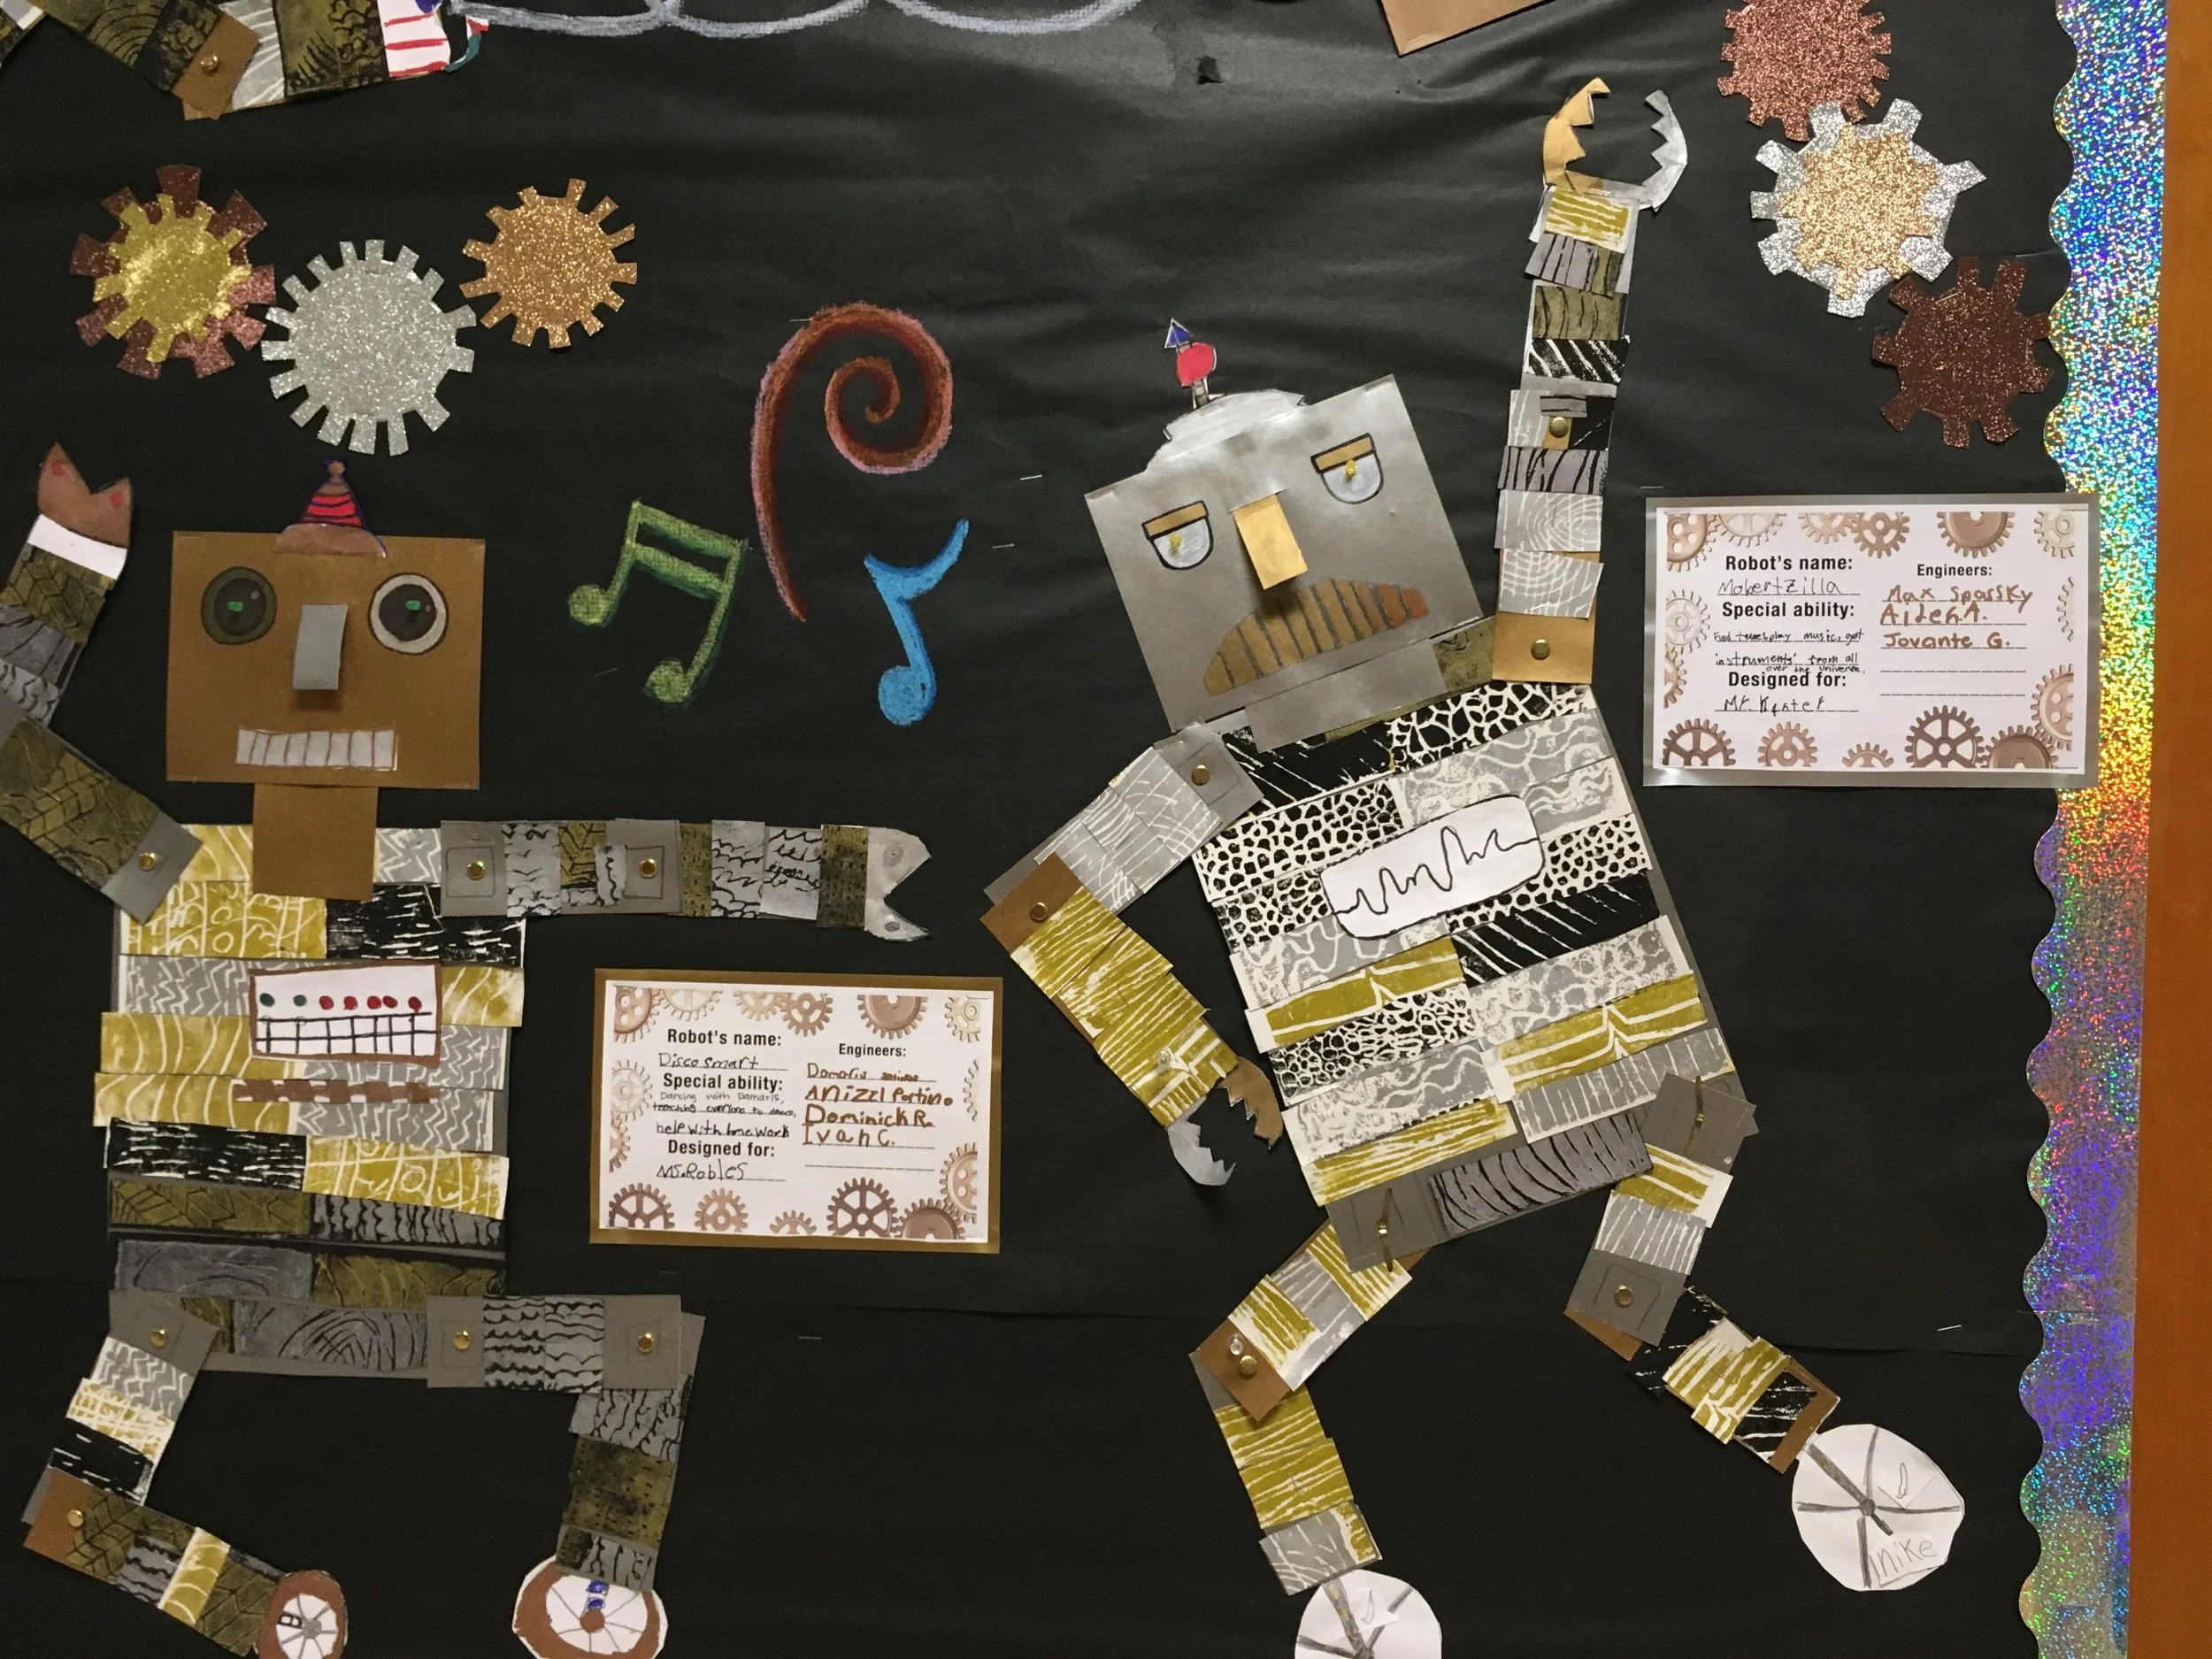
I made a demonstration video to motivate students and walk them through steps for the robot body. With single-hole punchers and fasteners at the joints, this activity is like making a puppet. Students learn to represent figural movement and gesture by exploring different positions with the torso, joints, and limbs. My first and second graders collaged their metallic prints onto the template, in a very straightforward manner. They reviewed implied texture and talked about visual qualities of a scrap metal. With fifth grade, I will prompt them to explore different ways of cutting and attaching the prints. I will also encourage them to explore mixed media and come up with materials that can express a unique personality or special robot functions.
Paper Circuit Robot Head
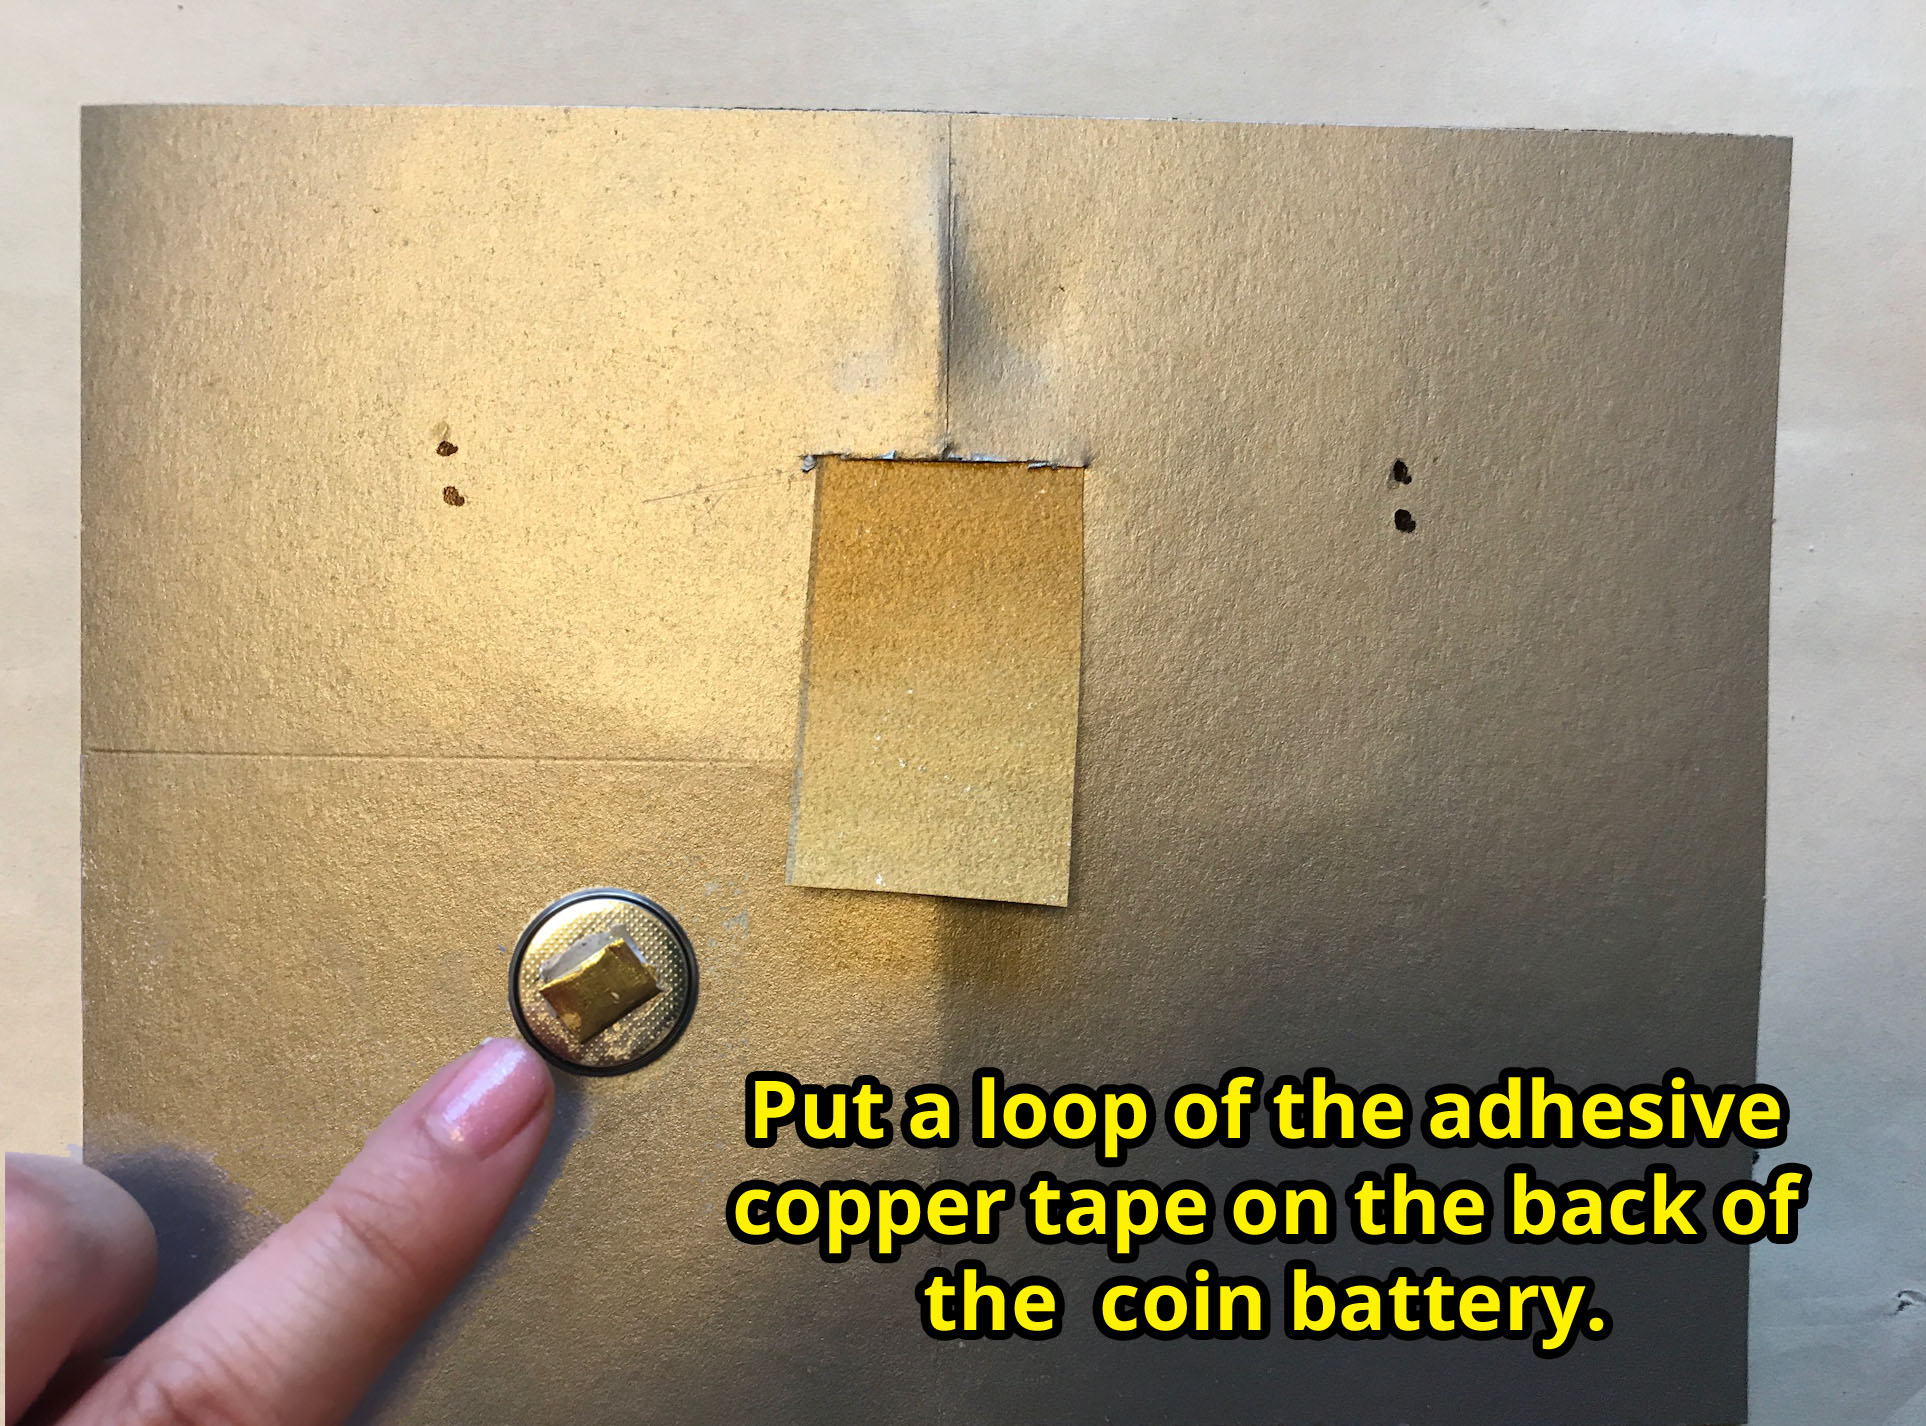
Adhesive copper tape is the conductor and key to laying out the paper circuit on the head. If you click through the images below that show each step, you’ll start to see what I mean. Since my 1st-2nd grade students were making one robot per team, we didn't need many robot heads in total and I could just prep the first few tricky steps for them. The trickiest part is looping the copper tape in the spot where it will connect both to the coin battery (at the front of the head) and the wires (in the back) of the LED lights. For my fifth grade students, I think I will pre-cut the slits where the copper tape needs to loop around (so they won’t need to use the X-Acto tool), and leave the rest of the steps in their hands.



Robot Eyes, Mouth, Hands, Feet, Controls, Etc…
I prompted students to work on details like the feet, hands, controls, and antennas at the same time as I introduced the paper circuit for the head. This gave students something to focus on if they felt like they got stuck on the head and needed to wait for a turn with the teacher. Expressive Monkey offers some great robot-themed anchors (shown in my demonstration video), and in dialogue with the students I motivated them to get creative and come up with unique details. Using index cards, students were prompted to apply proportion as they added details in relation to the existing size of their robot. We used liquid metallic markers and sharpies for these details.
Completing the Paper Circuit with LED lights (starts at ~4:21 in the video)
My students defined “circuit” and how it all has to connect like a “circle.” We talked about positive and negative charges; how each light has a positive and negative wire, and that the battery has a positive and negative side that must connect to each. “How Batteries Work” is a great video, especially for older students, that briefly explains how electricity is produced by the oxidation of metal. I’m really excited to try this unit with fifth grade, who will be learning about this outside the art classroom!
Art Evaluation & Cultural Relevance
This unit is a great opportunity to show artists who use light and technology in their work. There are some great educational resources on Dan Flavin by the NGA, on Tatsuo Miyajima by the MCA, and on Glen Ligon by Art21. In another blog post, I write about how I used the Creative Initiative/MindPOP “Look and Link” evaluation activity to explore artwork by Yayoi Kusama, another artist who has used light in her work.
Students can explore artworks like these with questions that prompt evaluative thinking. “Why do you think the artist used light to make this?” One of my 7 year old students said, “If you put light in your art then your art reaches the whole room.” Many students said that light makes it different and more fun than most art you see, and we talked about what they think is “most art.” “What do you think happens if the light stops working?” For that question, students started to think about their own robots, and talked about replacing the battery or fixing the tape. The discussion touched on museum jobs and how people and artists work on art even after it’s “done.” A handful of kids talked about what they liked about their art even without the lights.
Site-specific installation by Dan Flavin, 1996, Menil Collection
Glenn Ligon, “Untitled (If I Can’t Have Love, I’ll Take Sunshine),” 2006, Neon and paint, Luhring Augustine.
Tatsuo Miyajima, Arrow of Time (Unfinished Life), 2016, LED, IC, electric wire, iron, Image by the artist, The Metropolitan Museum of Art and Lisson Gallery © the artist Photograph: Thomas B. Ling
Optional Extensions
The personalization for this project mostly came in at the details we added at the end. Many students really began to visualize and describe their robot once they explored the essential question, “How can props and accessories show character?”
We also talked about engineer jobs (for videos, check out “Jessi Has a Problem!” and “Crash Course for Kids: What’s an Engineer?”). Since each team was gifting their robot to someone, they approached their art like engineers and brainstormed how the robot could help that person. They had their ideas ready when I came to their table with this worksheet, and we filled it out together.
Check out "Robo Nick the Helper," who helps people get Mona Lisa Ready! The engineers gifted it to a fellow art teacher, tee hee:
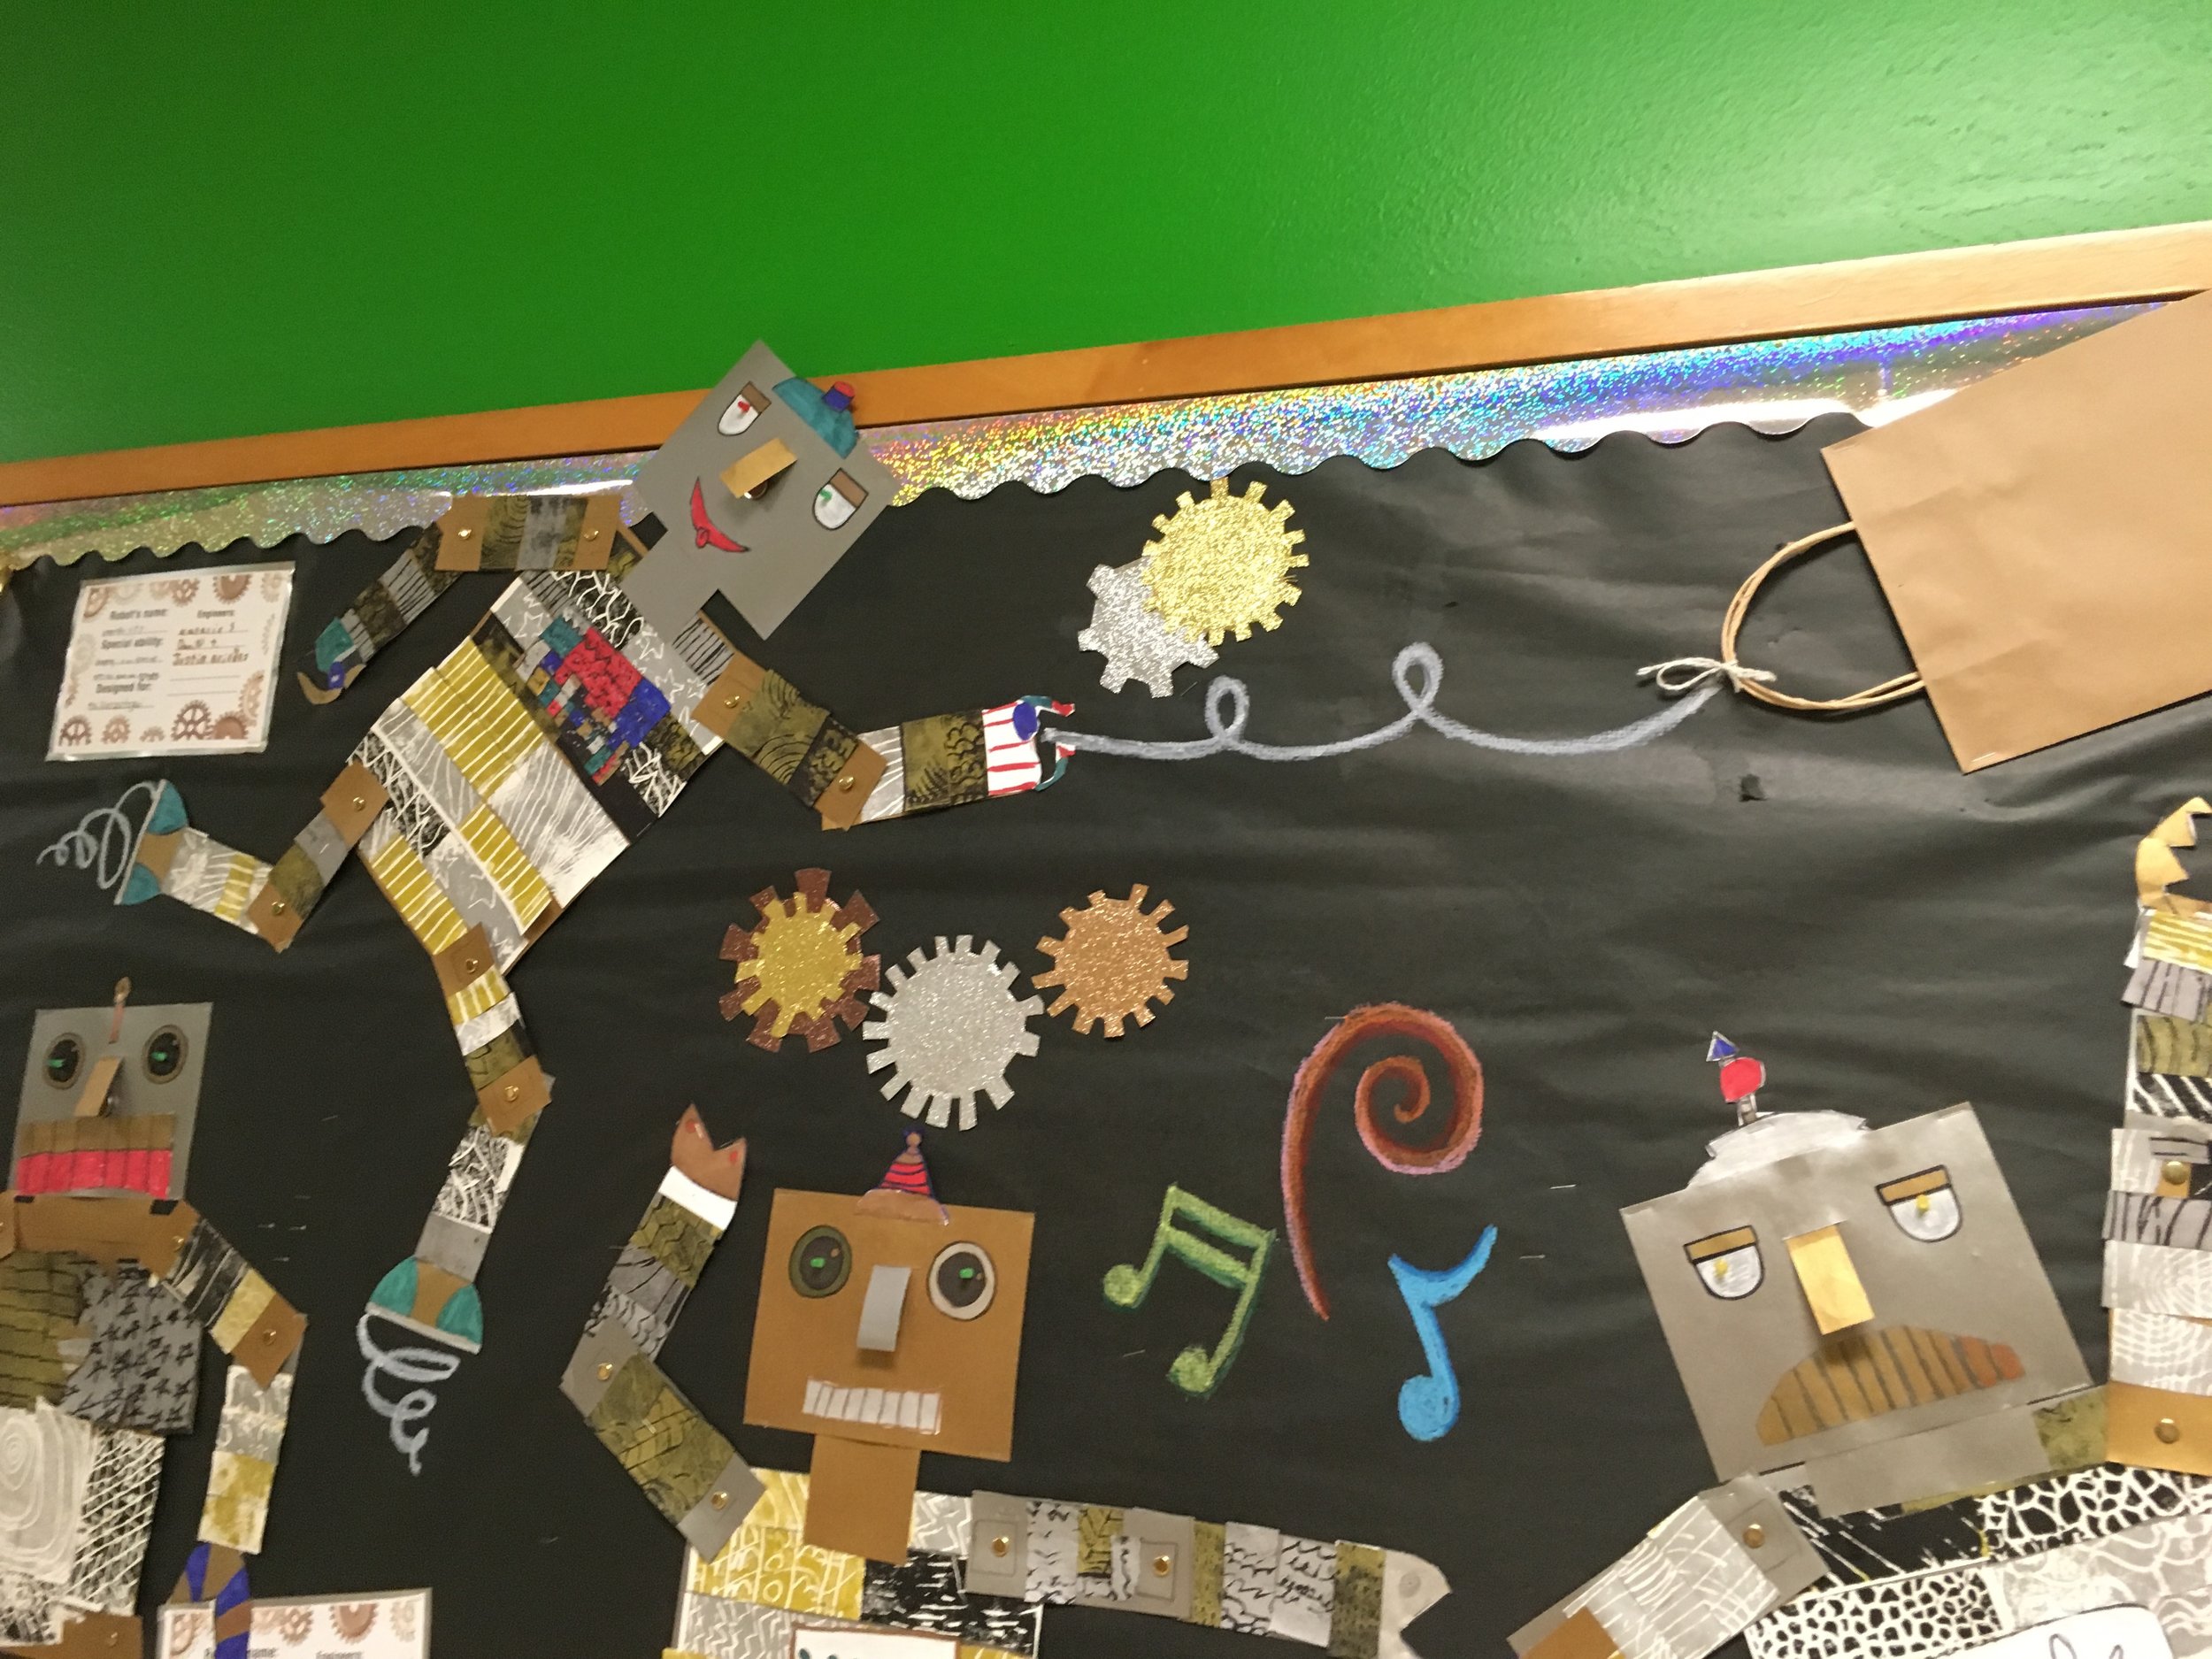
Student Art Gallery
We put these up for our End of Year Student Art Exhibition, so I got lots of great photos. One of my favorites shows the engineers dabbing with "Ultimate Pinching Dab Super Cleaning Bot" -- gotta love the dab! Enjoy!


